Summer heat doesn’t announce itself, it arrives, and your HVAC system either handles it or it doesn’t. This guide covers everything you need to do before the season starts: what to check yourself, when to call a pro, and how to avoid the expensive mistakes most homeowners make by waiting too long.
Why Preparing Your HVAC System Before Summer Matters
Most HVAC systems sit dormant for 6-8 months before summer. Dust accumulates on coils, refrigerant slowly seeps, belts crack, and capacitors weaken from thermal stress. When you fire the system up on the first 95° day, all those latent problems surface simultaneously, usually when every HVAC technician in your city is already booked two weeks out.
Beyond emergency repairs, a poorly prepared system runs 15-25% less efficiently, which adds real money to every cooling bill. Dirty evaporator coils alone can cut heat-exchange capacity by 30%, forcing the compressor to run longer for the same result. That extra runtime shortens the compressor’s lifespan, the single most expensive component in the system.
Refrigerant leaks that go undetected through winter cause the compressor to run “dry” under summer load. A $200 leak repair in spring becomes a $1,500-$3,000 compressor replacement in August. A $12 filter left clogged for eight months drops system efficiency by 20%. A $180 capacitor that goes unchecked becomes a $2,400 compressor replacement in July when technicians are booked three weeks out. The risk isn’t sudden catastrophic failure, it’s cheap problems that compound into expensive ones because nobody took the time to prepare HVAC for summer in March.
Getting HVAC Ready for Summer: Best Time to Act
Getting HVAC ready for summer starts 4-8 weeks before your region’s first consistent heat. For most of the US, that means late February through April, depending on climate zone. The goal isn’t just completing tasks, it’s booking a technician before the seasonal rush strips availability. In most markets, quality technicians are fully scheduled 3-4 weeks out by April, so the time to book is February, not to do the work, but to secure the appointment. Missing that window is what turns a $150 tune-up into a $400 emergency call.
March through April, do a DIY walkthrough: replace filters, clear the outdoor unit, inspect visible ductwork, test the thermostat, and check condensate drains before the pro arrives, so they can focus on what only they can do. The professional service visit covers refrigerant charge, coil cleaning, electrical components, capacitors and contactors, and validating that the system hits manufacturer performance specs. Getting HVAC ready for summer on your own timeline, rather than reacting to a breakdown, is what separates a $150 tune-up from a $400 emergency call.
Through the cooling season, plan on filter checks, condensate line inspection, and outdoor unit clearance every 4-6 weeks. Ask your HVAC company about a maintenance agreement, most will prioritize agreement holders for emergency service in summer and lock in the pre-season rate year-round.
HVAC Summer Tune Up: DIY vs. Professional Service
A comprehensive HVAC summer tune up covers both the air handler/furnace side and the outdoor condensing unit, and while furnace maintenance takes a back seat in summer, a pre-season check ensures it won’t cause problems when cooling season ends. Understanding what’s DIY vs. professional helps you get maximum value from each.
DIY tasks cover filter replacement (1-2 inch filters monthly; 4-5 inch every 6 months), clearing a 2-foot radius around the outdoor unit, flushing the condensate drain line with vinegar, wiping outdoor fins gently with a soft brush, testing thermostat accuracy, inspecting accessible ductwork for gaps, and checking that all supply and return vents are unblocked.
The professional side of an HVAC summer tune up covers refrigerant level check and recharge, evaporator coil deep clean, capacitor and contactor testing, blower motor amp draw and balance, electrical connection torque check, duct leakage testing, and delta-T measurement. A properly charged, well-maintained system should produce 16-22°F of temperature drop between return and supply air. If your tech doesn’t measure this, ask, it’s the single best indicator of overall system health.
How to Prepare Your AC for Summer HVAC Service
The AC system has two main components: the air handler/evaporator coil inside and the condenser unit outside. Both need separate attention.
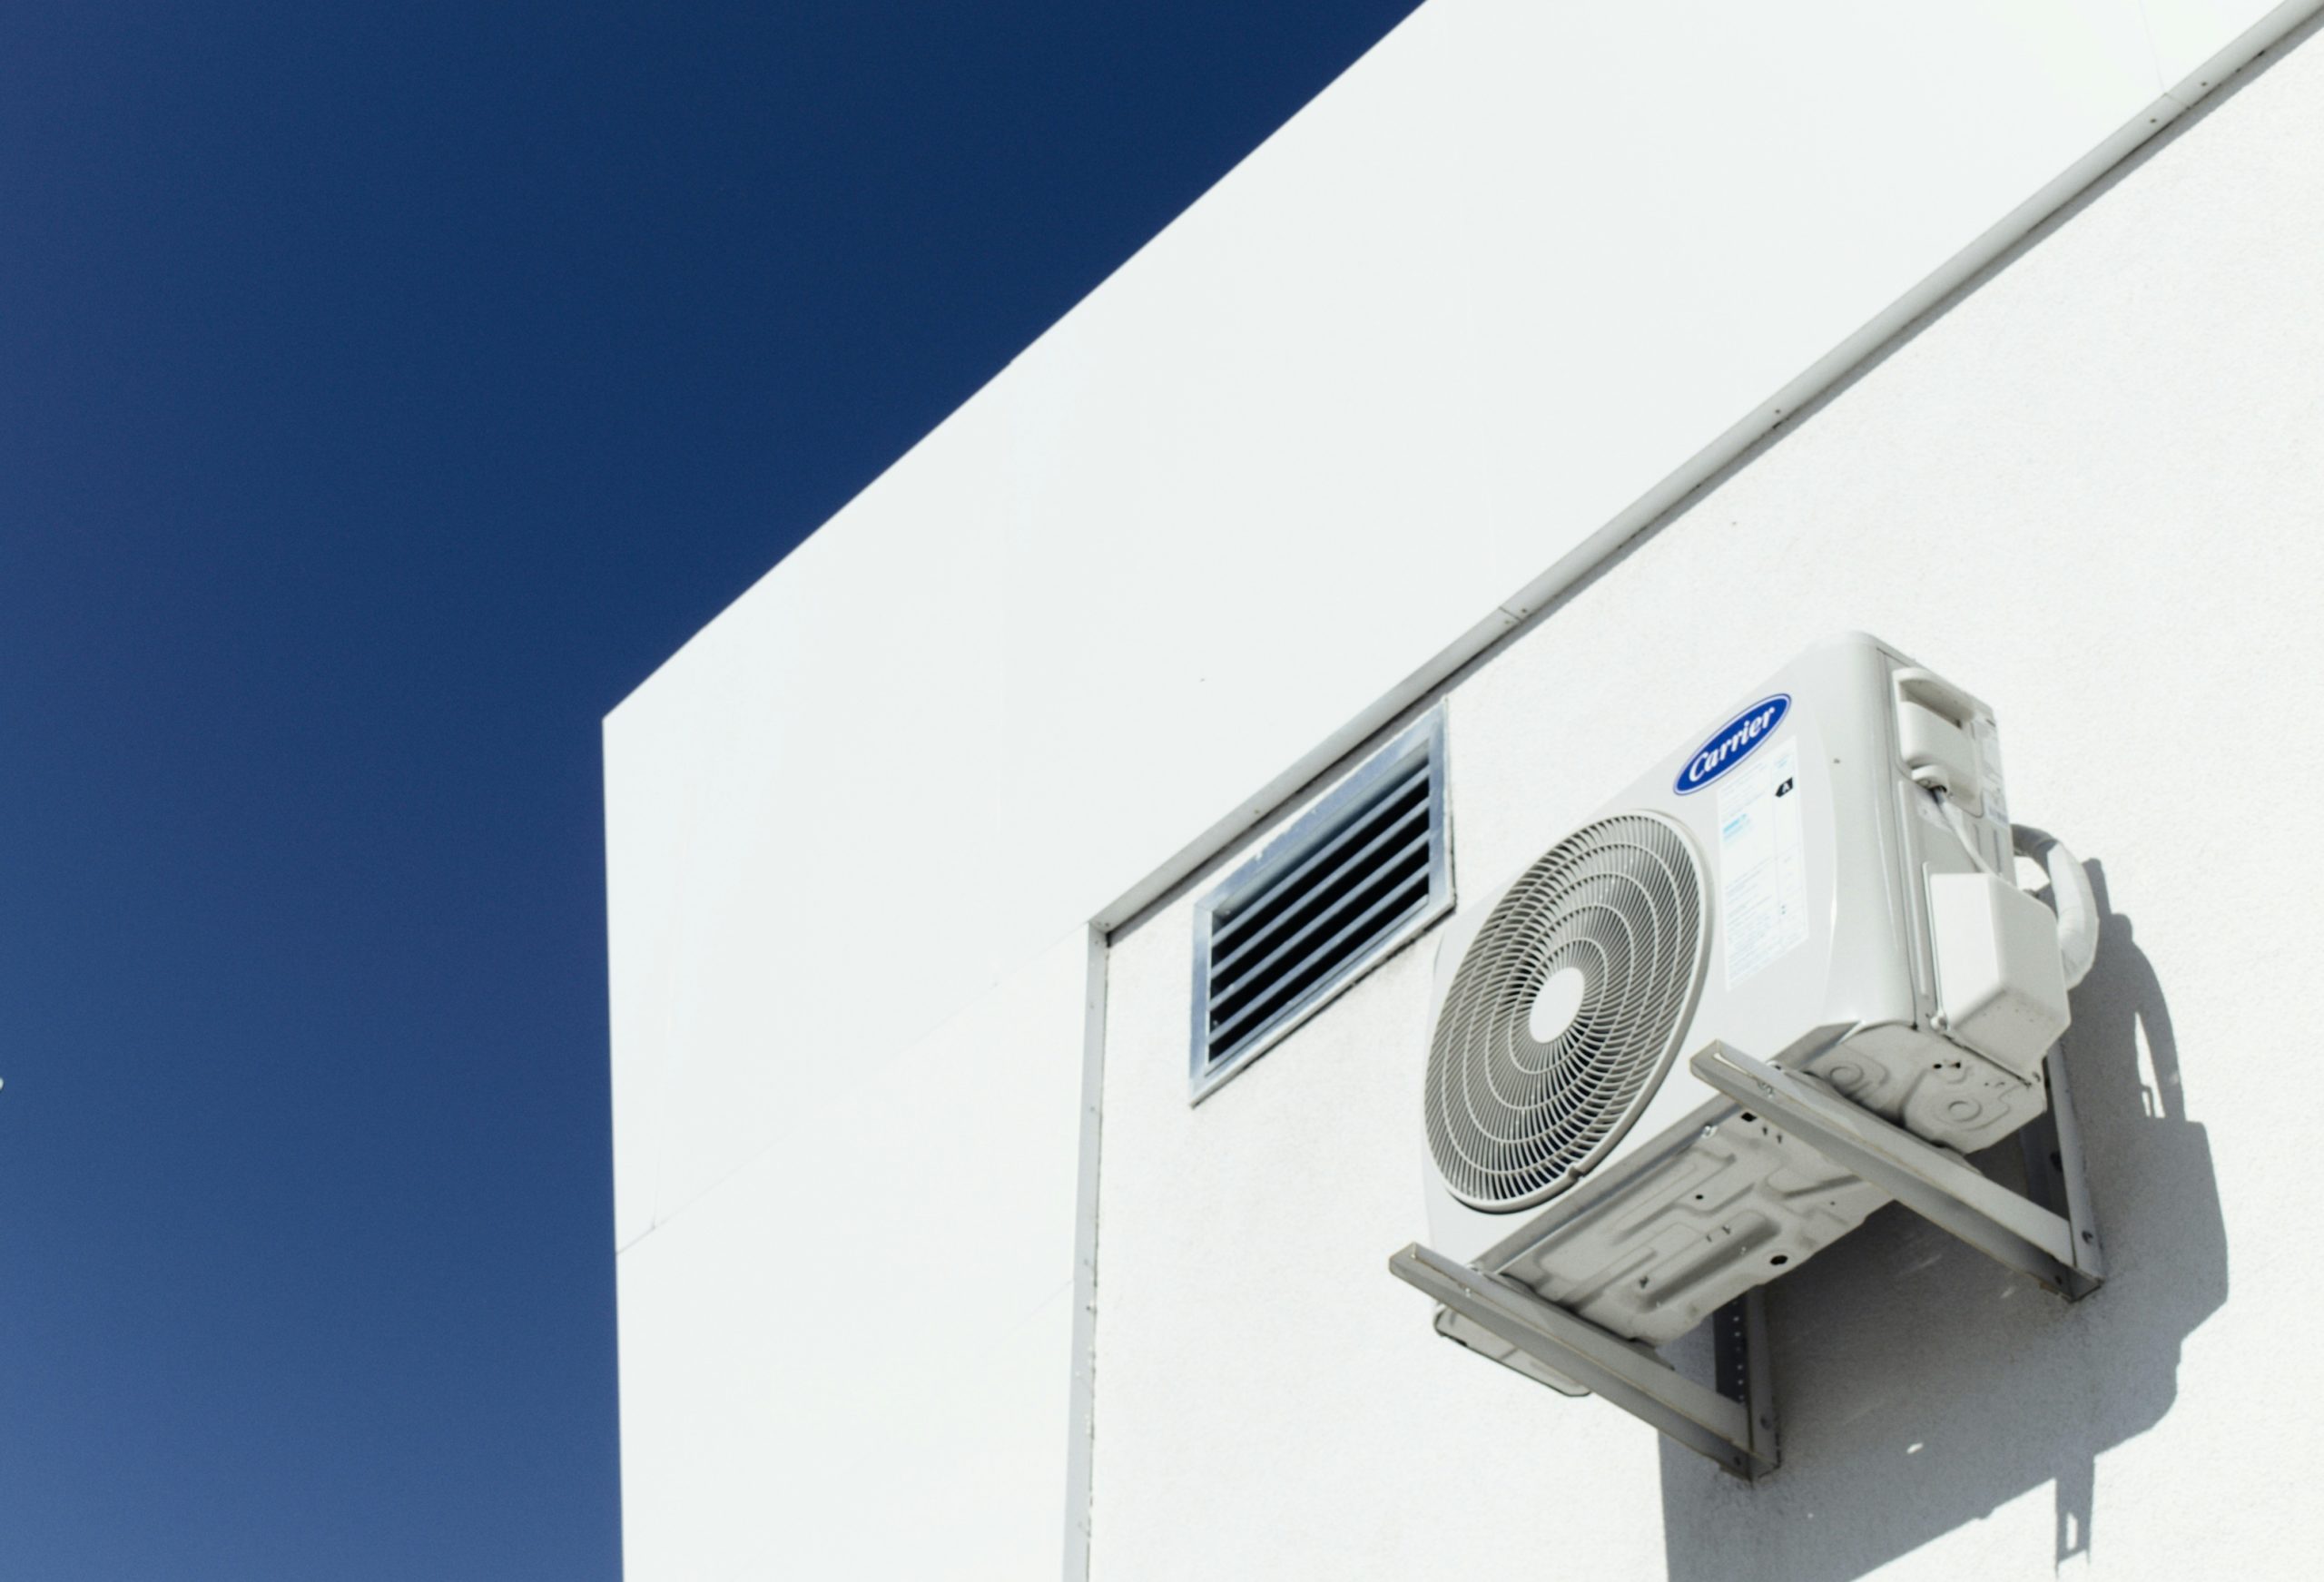
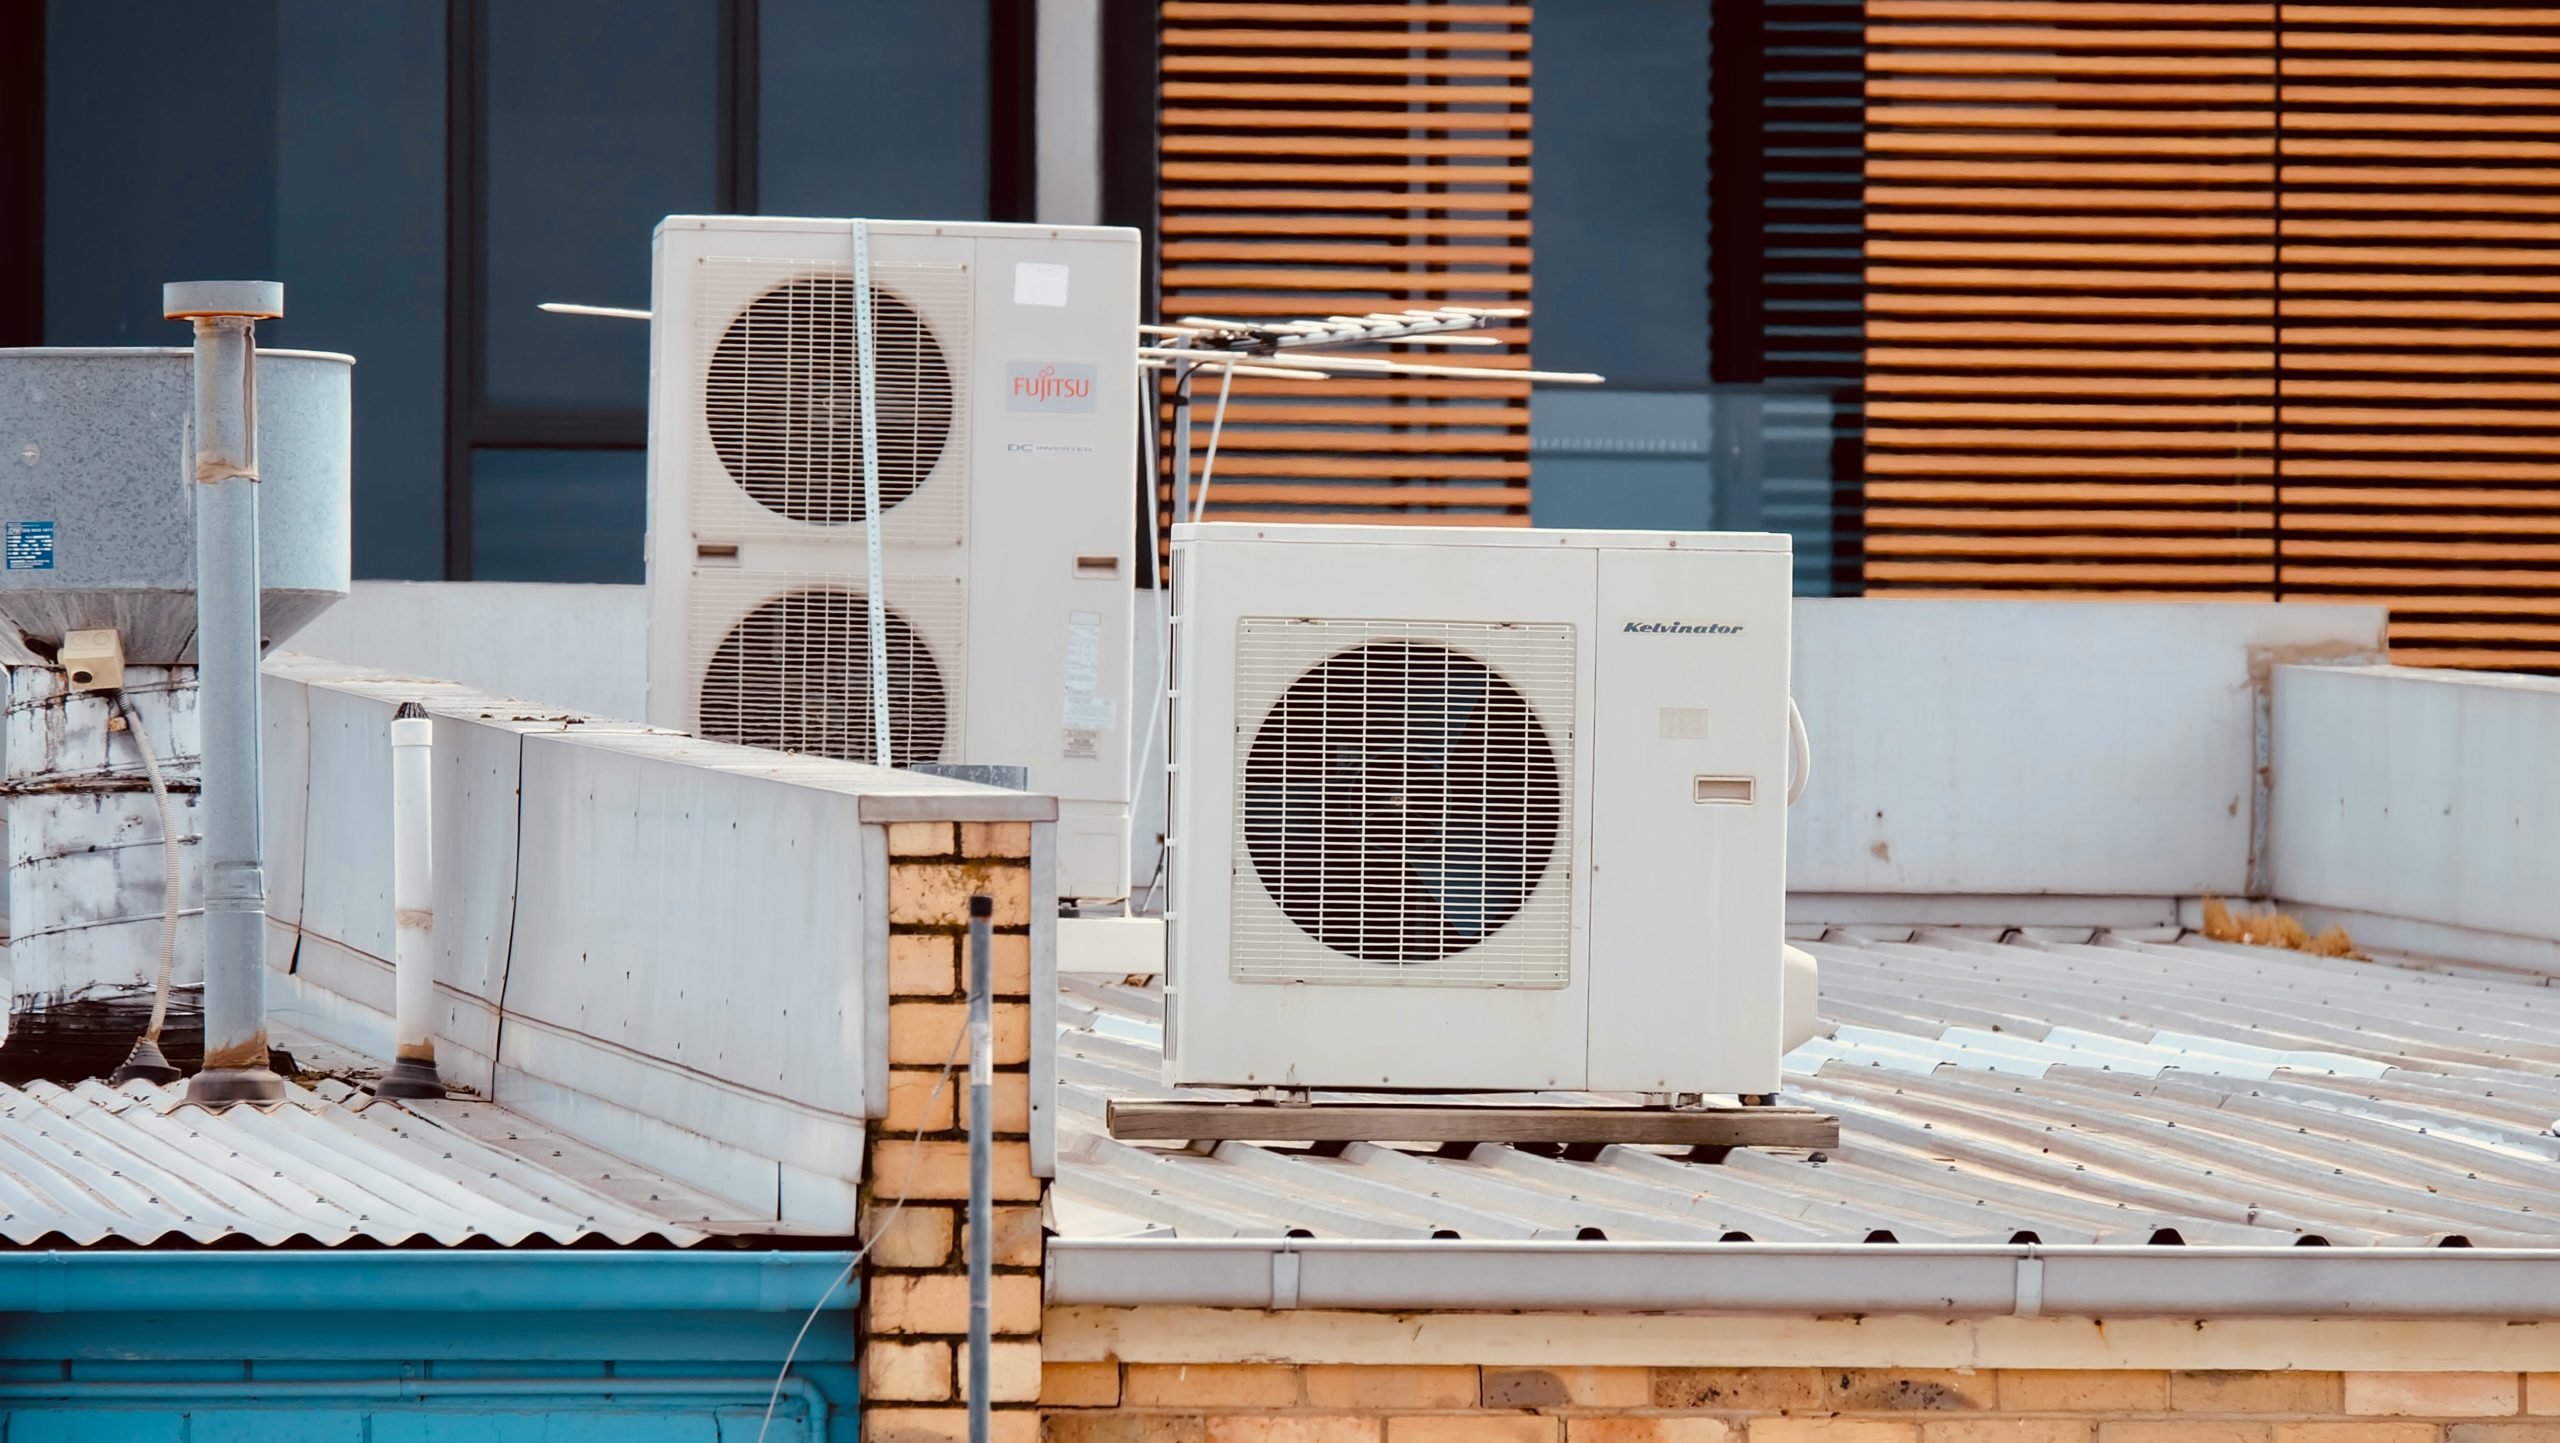
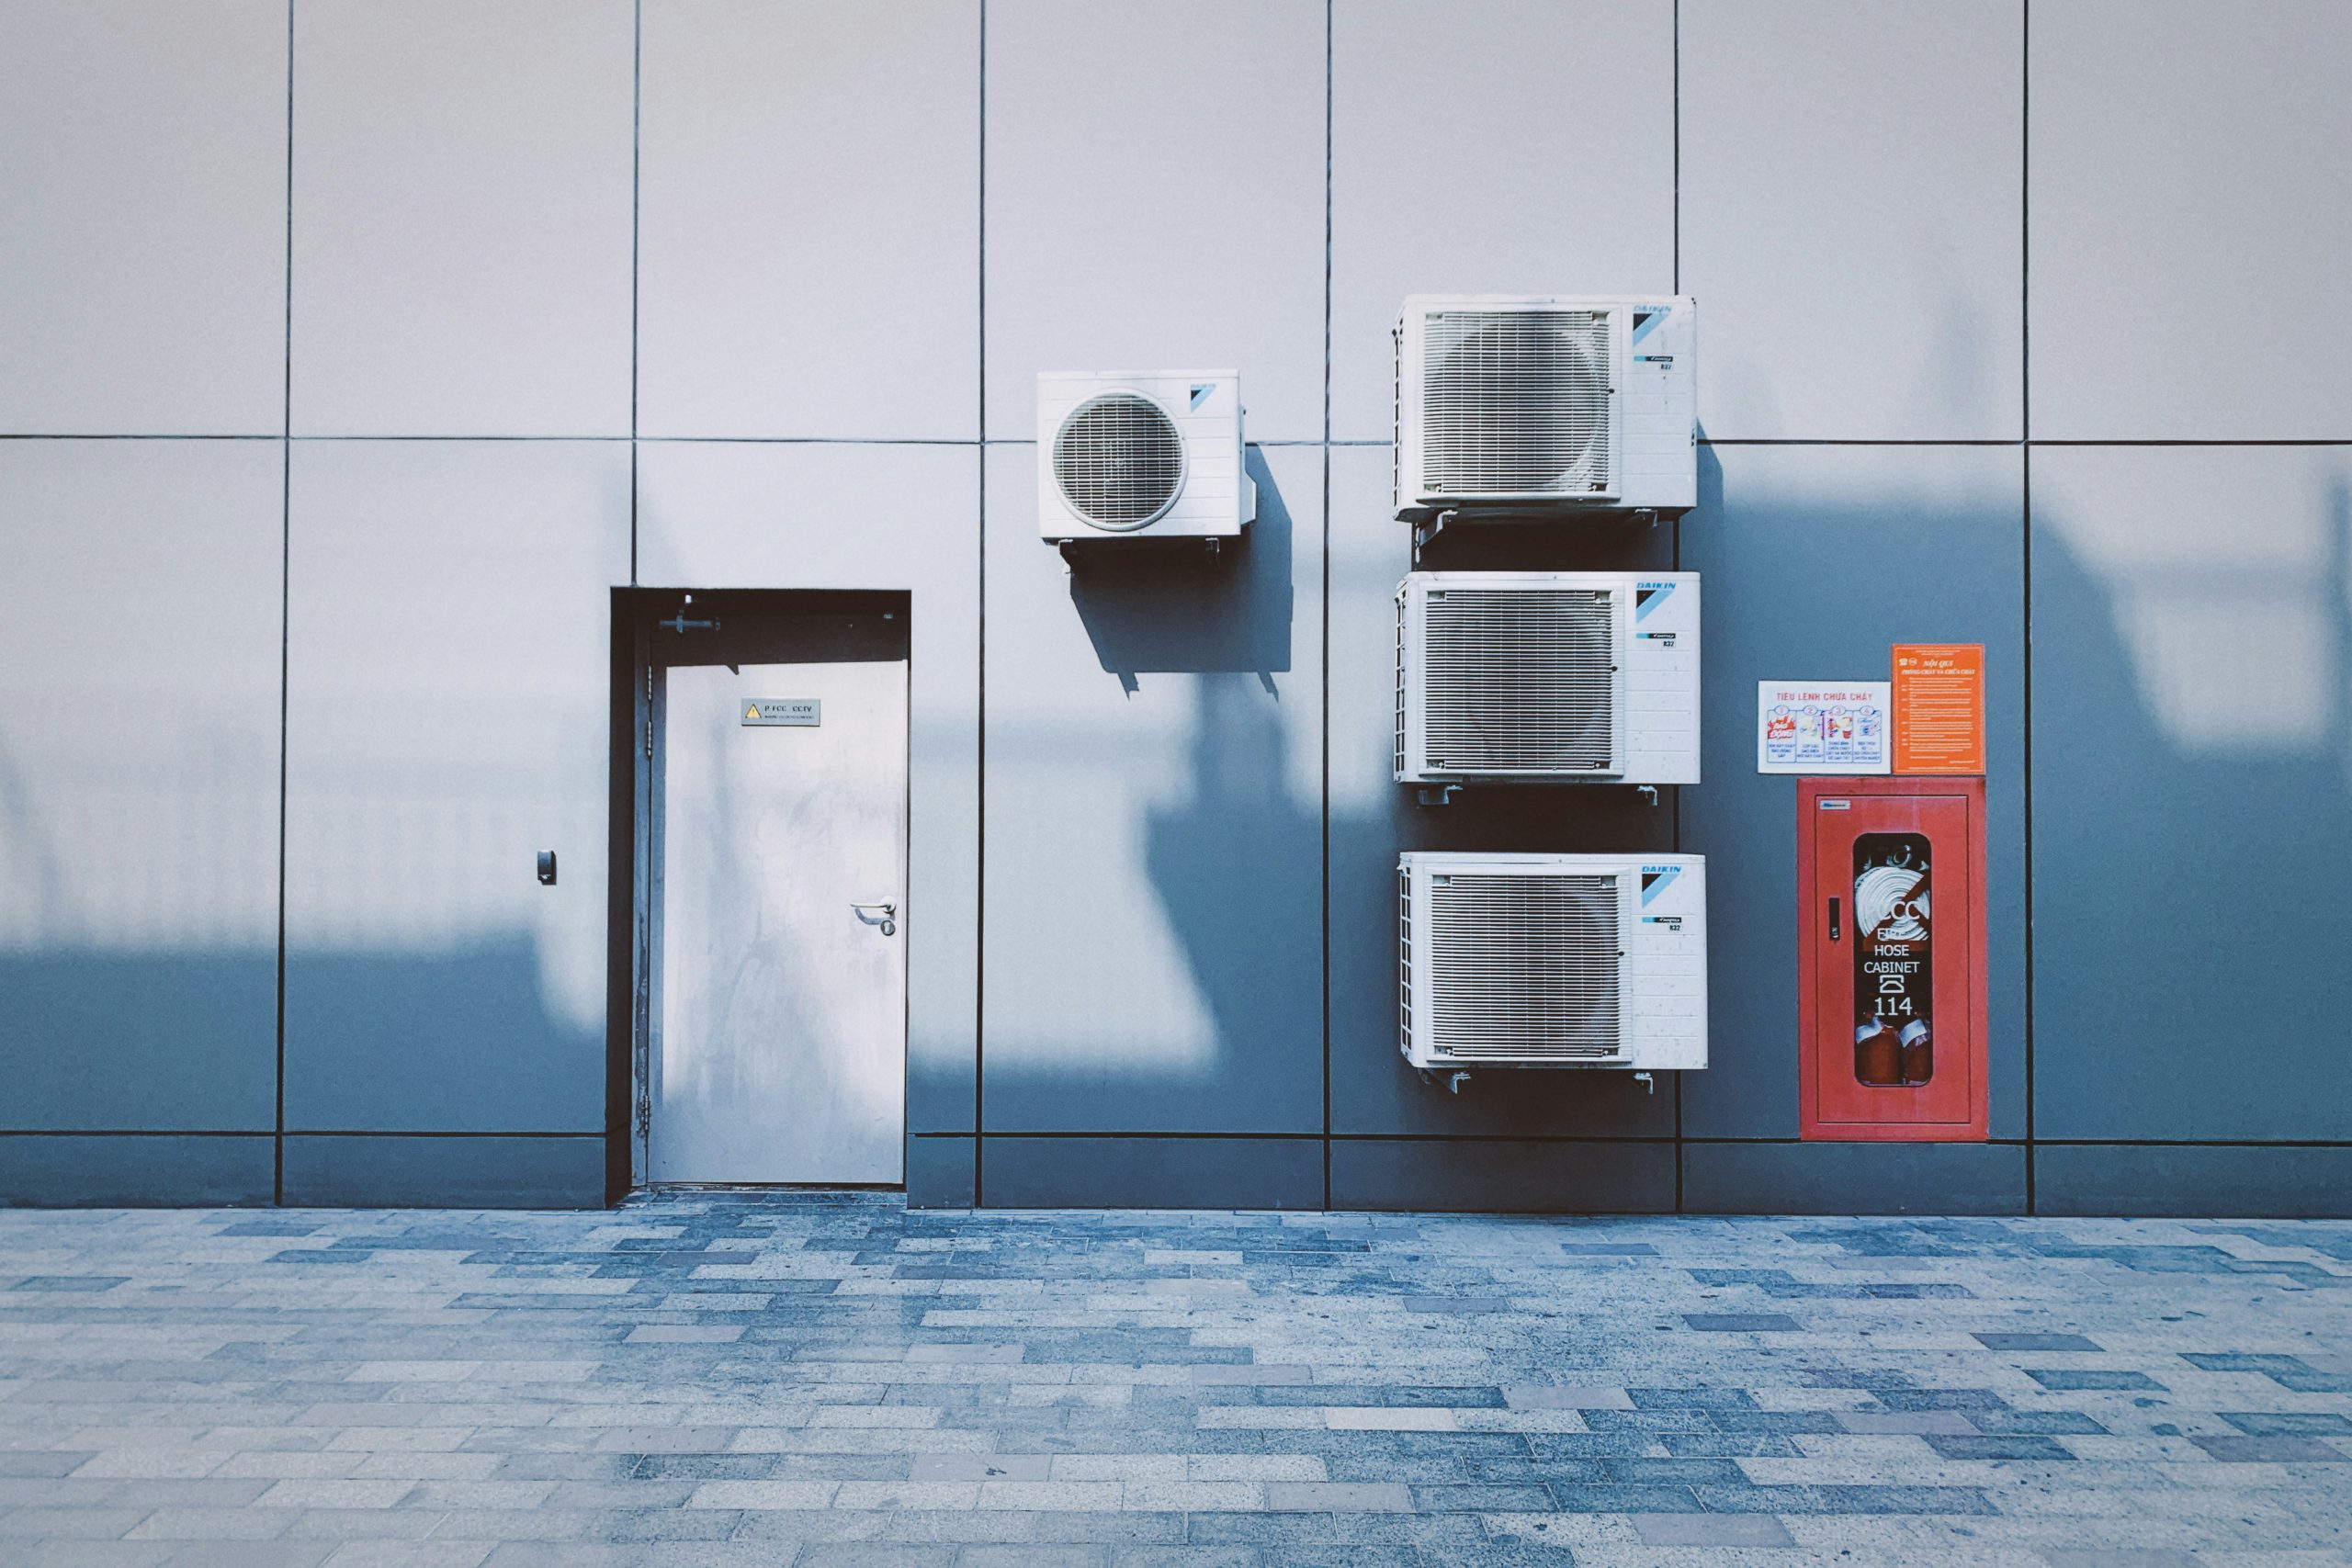
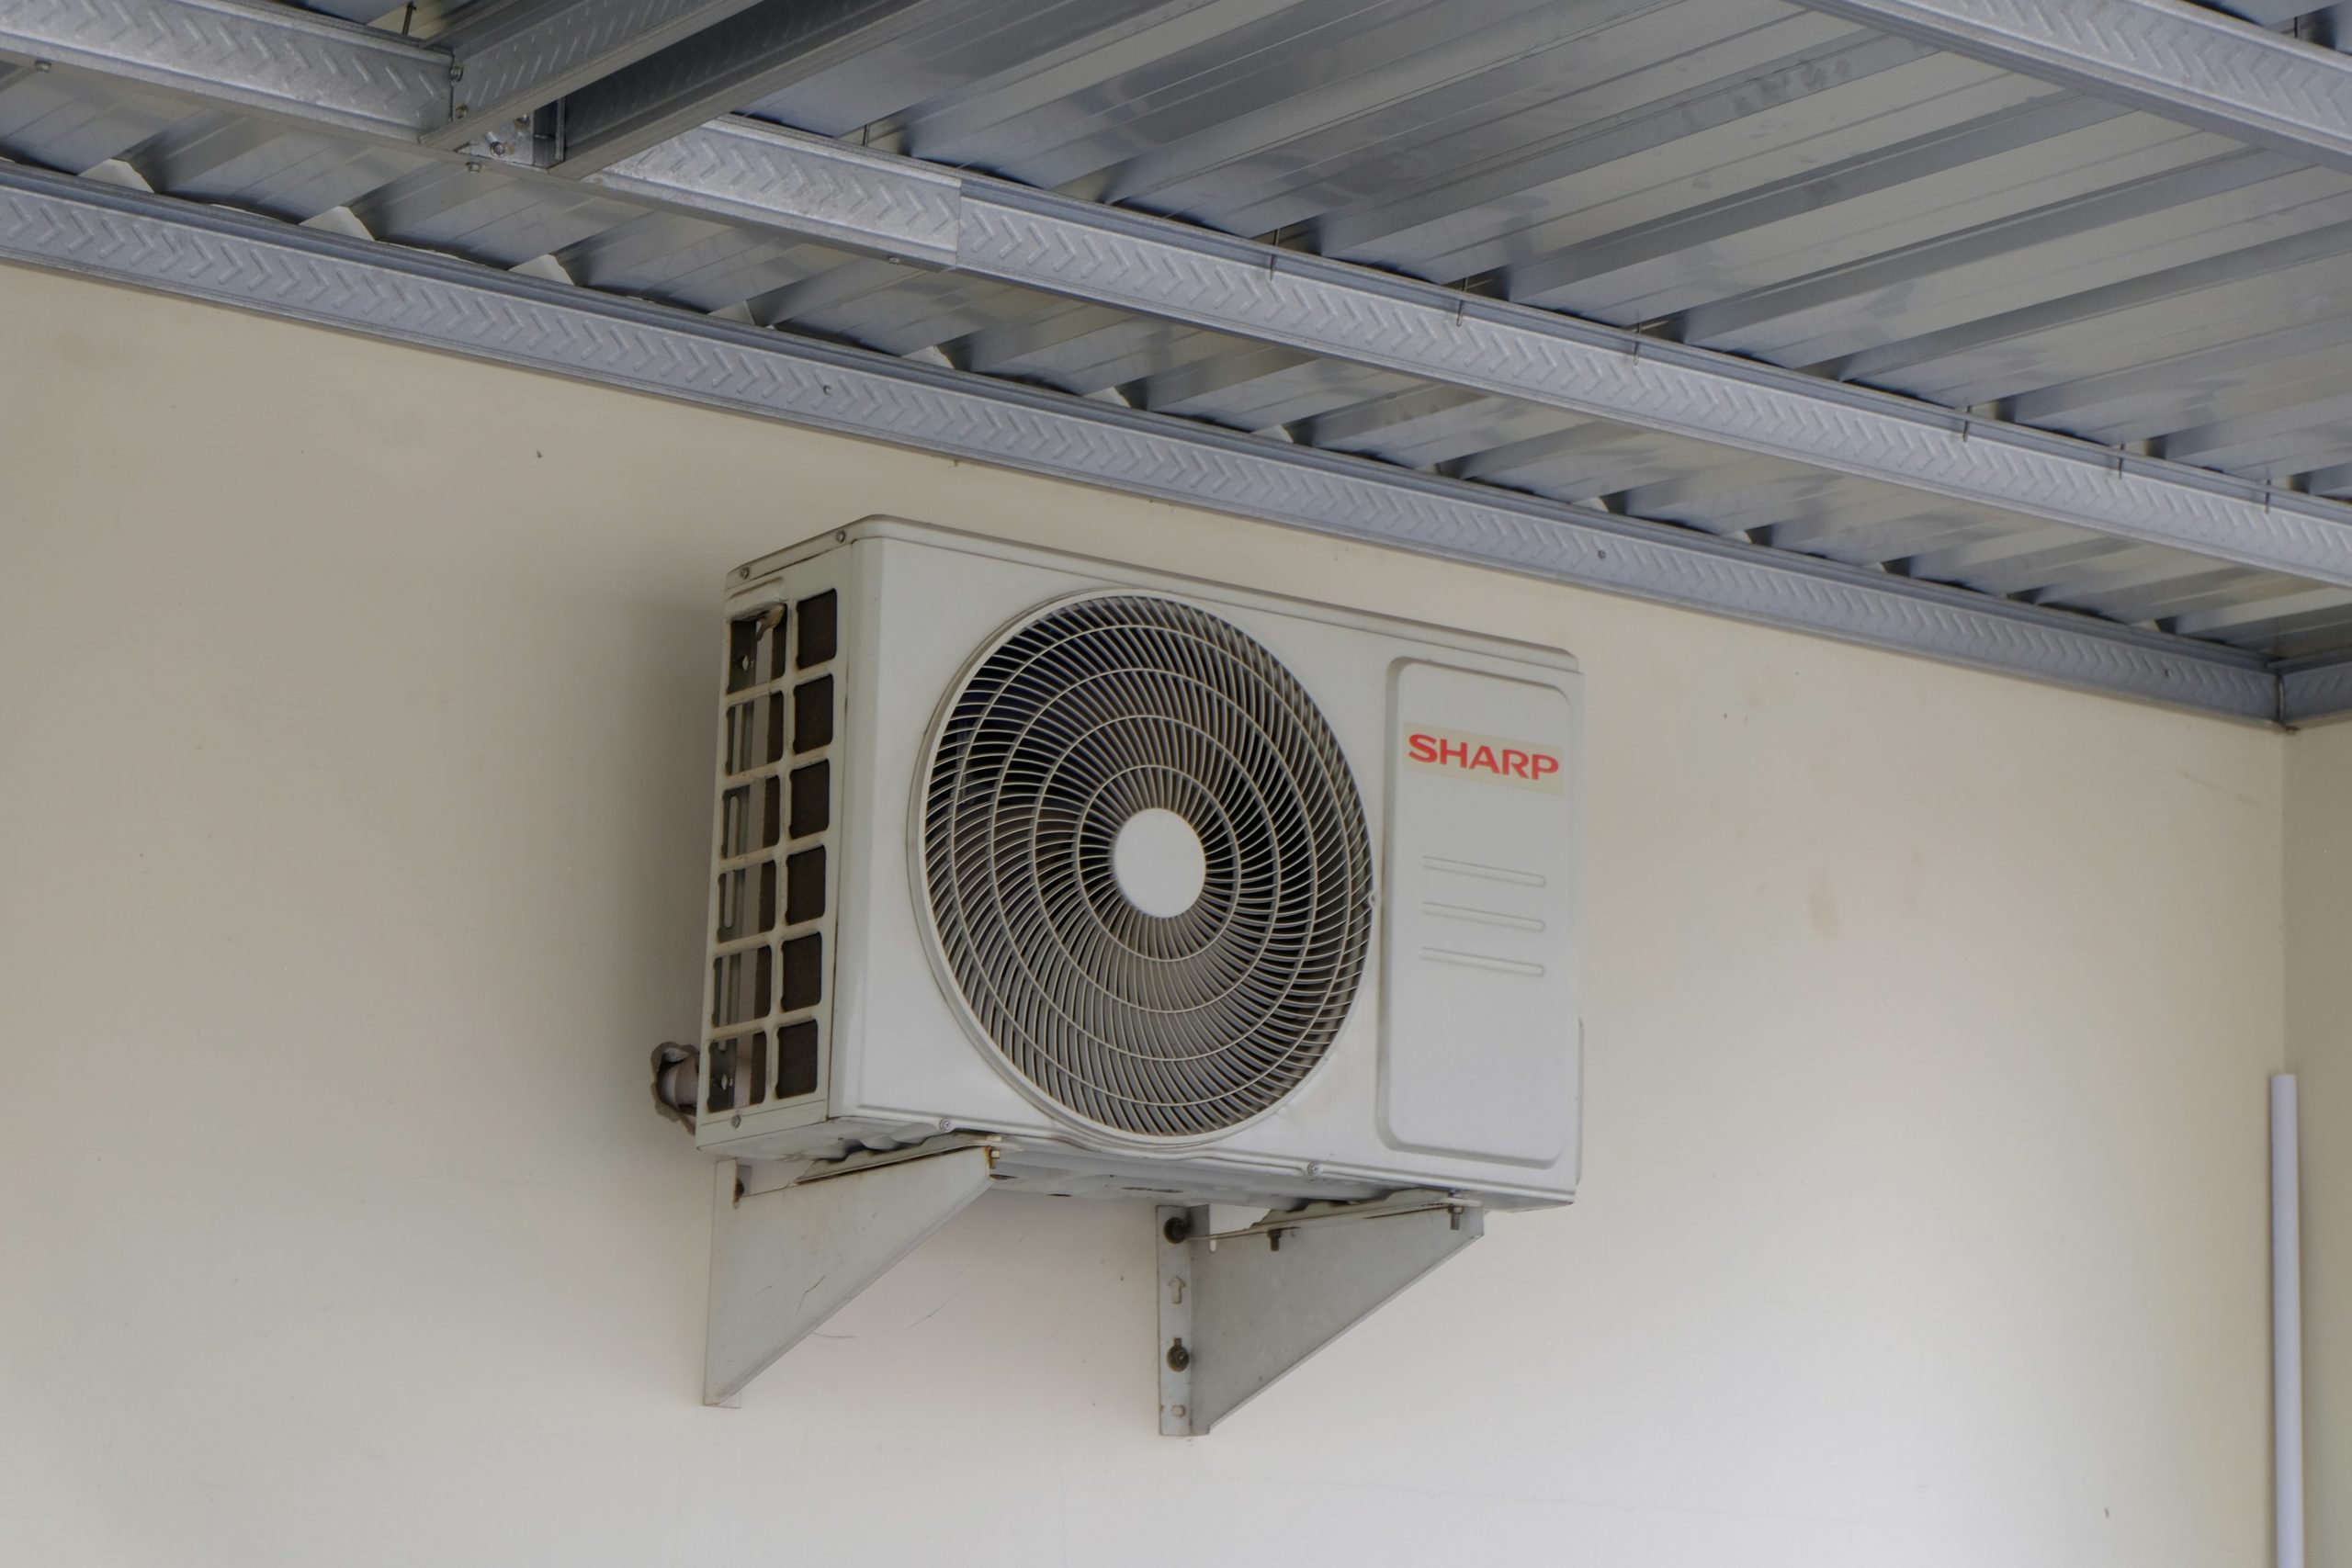
Outdoor condenser: clear all debris from around the unit, straighten any bent aluminum fins with a fin comb, and rinse coils from inside out with a garden hose, never a pressure washer, as spraying inward from outside pushes debris deeper into the fins. Check that the unit is level, as settling can stress refrigerant lines.
The evaporator coil lives inside the air handler and collects dust, mold, and biological growth over winter. A dirty evaporator coil is the #1 efficiency killer and requires professional access and specialized coil cleaner.
Inspect the foam insulation on the larger suction line, the cool, larger copper pipe. Cracked or missing insulation causes efficiency loss and condensation damage, and costs $15 to fix at any hardware store. Flush the drain pan with diluted bleach and pour 1 cup of white vinegar into the drain line access port. A clogged condensate drain is the most common cause of water damage and mid-summer shutdowns, it triggers the system’s kill switch.
After completing these physical checks, run the system for 15-20 minutes on a cool day and measure airflow at several registers. Weak airflow from specific rooms often signals duct issues, not equipment problems.
HVAC Summer Maintenance: What to Do and How Often
Every 4-6 weeks during the cooling season, pull the filter and hold it up to light, if you can’t see light through it, replace it. In heavily used homes or homes with pets, 1-inch filters can clog in 3 weeks. A clogged filter is worse for your system than no filter at all.
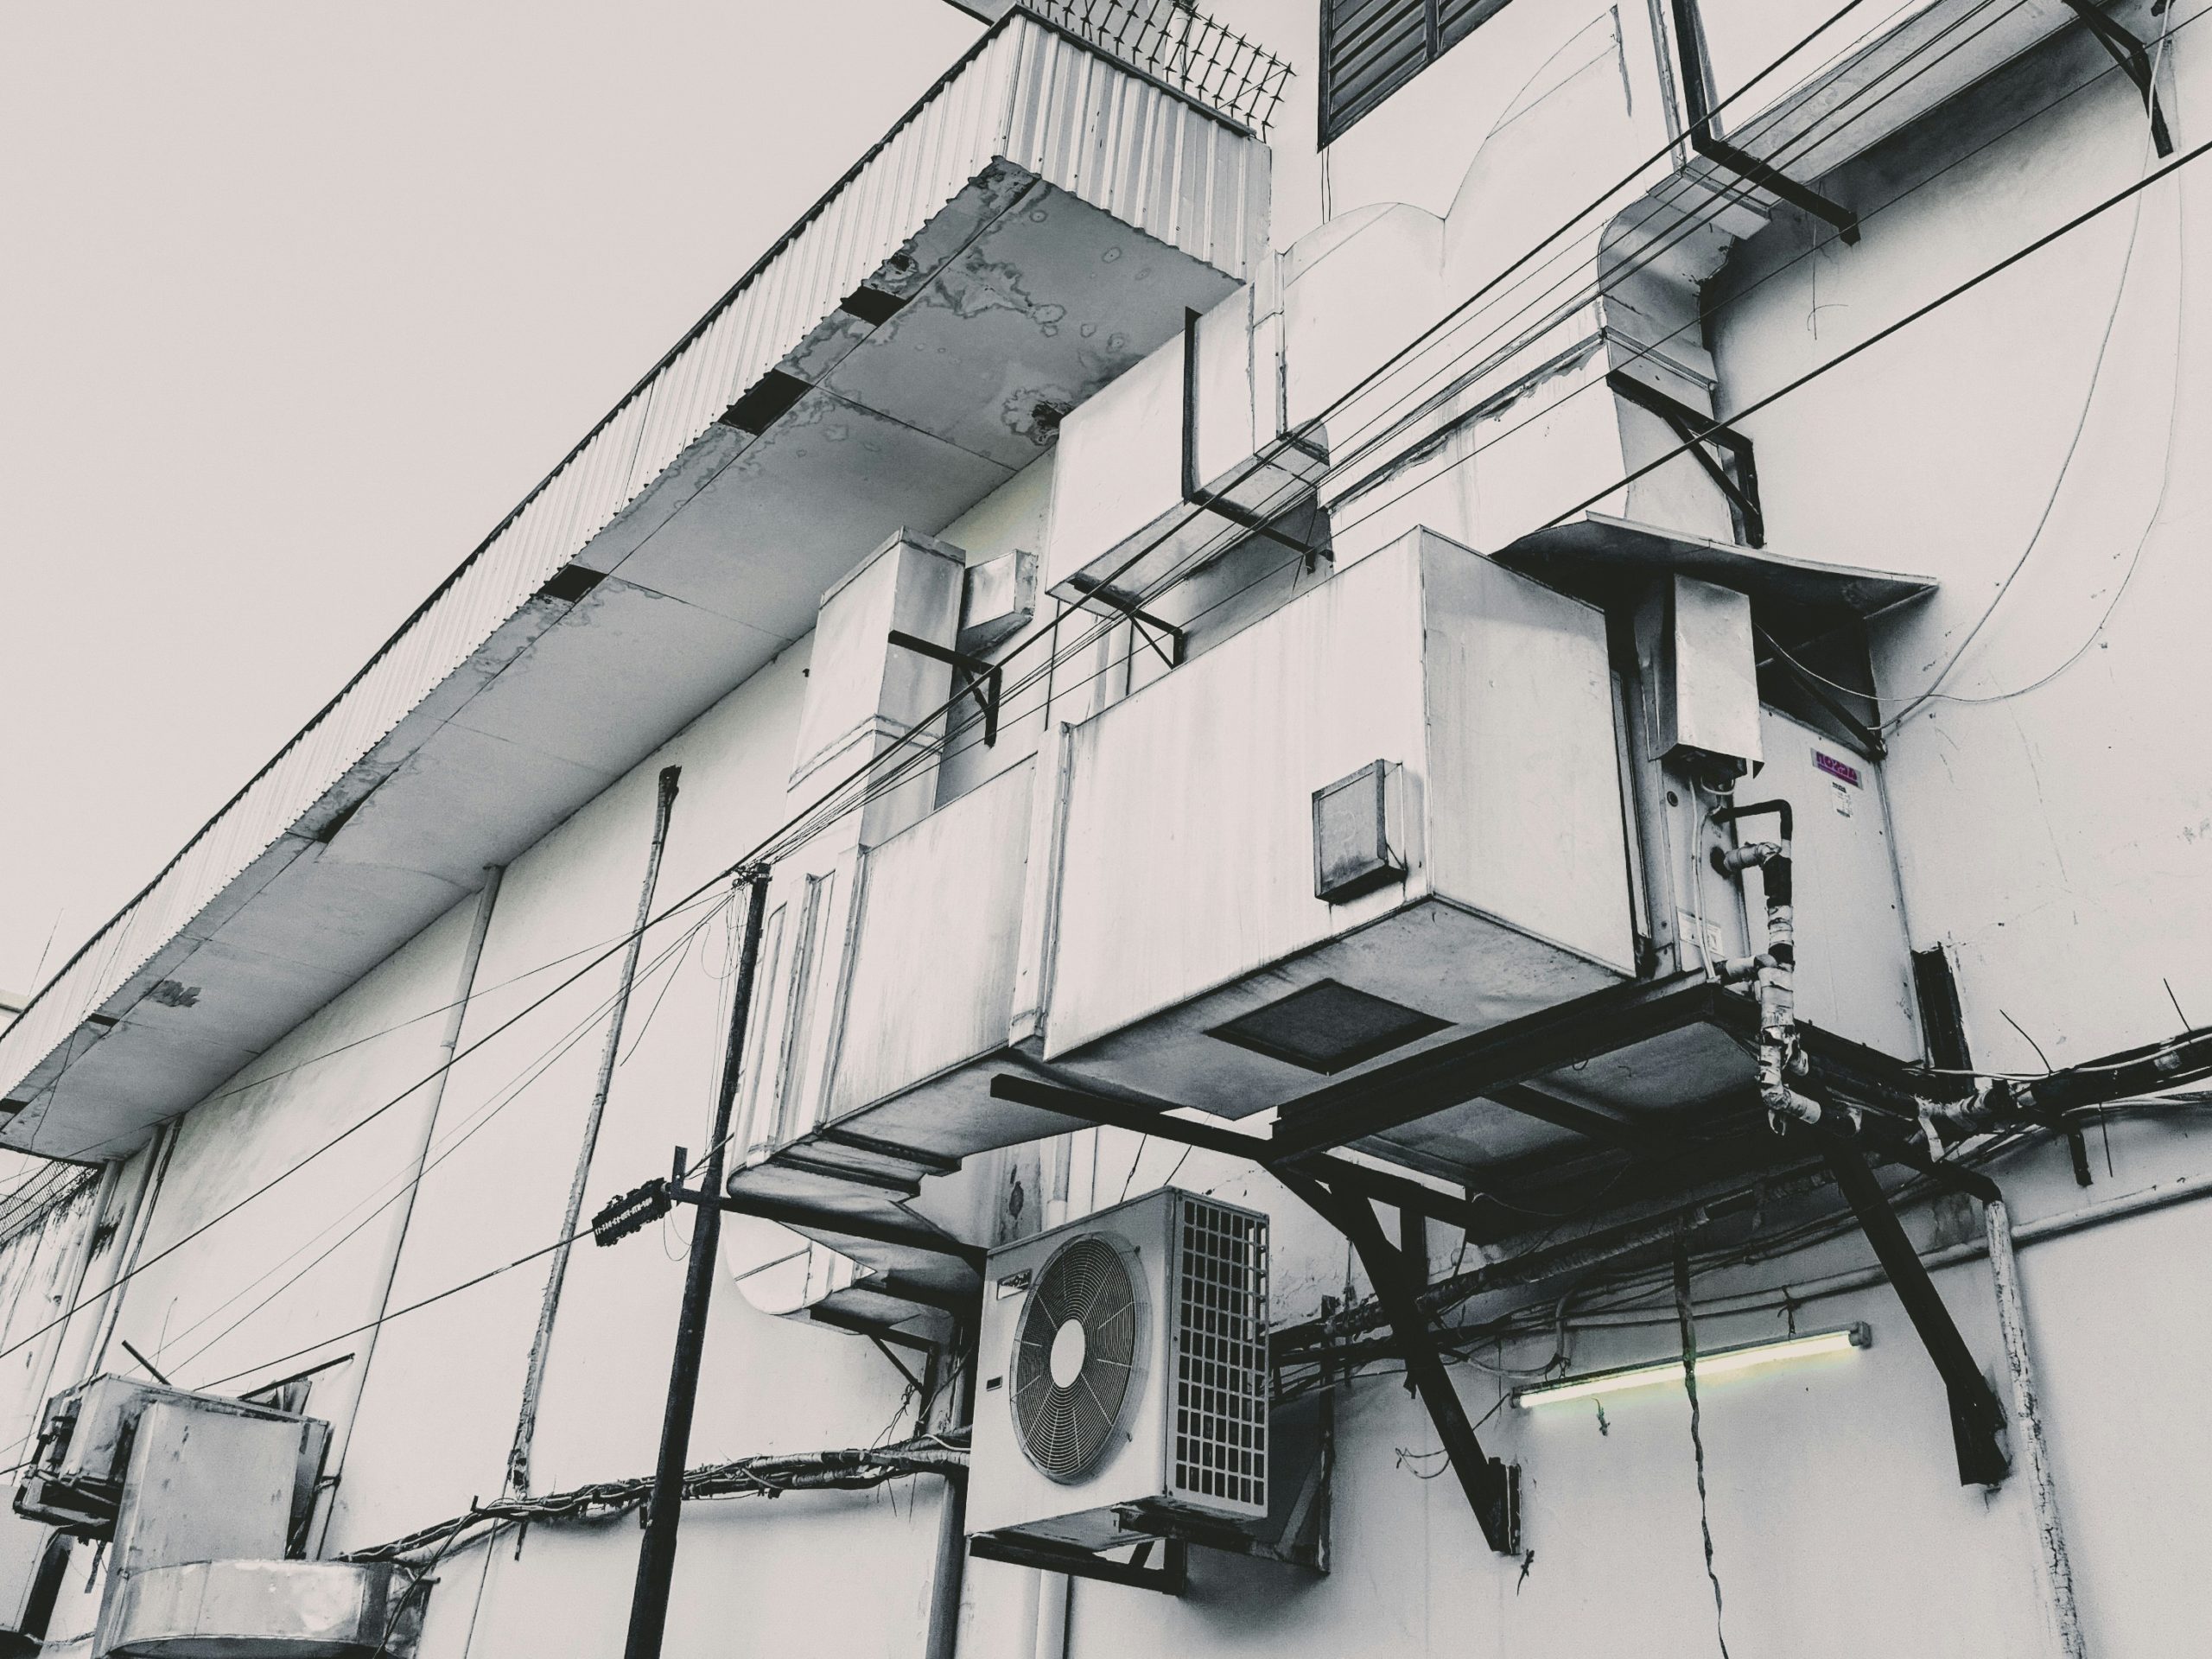
Consistent HVAC summer maintenance means checking the condensate drain pan under the air handler monthly for standing water. No water means the drain is clear; water present means pour in a cup of vinegar and clear the line. Algae grows fast in a warm, humid drain line. Also keep grass, shrubs, and debris at least 2 feet away from the outdoor unit on all sides and 5 feet above, obstructed airflow to the condenser is a common cause of high-pressure shutdowns.
Annual professional service is the standard for HVAC summer maintenance. High-use systems in hot climates like Florida, Texas, and Arizona, or systems over 10 years old, benefit from twice-yearly service, spring for cooling season, fall for heating.
Every 3-5 years, have the ducts professionally tested. The EPA estimates the average home loses 20-30% of conditioned air through duct leaks, and no equipment upgrade recovers that loss.
HVAC Tips for Summer: Stay Cool, Spend Less
The best HVAC tips for summer aren’t tricks, efficiency gains compound. The biggest savings don’t come from a single fix but from stacking several complementary strategies that reduce both runtime and the load the system has to overcome.
Start by air-sealing the attic floor. Attics reach 140-150°F in summer and conduct heat directly into living spaces, forcing the AC to overcome a load that equipment efficiency ratings don’t account for. Foam around attic penetrations costs under $30 in materials and reduces cooling load by 10-15%. Adequate insulation (R-38 to R-60 in most climates) compounds that gain further.
South- and west-facing windows are the largest heat source in most homes. Cellular shades or reflective film cuts solar gain by 40-70%, reducing the thermal load before the AC even turns on.
Among the most actionable HVAC tips for summer: set the thermostat to 78°F when home, 85°F when away, and 80°F at night. Each degree increase saves 3-5% on cooling costs, and a ceiling fan running counter-clockwise creates enough wind-chill to make 78°F feel like 72°F, a 4°F setpoint increase with no comfort loss. Turn fans off in empty rooms.
A clogged filter increases system static pressure, reduces airflow, and makes the blower motor work harder. Keeping filters clean is the highest-ROI maintenance task with no labor cost beyond your time.
If you haven’t had ductwork inspected, assume you’re losing 20% of conditioned air into unconditioned attic space. Mastic sealant on accessible joints can recover significant capacity for under $100 in materials.
Common Summer HVAC Problems and Warning Signs
Most failures give warnings days or weeks before they become full breakdowns. Knowing what to listen and look for makes the difference between a $200 service call and a $2,000 emergency replacement.
Ice on refrigerant lines or the evaporator coil indicates low refrigerant, severely restricted airflow, or blower failure. Shut the system off, switch to fan-only until the ice clears, and call a tech, running a frozen system risks compressor damage. A burning or electrical smell from vents could indicate an overheating motor, failing capacitor, or electrical short; shut the system down and have it inspected before running again.
Short cycling, the system runs 5-8 minutes, shuts off, and repeats, causes the most long-term damage while being the least obvious. No ice, no smell, no loud noise, just a house that won’t cool down and a compressor accumulating wear with every abbreviated cycle. It’s caused by an oversized system, low refrigerant, or a failing capacitor. A system in good health holds run cycles of at least 15 minutes on a hot day.
Warm air from supply vents despite the system running, check the filter first. If the filter is clean, low refrigerant or a failed capacitor is the likely culprit. Capacitors cost $20-$80 to replace and can often be diagnosed on the same visit.
Water around the indoor unit is almost always a clogged condensate drain. Manageable if caught early; ignored, it can water-damage ceilings, walls, and trigger mold. Modern systems have a float switch that kills the system when this happens.
Persistent clicking on startup indicates a failing relay. Banging means a loose component in the air handler. Grinding means bearing failure in the blower motor. None of these go away on their own.
Smart Thermostats and Zoning: Are They Worth It?
For most homes, a smart thermostat is the highest-ROI single upgrade available, typically $140-$250 installed, with real-world energy savings of 8-12% on cooling costs. The math usually works out in 12-24 months, and it depends almost entirely on how inconsistently you were managing temperature before.
The real gains come from geofencing, the system adjusts based on your phone’s location rather than a programmed schedule you forget to update. Many also detect short cycling and unusual runtime as early warnings.
Smart thermostats require a C-wire for continuous power. Older systems may need an adapter or minor wiring work. Heat pump systems have additional wiring requirements. Always check compatibility before purchasing.
Zoning, multiple thermostats and motorized dampers, makes sense for two-story homes, sun-exposed bonus rooms, or multi-occupant homes with conflicting preferences. Expect $2,500-$5,000 installed; payback is real but takes 3-6 years. For a single problem room, a ductless mini-split running at 20-30 SEER is almost always a better investment than a full zoning retrofit, dramatically more efficient than a 13-15 SEER central system.
Prepare HVAC for Summer: Tune-Up or Replace?
The decision to tune up or replace, to prepare HVAC for summer or start fresh, is almost never about age alone. It’s about the combination of age, repair cost, operating efficiency, and what a replacement would actually recover. Multiply the system’s age by the repair cost, if the result exceeds $5,000, replacement is usually the better investment.
Three situations where replacement wins regardless: the system uses R-22 refrigerant (production ended in 2020, recharging it is expensive and temporary), the compressor has failed on a system over 10 years old (repair cost approaches replacement cost), or the SEER rating is below 10 (current regional minimums are 14-15, and the efficiency gap costs real money every month). Also replace when repairs exceed 50% of replacement cost, or when consistent hot/cold spots persist after maintenance.
Tune up when the system is under 10 years old, the repair cost is under $500-$800, the system uses R-410A refrigerant, SEER is 14 or above, this is the first significant repair, or the home has major duct issues, new equipment won’t fix bad ducts.
Before replacing, insist on a Manual J load calculation. A significant share of US homes have oversized systems, 20-30% larger than needed, and replacing with the same oversized capacity buys a new version of the same problems: short cycling, poor humidity control, and premature wear.
If you’re replacing, the minimum bar today is 16-18 SEER2 for a central system. Two-stage or variable-speed compressors deliver meaningfully better humidity control and efficiency than single-stage units, particularly in humid climates. The premium is typically $800-$1,500 over a base-model replacement, and it’s usually worth it.