Category: HOME

  • Soundproofing Your Room: A Comprehensive Guide

    Soundproofing Your Room: A Comprehensive Guide

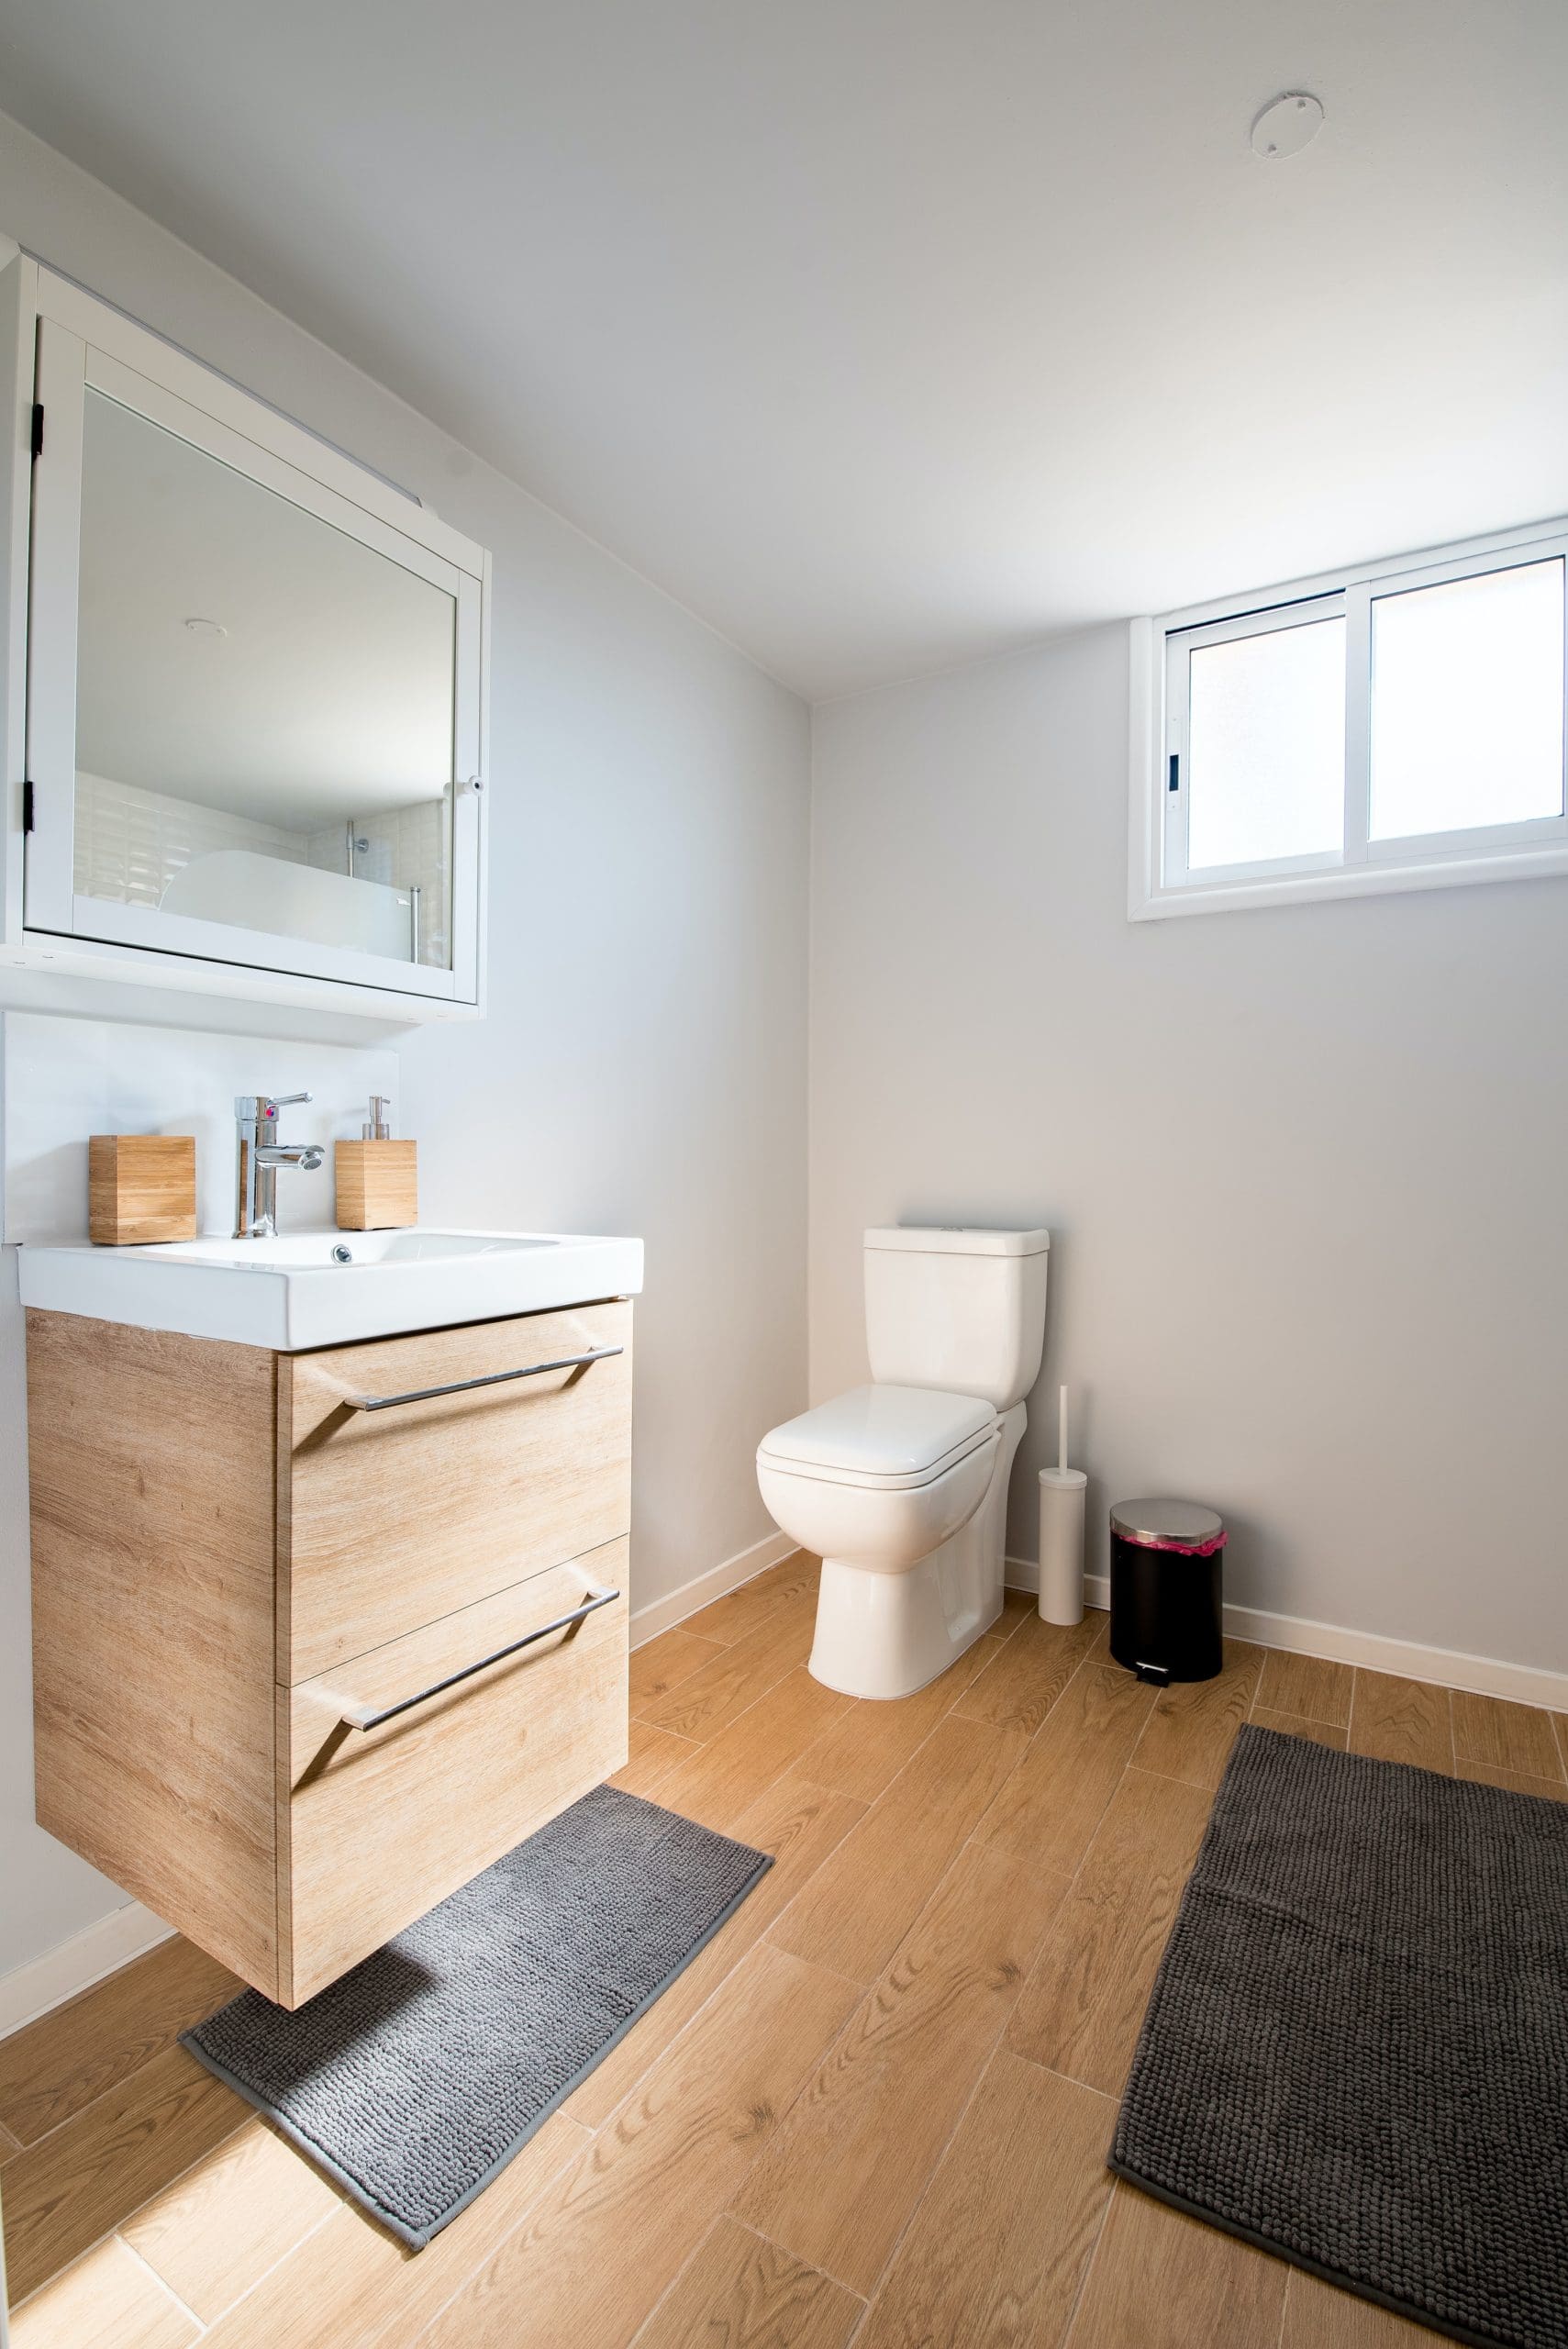
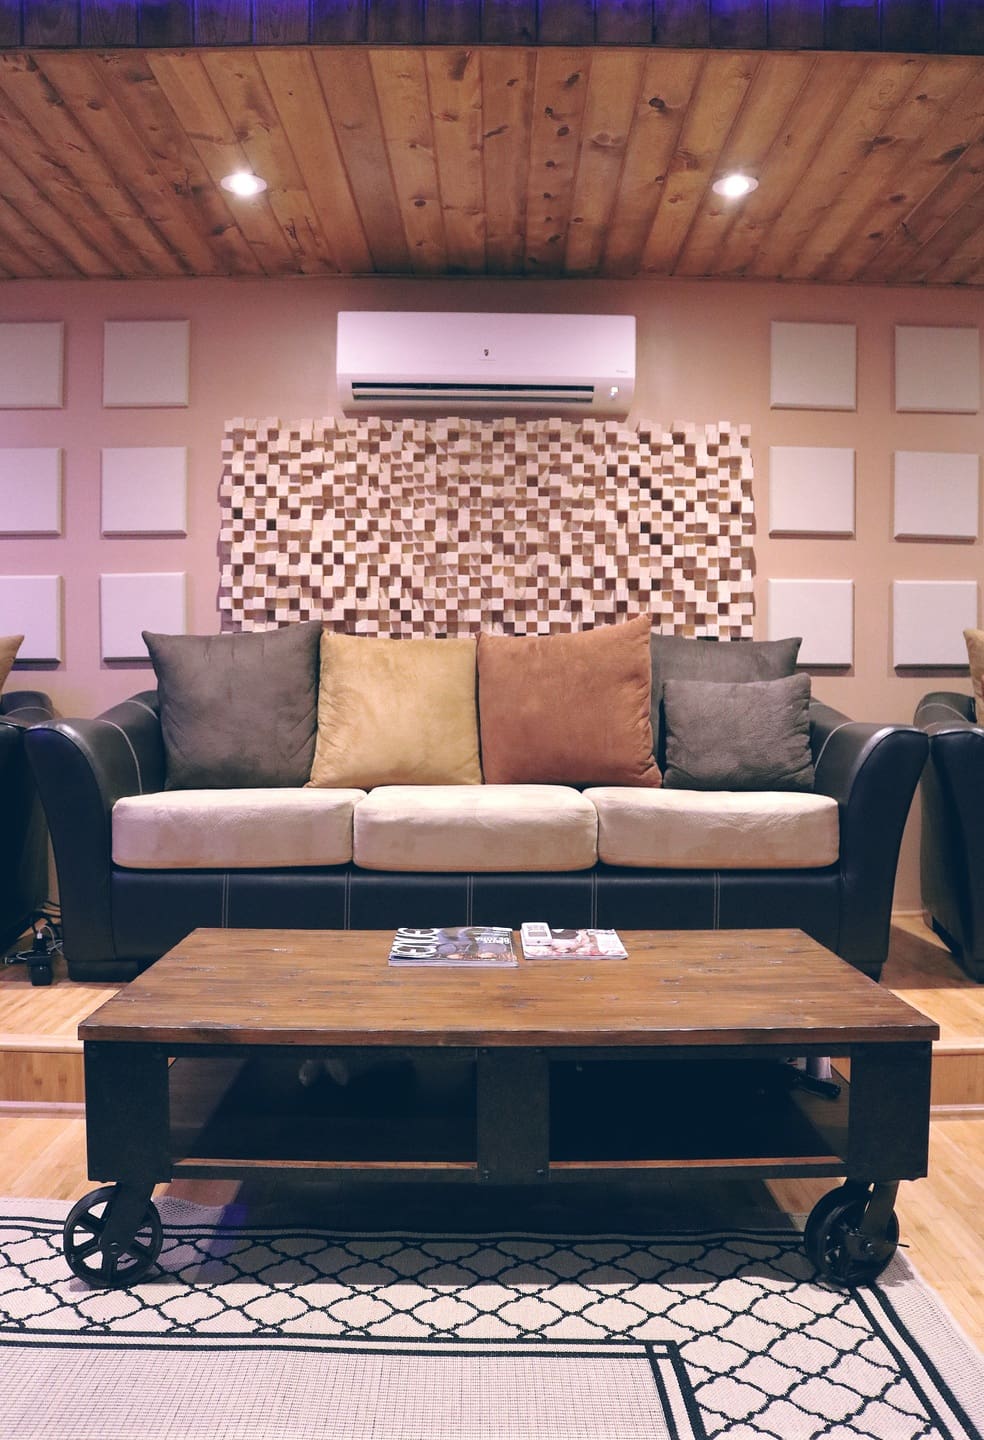
    If you crave tranquility in your abode, soundproofing a room is the answer to your prayers. Whether it’s the constant cacophony of street noise, blaring neighbors, or simply a desperate need to craft a calm space, there are multiple steps you can take to fortify the soundproofing of your home.

    Photo by form PxHere

    Photo by form PxHere

    Equipment Needed Before embarking on your soundproofing journey, it’s crucial to have all the necessary materials in hand. Here’s a comprehensive list of what you’ll require:

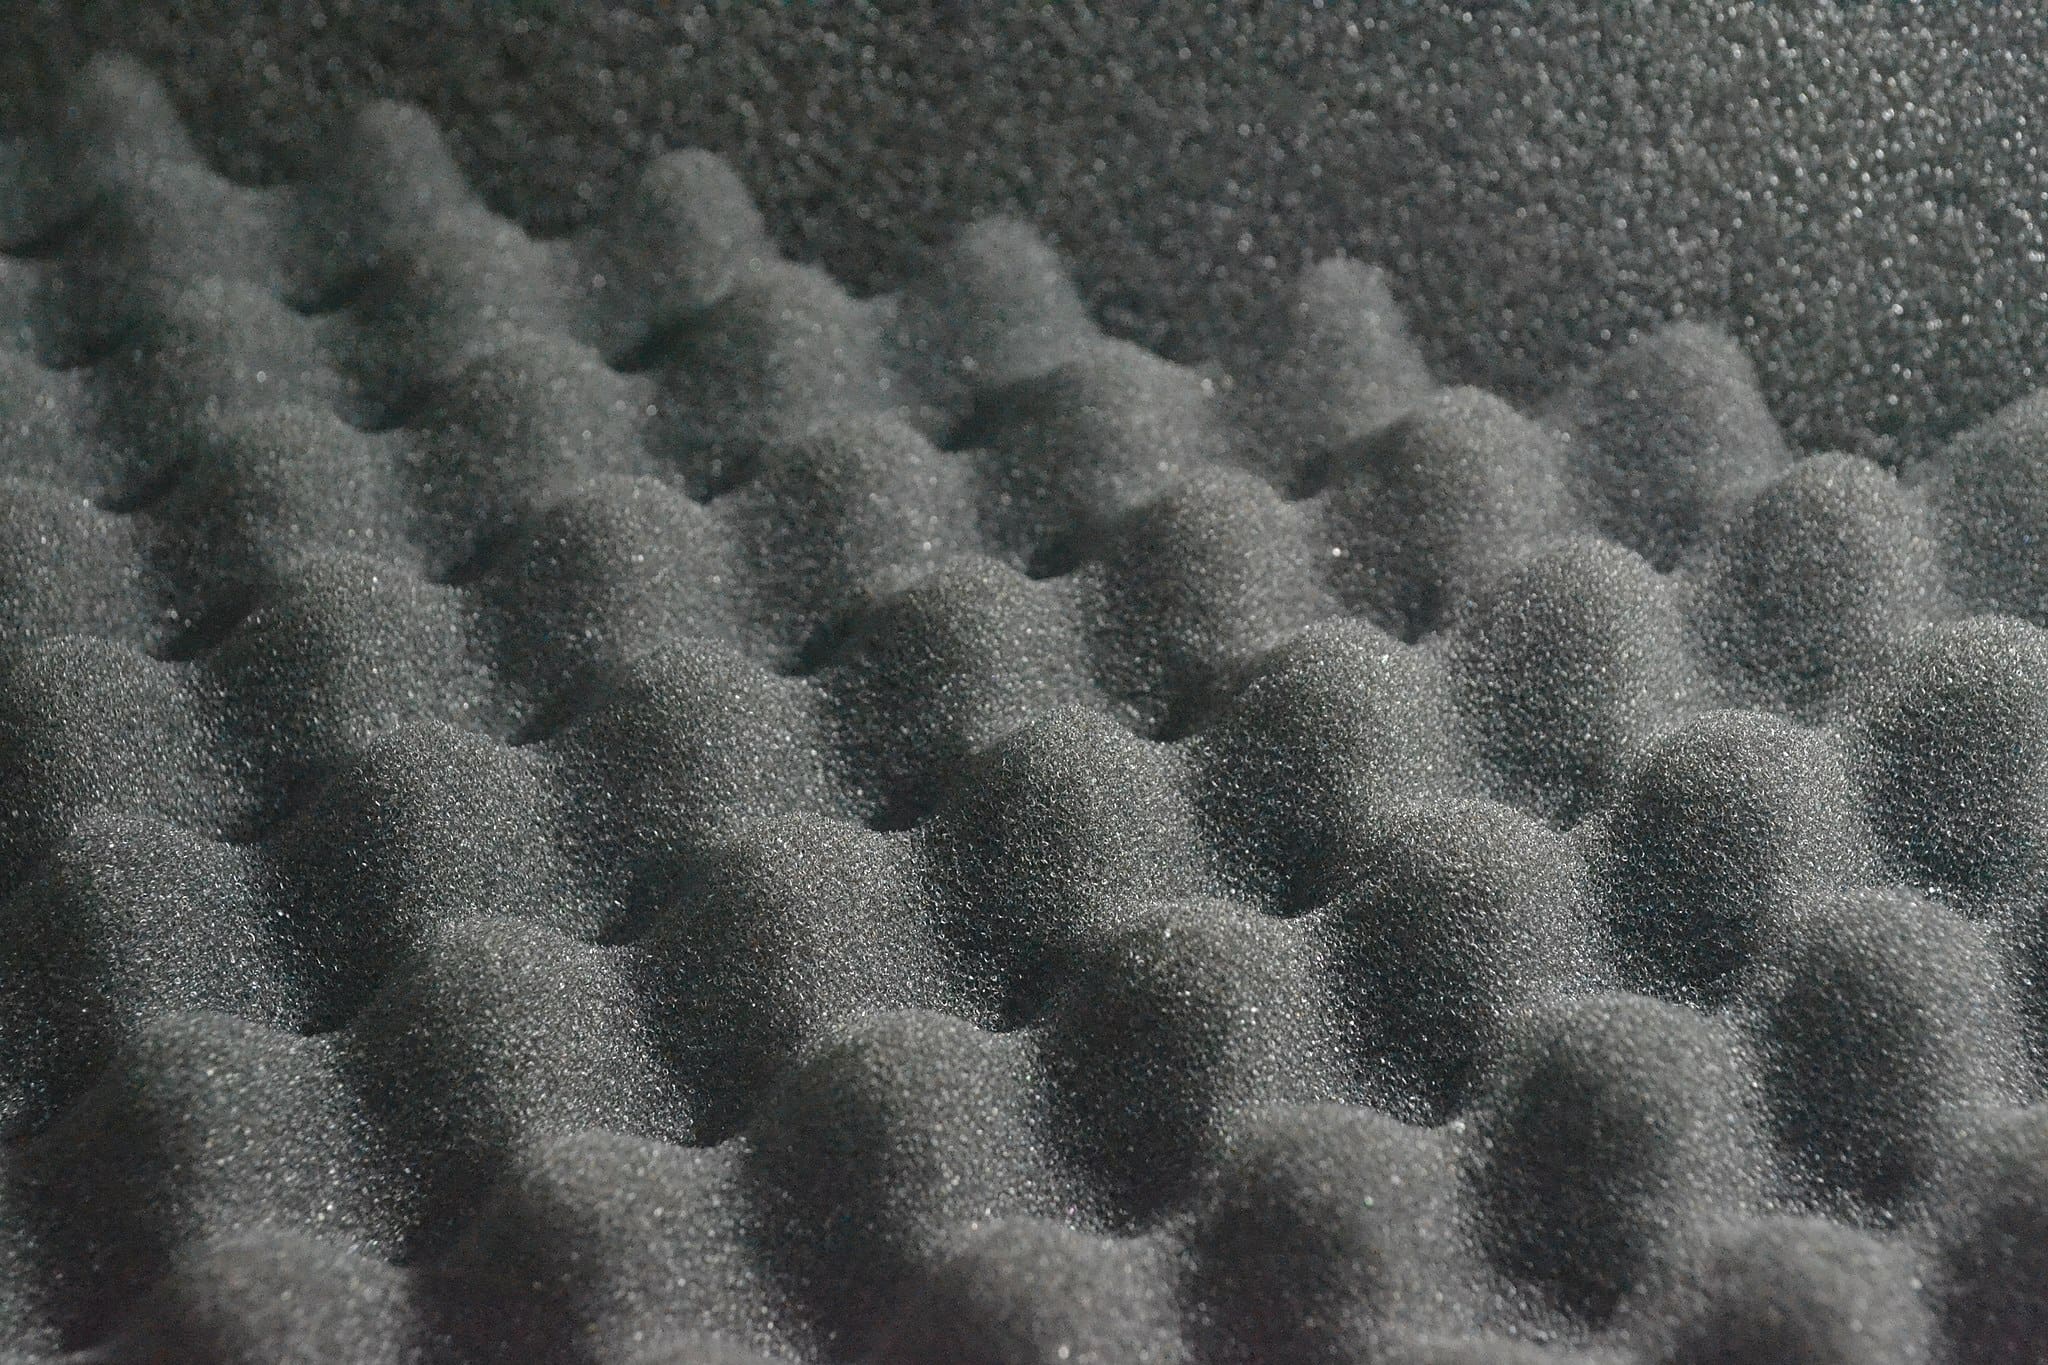
    • Soundproofing panels or foam tiles
    • Acoustic caulk
    • Heavy curtains or drapes
    • Weatherstripping
    • Door sweep
    • Mass loaded vinyl
    • Green glue
    • Soundproof paint

    First Step: Plugging Up Holes and Cracks

    To fortify the room from unwanted sounds, it’s imperative to locate and fill in any holes and cracks in the walls, floors, and ceilings. This helps keep sound from leaking in and out of the room. Use acoustic caulk to fill any gaps or cracks, spreading it evenly and allowing it to dry completely before moving on to the next step.

    Photo by form PxHere

    Second Step: Adding Soundproofing Panels or Foam Tiles

    Now it’s time to install soundproofing panels or foam tiles on the walls, floors, and ceilings. This will help absorb sound and reduce the level of noise pollution in the room. There’s a wide array of soundproofing panels on the market; choose the one that best suits your budget and needs.

    Third Step: Heavy Curtains or Drapes

    Enhance the soundproofing of your room by adding heavy curtains or drapes to the windows. This will help keep out unwanted noise from the exterior. If light blocking is also a concern, opt for drapes or curtains with a thick lining.

    Photo by form PxHere

    Fourth Step: Installing a Door Sweep

    To keep sound from seeping in and out of the room through the door, install a door sweep. This creates a seal along the bottom of the door, effectively blocking sound.

    Fifth Step: Implementing Mass Loaded

    Vinyl Mass-loaded vinyl is a material used to enhance soundproofing in buildings. Cut it to the appropriate size and attach it to the walls and floor to block out sound and improve the peacefulness of your room.

    Sixth Step: Utilizing Green Glue

    Green glue is an adhesive specifically designed to improve soundproofing. Apply a small amount between each layer of drywall before installation to absorb sound and strengthen the room’s soundproofing.

    Photo by form PxHere

    Seventh Step: Painting with Soundproof Paint

    Finally, consider painting the walls with soundproof paint. This paint is designed to absorb sound and reduce noise pollution in the room. Follow the manufacturer’s instructions and apply the paint evenly for optimal results.

    Epilogue

    By following these steps, you’ll be able to soundproof your room precisely, creating a peaceful environment in your home. Although the process may take time and effort, the result will be worth it. So gather your materials and begin the journey today!

  • The Ultimate Guide to Decorating Living Rooms

    The Ultimate Guide to Decorating Living Rooms

    At the core of every home lies the living room, a haven for relaxation, entertainment, and cherishing moments with loved ones. Whether you’re embarking on a fresh start or breathing new life into a current space, the journey of decorating a living room can be a daunting task. From determining the ideal color scheme to selecting furniture that perfectly complements your style, there are numerous choices to make.

    Photo by Spacejoy on Unsplash

    Photo by Spacejoy on Unsplash

    Step 1: Identifying Your Aesthetic

    Unleashing your creativity in decorating your living room begins by determining your personal style. Are you attracted to classic elegance, beachy vibes, bohemian flair, or modern sophistication? Dedicate time to explore your preferences and determine what makes you feel at ease in your own space.

    Step 2: Designing the Layout

    Prior to hunting for furniture and decor, you must decide on the optimal layout for your living room. Consider the flow of foot traffic, the position of windows and doors, and the shape and size of the room. Create several sketches on paper, using a measuring tape to guarantee that everything will comfortably fit.

    Photo by Spacejoy on Unsplash

    Step 3: Selecting a Color Palette

    Once you have a layout plan in place, it’s time to choose a color palette. Opt for a neutral base color, such as beige or gray, and add a pop of color with accent pieces such as throw pillows, wall art, or an eye-catching rug. Reflect on the natural light in your living room and choose colors that will enhance it.

    Step 4: Picking Furniture

    With a layout plan and color scheme in hand, it’s time to start searching for furniture. Consider the size and proportion of each piece in relation to your living room and choose furniture that fits comfortably without overpowering the space. Invest in high-quality pieces that will stand the test of time, rather than settling for cheaply made items that will need to be replaced soon.

    Photo by Spacejoy on Unsplash

    Step 5: Enhancing with Decorative Touches

    Finally, it’s time to elevate your living room with decorative elements. Select decor items that embody your personal style and blend seamlessly with your color scheme. Add wall art, greenery, or lighting fixtures to enhance the overall look and feel of your space.

    Photo by Spacejoy on Unsplash

    Conclusion

    Decorating a living room is a thrilling process, but it’s important to take your time and plan meticulously to ensure that you craft a space that truly represents your personal style and meets your needs. By following these straightforward steps, you can create a stunning, functional, and inviting living room that will be the center of your home for years to come.

  • Shoe Storage Solutions: Organize Your Footwear with Style

    Shoe Storage Solutions: Organize Your Footwear with Style

    Are you fed up of encountering shoes scattered all over your home? It’s time to bid farewell to chaotic floors and greet the sophisticated shoe storage solutions that Home Depot has in store for you. With a wide range of choices available, organizing your shoes has never been this simple.

    Photo by Anastasia Shuraeva

    Over the Door Shoe Holders

    Photo by Dương Nhân

    Maximizing space is always a challenge, but with an over the door shoe holder, it can now be accomplished effortlessly. These organizers are designed to fit standard-sized doors and can hold a whopping 36 pairs of shoes, freeing up floor space and keeping your footwear neatly organized and within reach.

    Under the Bed Shoe Storage Containers

    If you’re looking for a more subtle way to store your shoes, then under the bed shoe storage is the solution for you. These containers are specially made to fit snugly under your bed, out of sight and out of mind. They come in an array of sizes and materials, making it effortless to find the perfect fit for your requirements. With the capability of storing up to 12 pairs of shoes, this option is both practical and space-saving.

    Shoe Cabinets: A Fusion of Functionality and Style

    Photo by form PxHere

    Shoe cabinets are a stylish and functional choice for those looking to elevate their shoe storage solution. They come in a range of materials and styles, including wooden and contemporary designs, and can hold up to 20 pairs of shoes, offering ample space while keeping your home neat and organized.

    Wall-Mounted Shoe Racks: A Minimalist Approach

    Photo by form PxHere

    If you’re tight on floor space, then wall-mounted shoe racks are the ideal solution for you. These racks can be mounted on any wall and come in a variety of styles and materials. They offer a space-saving option for those who prefer a minimalist approach to organizing their shoes.

    Stackable Shoe Shelves: Customize Your Shoe Storage

    Stackable shoe shelves provide a versatile option for those who want to tailor their shoe storage solution. These shelves can be stacked to create a multi-level shoe rack, perfect for storing all your footwear. With the capability of storing up to 10 pairs of shoes per shelf, this option is both practical and space-saving.

    Photo by form PxHere

    Conclusion: With so many options available at Home Depot, organizing your shoes has never been easier. From over the door organizers to wall-mounted shoe racks, there’s a shoe storage solution for every need. Choose the one that fits your space and style the best and relish a clutter-free home.

  • Pressure Washers: A Comprehensive Guide to Unveiling the Best Options

    Pressure Washers: A Comprehensive Guide to Unveiling the Best Options

    Pressure washers, an indispensable tool for outdoor cleaning and maintenance endeavors, have gained popularity in recent years due to their ability to save time and effort. For those searching for the perfect pressure washer, this article will delve into the various types of pressure washers and their unique features to help you make an informed decision and find the ideal pressure washer to cater to your needs.

    Photo by Erik Mclean on Unsplash

    Electric and gas-powered pressure washers – The Two Main Types

    Photo by Pavlos Stamatopoulos on Unsplash

    Pressure washers can be divided into two broad categories – electric and gas-powered. The electric pressure washer is the way to go if you’re searching for a pressure washer for lighter to medium-duty tasks. Easy to operate and maintain, electric pressure washers are well-suited for homeowners with smaller outdoor spaces and are typically quieter, making them environmentally friendly.

    On the other hand, gas-powered pressure washers are designed for heavy-duty tasks, making them a top pick for those with large outdoor spaces and commercial applications. Although they offer more power and versatility, they require more maintenance and can be pretty loud, affecting the environment.

    Photo by Philipp Katzenberger on Unsplash

    Key Features to Take into Account

    When looking to purchase a pressure washer, the following key features are worth considering:

    1. Pressure Output – Measured in PSI (pounds per square inch), the pressure output of a pressure washer is the determining factor in its cleaning power. A higher PSI indicates a more potent pressure washer.

    2. Water Flow Rate – The water flow rate, measured in GPM (gallons per minute), determines how fast the pressure washer can clean a given area. A higher GPM means a shorter cleaning time.

    3. Hose Length – The length of the hose plays an essential role in accessing hard-to-reach areas. A longer hose also makes it more convenient to clean larger outdoor spaces.

    4. Nozzle Selection – Nozzles serve different cleaning purposes, so it is essential to opt for a pressure washer with various nozzle options.

    5. Portability – Consider the weight and size of the pressure washer, as well as the mobility of its wheels and handles, when determining how easy it will be to transport and store.

    Photo by nick Kaufman on Unsplash

    The Best Pressure Washers for Your Needs

    1. Best Electric Pressure Washer – Sun Joe SPX3000 This electric pressure washer boasts a powerful 14.5-Amp/1800-Watt motor, delivering up to 2030 PSI of pressure and 1.76 GPM of water flow. It is equipped with five quick-connect spray nozzles and a 20-foot high-pressure hose. The Sun Joe SPX3000 is easy to maneuver and store, making it an excellent choice for homeowners with smaller outdoor spaces.

    2. Best Gas-Powered Pressure Washer – SIMPSON Cleaning MS60763-S Powered by a robust Honda GC190 engine, this gas-powered pressure washer offers up to 3100 PSI of pressure and 2.5 GPM of water flow. It comes with a 25-foot high-pressure hose, five quick-connect nozzles, and a large, adjustable spray wand. The SIMPSON Cleaning MS60763-S is perfect for heavy-duty tasks and is ideal for large outdoor spaces and commercial applications.

    Photo by Ethan Sexton on Unsplash

    In conclusion, pressure washers are versatile and indispensable tools for outdoor cleaning tasks. The two main types of pressure washers, electric and gas-powered, offer different advantages and are suited for different needs. When choosing a pressure washer, it’s essential to consider factors such as pressure output, water flow rate, hose length, nozzle selection, and portability. A suitable pressure washer can save time and effort while tackling even the most challenging cleaning tasks. A high-quality pressure washer can help you get the job done right as a homeowner or a commercial user. So choose wisely, and enjoy the power and convenience of a top-performing pressure washer!

  • Bathroom Vanities: A Comprehensive Guide to Selecting the Ideal Vanity for Your Residence

    Bathroom Vanities: A Comprehensive Guide to Selecting the Ideal Vanity for Your Residence

    A bathroom vanity is a crucial aspect of any bathroom, serving as a storage solution and centerpiece that can significantly affect the space’s aesthetic. With numerous options readily available, choosing the right vanity can be a daunting task. This article simplifies the process by providing you with all the necessary information to decide on selecting the perfect bathroom vanity for your home.

    Photo by Christian Mackie

    Types of Bathroom Vanities: A Diverse Array of Alternatives

    There are various types of bathroom vanities on the market, each with distinctive features and benefits. The most common styles include:

    • Freestanding Vanities: These are independent units that aren’t affixed to the wall, making them an excellent choice for larger bathrooms and adding a touch of sophistication to the space.

    • Wall-mounted Vanities: These are mounted directly on the wall, creating the illusion of more space, ideal for compact bathrooms.

    • Corner Vanities: These are perfect for irregularly shaped bathrooms, designed to fit into the corner of the room, optimizing space.

    • Double Vanities: These are suitable for larger or shared bathrooms, featuring two sinks, and are ideal for families or couples.

    Photo by Chastity Cortijo on Unsplash

    Materials Employed in Bathroom Vanities:

    Bathroom vanities can be manufactured from various materials, each with advantages and disadvantages. The most popular materials include:

    • Wood: A classic and timeless material that’s widely used, available in several finishes, and relatively easy to maintain but expensive and prone to warping and cracking over time.

    • Laminate: A budget-friendly option that’s easy to maintain, with a range of colors and finishes, but not as durable and susceptible to chipping and scratching.

    • Stone: A premium material that’s both durable and attractive, with various finishes such as granite and marble, but also expensive and requires professional installation.

    • Engineered Stone: A popular alternative to natural stone, made from a blend of resins and crushed stone, available in various colors and finishes and relatively easy to maintain.

    Factors to Take into Account When Selecting a Bathroom Vanity: 

    Photo by Filios Sazeides on Unsplash

    When selecting a bathroom vanity, various factors must be considered, including:

    • Space: Take into account the available space in your bathroom and the size of the vanity you want to purchase, ensuring a proper fit by measuring the area accurately.

    • Style: Bathroom vanities come in various styles, from contemporary to classic, so choose a type that aligns with your bathroom’s overall look and feels.

    • Material: As mentioned earlier, bathroom vanities can be made from several materials; consider durability, maintenance requirements, and budget when choosing a material.

    • Storage: Consider the amount of storage you need in your vanity; with some vanities offering several storage options such as drawers, cabinets, and shelves, choose a unit with enough storage space to meet your needs.

    • Sink: Bathroom vanities come with a range of sink options, including undermount, integrated, and vessel sinks; choose a sink that complements the overall style of your bathroom.

    • Faucets: Faucets are an essential component of any bathroom vanity, available in various styles and finishes; choose a faucet that aligns with the look and feel of your vanity.

    • Lighting: Proper lighting is critical in any bathroom, creating a warm and inviting atmosphere; consider adding lighting above or below your vanity to enhance the overall look of your bathroom.

    Photo by Amira Aboalnaga on Unsplash

    Bathroom vanities can significantly impact the overall look and feel of a bathroom, serving as both a storage solution and a focal point of the room. With various types, including freestanding, wall-mounted, corner, and double vanities, and materials ranging from wood to engineered stone, there are many options to consider when choosing the right bathroom vanity for your home. 

    Factors such as space, style, material, storage, sink, faucets, and lighting should also be considered. Regular cleaning and protection against water damage and heat are essential to maintain your bathroom vanity in good condition. You can choose the perfect bathroom vanity for your home with all this information.

  • How to Use Wallpaper in Your Bathroom to Create a Stylish and Unique Space

    How to Use Wallpaper in Your Bathroom to Create a Stylish and Unique Space

    The bathroom may be the most practical room in the house, but it can still seem institutional. With the correct furnishings, your bathroom may serve as a tranquil retreat where you can renew your energy after a hard day. What better place to express your individuality and taste than in the bathroom, and what better method to do it than with wallpaper?

    Photo by Max Vakhtbovych

    Why You Should Put Wallpaper in Your Bathroom

    Photo by Max Vakhtbovych


    Putting wallpaper in the bathroom is an excellent idea for various reasons. It may prevent moisture and mold buildup on your walls while also adding personality and charm to your home. You may also modernize your bathroom’s style without breaking the bank by hanging wallpaper.

    How to Pick Bathroom Wallcoverings


    The bathroom has a high humidity and moisture content; therefore, choosing the wallpaper is crucial. It would be best to search for wallpapers that are not only simple to clean but also resistant to moisture and mildew. Some wallpapers are coated with a protective layer to make them last longer.

    The wallpaper’s pattern and style are another consideration for the bathroom. Before settling on a design for your bathroom, give some thought to your sense of style and the room’s aesthetic. While graphic designs make a statement, tonal prints offer elegance.

    Photo by Grace Kelly on Unsplash

    Preparing Your Bathroom for Wallpapering


    It’s crucial to have your bathroom ready before you start hanging wallpaper. Preparing for paper requires fixing any damage to the walls and thoroughly cleaning the areas. In addition, you need to take off any obstructions, such as light switch covers, before you begin installing.

    How to Hang Bathroom Wallpaper

    Wallpapering a bathroom is no different from papering any other room in your house. However, because of the high amounts of moisture in a bathroom, special attention must be taken throughout the installation procedure to achieve a long-lasting and expert finish.

    1. Find out how much wallpaper you’ll need by measuring the room.
    2. The wallpaper should be trimmed to fit the wall.
    3. Spread glue on the wallpaper’s back before hanging it.
    4. Apply the wallpaper to the wall and remove any air bubbles or creases.
    5. Remove any wallpaper that hangs below the floor or over the ceiling.
    6. Put back any finishing touches that were taken down before installation.
    Photo by Max Vakhtbovych

    Maintaining Wallpaper in Your Bathroom

    It is essential to regularly clean your bathroom wallpaper if you want it to retain its pristine appearance. Maintenance for wallpaper includes regular wiping with a moist cloth to remove dirt and grime and avoid using abrasive cleaning chemicals that might harm the wallpaper.


    The appropriate wallpaper, together with careful planning, installation, and upkeep, may completely transform your bathroom into a one-of-a-kind oasis you’ll love for years to come. That’s why you should try bathroom wallpaper right now.

  • An Easy Way To Build Custom Window Screen Frames

    An Easy Way To Build Custom Window Screen Frames

    If you’ve been thinking about building custom screen windows or hiring a handyman to do it for you, you may want to reconsider those two choices. 

    Custom window screen frames are a great affordable way to enhance the look of your home. Thanks to the good folks over at ScreenTight, custom window screen frames are simple and easy to install – so simple, anyone can do it. It doesn’t require any experience.

    Photo by Gabriel Tenan on Unsplash

    Photo by freestocks on Unsplash

    Creating custom window screen frames is a simple project that improves the quality of your home. However, if you’re not a handyman, this window screen frame project can be a big challenge. I’m never against a custom solution, but if it can be done easier and I still get the high quality finish I’m looking for, I definitely consider it. That’s exactly what I did when I came across these window screen frame kits myself, so I gave it an opportunity and it worked out great.

    There’s not an easier way to add custom window frames, this is something any of you can do.

    The window screen frame kits from ScreenTight are simple, cost effective solutions for creating custom sized window screens that are a perfect fit for your home. We’ll cover the specs and options below, but first, I’m recommending these because my customers love them. For one, they’re very affordable, we’ve done several projects where the cost was under $100 for the whole home. Two, it’s simple, all you have to do is snap them together and put it on. Like I said earlier, it’s the easiest solution to get a nice window frame added to your home, trailer, building, or any other structure you have.

    There’s 5 areas that I need to cover with you, that includes screen frame kits, color variations, large window frames, tools you need, and the universal ease of use with the screen window frames. 

    Photo by Moutaman Kamal on Unsplash

    Screen Frame Kits

    The window screen kits that are in 5/16 and 7/16-in sizes are available in 36, 48 and 60-in lengths. You do not have to worry about miltering, another reason I like using these. The corners snap the frames together, you are not required to do anything else. If you have an extra long window, no worry, these bulk screen frames will work.

    Every screen frame kit comes with 4 Corner Connectors, 4 Screen Frames, 2 Spring Clips, 2 Pull Tabs and spline.

    Tools Needed

    There will be a few tools you’ll need to get the best results possible. Those include:

    1. Rollerknife

    2. Hack Saw

    3. Utility Knife

    4. Hammer

    Photo by Patrick Robert Doyle on Unsplash

    Variety of Colors

    You definitely want a color that looks good. There’s a wide range of screen frames and corner connectors that come in a large variety of different colors]including white, brown and mill finishes. The aluminum construction resists warping and never needs painting.

    Works With Large Windows

    A lot of people ask me if they’ll work with large windows, the answer is yes, they’ll work for nearly every type of window. You can use individual or bulk screen frames in lengths up to 7-ft long. If needed, you can always use a crossbar with connectors for easy reinforcement.

    Compatible With all Types of Windows

    It doesn’t matter if you have a metal window, wood window or vinyl windows, their Build-a-Screen system makes window screening affordable, simple, and easy. 

    How To Install Your Custom Window Screen

    Step 1: Measure: You’ll need to measure the height & width of the window opening where the frame will be installed.

    Step 2: Marking: You’ll then need to mark Aluminum frames to height (H-1 1/2″) & width (W-1 1/2″) Each corner adds 3/4″.

    Step 3: Cutting: Be sure to cut marked pieces with a hacksaw. If your frame exceeds 3′ in height, cut an additional (W-1 1/2″) for use as a cross brace.

    Photo by Anne Nygård on Unsplash

    Step 4: Assembly: Install the hardware and insert corners into frames vertical pieces first, then attach each vertical piece to the horizontals.

    Step 5: Rolling Screen: Roll Screen into a spline groove with 9/64″ or .160 spline. Spline will hold in hardware. Trim the excess screen with a Utility knife or blade from Rollerknife.

  • Growing Old Gracefully: How You Can Support Your Parents As They Get Older

    Growing Old Gracefully: How You Can Support Your Parents As They Get Older

    As your parents get older, it is important that you find ways to support them with their changing needs. Everyone wants to grow old gracefully, but sometimes that can be difficult when you are faced with illness or grief. Supporting your parents is so important, as they may not be able to do the same things they once could. Also, with how quickly the world changes, it can sometimes be difficult for older people to catch up with the latest trends or modern technology.

    Photo by Claudia Love on Unsplash

    In this article, we will go over some ways that you can support your parent as they get older. So, if you need some tips on how to help your elderly parents, then keep on reading to find out more.


    Photo by CDC on Unsplash

    Help Them Write A Will

    One thing you can do to support your parents is to help them write a will. Having a will is an extremely important part of life and if your parents have yet to write their will, then it would be a good idea to help them out with it. Writing a will can be a bit of a morbid experience, as you have to think about life after you have passed. This is why it can sometimes be easier to make a will when you have the support of someone else. There is a lot that you need to include in a will, so it is important that you allow your parents to take their time. Writing a will is very personal and you may find that it is an emotional process. So, sit down with both of your parents and give them the help and support they need to write a will.

    Photo by Egor Myznik on Unsplash

    Ask Them What They Need

    One very simple way that you can support your elderly parents is to just ask them what they need. Often, people assume that they know what is best when to it comes to their parent’s needs, but this is not always the case. You have to remember that your parents are the ones going through the big life change, so they, more than anyone else, will know what support they need. It would be beneficial for you to just have a casual sit down with your parents and talk to them about what things they need to support them. It could be something physical, or it could just be they need someone to talk to. Communication is so important, so make sure you are talking to your parents and putting their needs first. 

    Photo by Huy Phan on Unsplash

    Ensure Their Home Is Suitable 

    One important thing to consider as your parents get older is how you can ensure they are safe within their home. While your parents may not have any mobility issues now, this comes with age, so it could be a good idea to start making changes to their home now. Simple things like installing a stair lift or adding handrails around the house can both make life a bit easier for your parents. You could also take some time and update their bedroom so that if they are bedridden for any reason, they can still be comfortable. There are overbed tables that can help your parents eat comfortably in bed if they are recovering from an illness or having mobility issues. 

    Get Them Connected

    If you haven’t already, you should definitely consider getting your parents a smartphone each or at least one between them. While they may not use a mobile phone the same as the younger generation, having access to a smartphone means that they are connected to the internet and can contact you whenever you like. Being able to video-call your parents makes communicating with them much easier, as you can chat freely and have a good catch up. It may take some time for them to get used to the functions of a smartphone, but this is something they will learn over time.

    Photo by Tiago Muraro on Unsplash

    Don’t Be Overbearing 

    One important thing to remember as your parents get older is to not be too overbearing. It can be very easy to step in all the time to help your parents, but sometimes this can come across as a little patronising. Although your parents are getting older, it doesn’t mean that they are completely incapable, so you must try not to become an overbearing child. Of course, it is important that you support them and check-in with them frequently, but make sure you are doing it in a respectful way. Again, this is why communication is so important, as instead of just guessing what your parents need, you can just ask them directly instead. Then, when they do need some help, they know they can come to you and ask, which will help.