You may know about four types of faucets like a cartridge, ceramic disk, compression, and ball-type but they become leak sometimes.
Photo by Jessica Lewis on Pexels.com
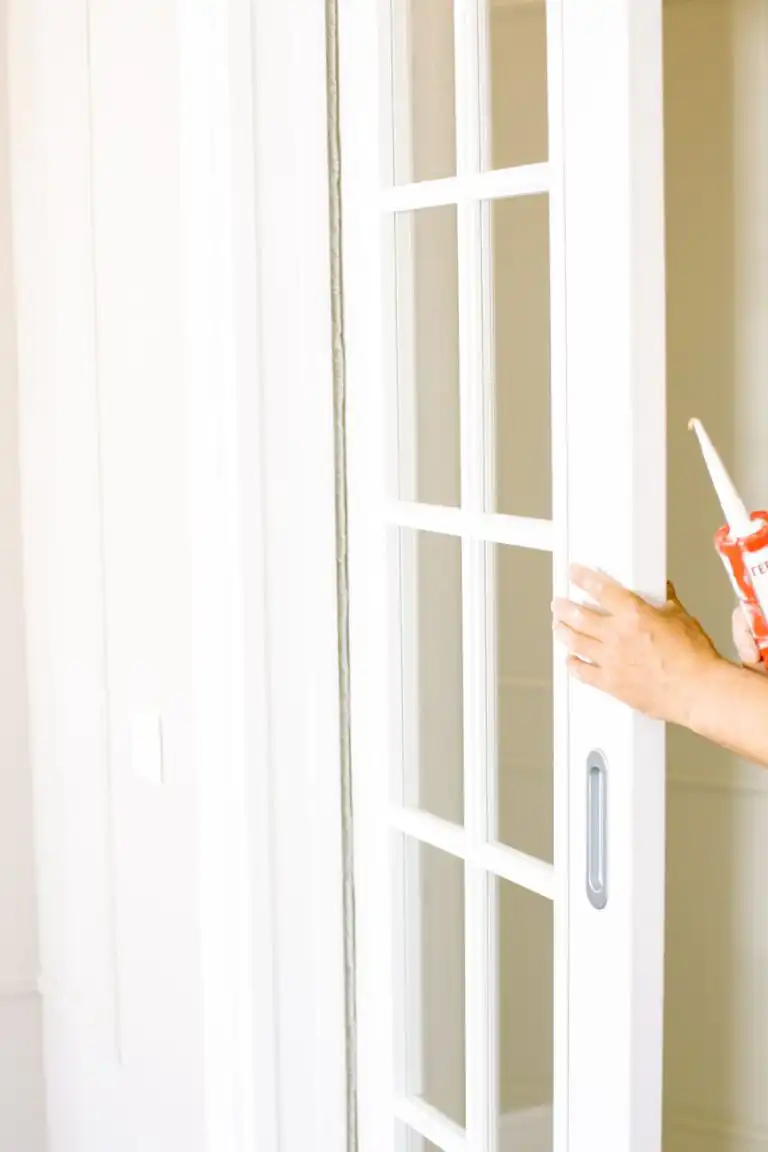
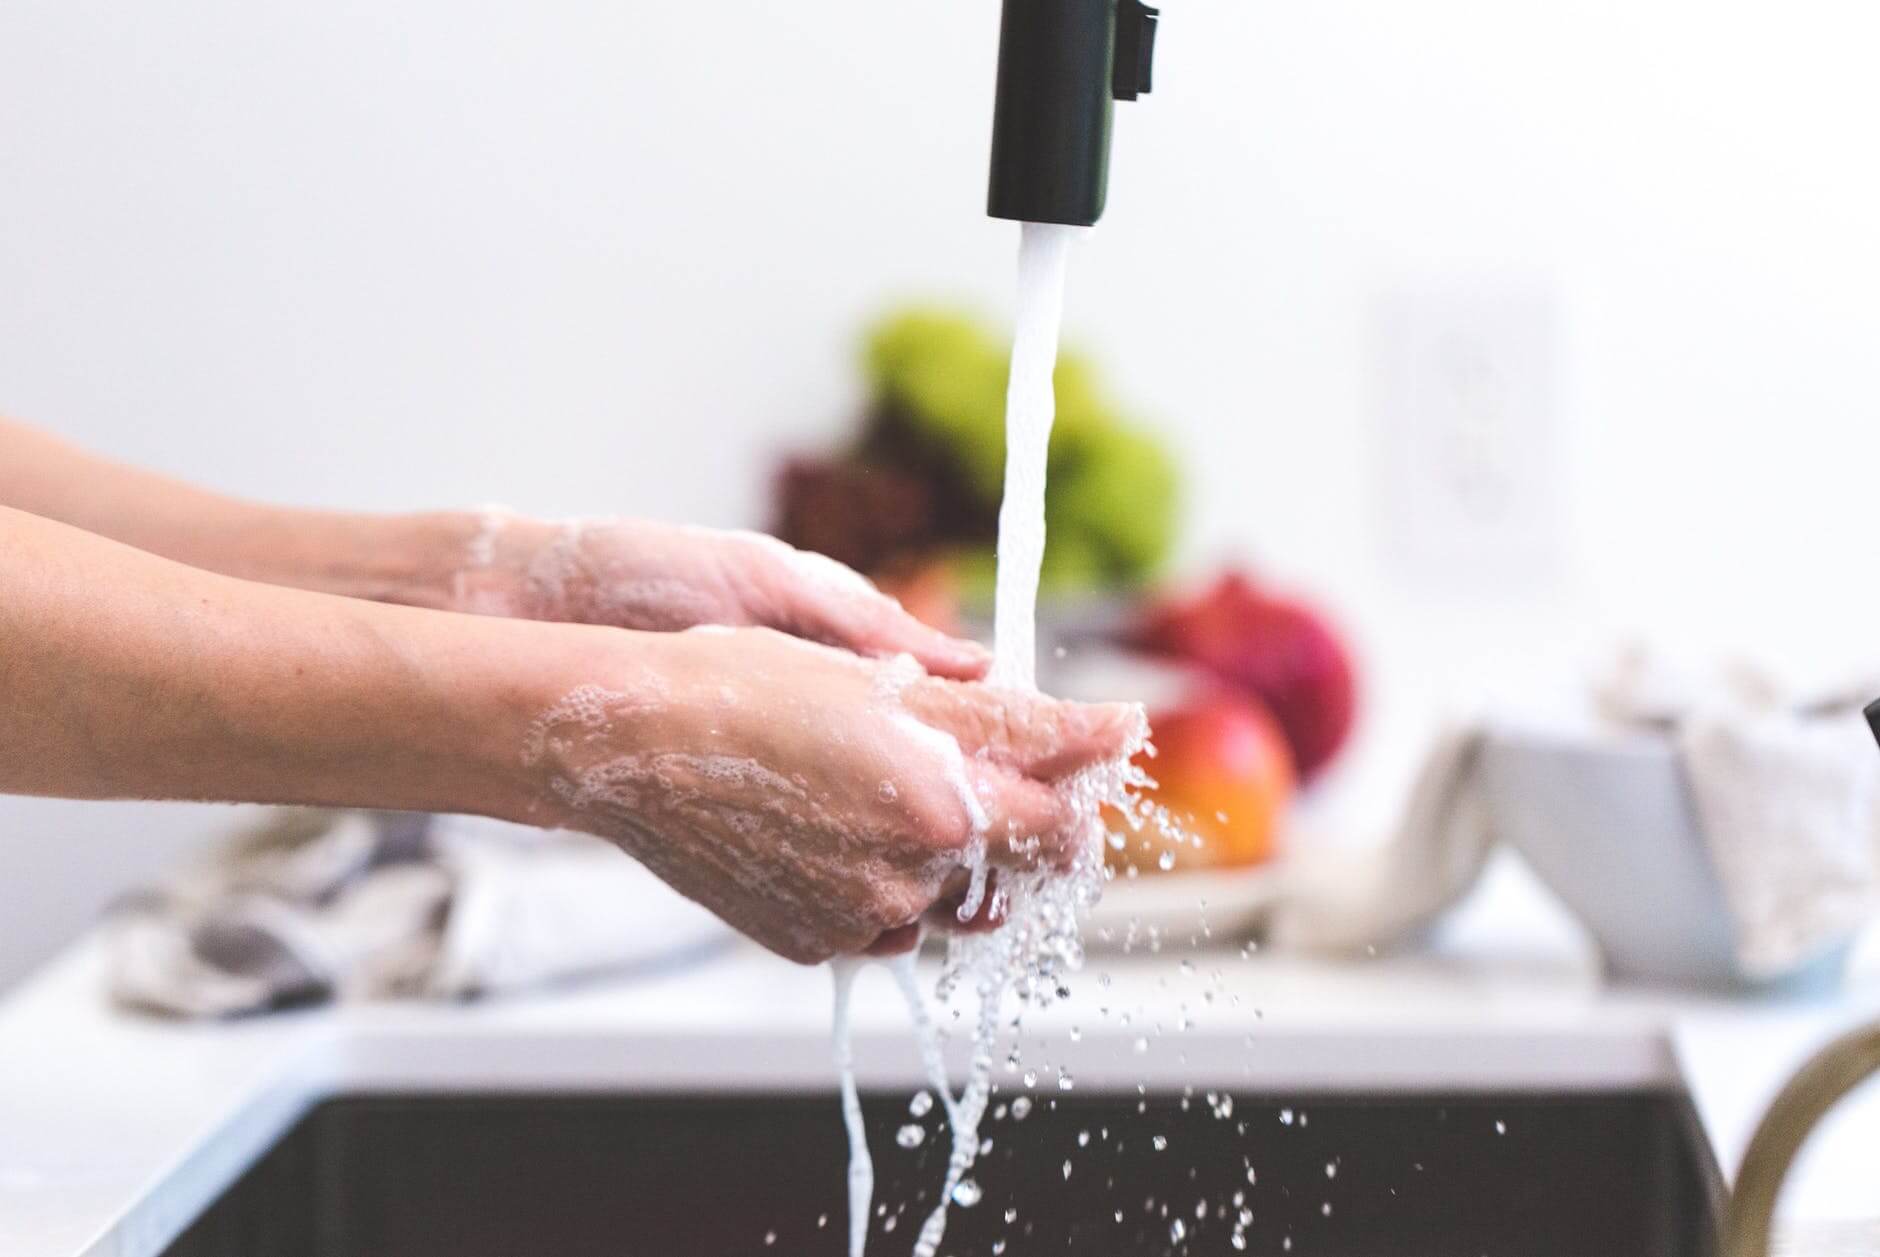
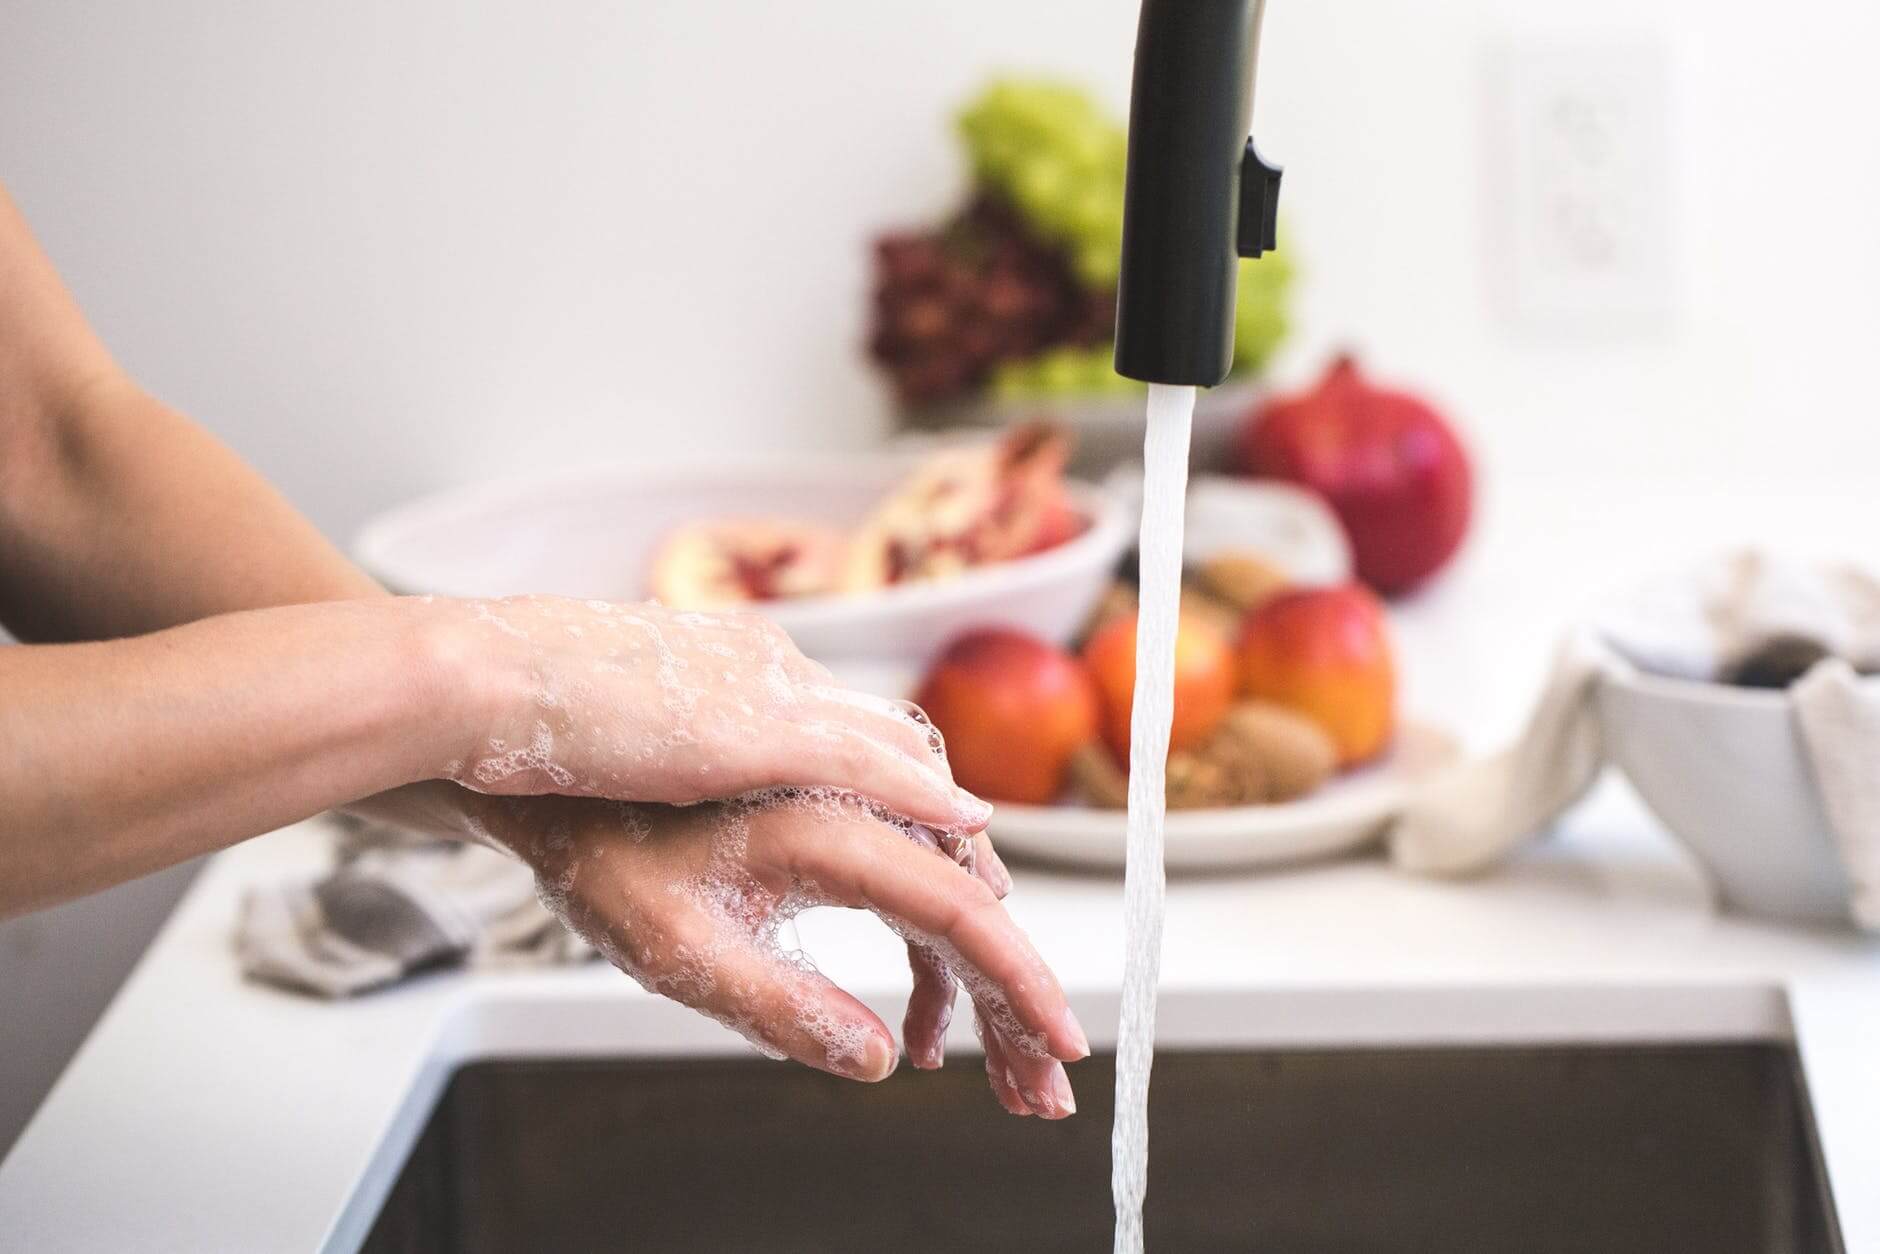
Leaking kitchen faucets wastewater when the handles are shut off. Four types of faucets can look similar and both used for bathrooms also. By the way, leaky faucets wastewater with drip, drip, dripping sound and can wastes 3 liters of water a day. So, immediately, you need to repair the leaky faucet. To tackle this problem you must know how to repair them and today we will discuss how to fix a leaky kitchen faucet. Following our step-by-step instructions fix the leaky faucet easily.
Furthermore, if you may have another brand or type faucet and there are too many variations. So, make sure what type of faucet you have after searching or checking here for replacement or fixing your leaky kitchen faucet.
How to fix a leaky kitchen faucet: Step-by-Step Repair Guide
Fixing a leaky faucet will be easy if you follow all the below steps so let’s take a look at the methods. Learn how to fix them properly and get rid of everyday annoyance.
Fixing a leaking faucet by hand requires only a few tools:
- Allen Wrench set
- Allen Screw
- Handle cap
- Flat-head screwdrivers
- Slip-joint pliers
- Faucet repair kit
- O-ring seals
You may know there are four types of faucets available in the market. But before knowing how to detect a leak in your kitchen faucet you make sure that what type of faucet you have.
The four types of faucets are:
- Rotary ball faucet
- Cartridge-style faucet
- Ceramic disc faucet
- Compression faucet
Now let’s know how to repair a leaky Rotary Ball Faucet
You’ll need a hex wrench and keep close to your hand all the materials by what you’re going to fix the leaky faucet. Shut off the water under the sink and wait until the faucet run until water stops. Then using the Allen wrench loosen and remove the set-screw enough that lifts off the handle of the faucet. Remove the handle also remove the screw which is located off on the handle’s underside. Ball-type faucets parts sold separately in the market and to fix the leak replace the valve seats. Tighten the locking collar and after locking, the collar has been tightened reattach the handle.
Lift out the plastic cam and cam washer with the slip-joint pliers to twist off the domed cap. Use caution because there is a small spring behind each valve seat so remove the valve seats with a screwdriver. After replacing the valve seats now reassemble the faucet by putting the parts back (spout, ball, plastic cam, cam washer, and domed cap). Using the spanner wrench replace the handle after tightening the collar ring. Now turn on the water supply to the faucet for checking if leaks stop.
Shortly, to repair you have to turn off the water supply and loosen the Allen Screw. Then lift out the screws and unscrew the cap using slip-joint pliers. Remove the rotary ball and replace the seats and springs. If so having any trouble finding parts, you may call the manufacturer for help with your faucet.
How to repair a leaky cartridge-style faucet
To lift off the handle turn the Allen screw counterclockwise to remove and with a knife gently pry off the handle cap. Unscrew the dome assembly and remove the metal under the handle adapter. Lift it off and the plastic pivot stop. Using a large wrench or slip-joint pliers remove the retainer nut by turning counterclockwise. Using a screwdriver remove the retainer clip and with slip-joint pliers loosen the cartridge spanner cap. Twist it back and forth then using pliers grab the cartridge stem and pull it straight up and out. Replace the worn parts before reassembling the faucet.
Reassemble the faucet and before inserting the cartridge pull the stem up. After that install all the remaining parts and reattach the handle. Completing all the processes now test the faucet to check for leaks. If water is not dripping then your job is done.
How to repair a leaky Ceramic disc faucet
Ceramic disc type faucets are durable but sometimes needs for repairing them to fix a leak to stop dripping water. For solving flowing water you need new seals and replacement parts. Take the old parts before going to a shop to purchase a new one. Even if you don’t want to buy a new one then repair it but replacing new parts will be better.
Turn off the water and loosen the setscrew using your hex wrench and remove the handle. Using groove-joint pliers pull the decorative cap to loosen the cartridge faucet. Take out the cartridge and pry out the seals on the bottom using a screwdriver. Now using a toothbrush, you have to clean the seals and seal the seat area. Then using the screwdriver remove the O-ring from the faucet body. Apply a light coating of silicone grease to the new O-ring and you have to use your fingertip for doing this. Now install the O-ring in the groove on the faucet body. Using groove-joint pliers replace the cartridge and using your finger tighten the decorative cap. Reinstall the handle and using the Allen wrench tighten all the setscrew.
How to repair a leaky Compression faucet
If you approached methodically for fixing the compression faucet really it is fairly simple. Just remove the handle of the compression faucet. On the other hand, before repairing you must be stopped the sinks and cover them with a rag to prevent small parts so that nothing falls into the drain.
You’ll need some tools and materials to repair the compression faucet. Such as channel-type pliers, replacement stem washer, replacement O-ring, waterproof plumber’s grease, small flat-blade screwdriver, Philips screwdriver, and compression faucet handle puller.
First of all, shut off the water supply and remove the faucet handle then remove the valve stem assembly cover. Using a small slotted screwdriver or utility knife carefully pop the decorative cap up which is located on the handle. Unscrew the packing nut and the rubber washer that is located end of the stem for this you’ve to use a wrench. Using a small flat-blade remove the stem washer and remove the brass screw holding on the washer. Then clean the washer to sets into the valve seat. If you need to buy an assortment of washers then after buying replace them into the valve seat. If you look O-ring is bad then cut it off with a knife and replace it into place on the stem. Thread the valve stem assembly and reinstall the handle and cap. If you can’t repair, you may replace the new one set of compression faucet. Lastly, after reassembling the faucet turn on the water supply for checking the leaks of the faucet.
Conclusion
After all, you’ll try your best to fix the leaks of the faucet following our steps and method. If you notice the faucet is still dripping after repairing the leaks then the cause may be another reason. Hope you can fix the leak and if not possible to do it yourself you may call a professional plumber.
Finally, hope now you have known how to fix a leaky kitchen faucet and you may leave us a comment below to know if you’ve furthermore question. We’ll glad to know from you and will try to reply to your questions.