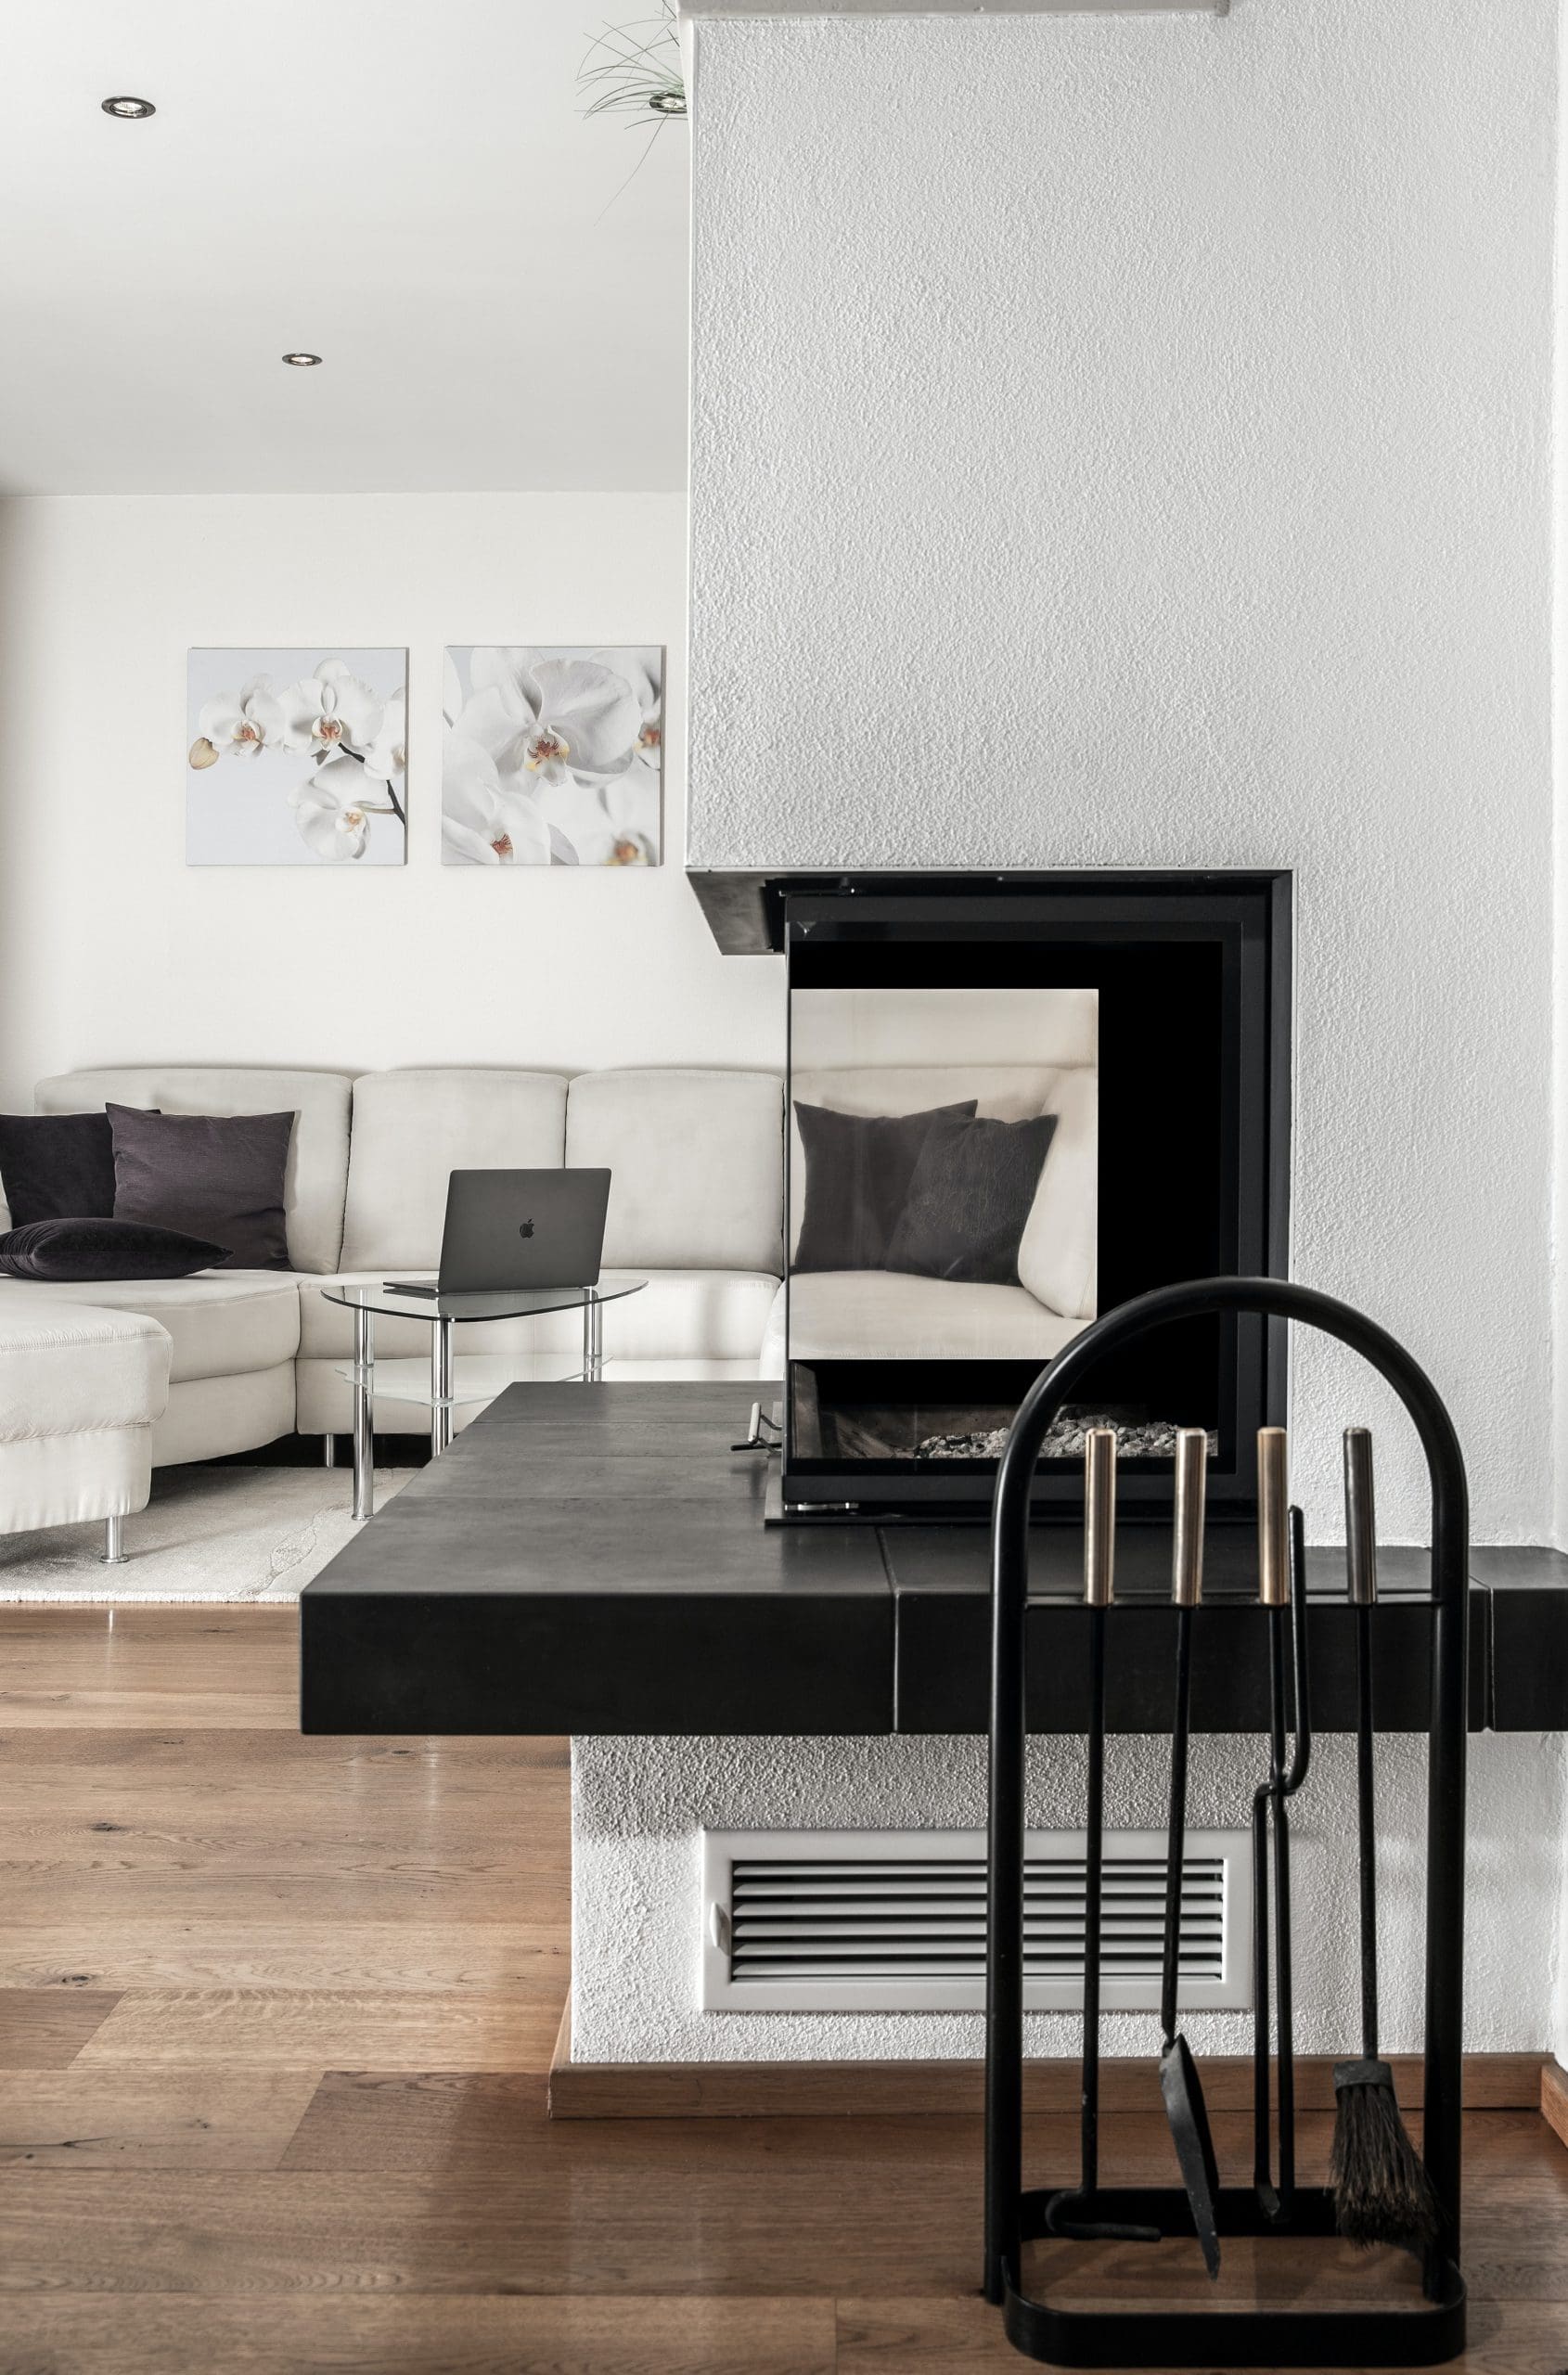
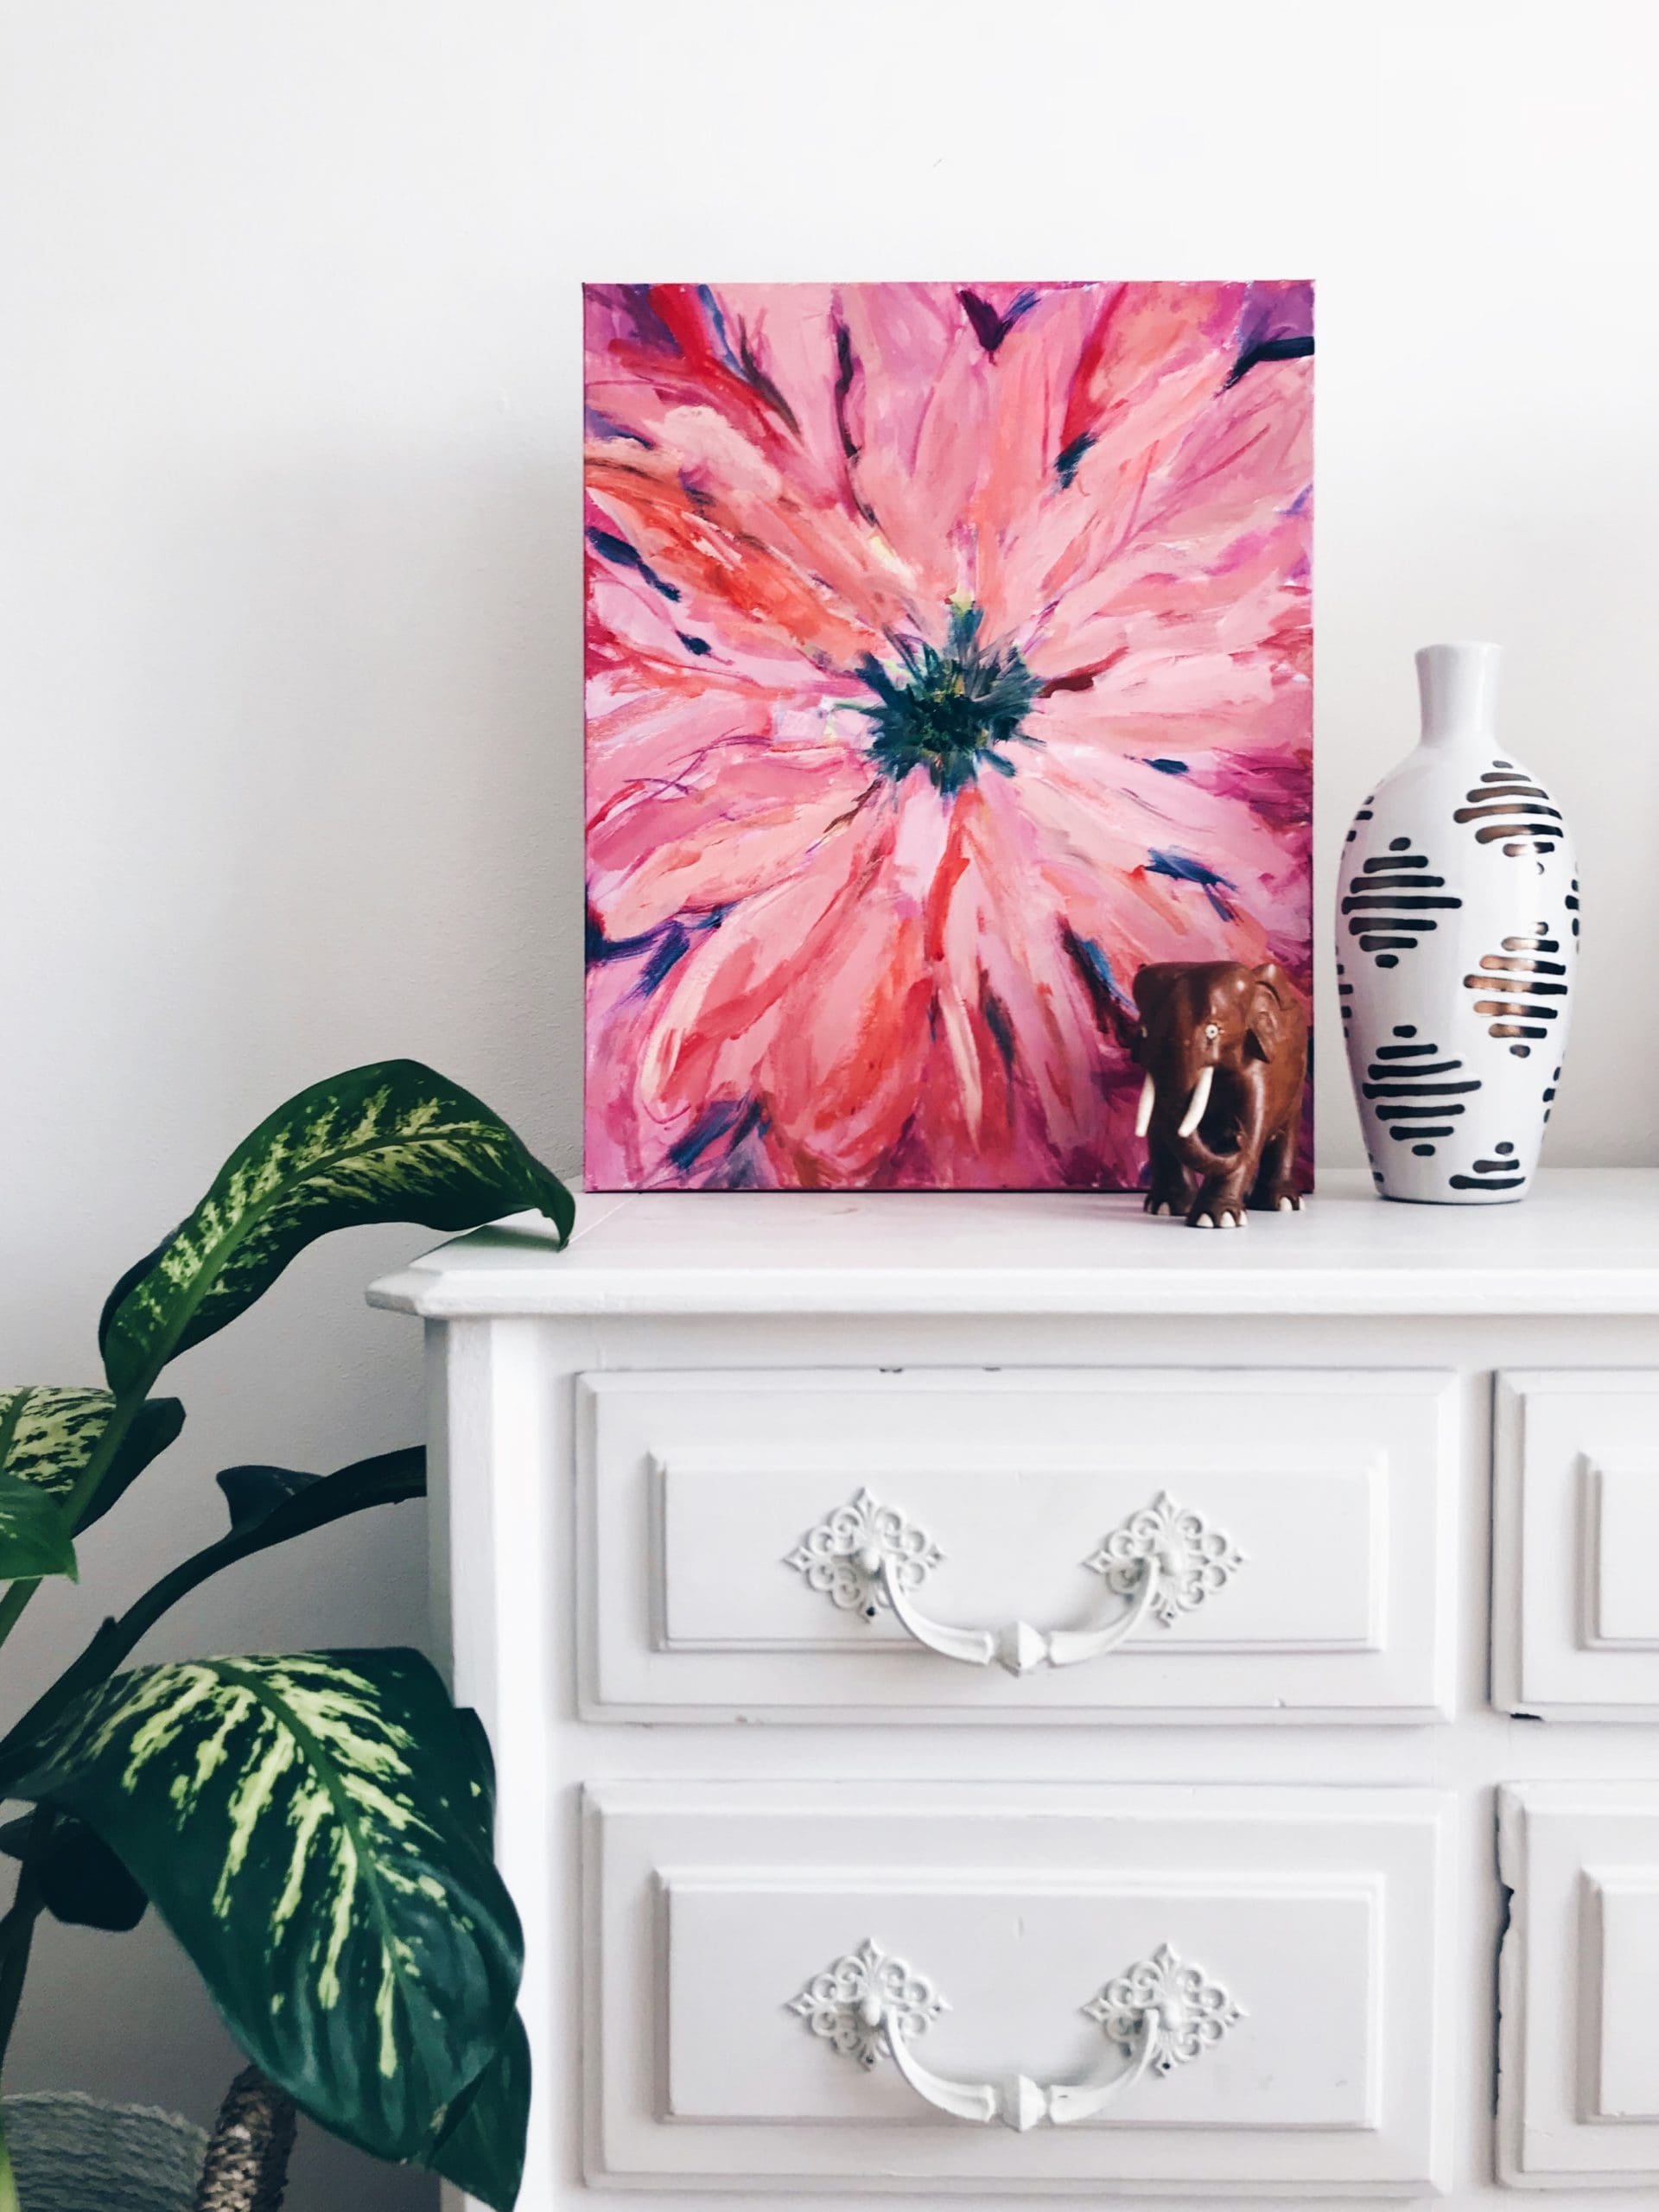
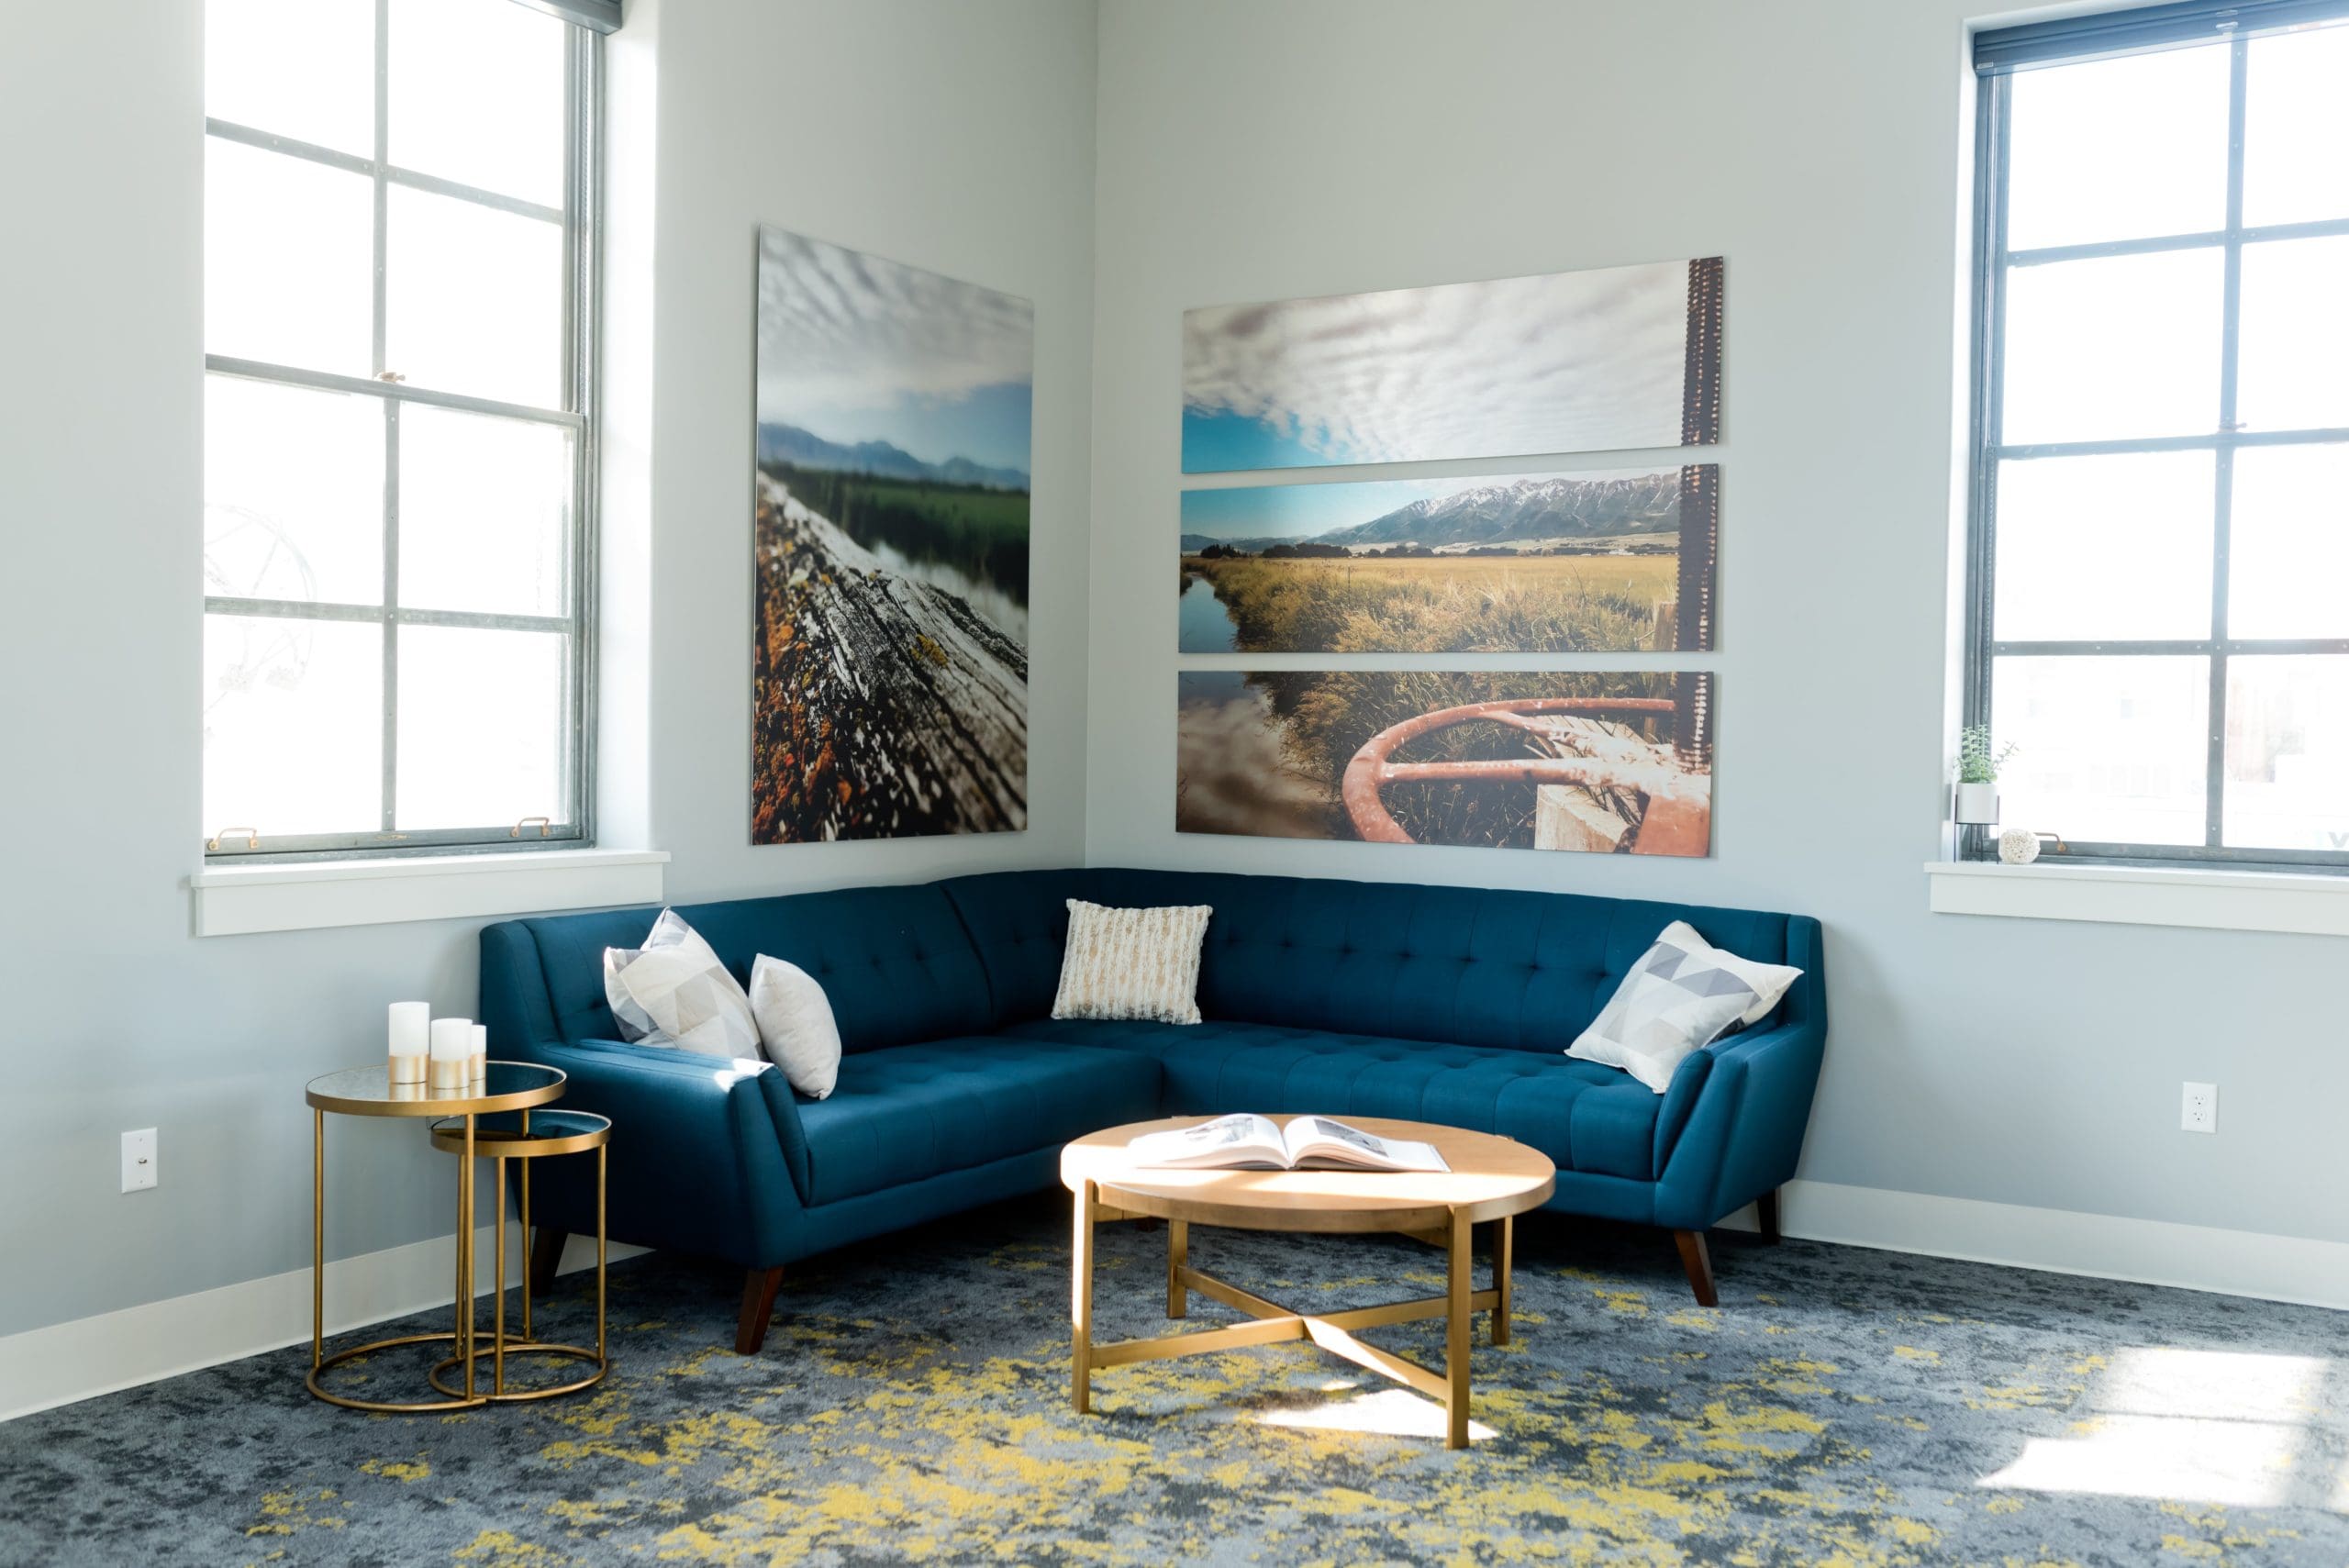
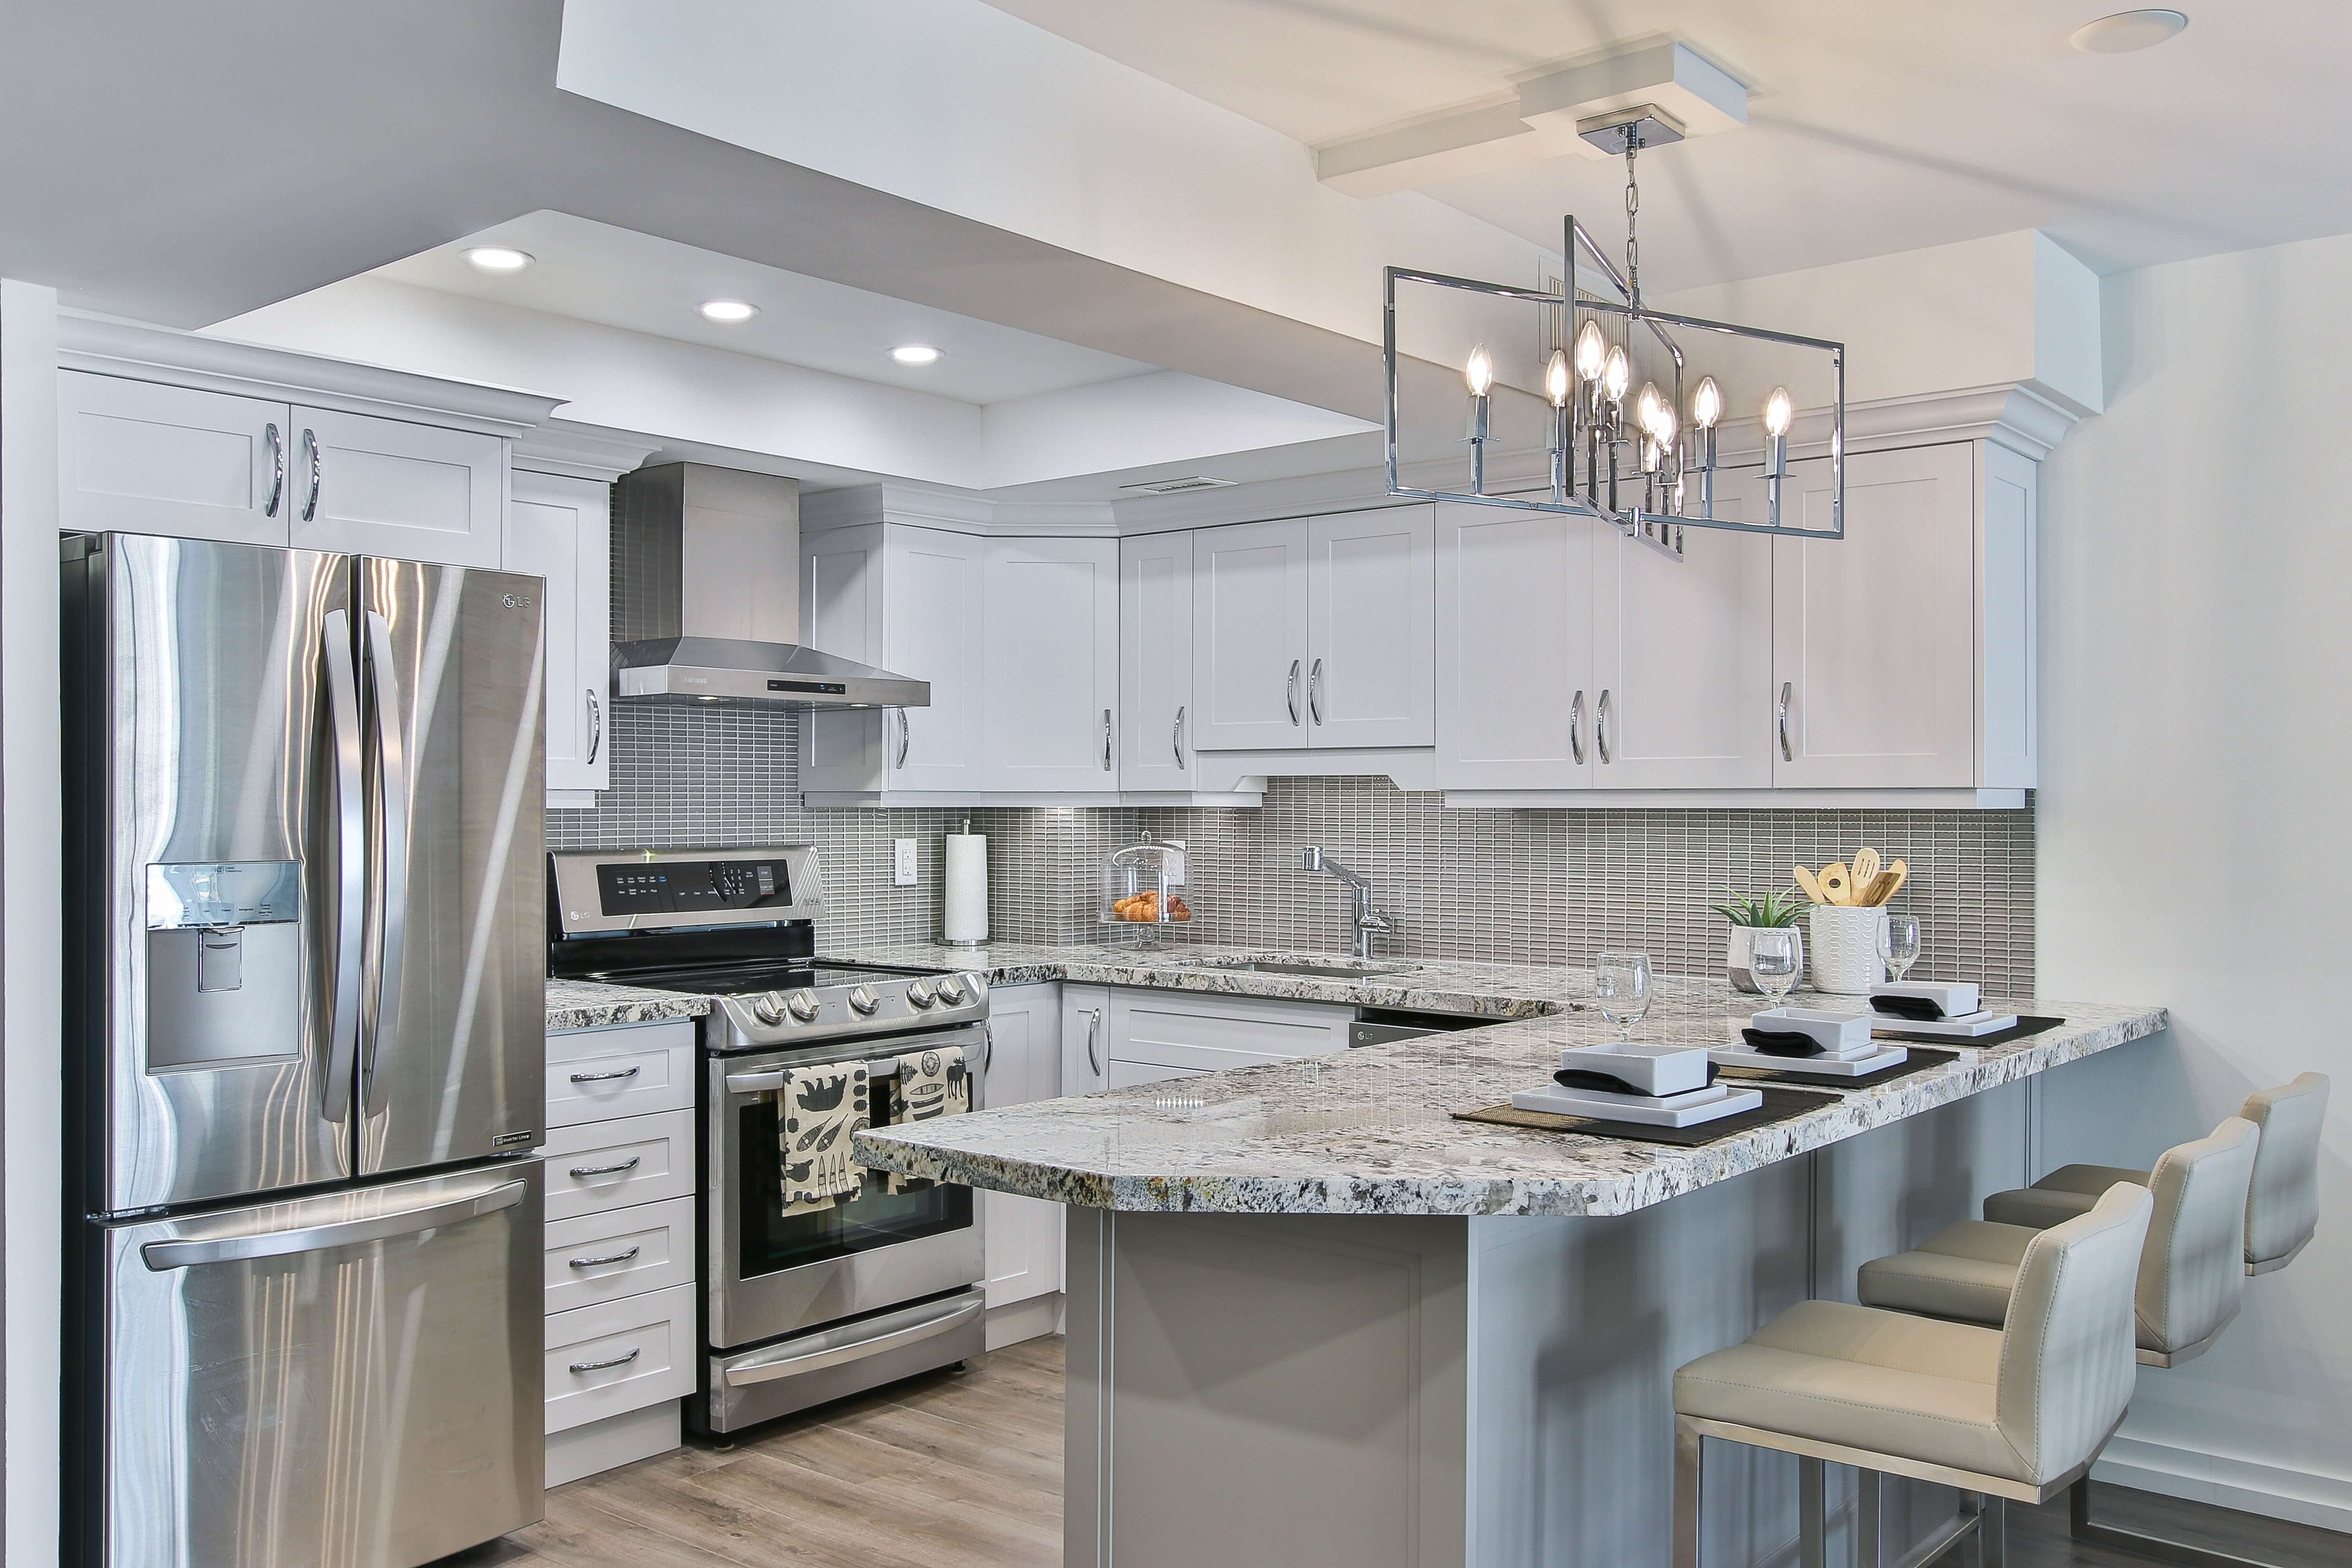
Painted walls can change the entire look and feel of a home.
Photo by SHOP SLO® on Unsplash
Whether you want to paint your home for the first time or are considering a painting project, this blog post will provide tips and tricks to get the most out of your painting experience.
From knowing when it is the right time to paint to preparing your surface, we will cover everything you need to know to make your project successful. Also, check out https://www.onedaypaint.com.au/ if you need a painting service.
Read more for helpful advice, whether a beginner or an experienced painter!

1. Wait for the Right Weather
It’s not a great day to paint if it’s raining or the forecast anticipates rain. The recommended humidity level for painting is 40-50 percent. When the humidity is too high, you will likely get streaks or undesired areas in your paint. Your paint may produce surface dew if the weather is chilly and damp.
If it’s dry but too hot, that’s also not ideal. Latex and acrylic paintings will struggle if the temperature in the house rises above 85 degrees, whereas paint will fail if the temperature rises above 90 degrees. If it’s hot outside, turn on the air conditioner in the room for a bit before painting.
2. Perform a Detailed Visual Inspection and Preparation
Before applying new primer and paint, any cracked, flaking, or peeling areas should be carefully sanded or scraped and thoroughly washed because the strength of the fresh coat will drag the old paint loose. Greasy places may also require a soapy wash accompanied by a wash using clean water. Alternatively, wipe down with a moist cloth to ensure that the paint has a clean, dust-free area to adhere to.
3. Purchase High-Quality Brushes, Rollers, and Painter’s Tape
When you spend money on good paint, don’t spare the application. Fine brushes and rollers provide outstanding coverage, saving you effort and paint on re-application, and high-quality painter’s tape is the genuine deal for closing out leaks and streaks.

4. Choose the Right Roller Nap
The length of the fibers on your rollers is referred to as nap. Different surfaces need various naps. If your walls are exceedingly smooth and have no texture, 1/4 inch is perfect for best results. The majority of interior surfaces have minimal texture and will result good from a 3/8 inch nap. Choose a 1/2 or 3/4inch nap for highly textured surfaces like brick.
5. Cover your Furniture
Before beginning a painting project, you will not be sorry for taking the effort to cover floors, furniture, and fixtures. Drop cloths are essential, and tiny plastic bags taped closed are an inexpensive method to cover door knobs.
6. Use Primer
Paint-and-primer combos are fine if you always have a clean, smooth area. Use a different primer if the wall has any difficulties or it has been over eight years since you last painted. If you need to cover a difficult surface, such as glass or high-gloss paint, apply a bonding primer.
7. Combine all your paint in one large container
The hue of the paint may differ somewhat from one tin to another. The difference may be evident if you have to set up a new can in the center of a wall. The issue is solved by combining the paints. Estimating how much paint you will require is recommended, and combining it in a 5-gallon container.

8. Paint from Top to Bottom
Begin at the top of the wall and move your way down. Paint the bottom border of the siding initially, followed by the broad areas. Brush from one moist surface to the next wet surface to prevent lap marks. It’s preferable to leave the area alone after it begins to dry. Brushing over it can create scratches and color streaks on the paint’s surface.
9. Paint the Trim First Before Ceiling and Walls
Professionals normally follow a specific order when discovering how to paint interior walls. They begin by painting the trim, the ceiling, and the walls. This is because taping off the trim is easier and faster than taping off the walls. You also don’t want to tape them both.
It is not necessary to be neat while painting the trim. Focus on achieving a smooth texture on the wood.
10. Paint with a wet edge
Once you’ve started rolling, you’ll want to be mindful of your technique to give continuous coverage. The trick to that is maintaining a wet edge. Each stroke of your roller must intersect with the one before it.
Begin in one area, moving from top to bottom, and apply your roller in little amounts. You should also re-dip your roller frequently, dipping it in paint again once it dries entirely. Backtrack if necessary to apply another paint over a thin spot, a bubble, or a streak.

Conclusion
You could save a lot of money by knowing how to paint your house. Either you choose to paint your home or add an accent wall. Also, whether you’re a beginner or an experienced painter, we hope this blog post has given you some helpful tips and tricks to make the process easier and more enjoyable.


