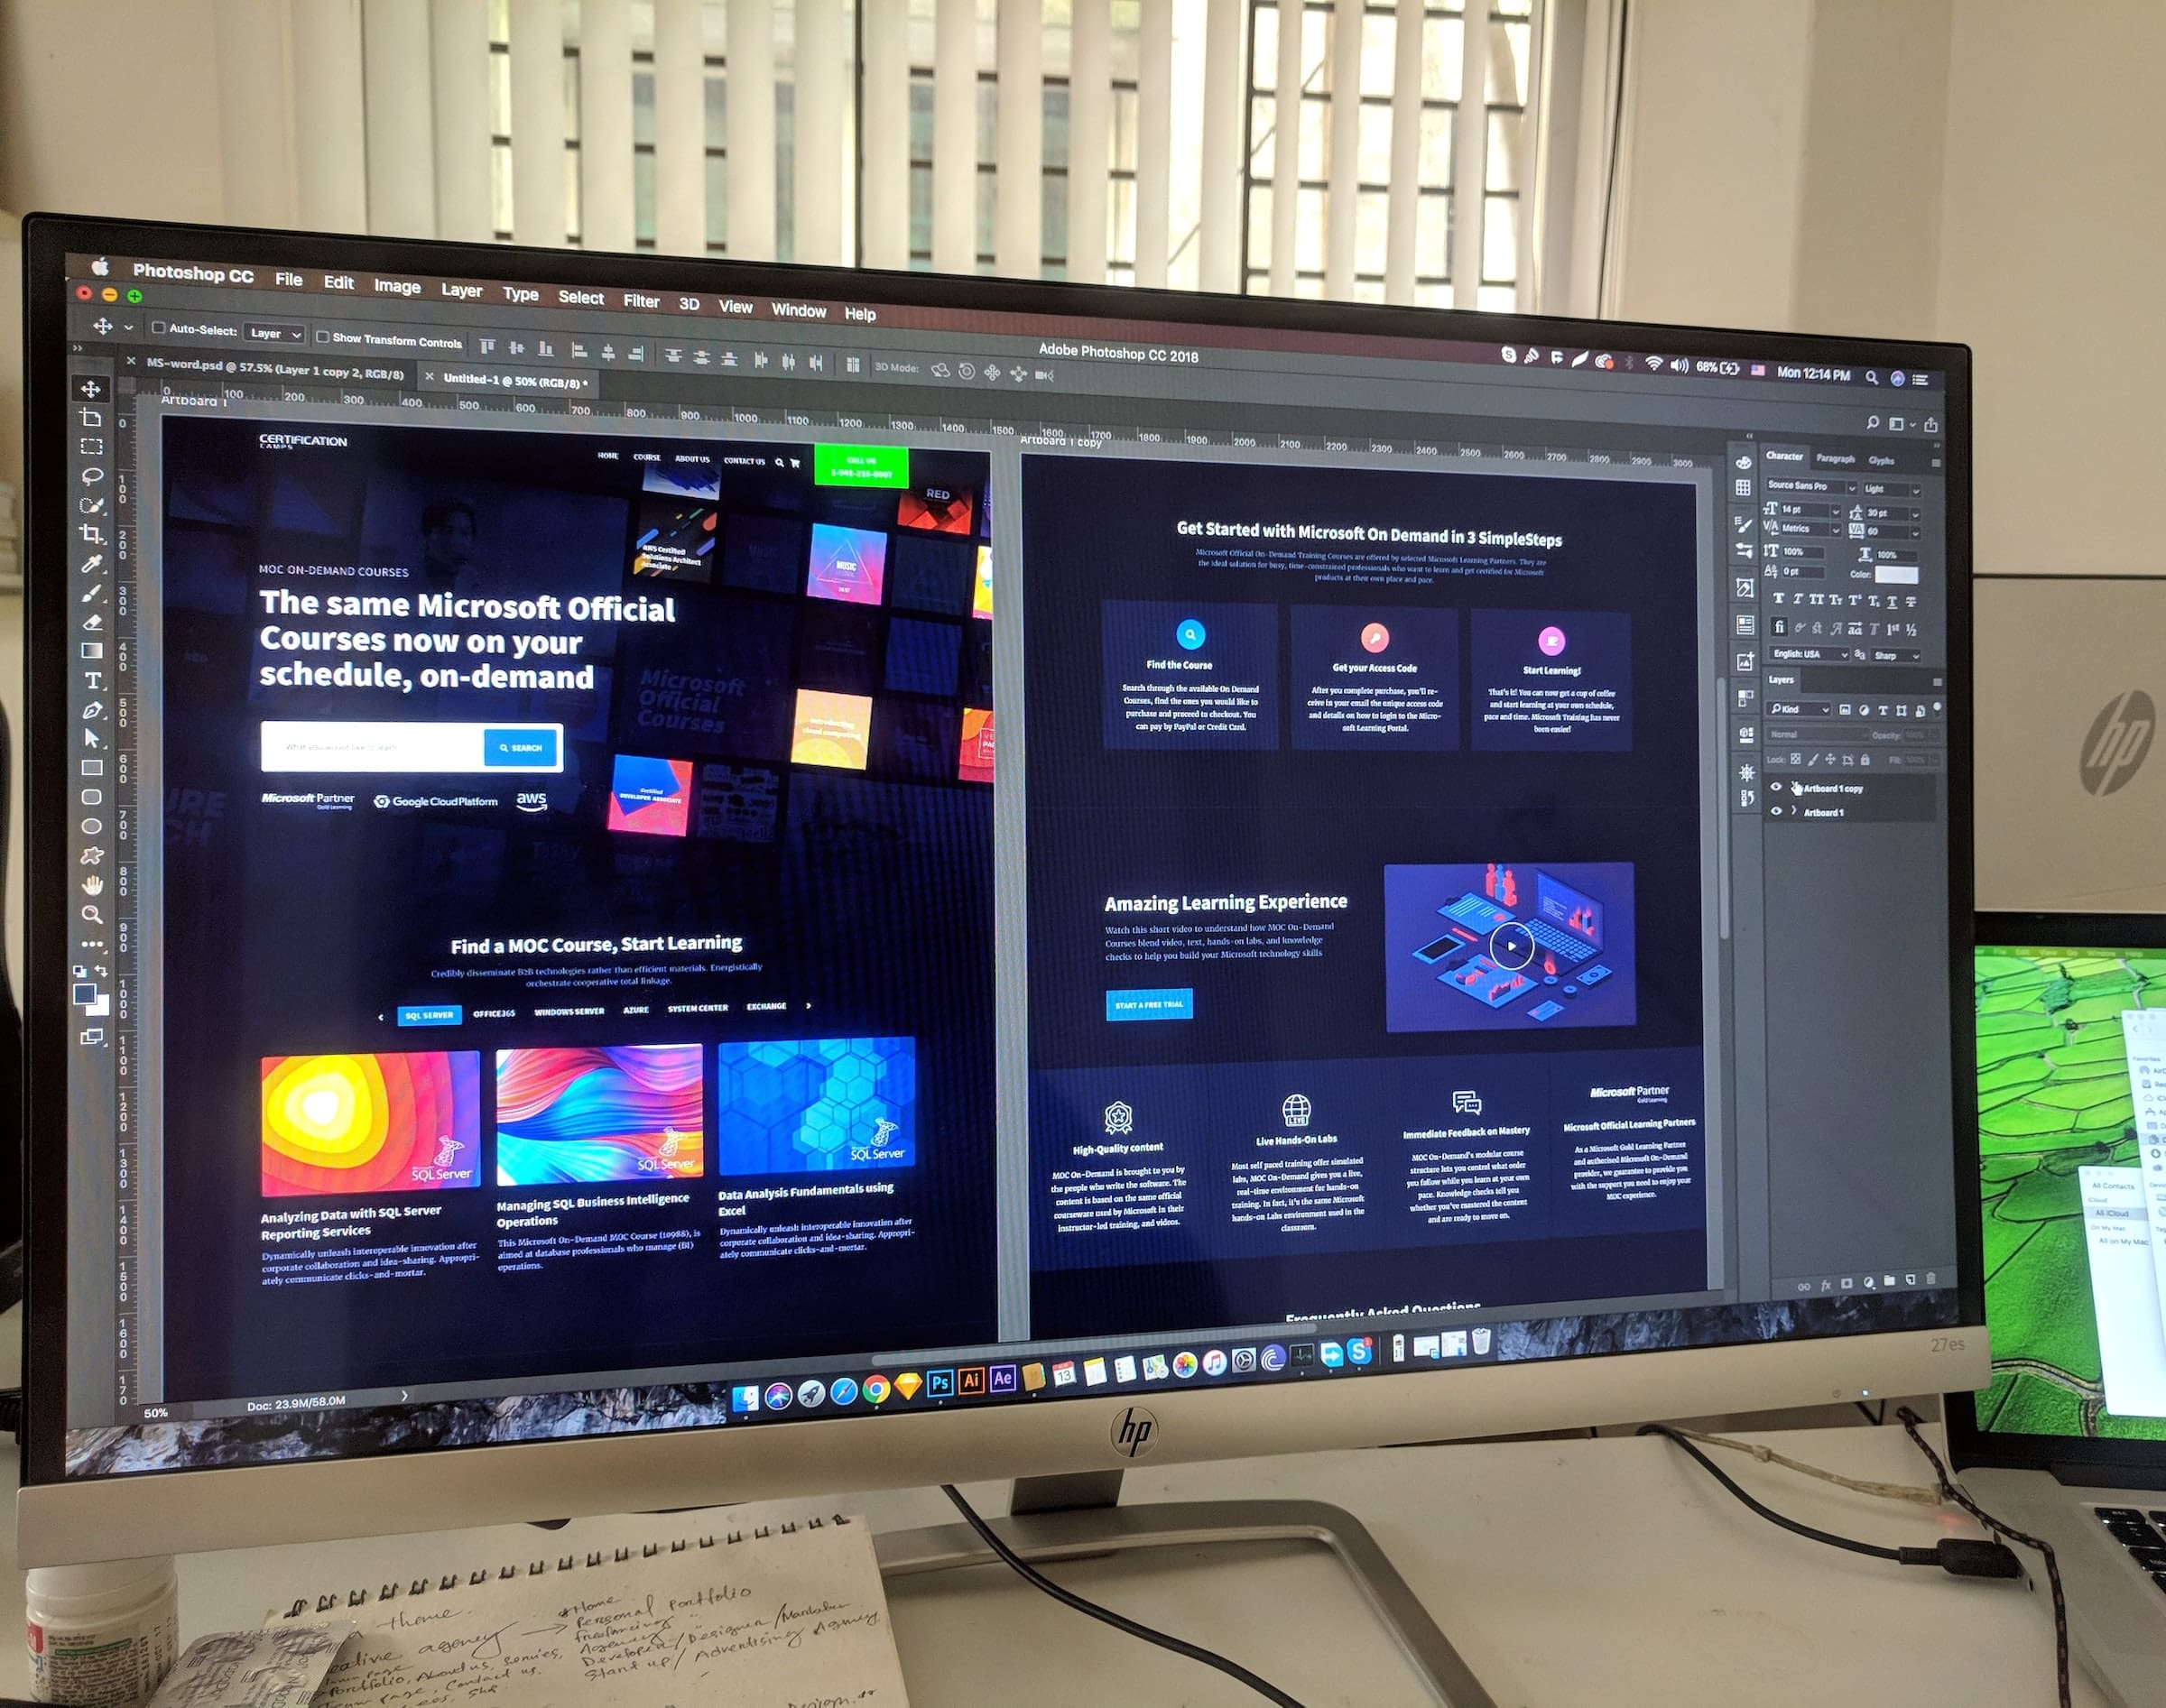
Adobe Photoshop is a feature-packed beast of an application.
Photo by Emily Bernal on Unsplash
When you first open it, you are greeted with a powerful tool that may seem unapproachable. Luckily, this isn’t a reason to lose any enthusiasm.
It is the most exciting time to begin your journey into discovering the power that lies within Photoshop. The more you explore, the more you learn how to harness the features to become an expert in design and image editing!

Layer Mask
Layer masks are a powerful feature in Photoshop. They allow you to selectively modify an image by hiding or revealing different parts of it. For example, layer masks are your tool if you want to apply a special effect to part of an image but not another, such as putting text on top of a photograph or adding a shadow behind it.
Creating a layer mask is a great way to hide parts of an image. It’s also a great way to combine two images together.
The steps for creating a layer mask are as follows:
Step 1: Create a copy of the layer you want to work with.
Step 2: Right-click on the layer, and select Duplicate Layer from the pop-up menu that appears.
Step 3: Double-click on the top layer in the Layers palette to open up its Properties panel.
Step 4: Select Layer Mask from the thumbnail options at the bottom of the panel and click OK.

Adjustment Layers
Adjustment Layers are one of the most powerful features in Photoshop. They allow you to make changes to an image without altering the underlying pixels, which is perfect for creating simple and easy customizations.
Unlike regular layers, which are always 100% opaque, adjustment layers can be set to various levels of transparency, allowing you to blend them gradually into your image. This is great because it means you can make subtle changes without worrying about making them too obvious or noticeable.
The best part is that they can be used with any other layer type: text, shapes, and so on!
Adjustment Layers are one of the most powerful features in Adobe Photoshop. They allow you to adjust your image without affecting the original image data.
Adjustment layers can be used for many different purposes, such as color correction, contrast enhancement, and sharpening. You can also use them to create special effects such as an old-photo look or a watercolor effect.
The best thing about adjustment layers is that you can change the opacity of each one separately, so if you want to make changes later, it’s very easy!
Smart Objects

The Photoshop Smart Object feature allows you to resize and edit the contents of a Smart Object after it has been placed in an image.
This feature is useful for everything from resizing photos to adding filters, but they can also be used to create animations with just a couple clicks.
How to create Smart Objects
1. Open the image in Photoshop, then go to File > Place.
2. Select the image you want to place into your document, then click Place.
3. Your image will appear as a small thumbnail on the canvas. Click the Move tool (the white arrow) and drag the thumbnail into your document where you want it placed (or double-click on it). This makes it into a Smart Object so we can edit it later without losing quality or size.
The Spot Healing Brush
The Spot Healing Brush is one of the most valuable tools in Photoshop, and it can be used for all sorts of things. If you want to remove a blemish from your skin, for example, use the Spot Healing Brush to paint over it with some skin tone from a nearby part of your face. You may need to remove some dust on an image scanned from a magazine or newspaper.
You can use the Spot Healing Brush again to paint over those spots. And if you want to remove an object from a photo that’s distracting or doesn’t fit into the scene well, use the Spot Healing Brush again to paint over the object with some new background.
Blend Modes
Blending modes are a feature in Photoshop that allows you to combine two layers. There are numerous blending modes, each with its own effect on the image. The most common ones are Normal, Dissolve, Multiply, and Screen.
Normal mode: Normal mode blends the two layers by adding them pixel-by-pixel. This means that both layers will be present in the final image, but they will not change the color values of either layer.
Dissolve mode: Dissolve mode is similar to Normal mode, except that it adds the pixels from both layers together and then mixes them with a black and white gradient. This makes it possible for darker areas of one layer to show through lighter areas of another layer.

Multiply mode: Multiply mode multiplies the color values from both layers and then multiplies them again by each other’s opacity values (if they’re different). Multiply mode can be used to darken an image, create shadows, or even give it a color cast!
Screen mode: Screen mode is just like Multiply mode, except that it does everything in reverse — it multiplies instead of divides (multiplies include dividing by zero).
Takeaway: Photoshop is one of the most powerful images editing programs. So many incredible features can help you edit and enhance images, whether you’re a designer or an editor of photography.
While those are all incredible features, the most important step you can take to become more productive is to start small. Pick one feature that you think would be the most beneficial to your workflow, and research how to implement it in your workflow. Once you’ve mastered that first feature, add another and another. Before you know it, you’ll be a master of Photoshop!

Leave a Reply