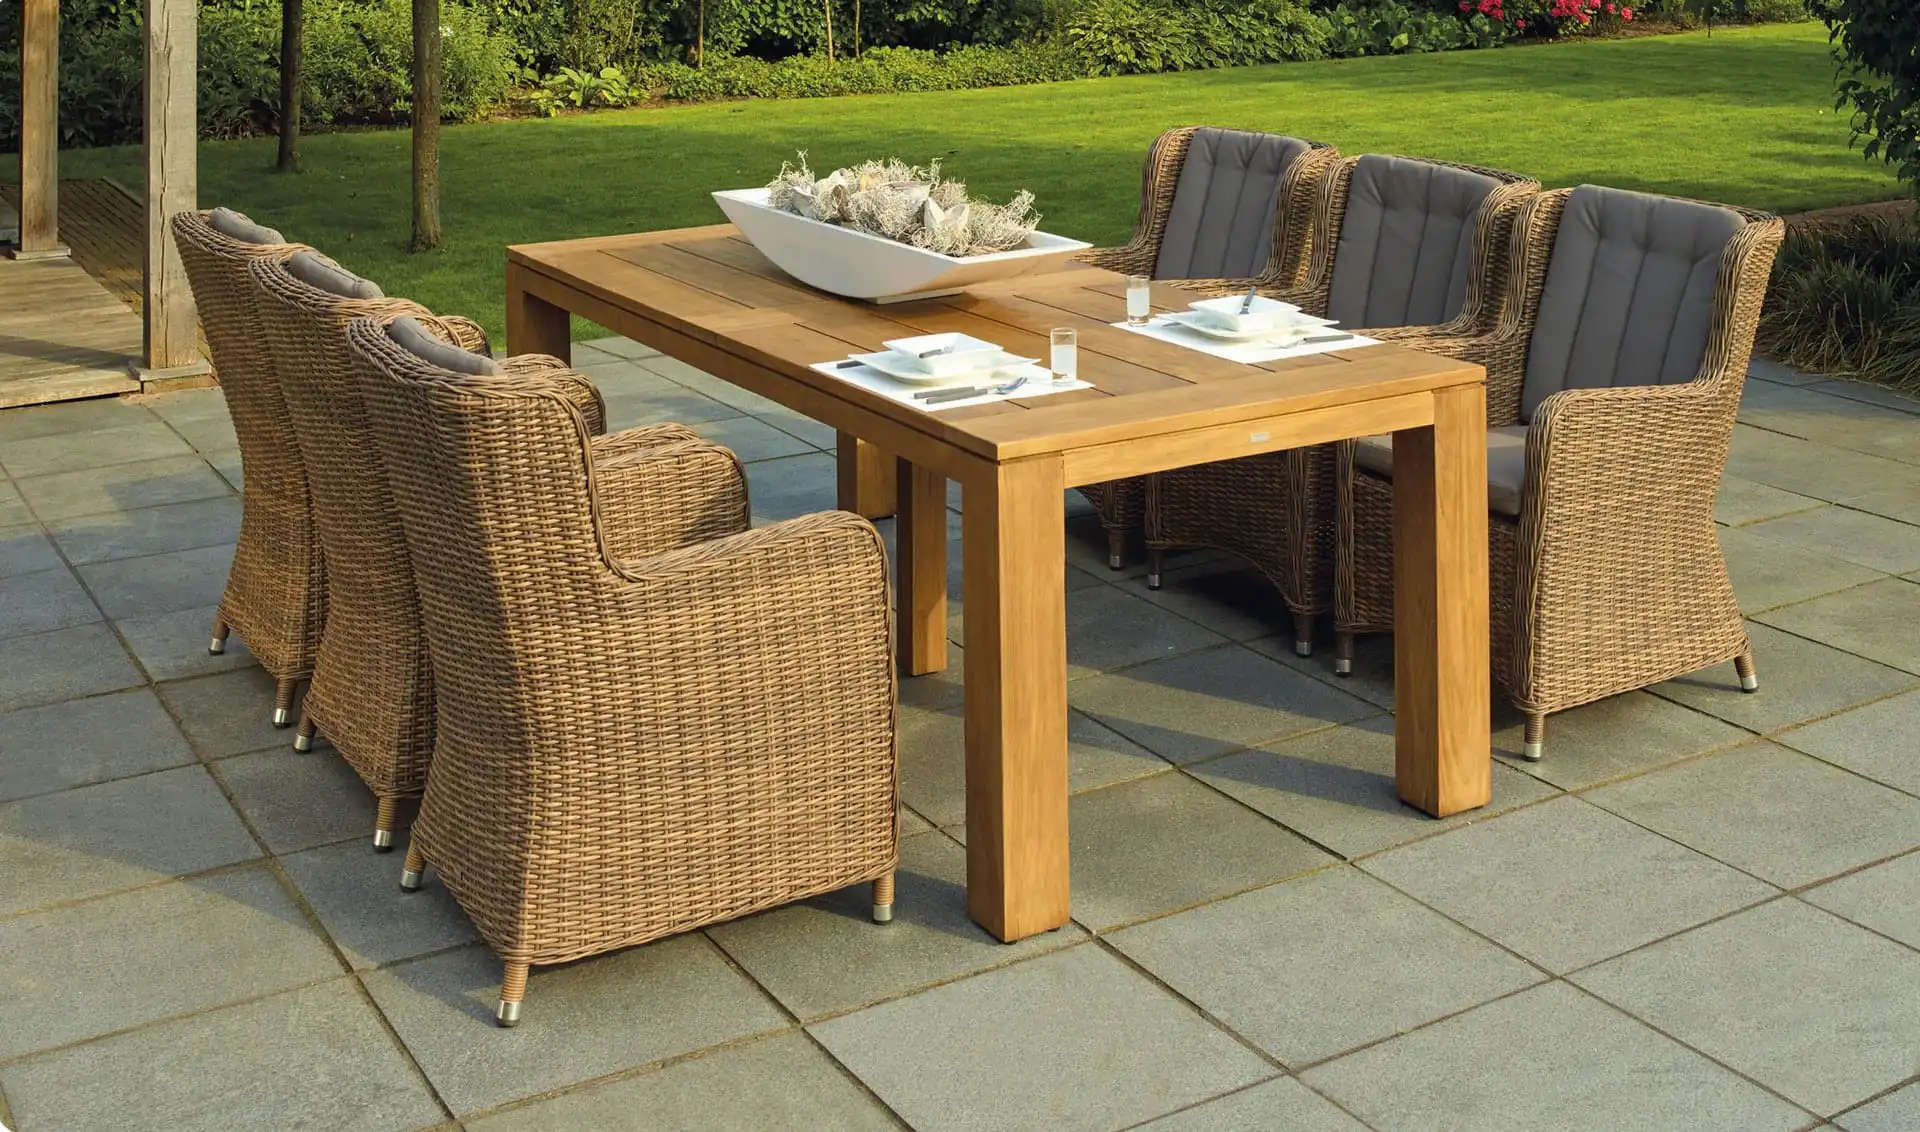
Category: Furniture

Furniture

  • 5 Things to Consider Before Buying Sash Windows

    5 Things to Consider Before Buying Sash Windows

    Windows used to be installed solely for ventilation purposes. However, these days, people look for more than functionality when buying a sash window. Esthetics, the level of maintenance required, and the ability to take advantage of natural lighting are equally important.

    Because of the extended list of requirements, it is relatively complicated to make the purchase decision. Fortunately, we have prepared a list of the most important factors that should determine your choice. Let’s take a look at the things you might want to consider before buying a sash window.

    Sash Windows’ Styles

    When buying sash windows, you should establish the architectural style you wish to design your house after. There are three basic designs:

    • Georgian-inspired windows – the first era of sash windows and the simplest design out there; usually six panes with two sashes, one remaining stationary, and the other moving.
    • Victorian-inspired windows – famous for innovative designs and fewer panes included, typically four; this style traditionally features a single glazing bar, but more can be added.
    • Edwardian-inspired windows – this particular era features an upper sash with multiple panes number options and a lower sash with a single pane; this design will let the most natural light inside your house.

    As long as the sash window matches the design of your house, it will look perfect. Classic options like https://sunluxsashwindows.co.uk/c/sash-balance-elegance/ offer a timeless design that looks good no matter the style of your house.

    The Required Maintenance

    Sash windows require a relatively low level of maintenance. Usually, it all comes down to regular cleanings that are easy from both indoors and outdoors, oiling the frame from time to time and maintaining the right insulation. When you want to purchase a sash window, make sure that the parts that are most susceptible to damage over time are replaceable and available on the market.

    Taking Advantage of Natural Light

    One of the significant advantages of some sash windows is their double glaze which adds to a user-friendly experience. The natural light that comes in easily via a sash window will work along with your heating system to warm up the rooms in your house. Windows that are made of regular ordinary glass instead of double glaze don’t conduct heat so well. Doble-check that the windows you are buying features the double glazed panes.

    The Air Flow

    Air circulation is a highly important thing to consider when deciding on a window. For perfect results, make sure that your sash window has adjustable top and bottom sashes. The cool air will then enter your room via the bottom sash, and warm air will escape through the top sash, ensuring the right airflow, which should be especially handy during summer.

    Possible Disadvantages

    Finally, let’s talk about things that you should avoid when shopping for a sash window. Having only one sash could cause some problems due to insufficient ventilation in larger rooms. Another thing you should look out for is energy- efficiency, other than quadruple weatherproofing windows, not many sash models are efficient enough when compared to other kinds of windows.

    Final Thoughts

    There are many factors that you should take into consideration before buying a sash window. Look for the right style and quality. Keep in mind that you need to create proper air ventilation and avoid high-maintenance products at all costs. Find a window that checks all of the boxes mentioned above, go for a trusted supplier, and you won’t have to worry about your sash windows for decades.

  • Living Room Furniture Tips on Design

    Living Room Furniture Tips on Design

    The living room is probably the most essential in your home. This is because it is the room that hosts all your family members and friends as they get down to chats discussing various issues of life. It should be a haven for escape that should always come with excellent comfort, style, and personality. For this reason, it is crucial to consider your living room furniture, you may replacing furniture using online retailers like Furniture Vogue.

    People will sit on them as they embark on their chats, and you need to choose the best living room furniture for your home. This article will shed a lot of light, and all you need is to pay close attention to the following points. In the end, you will get useful pointers and furniture tips on the décor of your living room.

    Sofa

    The first piece of room furniture is the sofa. You need to know the kind that will suit you and suit your family. The following type is recommended for those who are looking for simplicity and efficiency regarding furniture.

    Get sofas that come with plain scroll arms as well as those that have a dull back. The best thing about this kind of furniture is that it is versatile enough to suit multiple themes and is also timeless. This is how you choose your furniture for the living room regarding sofas.

    Coffee tables

    As centerpieces for your room, coffee tables can bring elegance to your room. For this reason, this living room furniture should be chosen with utmost care. Look for one with simple lines of wood. Avoid glass tables because they will need wiping constantly. With the wood coffee table, you can be sure that wear and tear will not be your worry.

    Consider one that has in-built-drawers, and this will facilitate storage. In fact, the quality of Amish furniture will give you the style and durability your home needs.

    Chairs

    When considering accent chairs as part of your room furniture, you need to go for those with durable or firm construction. Comfort is everything, and this is what you want your family to enjoy as well as the decor. Make sure to get covers for accent chairs that match your curtains, but they do not have to match your sofa. Look for fabric that gets clean quickly. With the above, you will have some idea of how to go about it. To facilitate all this, though, you need to look for good furniture stores. This is because a store will determine the kind of furniture you get.

    Browse internet for better ideas

    Do your research and get friends and family to guide you. Look for tips online on choosing furniture stores. The information can be too much, and you might need to look for different reviews. Whenever you are looking at reviews, make sure to employ user-reviews first. Get first-hand information on different items and how they work. Remember, knowledge is key, and this is the way to go.

    There are so many stores that tend to store the room furniture that might not please you in many ways. Regarding prices, why not look for second-hand furniture or cheap furniture.

    The design must be inspired by your taste. Look for good ways to customize different furniture as you wish. Look for advice from specialized furniture designers. You can also read widely to make sure you get all the tricks and tips that will work.

  • Remodelling While You’re Stuck at Home

    Remodelling While You’re Stuck at Home

    Now that everyone is making the best of spending most of their time at home, people everywhere are discovering that there’s still a lot you can accomplish from the comfort of your own computer – even interior redecorating. One of the greatest challenges about working from home is to deal with the monotony. You can provide a boost of energy to yourself and your family by taking the time now to remodel your living space with fresh, new solid wood furniture.

    Remodelling Versus Renovating

    The words remodel and renovate sometimes get used interchangeably, but they are actually two very different activities. The difference, however, is fairly straightforward: namely, renovating involves some kind of change to the actual structure of your home.

    Usually, this means that you’re tearing out walls and adding new structural features, even if these are merely windows or doors. Renovating usually involves a contractor or crew of workers and often requires a building permit.

    What is Remodelling?

    On the other hand when you’re remodelling your home, you don’t necessarily have to do any actual construction. The great things about this is that you can do it yourself if you’re experiencing a situation wherein you need to practice social distancing.

    In order to remodel you home, all you have to do is order the things that you’d like to change to be delivered directly to your home – you won’t even need to come in contact with any of the people doing the deliveries. 

    Handcrafted Wood Furniture

    If you’re going to give your home a furniture makeover, then you’ll want to invest in a furniture company that you can trust to bring quality and style to your living spaces. An experienced and proven solid wood furniture crafter like Woodcraft makes maple tables that will fit gorgeously into the right environment, but they also have options that can suit any kind of contemporary décor.

    The Beauty of Solid Wood

    Perhaps the best part about bringing quality wood furniture into your home while you’re spending most of your time there is that natural materials like real solid wood bring a sense of nature into your home. When you’re spending less time outdoors, it is important that you surround yourself with materials that conjure up the natural world in order to help you feel connected with nature.

    Hand-Crafted Solid Wood is an Excellent Investment

    In these times when the economy is rapidly fluctuating, it is important to ensure that all of the items that you purchase are worthwhile. Hand-crafted solid wood furniture makes an excellent item to invest in because it is built to last a lifetime. This means that you can be sure you’re not wasting your money on a product that will only remain useful for a short while.

    Even in difficult times, you can always trust that solid wood furniture will make a great addition to your home. Hand-crafted wood furniture never goes out of style and is built to last. Bring a bit of style and comfort into your home by ordering a piece of new solid wood furniture set today.

  • 8 GUIDELINES TO HIRE THE IDEAL INTERIOR DESIGNER TO MATCH YOUR HOME

    8 GUIDELINES TO HIRE THE IDEAL INTERIOR DESIGNER TO MATCH YOUR HOME

    Selecting an interior designer is not a walk in the park. In fact, most of the homeowners are often petrified by this condition. Whether you are occupying a new home or simply renovating an outdated one, an interior designer is the best friend you need. The assertion that interior designers work with individuals who are well off financially is far from the truth. While individuals can hire a designer to work on the entire project, they can as well opt for the one who will work with them for smaller jobs. Interior designers can be very helpful in various ways.

    For instance, they can help in such things as selecting the most appropriate paint color, lighting, designing for space, and shopping for furniture among other tasks. Incontrovertibly, hiring designers based on when there is need can really be a cost-effective approach and often give individuals the path to follow their own visions when structuring the most efficient space for their family. Well, hiring a designer may not be the exact issue.

    The main problem lies with the involved process of getting one, something you must be acquainted with. Even so, you still do not have to fear. This article will help you learn about the whole process to the point of getting the best interior designer. You will learn everything there is to be learned while making the decision.

    Selecting an appropriate interior designer involves a lot and it is not just a matter of opening the phonebook or making an internet search. To begin with the basics, you must put into consideration the following three key points:

    • Look for an interior design that defines your sensibilities. It is important to actually get designs that speak to you. But how can you do that? Well, why not visit some model homes or even the designer show houses within your locality? You will really come across the one that speaks to you. Alternatively, you can go through various magazines and establish a room that perfectly fits your design taste. You can then establish the person behind the attractive look and write their contact information.

    • Ask for opinions and suggestions from friends. Suppose one of your neighbors, friends or friends of your friends interacted with a professional designer, seek information and learn about their experiences. In case you get good feedback, why not contact the designer?
    • Seek help from professional organizations. You can use such entities within your area of residence as the starting point in this regard. You can as well make use of the referral service. You can learn more about the same on Craftwerkz Interior

    Guidelines to Hire the Ideal Interior Designer to Match Your Home


    Now that you are acquainted with the basics, let us now examine eight basic steps you can follow to arrive at the most appropriate designer. Let’s start.

    1. Establish your stylishness

    Before you start cross-examining interior designers, you must be aware of the style you really want. You can take your time to search for information from websites that can really help you learn the details of the style you have opted for. It is very necessary to be aware of your personal style in order to hire the right individual who can perfectly handle the task. While most of the designers have their own signature stylishness, the most efficient ones will adjust to your personal preferences.

    1. Examine some portfolios

    After identifying your style and even discovered a number of designers that can fix that in your opinion, it is time to cross-check their portfolios. You can learn a lot from their previous works and think of yourself living in such spaces. This will help you arrive at the best decision.

    1. 3. Set your budget

    It is very significant to establish your budget line and work within its limits. Notably, a number of designers will set a fixed charge for the rendered services while others opt for hourly rates. This can as well be a determining factor when selecting candidates.

    1. Arrange for meetings with designers

    After narrowing down to a few individuals, time is ripe to personally meet them face to face. Nearly all designers will not charge a fee for such sessions. However, it will be very important to inquire over the phone before organizing for the same.

    1. Ask many questions, though relevant ones

    In such sessions, ask questions with regards to the clients you can possibly contact for referrals, experiences and certifications, the services to be provided, the associated costs, the duration for the entire project, and any other thing you may want to think about. Narrow down to specific things, even write them down to ensure that you cannot forget important things.

    1. Be open-minded always

    Acknowledge the fact that it is very difficult to love everything about a designer and be accommodative enough. While your styles may be similar, you may not end up agreeing on some minor details. So, remain open-minded, not dismissing the recommendations put forward by the designer without giving it a try. Again, you need to be cautious enough not to allow him or her to make you follow the suggestions forcefully because they may be simpler or appear a little bit more comfortable doing things that way.

    1. Try to Compare Notes

    After having meetings with shortlisted individuals, try to compare notes seriously. Examine the estimates each one of them gave out, trying to point out advantages and disadvantages. Remember opting for the cheaper alternative is not always the best thing.

    1. Sign the Contract

    After making a decision on the designer you will have to work with, contact him or her, letting the person know of your choice. Before any work commences, ensure that you sign a contract. The agreement should clearly stipulate such things as the responsibilities of each party, the exact timeframe, the budget line, and all other essential aspects. You will together set a plan on where to start from, the things you want to keep and the room you want to be redesigned. Where necessary, accept to modify the schedule.

    As highlighted before, selecting an interior designer may be a daunting task. You must be very careful to make the right decision. This article has clearly shed lights on the steps you need to consider. Be very careful and follow them to the latter for success.

  • 2019 Trend Alert: Antiques and Coral Blush Tones

    2019 Trend Alert: Antiques and Coral Blush Tones

    The beautiful red, orange, pink and yellow tones of nature can be seen in their full vibrancy in the autumn, which actually makes us wonder if we can’t bring a bit of the season inside our own homes as well.

    As we head deeper into the year, antiques and coral hues seem to be all the rage right now and we understand where that inspiration is coming from. If you want to be part of the trend without having to make major investments in redecoration, there are a few easy ways to welcome coral blush, as well as the antique obsession into our own homes.

    Creating Contrast with the Trend and the Classic

    Grainy oak furniture is a classic and when you couple it with the pinkish hues of coral blush, it creates a contrast like no other. Unlike most dark and bright contrasting themes in home décor, the background of light oak with irregular grains is still bright, but the coral blush stands out.

    Place jugs, vases, and plates on an oak wall rack to do this in the living room or kitchen. Alternately, put a vase in coral blush on top of a wooden or obsidian table, right in the center. Make it come alive with the theme of the season by adding a few pink azalea flowers in it.

    Combine the Two Contrasting Themes of Antique and Coral Blush

    Although antique furniture and clocks are a trend again in 2019, just like coral blush, they are most certainly not similar in any way! However, there are ways in which you can make that contrast work for you with perfection.

    Choose a small wall in the living room or even the bedroom and paint it in the shade of the season. Once you are done with the paint job, put the Casa Uno Rusty Three Pane Iron Wall Clock on that coral blush wall to create an absolutely gorgeous combination of the old and the new.

    The Rusty Three Pane isn’t your only option on OhClocks, though, because their wall clock selection is excellent and consists of a huge number of antique pieces that match the theme of this year brilliantly. The Cambridge Charlie Wooden Cabinet Pendulum or the Casa Uno Antique Iron and Wood are also excellent choices to consider for your wall in coral blush.

    Even if you do not really want to paint an entire wall, the huge collection of wall clocks in varying sizes and themes will let you find something on OhClocks to fit any theme you may have in mind.

    Accent Pieces in Bright Coral

    It is understandable if you don’t really want to paint a whole wall in coral blush, but that’s not necessarily a problem because you can just use the power of accents to highlight the theme throughout your home.

    Place a few glasses and a water jug on the dining table that come in coral blush and add flowers (paper flowers will do just fine) to your vases in the living room, kitchen, and the bedroom. Just make sure that while the shade will always be coral, the actual accents used in each room are different.

    These are just a few ideas and there are so many others; put an antique cover on the couch and coral covers on your throw pillows and cushions, cover your bed in a nice coral bedsheet and let the pillow covers complement it in the same theme. The possibilities are only limited by your imagination, but these few ideas should be able to kindle that spark you need to set your mind free.


  • How to Make sure the Installation of Your New Hardwood Floor Goes Smoothly

    How to Make sure the Installation of Your New Hardwood Floor Goes Smoothly

    Congratulations on choosing to have real hardwood floors – the only way to achieve that perfect, 100% genuine real wood look and feel that adds a richness to any room in your home. In most cases, your flooring is made from what is termed ‘engineered wood’ – the result of a process where real hardwood is placed on a base which makes it cheaper, much more stable and less likely to warp.

    The great thing about engineered hardwood floors is that any keen DIY person can install them, so long as they are fully prepared and understand what to do. We can help you do a great job with these handy hints on how to get started, see fabulous results, and generally make sure the new hardwood floor is installed with no drama or disaster.

    1.                  Check out and prepare the subfloor

    This is crucial preparation for laying any floor, and for hardwood floors you must have a really strong and sturdy subfloor. In some cases the existing floor [if in great condition] can fill this role, but most floors will need a specially chosen and fitted subfloor.

    Concrete is a popular choice for creating a top class subfloor with engineered hardwood, but it does need to be at least a month old and be clear on relevant moisture tests. Wooden floors which are not in perfect condition only need a thin subfloor of hardwood adding.

    The point is to create a smooth, flat surface so the finished hardwood is secure and looks great. This is also a good time to store the hardwood in its destination area, as it needs to be there for several days to adjust to the humidity; a way to prevent future warping.

    1.            Gather all the tools needed for a smooth installation

    As well as a range of standard carpentry tools you need either fasteners,staples, glue or nails, unless installing the type of planks which are laid so they click together. Planks which need to be glued down mean you need special tools such as a notched trowel. Don’t forget you also need to remove doors, plus door and baseboard moldings before installing the floor.

    1.                  Cutting and fitting your engineered hardwood floor

    A fine-toothed blade with a carbide tip should be used to cut down the hardwood flooring, and engineered hardwood planks need to be sawn with the finished side of the wood facing the floor –a technique which helps avoid the boards chipping.

    Don’t fit the flooring right up to the very edge of the walls – instead leave a narrow gap which allows for any natural expansion of the wood to occur. You don’t need to worry about being left with an ugly gap though, as anything left will be easily covered by the re-installed base moldings.

    Always install your hardwood floor planks from the left of the room across to the right.

    You will probably need to move the planks into the exact place they need to be once laid. Do this using a tapping block – never try to nudge them using a hammer on the boards directly as this will not bring you the desired result.

    1.      Finishing the installation

    Engineered hardwood flooring is designed to be ready to go, so it doesn’t require sanding, although you could do this once if you really felt the need to.

    Laying traditional hardwood floors

    In this article we have concentrated so far on engineered hardwood floors as they are considered more suitable for DIY enthusiasts to install. They are also, of course, much more resilient, and therefore longer lasting than their regular hardwood counterpart which is extremely vulnerable to moisture – and consequently is likely to warp and expand in a fairly short time. However, if your heart is set on using genuine hardwood – such as White Oak Engineered Flooring – and you have enough skills and the necessary tools to install it, then these tips will help it all go smoothly.

    Tip #1 – Preparation is key

    Hardwood flooring is quite a major investment so it pays to do all the necessary preparation. For example – you need to measure the area to be covered properly to buy the correct amount of flooring materials you need. You also need to be 100% sure that the new wood will be laid on a surface which is completely smooth and clean, as well as perfectly even. (You may be tempted to leave the existing floor and simply lay the wood over it, but beware as this could make the floor in one room higher than the floors in those around it.)

    Tip #2 – Make your mark

    You need to mark out things like where the floor joists are and work out which direction the subfloor supporting floor joists are facing. This is important as the best results will be gained when you lay the flooring perpendicular to the floor joists.

    Tip #3 – Start the installation at the correct point

    This will be the longest straight wall. You also need to lay something like heavy kraft paper as underlay, to help reduce noise and to absorb moisture. This should be stapled to the subfloor using a special gun.  

    Tip #4 – Use the correct tools

    To cut wood for a hardwood floor you need either a job or table saw, either a circular or power miter saw, or for curved/irregular cuts – a jigsaw. Cuts which will be visible should be made with the flooring facing down, while those that will be covered can be cut with the flooring facing upwards.

    Fastening hardwood to a ready prepared floor means using nails in two different ways, either face nailing or by a method called ‘blind nailing’. These can be carried out with finishing nails and a hammer, but a power nailer is much easier (and better for the floor) for face nailing, and for bind nailing you can hire a pneumatic flooring nailer.

  • Moving houses with kids onboard? Be prepared to help them experience a smooth transition!

    Moving houses with kids onboard? Be prepared to help them experience a smooth transition!

    Moving is much more than just finding a house that will meet all your needs. Moving is a long process, and most of us have experienced it at least once in our lives. The process can be quite overwhelming, and even stressful too — more so when we have a young family to carry along. The thought of shifting to an entirely new unknown place already takes a toll on your emotions, and the last thing you need is another speck of worry. Let’s face it, whether you are moving across town or across the country, it’s quite stressful for anyone involved, especially your kids.

    The moving process is best handled if you do the correct amount of planning. Though it’s very tempting to leave the organization part to the last day, a proactive approach works best. It’s the perfect way to handle moving stress! And what more? You will also be left with some time to relax! But, just like most of us, you might not be too proficient in the correct planning and execution of the moving process, especially if it’s your first time. That’s precisely why you should call for interstate removalists sydney. Acorn Furniture Removals specialise in all kinds of removal and storage solutions. They will help to make your moving process a whole lot simpler — whether its home removals, office removals, relocations, furniture removals etc.

    •  The most probable problems that you may need to handle during a moving process with kids:

    If you ask us, we would recommend you to be organized from the very beginning. From packing all your valuable possessions to managing the behaviour of your kids, you have to literally turn into super-man/woman. Now, if you are wondering how to go about it, you just need to plan ahead. Then stick to the plan! To be more smart and efficient, hire efficient interstate removalists in Sydney to help you execute the plan. This way, you wouldn’t have to be worrying sick all the time, and you could actually take a moment out to say goodbye to your old home, and also get excited for your new abode. So, let’s take a look at some of the most common problems that may need your attention when you move with kids:

    Handle Mood swings: Generally, moving with small kids (aged up to five) are comparatively easier. But not so when their mood starts swinging. They might want your time and attention when you are busy packing, and it might make them irritated. So, it’s sensible to give time to your children and manage the rest of the things when they are sleeping.

    Be the epitome of patience: Parents are bound to lose their patience when they see their kids coming in the way of the packing and organising process. The kids can get really off mood, especially when they notice all of their toys getting packed up. So, that’s when parents need to be cool, patient and explain things to their kids.

    Prepare to be a Mind Reader: If you have kids aged between 6 and 10, a moving process will prove to be quite difficult. Your kids might be going through a lot of stress at the prospect of leaving behind their school, friends, neighbourhood etc. To handle this kind of emotional outbreak in the best way, you should try to make things comfortable for them. You should spend quality time with them, help them talk it out and get rid of their negative thoughts. Crux – patiently ease out their fears and doubts.

    Settling down in new school: This is one of the biggest problems for any mother/father who has just moved to a new place. While your kid is still upset about leaving behind all his friends, you must be busy finding a great school for him. But, since post-moving you will already have so many tasks at hand, it’s best that you get your child enrolled before the final move. This will help you reduce some of the tensions of the hour.

    ○ Seek Professional Help to overcome Lack of time and experience: One of the main reasons behind the stressful move of young families is their lack of experience in this matter. They will definitely commit blunders and end up creating complete chaos. So, to avoid such scenarios, you need to hire professional removalists who will be with you and your family, every step of the way.

    So, though there are quite a bit of hurdles that you need to pass during your moving process with your kids. But the good news is — it can still made easier. You just need to keep calm, be focused, follow the basic tricks! And voila! Soon you shall find yourself well settled and enjoying in your new place!

  • Tips for Building an Outdoor Patio

    Tips for Building an Outdoor Patio

    Whether you just purchased farmland for sale in Michigan or a house with a relatively small yard in California, building an outdoor patio can be a great way to enjoy that new property, but it can also be quite costly as the DIY Network notes, so you’ll want to be sure that it’s done right the first time.

    Choose the Right Style

    It’s important to choose a style that harmoniously blends the house and yard or garden. Aim to follow the theme that’s already there with existing building materials. For example, if you have a brick Cape Cod-style home, build a patio out of stone and brick. The most important thing to think about is the kind of paver you want – they come in three different materials: concrete, brick and natural stone. While natural stone is attractive, providing an earthy aesthetic, it can also be pricey and it’s not ideal for high traffic areas as the tend to break easily. For high traffic areas, you’re better off with brick as it’s stain-resistant and strong. Here, on the concreteprosbend.com  you may find concrete most affordable, plus it’s durable, strong and comes in a variety of colors and styles. 

    Make Sure it’s Large Enough

    If your patio isn’t large enough to allow for things like enjoying an alfresco meal and general foot traffic, it could end up being a waste of time and money. Be generous with dimensions – if you want to accommodate a 3-foot-square table and four chairs, you’ll need a 10 X 10 patio. Add another three feet to each dimension to make room for extras like a play area or a grill. Outline the area using stakes and strings before construction begins, adjusting measurements to suit materials.

    Call Before You Dig

    Before prepping the area for your patio, be sure to call your local utility company to have any electrical, cable or plumbing lines marked. When you’re ready, you’ll want to dig at least six inches down, getting below the root level of any vegetation. If the soil is dry, water the area the night before you dig which will help soften it up to make it easier.

    Use Landscaping Cloth to Prevent Weeds

    Be sure to use a landscaping cloth, creating a barrier between the old soil and the new base you plan to use. That will minimize weeds and any other unwanted vegetation from growing underneath and encroaching on your patio. To determine the size you need, multiply the length by the width of the space and add 10 percent.

    Don’t Forget About Drainage

    Be sure that the patio slopes away from the foundation of your home, toward an existing drainage area or to one that can handle the moisture. It’s best to play for a quarter-inch drop in elevation for every two feet of distance.

    Save Some Extra Bricks or Stones

    By saving a few extra bricks or stones it can make repairing easier later. You don’t want to get into a situation where the paver you’ve used is discontinued and have nothing to replace broken ones. When the inevitable happens, you can remove broken pavers using a thin pry bar or a couple of screwdrivers.