Home office closet conversion ideas have quietly become one of the most searched renovation topics of the last four years — and for good reason. The average American closet holds clothes worn less than 20% of the time — but it holds exactly enough square footage to build the dedicated workspace most remote workers say they’re missing. That’s not a design observation. That’s a failure of imagination dressed up as a storage problem.
Quick Answer
The average American closet holds clothes worn less than 20% of the time — but it holds exactly enough square footage to build the dedicated workspace most remote workers say they’re missing.
I spent eleven years helping people reorganize how they lived inside spaces they couldn’t afford to change structurally. Closets came up constantly. Not as offices — people weren’t thinking that way yet — but as wasted rectangles that somehow felt sacred. Untouchable. Like the clothes inside them justified the real estate they consumed.
They didn’t then. They definitely don’t now.
Why Your Unused Closet Is the Most Underrated Room in Your Home
In This Article
- Why Your Unused Closet Is the Most Underrated Room in Your Home
- How to Turn a Closet Into a Home Office: The 6-Step Process Before You Buy Anything
- 1. The Reach-In Refresh — Maximum Output From Minimum Depth
- 2. The Walk-In Takeover — When You Have Room to Build a Real Office
- 3. The Curtain Cloffice — The Renter’s Best Option
- 4. The Bi-Level Build — Desk Plus Storage Without Sacrificing Either
- 5. The Murphy Bed Hybrid — When the Closet Needs to Be Two Things
- 6. The Pegboard Command Center — For the Paper-Heavy or Craft-Adjacent Worker
- 7. The Closet-to-Studio Conversion — For Video Calls and Content Creation
- 8. The Under-Stair Closet Conversion — Awkward Geometry, Surprisingly Functional
- 9. The Shared Closet Conversion — Two Users, One Space, Zero Compromises (With Planning)
Remote and hybrid work didn’t just change where people work — it exposed a quiet design failure that’s been sitting behind bifold doors for decades. According to a 2023 Pew Research report, 35% of workers with jobs that can be done remotely now work from home full-time, up from 7% pre-pandemic. That sustained shift created something residential design hasn’t caught up to yet: millions of people who need dedicated workspace and have nowhere logical to put it.
Here’s what most people miss when they’re staring at a cramped apartment or a house that’s full but somehow still wrong: the average closet consumes 6–10 square feet of interior floor space — which is, functionally, the same footprint as a purpose-built home office nook in a high-end renovation. The difference is that one of those comes with a rod and wire shelving, and the other costs $40,000 in structural work.
Closet conversions avoid that entirely. A basic functional setup runs $150–$400. A mid-range version with real storage lands between $400 and $1,200. Even a built-in custom conversion — the kind a carpenter builds to spec — rarely exceeds $4,000. Compare that to the rental premium for a one-bedroom-versus-studio in any major city and the math becomes embarrassing quickly.
The other thing competitors don’t say clearly enough: unlike a desk wedged into a living room corner, a converted closet can be physically closed. That door — or curtain, or barn slider — is not decorative. It is the single most effective work-life boundary a remote worker can build without a permit. The psychological weight of a closed door at 6 PM should not be underestimated. I’ve watched it change how people relate to their homes.
Most closet-to-office content skips this framing entirely and jumps straight to pegboard recommendations. That’s exactly the wrong order of operations.
Actionable takeaway: Walk to your least-used closet right now. Measure the interior width, depth, and ceiling height. Write those numbers down before you read another word — every conversion decision that follows flows from those three measurements.
How to Turn a Closet Into a Home Office: The 6-Step Process Before You Buy Anything
The single most expensive mistake I ever watched a client make — before I could stop her — was ordering a floating desk, pegboard, and matching storage bins before she’d checked whether her closet had any electrical access. The desk was beautiful. It also required an extension cord running under the door across the hallway floor, which defeated the entire purpose of a contained workspace and created a tripping hazard she lived with for eight months.
Measure before you shop. This sounds obvious and apparently means nothing to anyone until they’ve had a $300 desk delivered that’s four inches too wide.
Here is the actual sequence that works:
Step 1: Measure everything. Interior depth, width, ceiling height. Note slanted ceilings, pipes running through the upper wall, or electrical panels that limit where you can mount anything. A standard reach-in closet is typically 24 inches deep and 36–72 inches wide — just enough to fit a 20-inch deep desk with genuine legroom if you remove the doors or extend the footprint slightly.
Step 2: Assess electrical access. Find the nearest outlet. Decide whether an extension cord through the door frame is acceptable long-term, or whether you need a licensed electrician to add a dedicated circuit inside the space. For most reach-in conversions, a well-managed extension cord is fine. For a walk-in with multiple monitors and a charging station, it’s not.
Step 3: Decide on door treatment. Remove doors entirely for an open, airy feel. Replace them with bifold or barn-style for real closure. Add a tension rod and curtain for a budget-friendly soft boundary that costs under $40. Each option changes the acoustics, the light, and the psychology of the space.
Step 4: Define your primary work type. Video calls require backdrop planning and dedicated lighting — the back wall becomes a set. Paper-heavy work needs horizontal surface area above everything else. Tech-heavy setups with multiple screens need cable management decisions made before any furniture goes in, because retrofitting cable management is miserable.
Step 5: Set a budget bracket before opening a browser tab. Basic functional setup: $150–$400. Mid-range with real storage: $400–$1,200. Built-in custom: $1,200–$4,000+. Knowing your bracket prevents the slow budget creep that turns a $200 project into a $900 one through fourteen small decisions.
Step 6: Check ventilation. Enclosed spaces with no airflow become genuinely uncomfortable after 90 minutes. A small USB-powered fan, proximity to a ceiling vent, or simply leaving the door partially open during work hours solves this. It is not optional for daily use.
Actionable takeaway: Complete steps 1 and 2 before purchasing anything. Electrical reality and physical dimensions will eliminate or confirm half your options before you ever browse a furniture site.
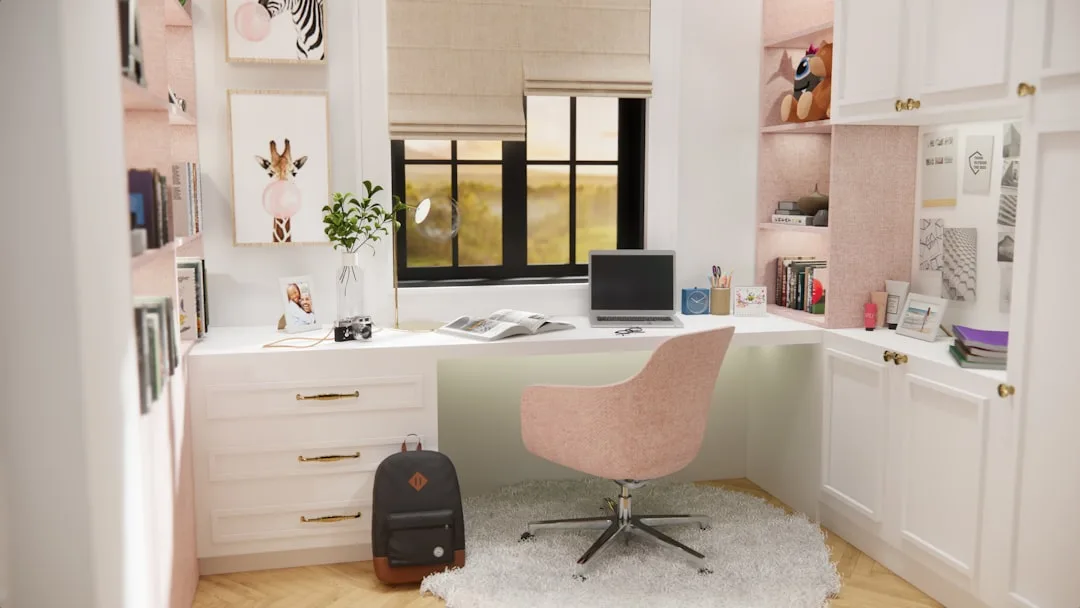
1. The Reach-In Refresh — Maximum Output From Minimum Depth
This is the conversion most readers actually have available to them, and it’s the one most design content handles worst — usually with a photo of a perfectly styled nook that gives zero information about how it was built or what it cost.
Standard reach-in closets run 18–24 inches deep. That depth is the central design constraint, and everything else flows from respecting it rather than fighting it.
A wall-mounted floating desk is non-negotiable here. Freestanding desks require clearance in front of and behind the legs — clearance a reach-in doesn’t have. Floating desks mount directly to the back wall, preserve leg clearance underneath, and start at approximately $60–$180, supporting between 100 and 220 lbs depending on bracket type. That’s sufficient for a monitor, laptop, keyboard, and accessories with weight to spare.
Remove the closet rod and upper wire shelf first. Both of them. I know it feels drastic. Do it anyway. You’re not losing storage — you’re trading low-density hanging space for a functional home office closet conversion that earns its square footage every single day you sit down to work.
More conversions, detailed material specs, and cost breakdowns continue below.
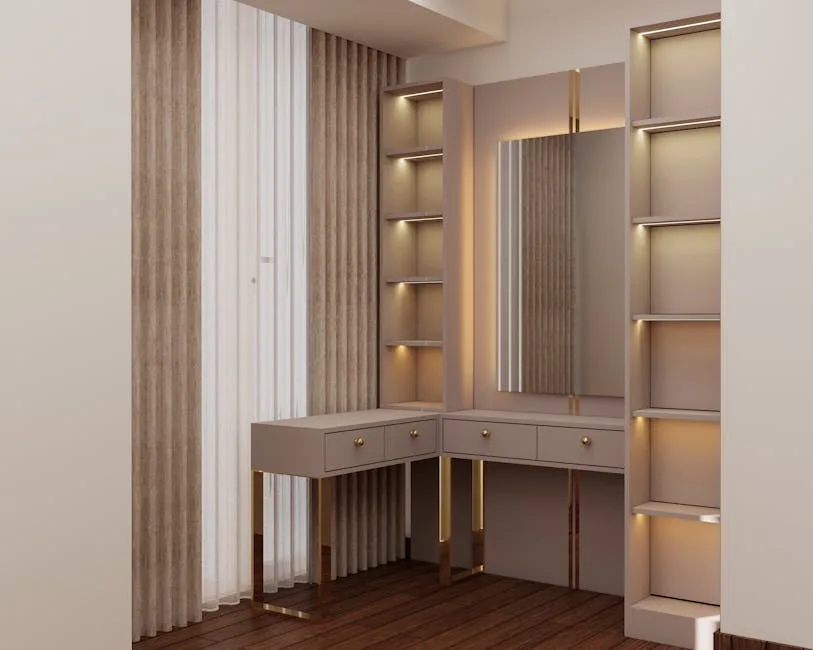
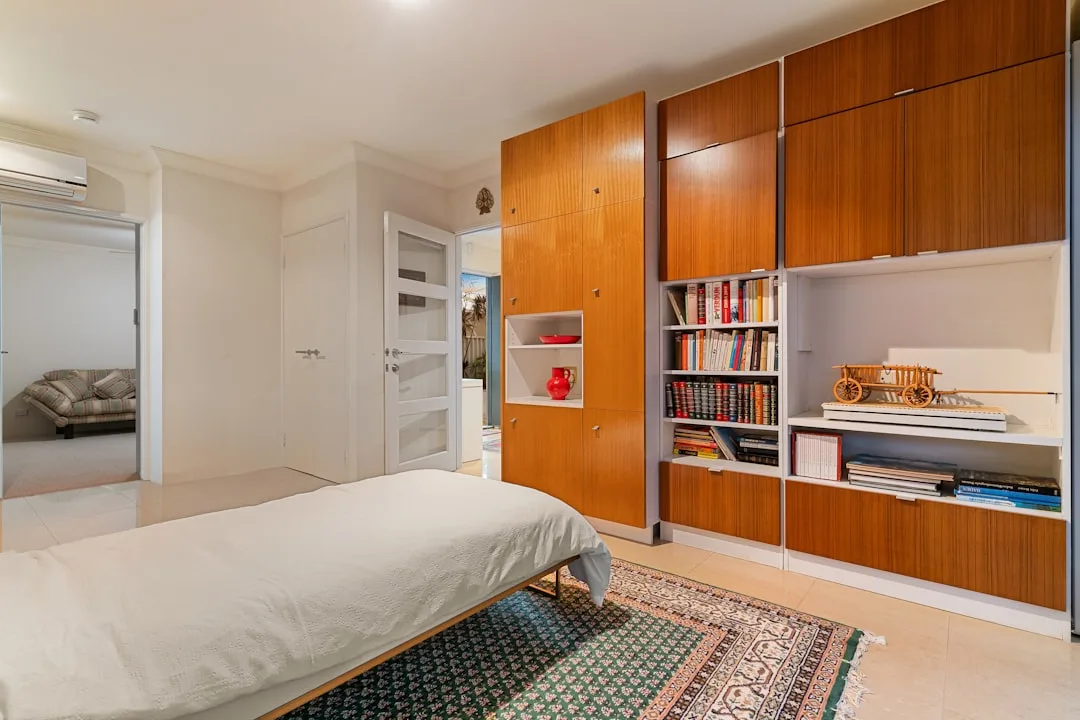
2. The Walk-In Takeover — When You Have Room to Build a Real Office
Walk-in closets present a genuinely different problem than reach-ins. The constraint isn’t depth — it’s decision-making. When a space is large enough to hold multiple configurations, most people freeze, overbuy, and end up with a cluttered hybrid that functions as neither closet nor office.
The home office closet conversion ideas that work best in walk-ins share one trait: they commit to a single dominant function and accommodate the secondary one only where space genuinely allows.
A walk-in conversion that works typically follows this layout logic:
- One full wall becomes the desk wall. Floor-to-ceiling shelving flanks a wide floating surface. The desk itself can be deeper here — 24–30 inches — because the room allows it.
- One wall stays as storage if you genuinely need it. Open shelving for frequently accessed items. A single clothing rod if you’re keeping a partial wardrobe. The key is containment: one wall, not three.
- The floor plan respects the chair. Measure your office chair’s full recline before placing anything. A walk-in that can’t fit a chair pushed back 18 inches is not a functional workspace — it’s an ergonomic problem waiting to develop.
Cost range for a walk-in conversion: $600–$3,500 depending on whether you’re using IKEA components, big-box modular shelving, or custom cabinetry. The IKEA KALLAX and PAX systems are particularly effective here because they’re designed to be reconfigured and the dimensions are well-documented.
Actionable takeaway: In a walk-in conversion, draw the floor plan before you shop. Assign each wall a single purpose on paper. If two walls share a purpose on your sketch, you’re overcomplicating it.
3. The Curtain Cloffice — The Renter’s Best Option
“Cloffice” is not a word I’d have invented, but it’s accurate enough to keep. This version is specifically for renters who can’t patch drywall, can’t remove doors without losing their deposit, and can’t hardwire anything.
The curtain cloffice works by replacing closet doors entirely with a floor-length curtain on a tension rod or ceiling-mounted track. Cost: $25–$90 total. The curtain draws shut at the end of the workday, hiding the desk, the cable tangle, the sticky notes — everything. The visual separation is surprisingly effective. Out of sight genuinely does reduce the low-grade cognitive noise of an always-visible workspace.
Inside the closet, nothing gets attached to walls. Everything sits on freestanding shelving units (the kind with adjustable feet that won’t scratch floors). The desk is either freestanding and sized to fit the opening, or it’s a wall-leaner style that braces against the back wall without mounting hardware.
What this approach sacrifices: Rigidity. A freestanding setup wobbles slightly more than a mounted one. If you’re a heavy typer or you’re using a mechanical keyboard, this matters. A furniture grip pad under the desk legs solves most of it.
What it gains: Complete reversibility. The entire conversion comes out in an afternoon. No damage, no deposit risk, no landlord conversation required.
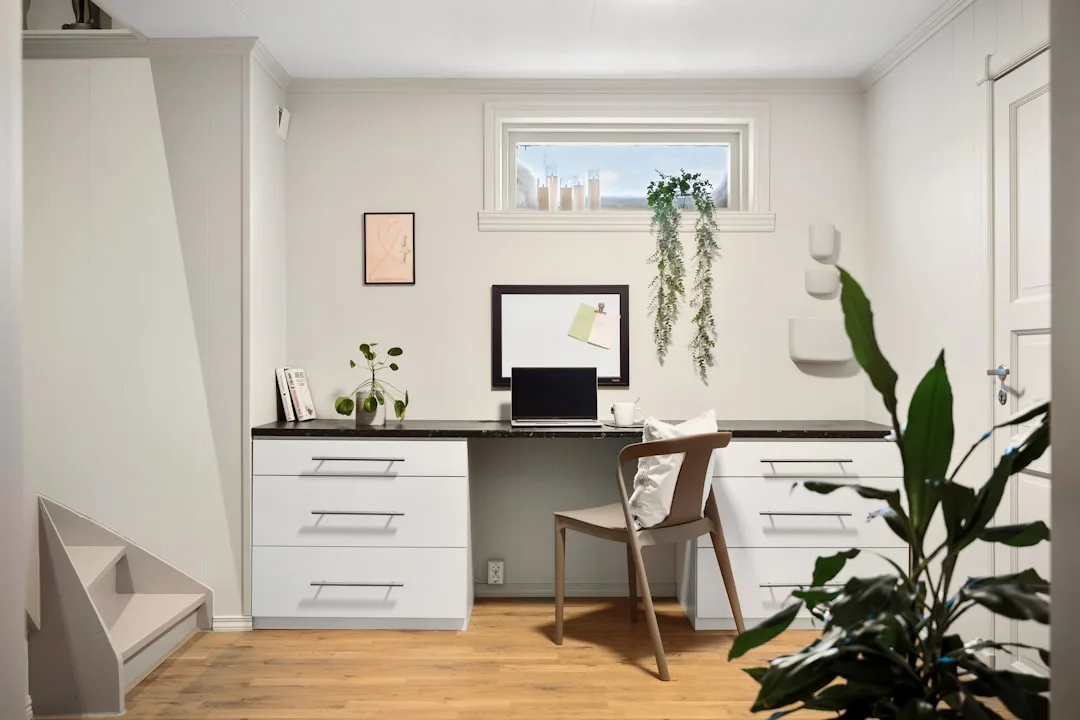
4. The Bi-Level Build — Desk Plus Storage Without Sacrificing Either
Most closet conversions treat the vertical space above the desk as an afterthought. This one doesn’t.
The bi-level approach dedicates the desk surface to work — nothing else lives there — and builds a complete second layer of storage above it, starting approximately 18 inches above the desk surface (the minimum clearance that prevents you from hitting your head when you stand up quickly, which you will).
Above that 18-inch clearance, the full wall width becomes shelving. Not decorative shelving with plants and a single book. Actual working storage: file boxes, reference materials, peripheral equipment, supplies. The kind of storage that would otherwise live in a separate filing cabinet taking up floor space elsewhere.
The structural requirement: Whatever you mount above the desk must be anchored to studs, not just drywall. A shelf loaded with binders and equipment can exceed 50 lbs easily. Drywall anchors rated for 30 lbs are not sufficient. Find the studs, use structural screws, and if the stud spacing doesn’t align with your preferred shelf placement, use a French cleat system — it distributes weight across multiple anchor points and is genuinely forgiving of imperfect stud placement.
Cost to add the upper layer: $80–$300 depending on whether you’re using premade shelving brackets or building custom shelves from lumber.
5. The Murphy Bed Hybrid — When the Closet Needs to Be Two Things
This is the most complex home office closet conversion idea on this list, and also the most genuinely useful for studio apartments and guest room situations where the space cannot be permanently dedicated to a single function.
Murphy bed systems have evolved significantly in the last decade. Current integrated units — IKEA’s RÅVAROR, Resource Furniture’s Ori system, and several independent makers — now include fold-down desk surfaces that remain accessible when the bed is deployed, and fold flat against the cabinetry when the bed is stored. The desk doesn’t disappear when you have a guest. The bed doesn’t require moving the desk to access.
The conversion works as follows: the closet opening is widened (this is the one conversion on this list that may require a permit and structural assessment), a Murphy unit is installed flush with the wall, and the surrounding wall space is built out with matching cabinetry for storage and additional workspace.
Cost range: $1,500–$8,000 depending on unit quality, whether you DIY the installation, and whether the opening requires structural modification. This is not a weekend project for most people. It’s a weekend project for people who’ve done carpentry before.
Who this is actually for: Studio apartment residents, people with one-bedroom apartments who need genuine guest capability, and anyone whose workspace doubles as a room that needs to function socially on weekends.
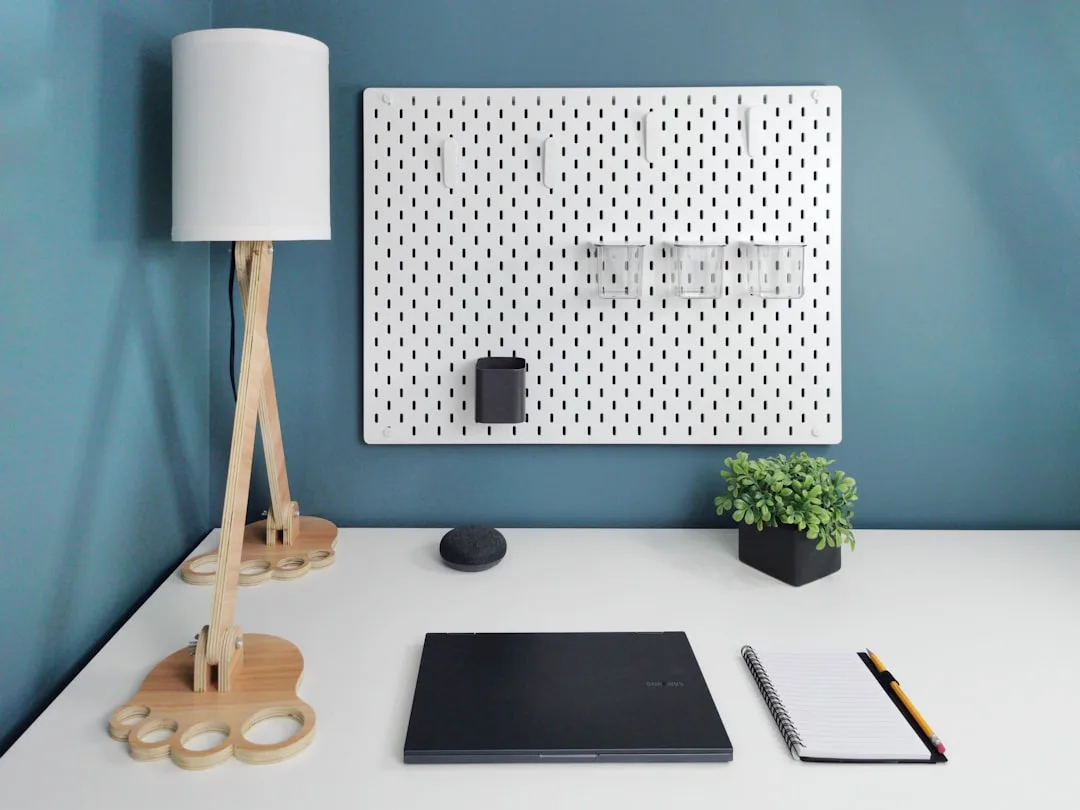
6. The Pegboard Command Center — For the Paper-Heavy or Craft-Adjacent Worker

Pegboard has earned its reputation as a closet conversion staple not because it’s stylish — though it photographs well — but because it solves a specific organizational problem that shelves don’t: variable item sizes that change over time.
Shelves fix the storage geometry permanently. Pegboard makes it reconfigurable indefinitely. For anyone whose work involves physical materials — samples, paper files, tools, craft supplies, small equipment — that reconfigurability is worth considerably more than the $30–$80 the pegboard itself costs.
The installation is straightforward with one critical detail most tutorials skip: pegboard must be mounted with a 1-inch standoff from the wall to allow hooks to insert properly. Mount it flush and the hooks won’t seat. Use furring strips or standoff spacers behind the board before securing it to the studs.
Pegboard accessories that are actually useful versus ones that look good in photos:
- Useful: shallow shelves with lips (items don’t slide off), tool hooks for headphones and cables, small bins for supplies
- Less useful in practice: magnetic accessories (the pegboard backing doesn’t magnetize, and add-on magnetic panels are rarely worth the cost), decorative items that reduce functional space
Actionable takeaway: Plan your pegboard layout with your actual items before drilling anything. Lay the board flat on the floor, insert your hooks, and arrange what you actually plan to hang. Photograph it. Mount that configuration.
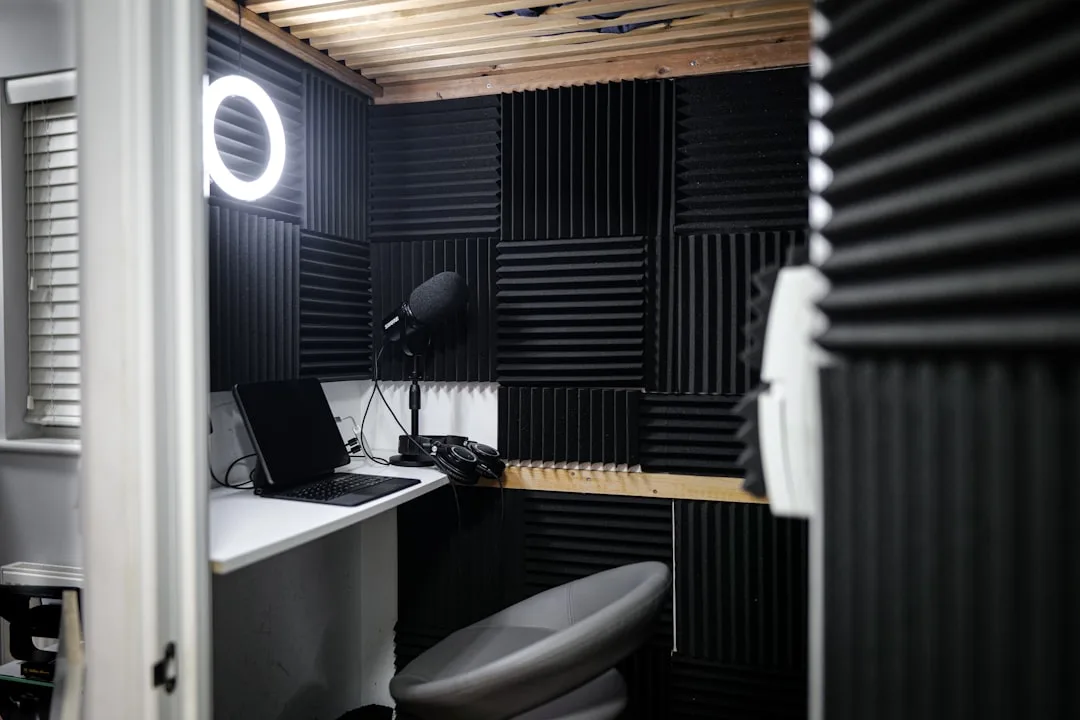
7. The Closet-to-Studio Conversion — For Video Calls and Content Creation
If your work involves regular video calls, client presentations, or any kind of content creation, this is the home office closet conversion idea that’s worth understanding in detail — because the back wall of your closet is now your professional backdrop, and most people are treating it like an afterthought.
The closet-to-studio conversion treats the back wall as a deliberate visual environment. That means:
Lighting comes first. A ring light alone is insufficient for a closet conversion because the proximity to the back wall creates unflattering shadows. A two-light setup — one key light at 45 degrees to your face, one fill light opposite — produces dramatically cleaner video than a ring light, even with a budget LED panel setup that costs $60–$120 total. Mount lights to the side walls of the closet where possible. If there’s no room for side-mounted lights, a single key light elevated above eye level at 45 degrees is the minimum acceptable setup for professional calls.
The back wall needs deliberate treatment. Options in order of cost: a solid painted color (matte finish, nothing too bright), a removable wallpaper panel, a fabric panel stretched over a simple frame, or a modular shelving display styled with intentional objects. The single worst backdrop in a closet conversion is exposed wire shelving with visible clothing behind it.
Acoustic treatment matters here more than in any other conversion type. A closet that’s been emptied has almost no soft surfaces — sound bounces directly off the back wall, creating a subtle reverb that reads poorly on calls. Adding a fabric panel, a rug on the floor, or acoustic foam (which does not need to be ugly — fabric-wrapped panels look professional) makes a meaningful difference in call quality.
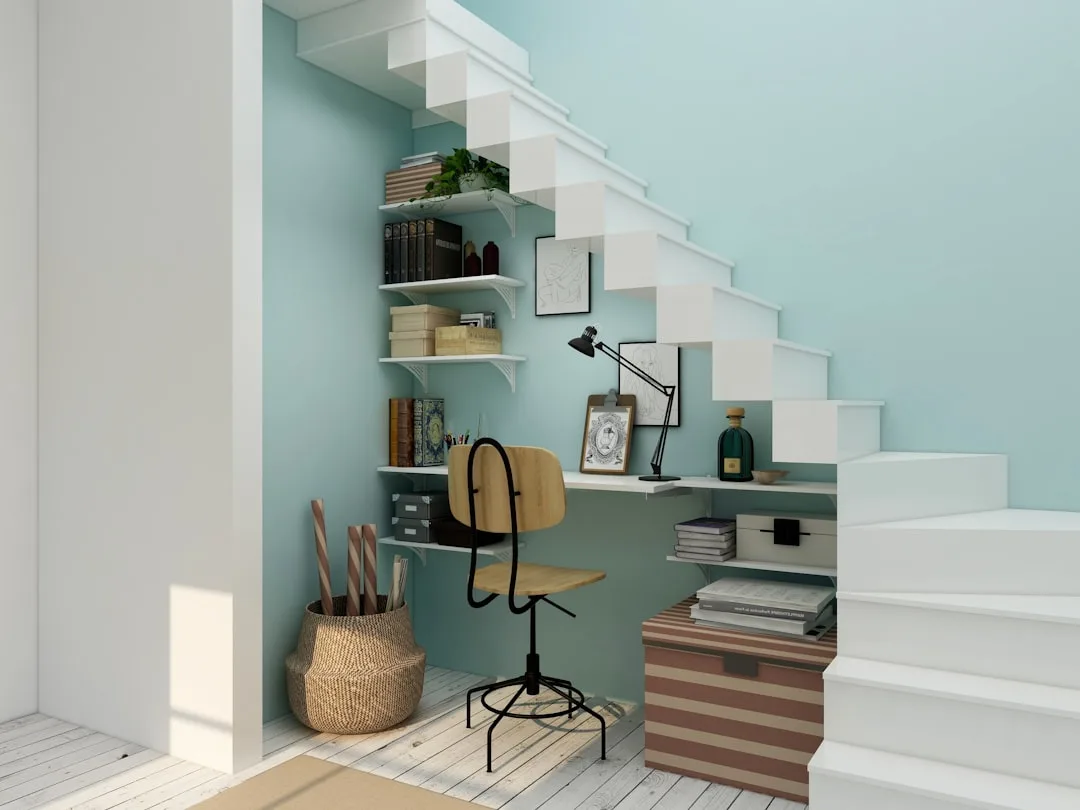
8. The Under-Stair Closet Conversion — Awkward Geometry, Surprisingly Functional
Under-stair closets are the most geometrically challenging spaces on this list and also among the most satisfying to convert because the “before” is almost always genuinely useless — a triangular cave with a slanted ceiling that stores gift wrap and holiday decorations that could live anywhere else.
The constraint is the slanted ceiling, and the design response is to stop fighting it.
What works in an under-stair conversion:
- Desk positioned at the tallest point of the space, which is typically at the open end of the closet where the ceiling is highest
- Monitor mounted to the wall rather than placed on a stand, which preserves desk surface and works better at the lower ceiling clearances found mid-space
- Shelving that follows the ceiling angle rather than fighting it — custom-cut shelves that step down with the ceiling look intentional rather than compromised
- Lighting is mandatory; these spaces receive essentially no natural light, and overhead placement is limited by the stair structure — LED strip lighting along the desk edge or under-shelf is the reliable solution
What doesn’t work: Tall storage, standing desk converters (insufficient ceiling clearance at most points), and standard task lamps that clip to a monitor (the arm conflicts with the slanted ceiling in most configurations).
Cost range: $200–$1,500 depending heavily on how much custom cutting the slanted geometry requires. IKEA components can be adapted with patience and a circular saw, but this conversion rewards people who are comfortable with basic woodworking more than any other on this list.
9. The Shared Closet Conversion — Two Users, One Space, Zero Compromises (With Planning)
The last conversion type is also the least discussed: a closet-converted workspace designed for two people who work different schedules, or two people who need genuinely separate work setups in a single converted space.
This works more often than it sounds like it should, because the core insight is that a closet workspace is typically used for 6–8 hours a day by one person, leaving 16+ hours available for a second user. Schedule compatibility matters more than square footage.
What makes a shared cloffice functional:
- A single shared surface with two distinct zones. A 60-inch floating desk divided visually (not physically) into two 30-inch zones. Each person’s equipment stays in their zone. Nothing crosses the centerline.
- Individual storage that’s clearly separated. Each person gets their own shelf, their own drawer, their own designated space. Shared storage leads to shared disorganization, which leads to conflict that has nothing to do with the design.
- A protocol for switchover. This sounds absurdly formal and is actually the thing that makes shared spaces work long-term. “When you’re done, surface is clear, chair is positioned, lamp is off” is a three-sentence agreement that prevents the resentment that accumulates from small daily frictions.
The schedule piece is non-negotiable for daily shared use. If two people work identical hours and both need the space simultaneously, this conversion doesn’t solve the problem — no conversion does. Two desks in separate rooms is the only real answer there.
Frequently Asked Questions
Is a closet big enough to work in every day?
For most remote workers, yes — with conditions. The minimum functional width is 36 inches (enough for a monitor, keyboard, and basic accessories). Depth matters less than you think once you switch to a wall-mounted monitor, which can reduce your required desk depth to 15–18 inches. The real limit is ventilation: an enclosed closet with no airflow becomes physically uncomfortable after 60–90 minutes. A USB fan or proximity to a ceiling vent is not optional for full-time daily use.
Do I need a permit to convert a closet into a home office?
In most cases, no. Removing shelving, mounting a desk, and adding lighting that plugs into an existing outlet requires no permit in most municipalities. The exceptions: adding a dedicated electrical circuit (requires an electrical permit in most areas), removing a wall or widening the closet opening (structural permit typically required), and installing HVAC modifications. When in doubt, a five-minute call to your local building department is faster than researching the answer online.
What’s the cheapest functional home office closet conversion?
A tension rod curtain to replace the door ($20–$40), a wall-mounted floating desk from a big-box retailer ($60–$100), a clamp-on LED task light ($25–$40), and a power strip routed through the door frame to the nearest outlet ($15–$25). Total: $120–$205 for a workspace that closes, has dedicated lighting, and keeps equipment off your living room floor. It’s not beautiful. It works.
How do I handle cables in a closet conversion?
Decide before anything goes in, not after. The most effective method for a reach-in closet is a single power strip mounted under the desk surface with adhesive cable anchors — all device cables route up to the strip, a single cord routes out to the wall outlet. Velcro cable ties keep individual cables bundled. The goal is one cord leaving the closet, not six. If you’re doing a walk-in conversion with multiple monitors, a cable raceway mounted along the back wall baseboard is worth the $15–$30 it costs.
Will a closet conversion hurt my home’s resale value?
Not if it’s done reversibly. A floating desk that mounts to studs can be removed and patched in an afternoon. A curtain converts back to a door in twenty minutes. Even a built-in custom conversion typically adds value by demonstrating that the home accommodates remote work — a feature that now ranks in buyer preference surveys alongside updated kitchens. The only conversion that could complicate a sale is one that removes original closet functionality in a bedroom count-dependent market, where bedroom classification sometimes requires a certain number of closets. Check your local real estate norms before fully eliminating closet storage in a primary bedroom.