What do all of the smartphones, tablets, laptops, TVs, game consoles and other electronic devices your family uses, as well as the ever-increasing number of must-have instant pots, air fryers, and other kitchen countertop appliances have in common? They all need someplace to plug in.
You may have been juggling all those needs before, but now that everyone in the family is spending more time at home, the need for more outlets has probably reached critical mass. And what? Now your daughter wants to swath her room in fairy lights, and as summer approaches you’ve been thinking that the backyard could use some strings of illuminated Japanese lanterns.

What to do? Well, you could call an electrician and pay to have new wiring installed, or you could turn any light fixture into an outlet by yourself.
For A Temporary Change
Whether it’s on a wall or a ceiling, you can temporarily switch any fixture to serve as an electrical outlet and keep it as a light source as well. It only requires that you install a lamp-holder-to-outlet adapter that you can find at any hardware or big box home store. These adapters typically contain a light bulb socket as well as two polarized outlets, and you don’t have to do anything but screw them in. If you don’t need a light in the fixture, you can buy an adapter that has only the outlets.
For A Permanent Change
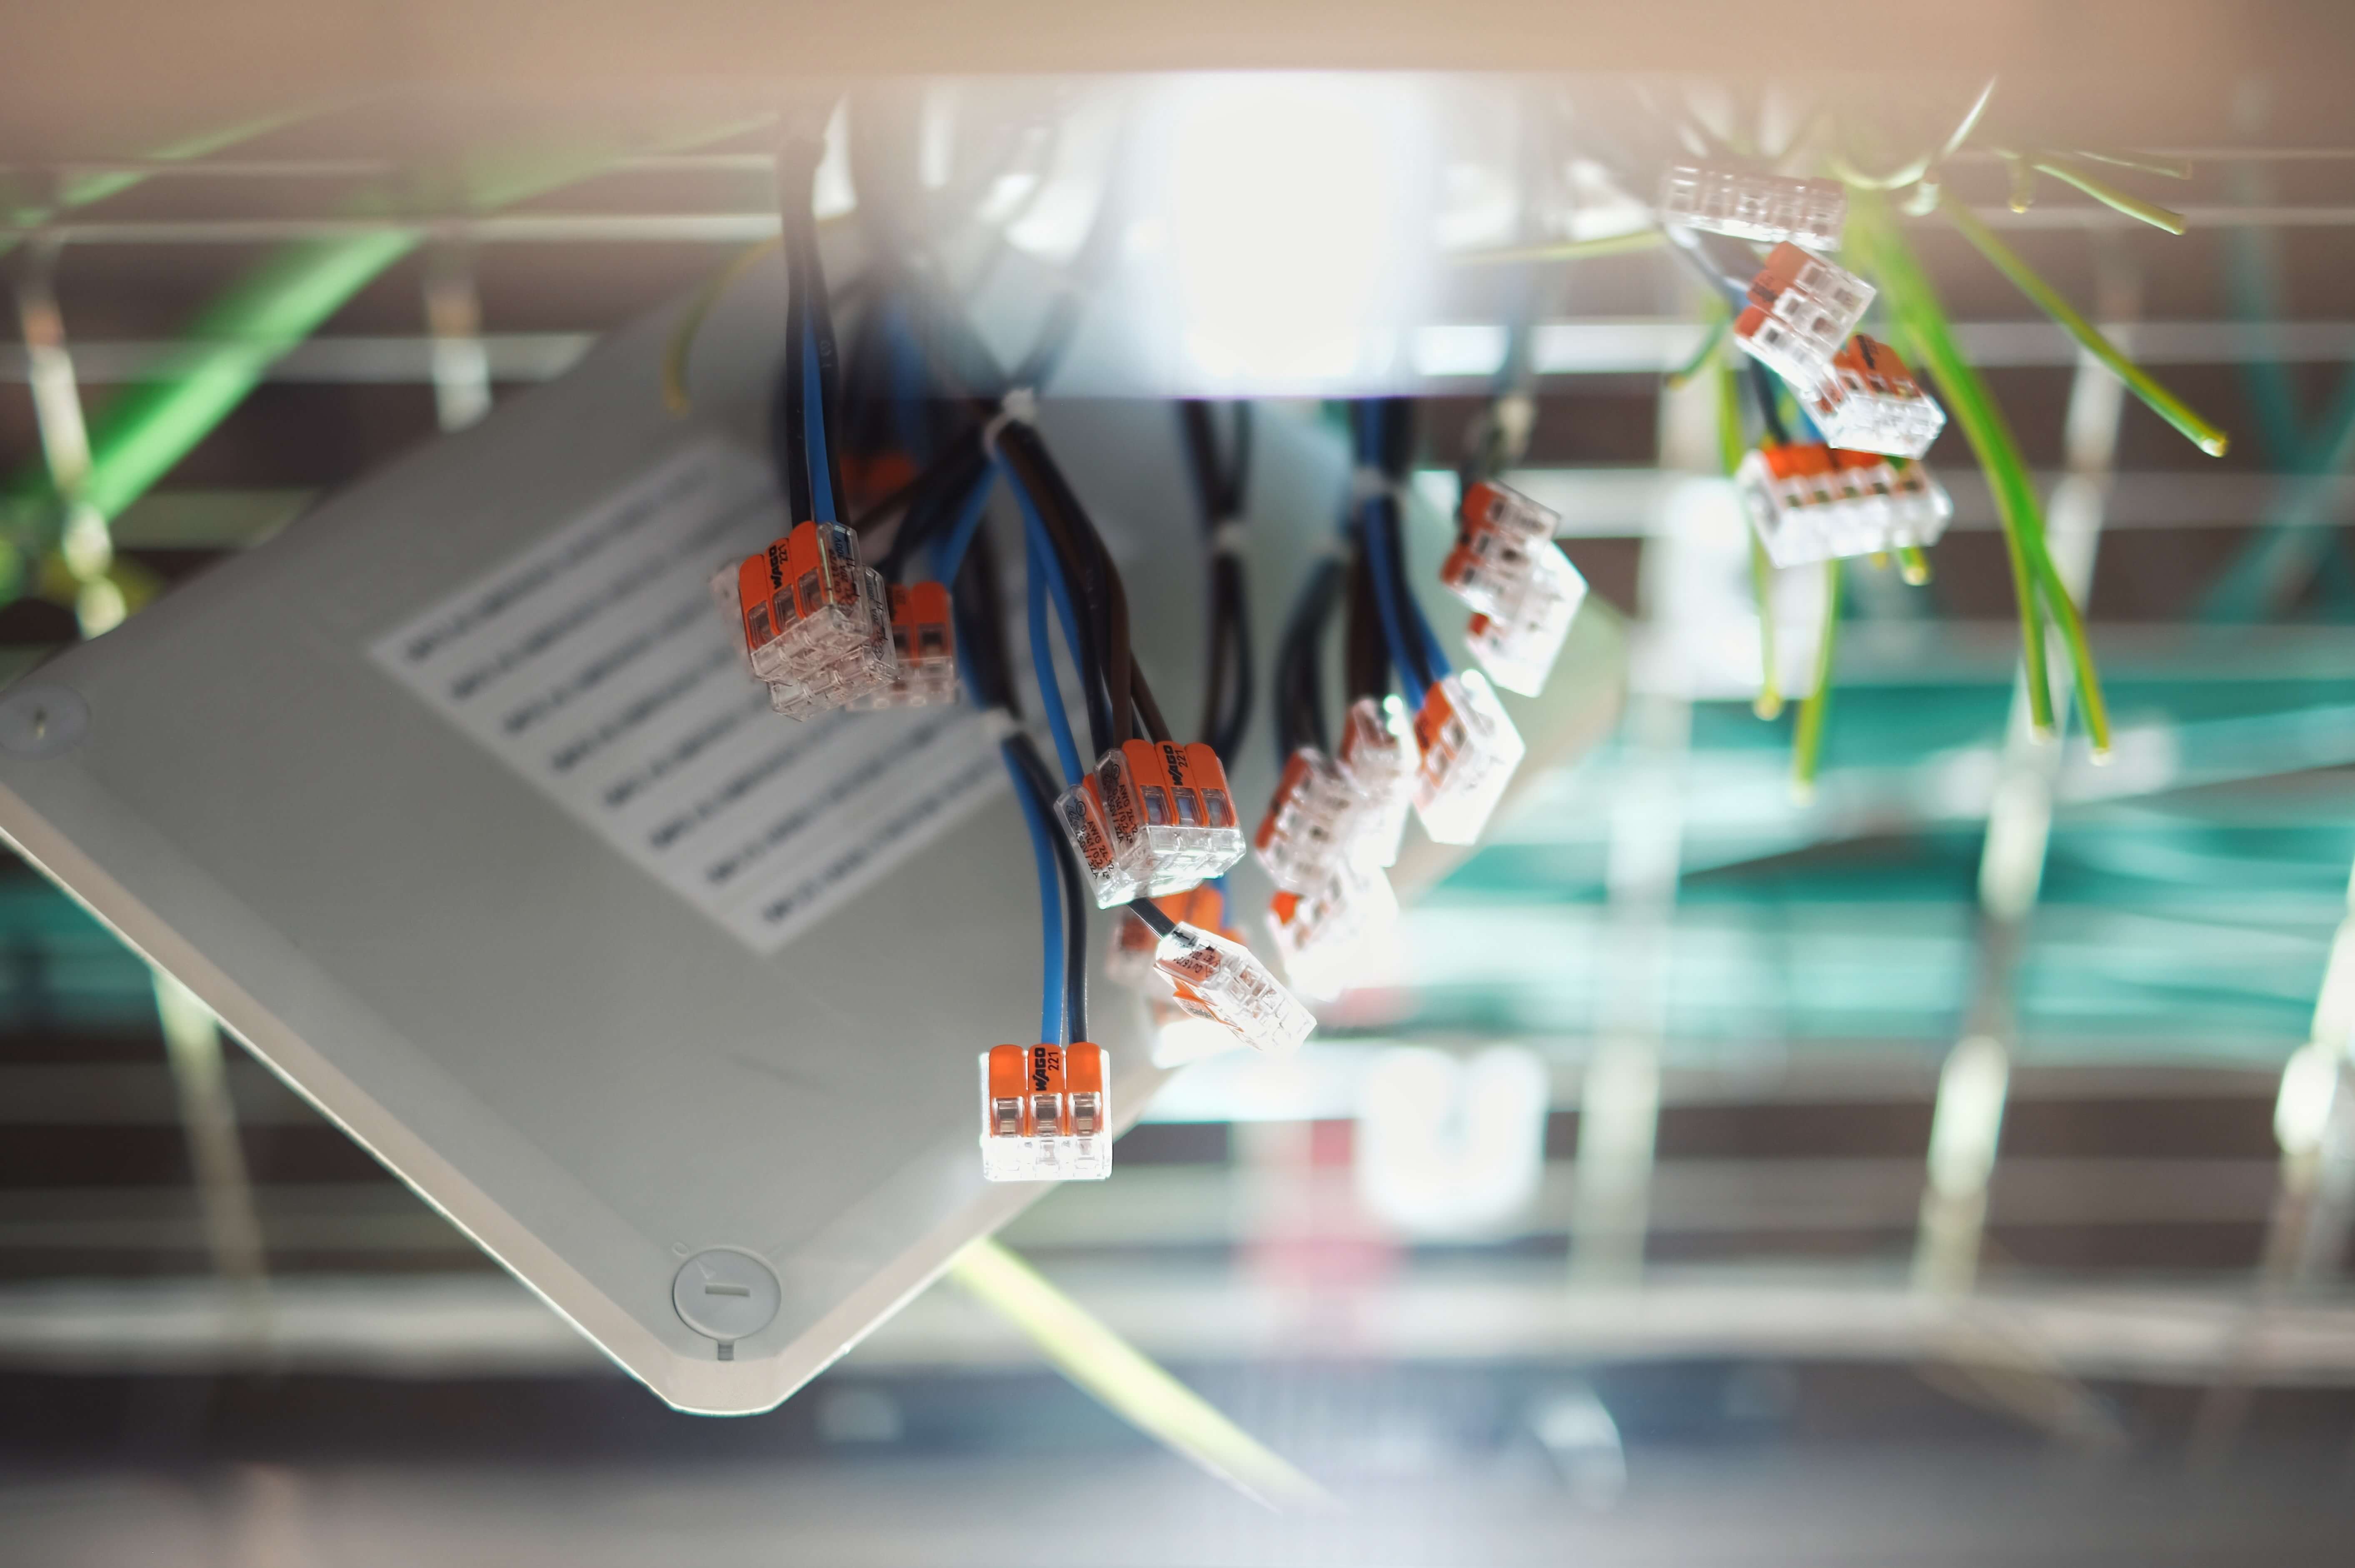
To make a permanent hard-wired change takes a bit more doing, but a careful DIYer should have no trouble accomplishing it. The only tools you need are a pair of needle-nose pliers, a screwdriver, wire strippers, and a non-contact voltage sensor to make sure that power is not running to the wires before you start working on them.

Here are the steps:
- Buy a new receptacle and cover. If you’re not sure whether the junction box is round or octagonal, you may want to wait to buy the cover until after step 3 when you can see it. If the hole in your ceiling is larger than the new outlet cover, you’ll want to patch it in order to make the opening smaller. (Do this before installing the new receptacle.)
- Cut the power to the fixture. This is when you’ll be glad you took the time to identify and label which breaker in your electrical panel controls which switch or outlet in your house. If you haven’t done that before, this is the perfect opportunity to get to that task.
- Remove the light fixture. Remove the glass globe or other covering from your light fixture, and then locate the mounting screws that attach to the junction box and remove the fixture.
- Disconnect the wires. Once you’ve removed the screws that affix the light fixture to the ceiling or wall, test with the voltage sensor and then disconnect the wiring. Remove the wire nuts or screws that hold the wiring in place.
- Identify the wires. You should see three wires coming out of the junction box: one that’s white, one that’s black or red, and one that’s green or bare copper. Black or red wires are usually hot (meaning they carry power), while white wires can be either neutral or hot. Green or bare copper wires are used for grounding.
- Strip the wiring. You may need to strip the ends of the wires to expose about half an inch of copper on each one. If so, cut off the previously stripped parts and re-strip them.
- Add screw loops. Screw loops are small hooks on the end of your wires that are used to attach them to the screws on your receptacle box. Use your needle-nose pliers to bend these hooks into the ends of your wires.
- Connect the wires. Hook the screw loop in the black or red wire around the top brass screw in the receptacle and tighten it. Hook the screw loops in the white wire around the top silver screw in the receptacle and tighten it. Hook the green or bare copper wire around the green screw and tighten it.
- Mount the receptacle. Almost done! Now just mount the receptacle to the junction box using the screws on either side of the receptacle.
- Test the new outlet. Before you add the cover to your new outlet, switch the power back on at the electrical panel and test the outlet to make sure it’s working.
- Install the cover. And then sit back and admire your handiwork.