
Installing a new floor is not only an aesthetic choice but also a practical one.
Photo by Kari Shea on Unsplash
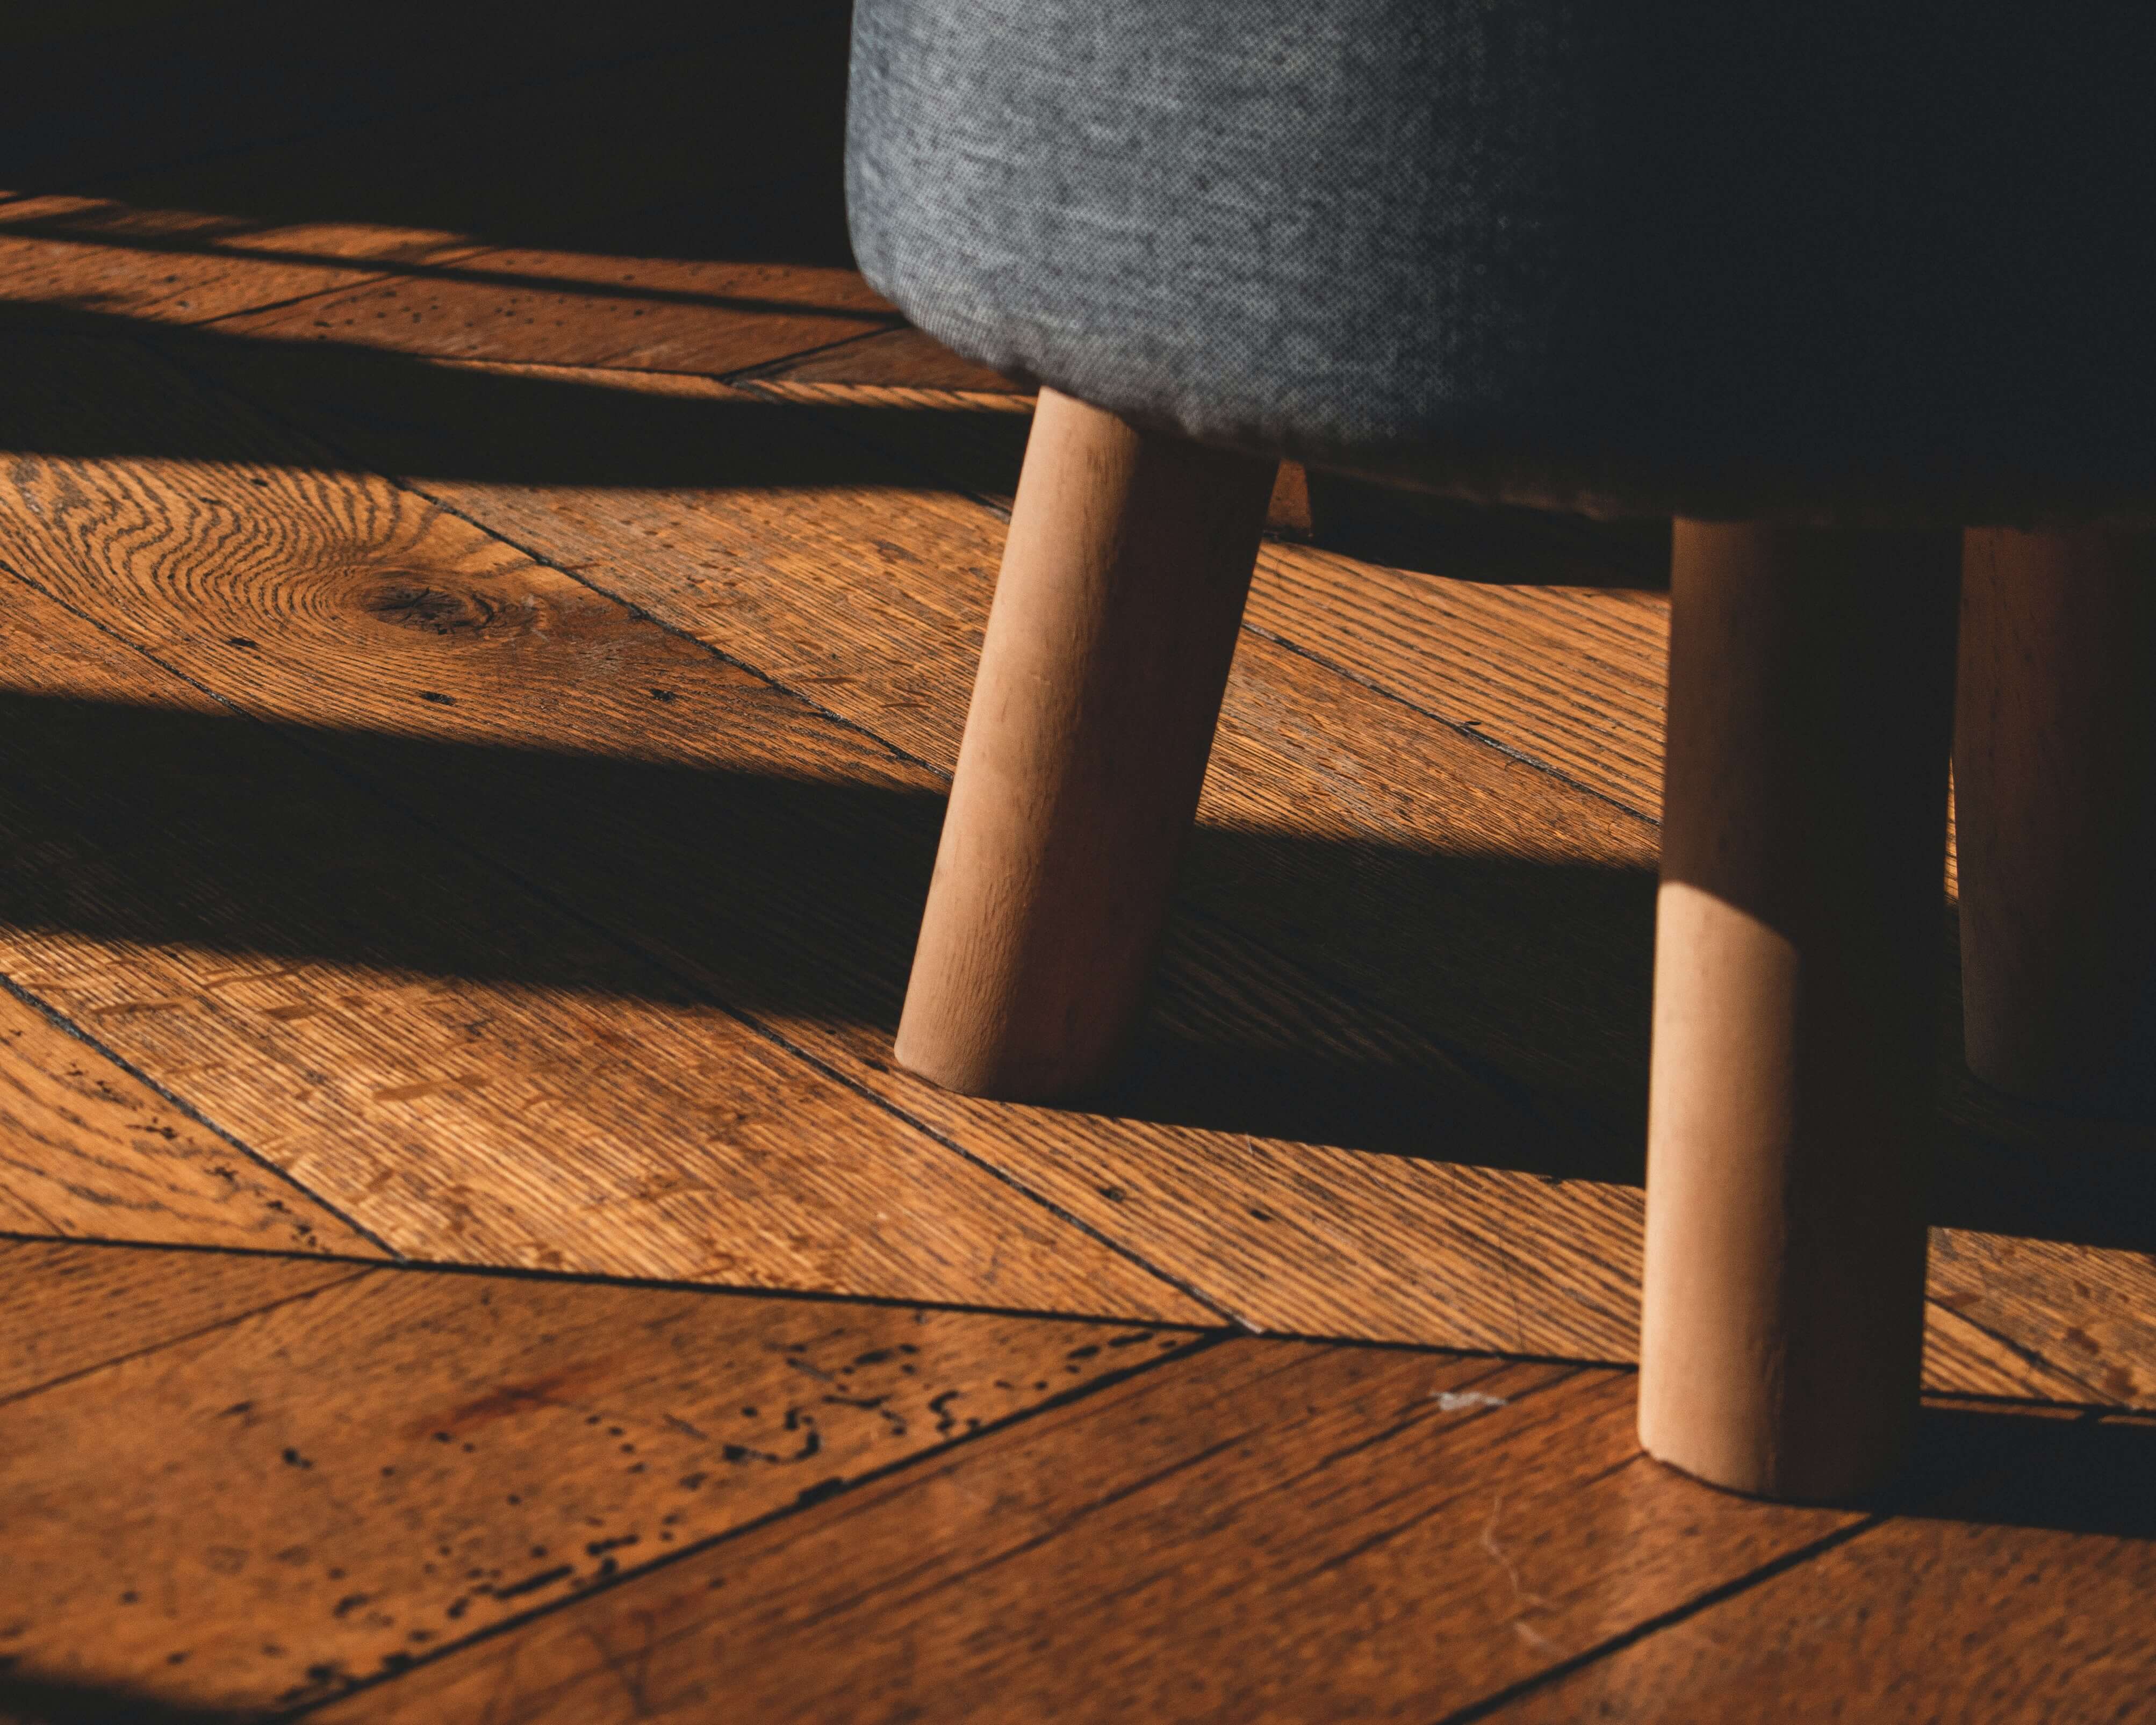
If you’re considering installing solid wood flooring, you’ll enjoy lots of benefits. These include; providing good insulation for your home in the winter months and cools you down in the summer; it is durable and can last up to 20 years if cared for properly; and, best of all, you can install this type of floor yourself with no experience! Here’s how to install solid wood flooring.
1. Use tape Measure and C-Clamp
To install your new solid wood floor, you’ll need a tape measure, a hammer to fit nails, and a c-clamp. The c-clamp is to hold the baseboard in place while you nail it down. A crowbar or flat bar is also good tools for removing any loose baseboards from the walls.
2. Use a Straightedge and Pencil to Mark Your Cuts
To begin installing your solid wood floor, you’ll need to buy it in planks. When buying the boards, keep in mind that they’re not all the same length, so you’ll have to cut them according to where they fall in the room or where you plan to place them.
3. Use a Saw to Make the Cuts
To make the cuts:
– Use a circular saw or table saw.
– When making the cut, measure from the outside of one plank and put that measurement on the line to guide where to start cutting.
– Simply cut it along the line.
– Lay Out the Planks
Next, lay the planks over the old flooring and make sure that they face down. If your old floors have nails on them, remove them with a pry bar or crowbar.

5. Nail down the Flooring
Now you’re ready to install solid wood flooring by nailing down the plank into place on top of your existing floor. Use 18g nails and hammer them into the plank from the underside of it. Then take a straight edge with a pencil and mark the location for any penetrations through other boards on your floor.
6. Avoid Penetrations through Other Boards
To avoid penetrations through other boards, measure the width of the plank and mark out on the board how far it should protrude from the edge of another one. Then, using your tape measure, draw a line across to where that piece will go. You’ll want to be careful not to put any nails through or near this line.

7. Finish Nailing Down Your Flooring
Now that you’ve laid out your planks, marked them, measured the width of each piece, and cut any that weren’t the same length as the others, it’s time to finish nailing down your new solid wood flooring.
8. Put the Edges Together
When you come to the edge of one plank, put it on top of another evenly adjacent one and nail them together. Then press these two pieces into place with a C-Clamp while you nail the inside edges. This will help ensure that your floor stays even as you’re working on it.
Conclusion
If you wish to install solid wood flooring, then, it’s undoubtedly one of the great ways to bring the look of natural beauty into any room. With this guide, you should have no problem completing this task on your first try.