Crafting your quilt is always prodigious and overwhelming!
Image by InsaneArtist from Pixabay
Quilting is a perfect way to pass your leisure time. With your exquisite creative skills, you can fabricate your own style of quilt and warm your night with blankets, or pass them down to your children and grandchildren as a token of love. Follow the below basic steps to craft a quilt from the start to end and showcase your talent in front of your family and friends.
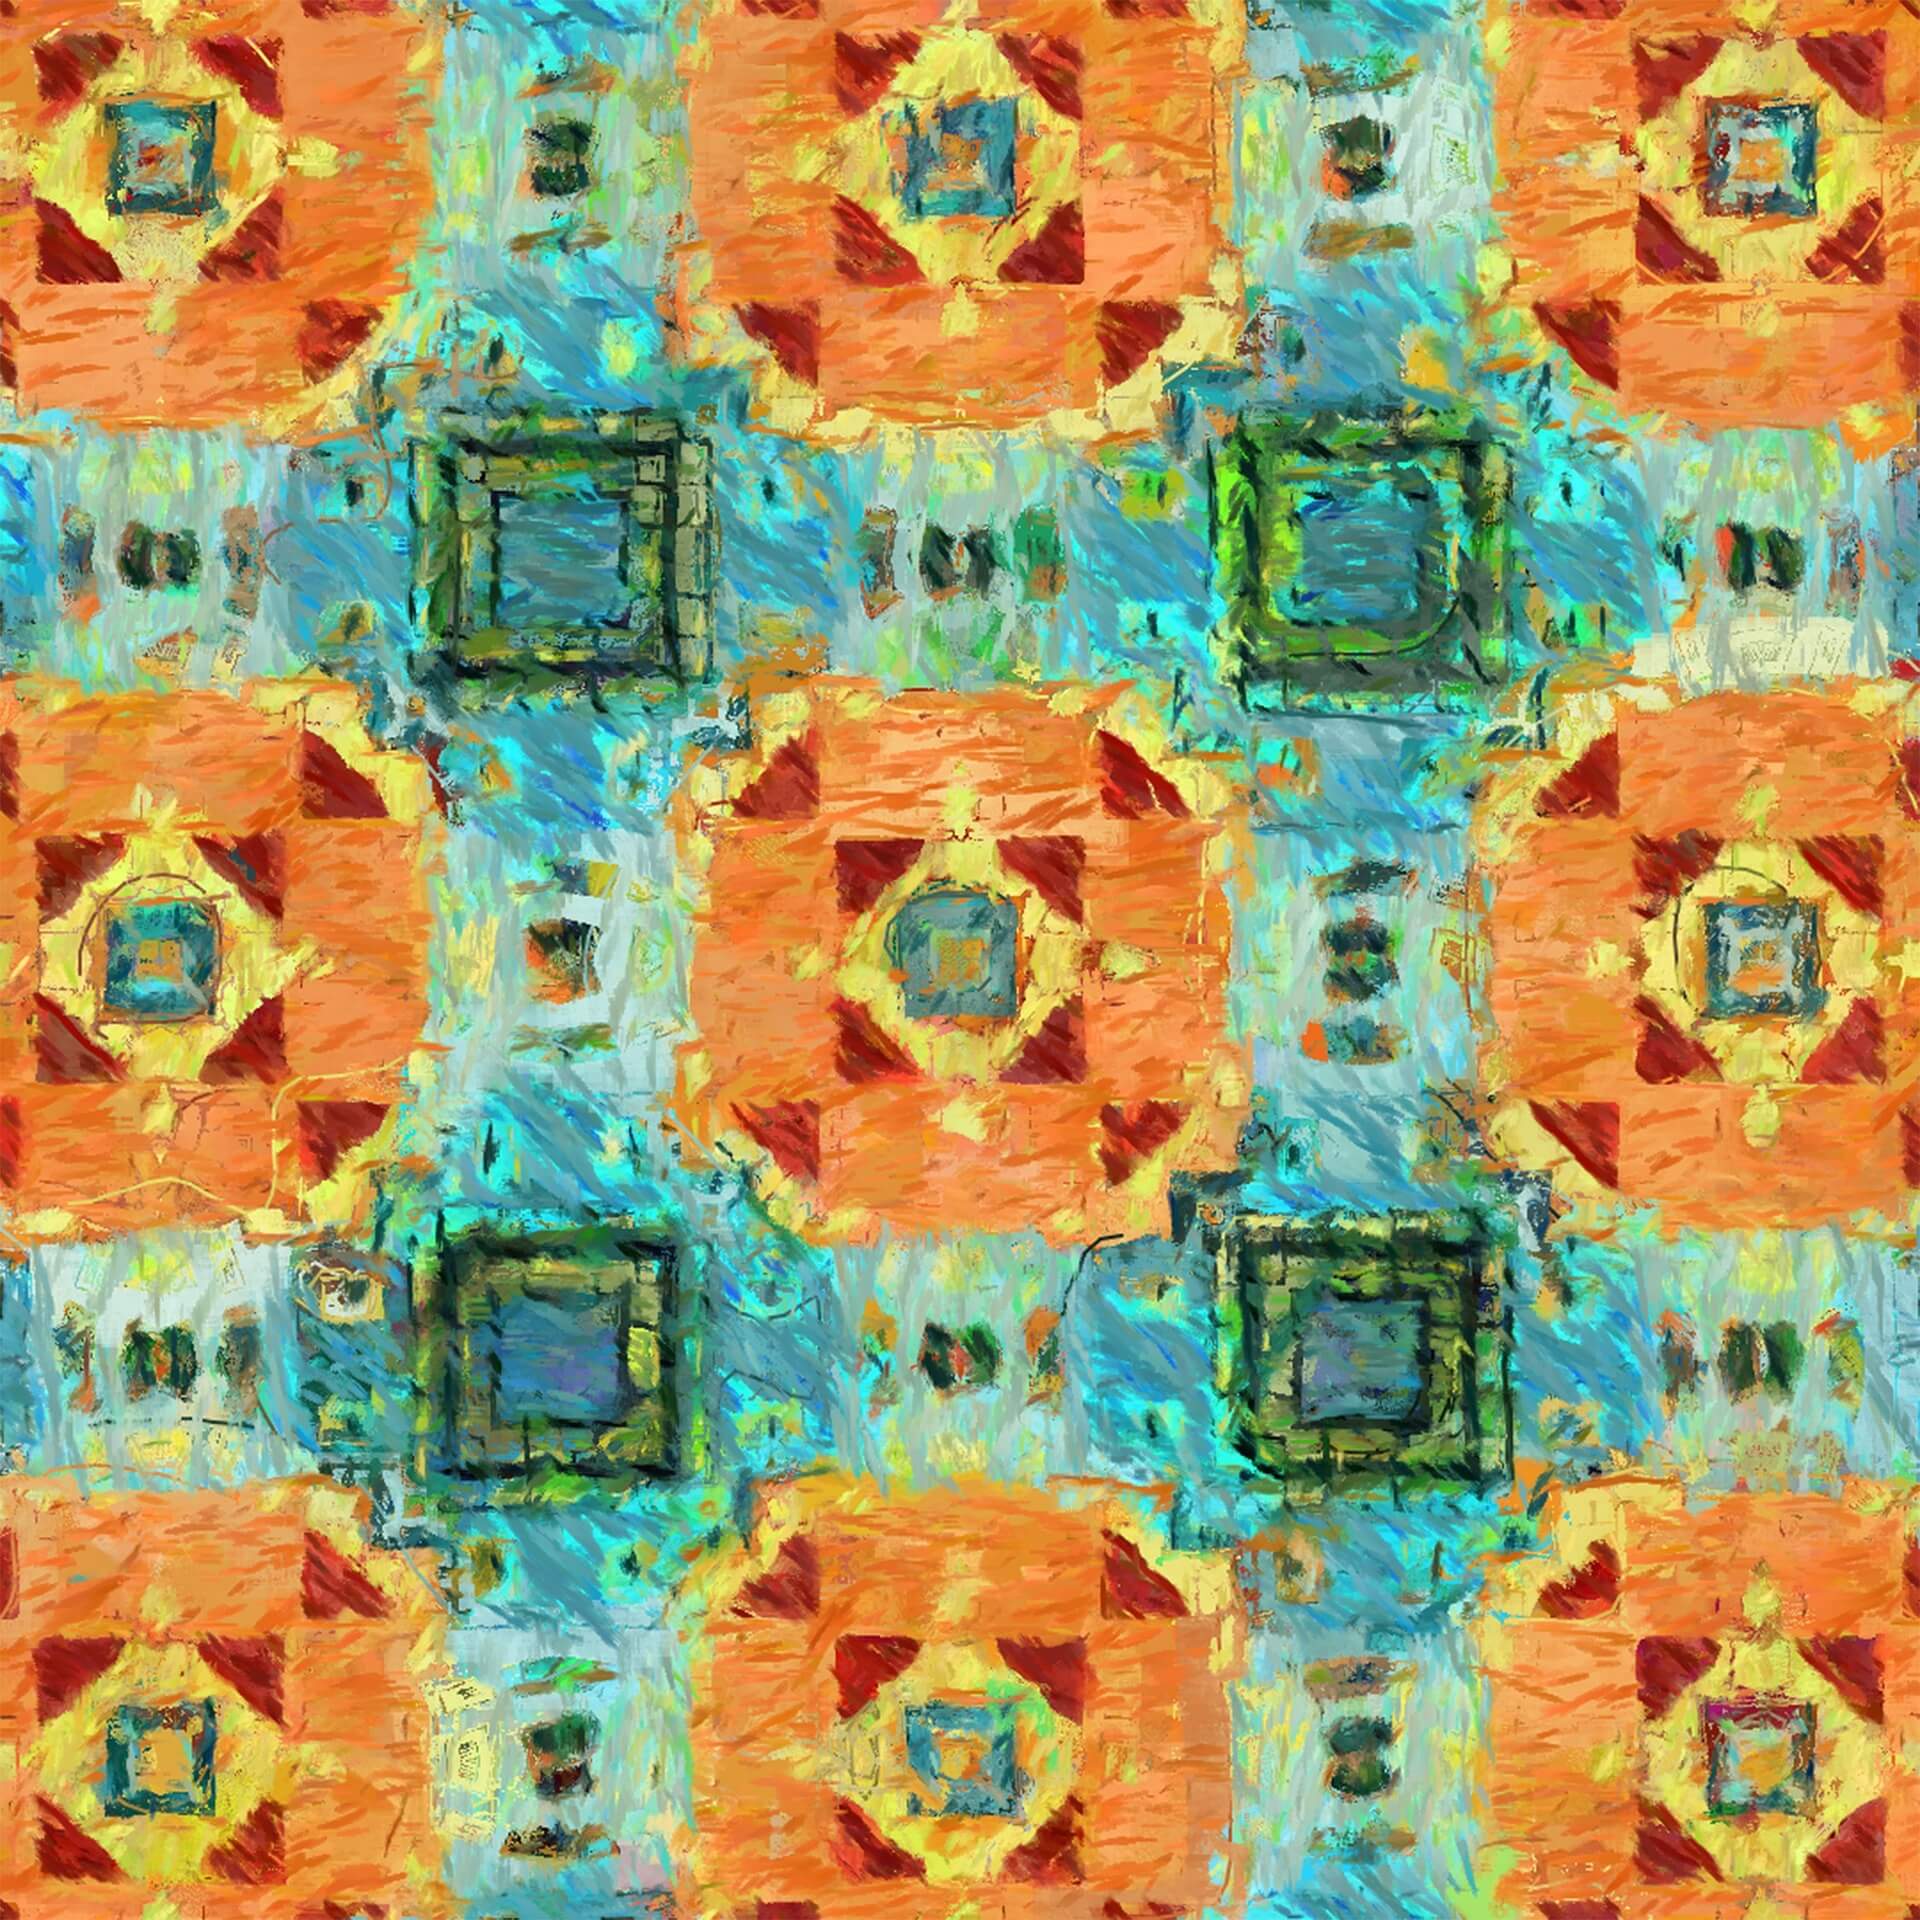
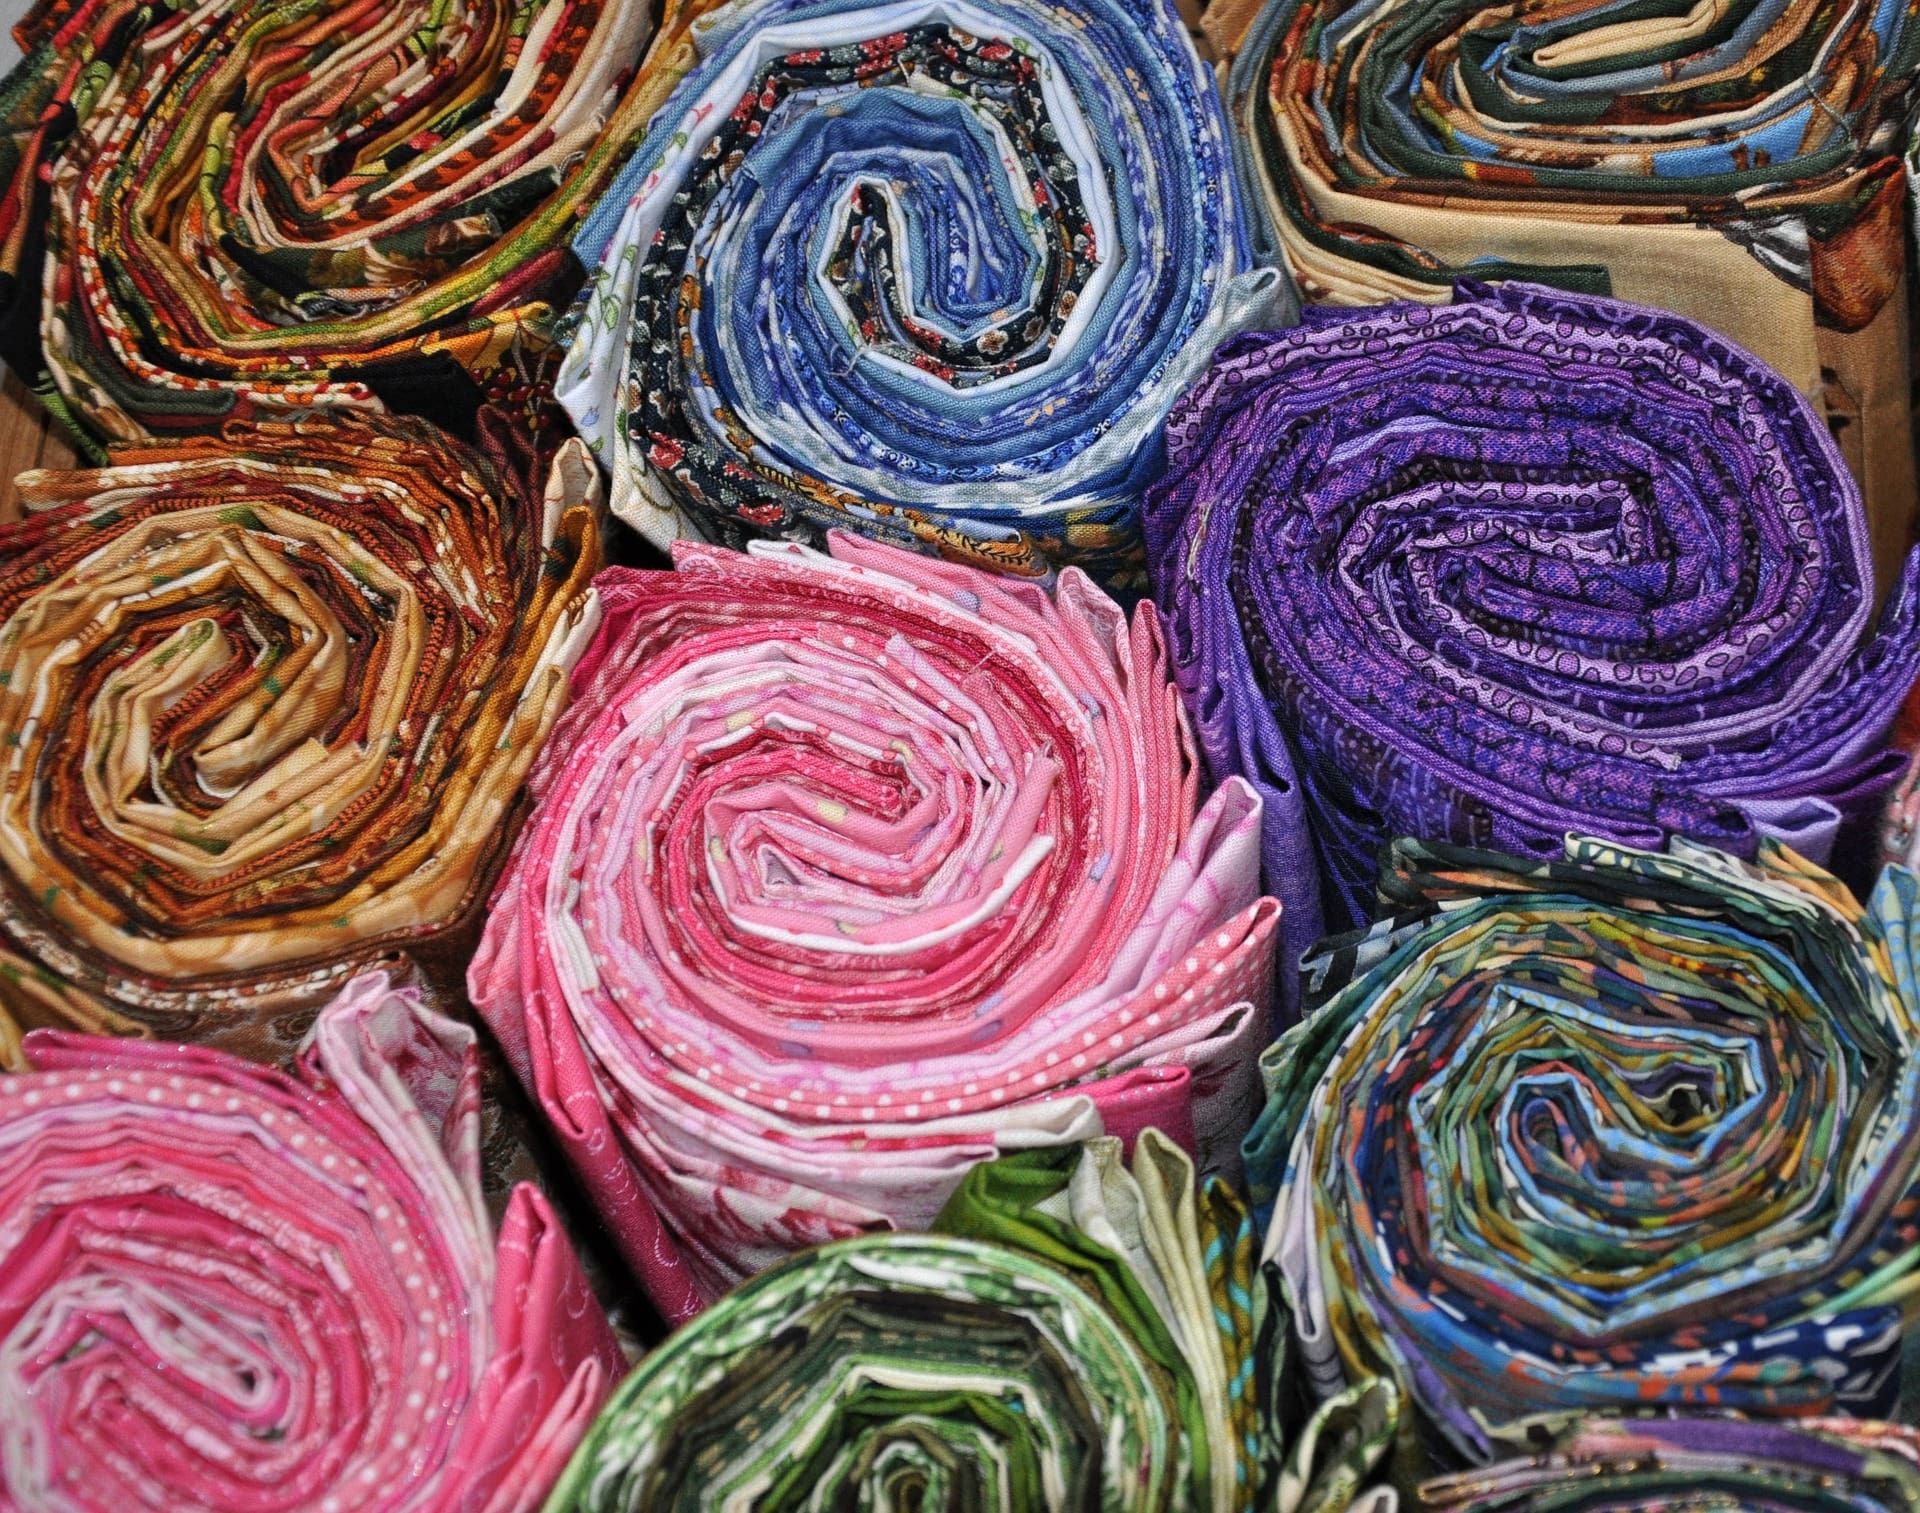
- Select a fabric and Quilt pattern
Choosing a fabric from a thousand materials from the market is a prominent step in making a quilt and it’s one of the most daunting tasks. To make a quilt from 100% cotton fabrics and polyester/ cotton blend materials, pick different materials for the front part of the quilts, the border and 2 primary materials for the quilt designs.
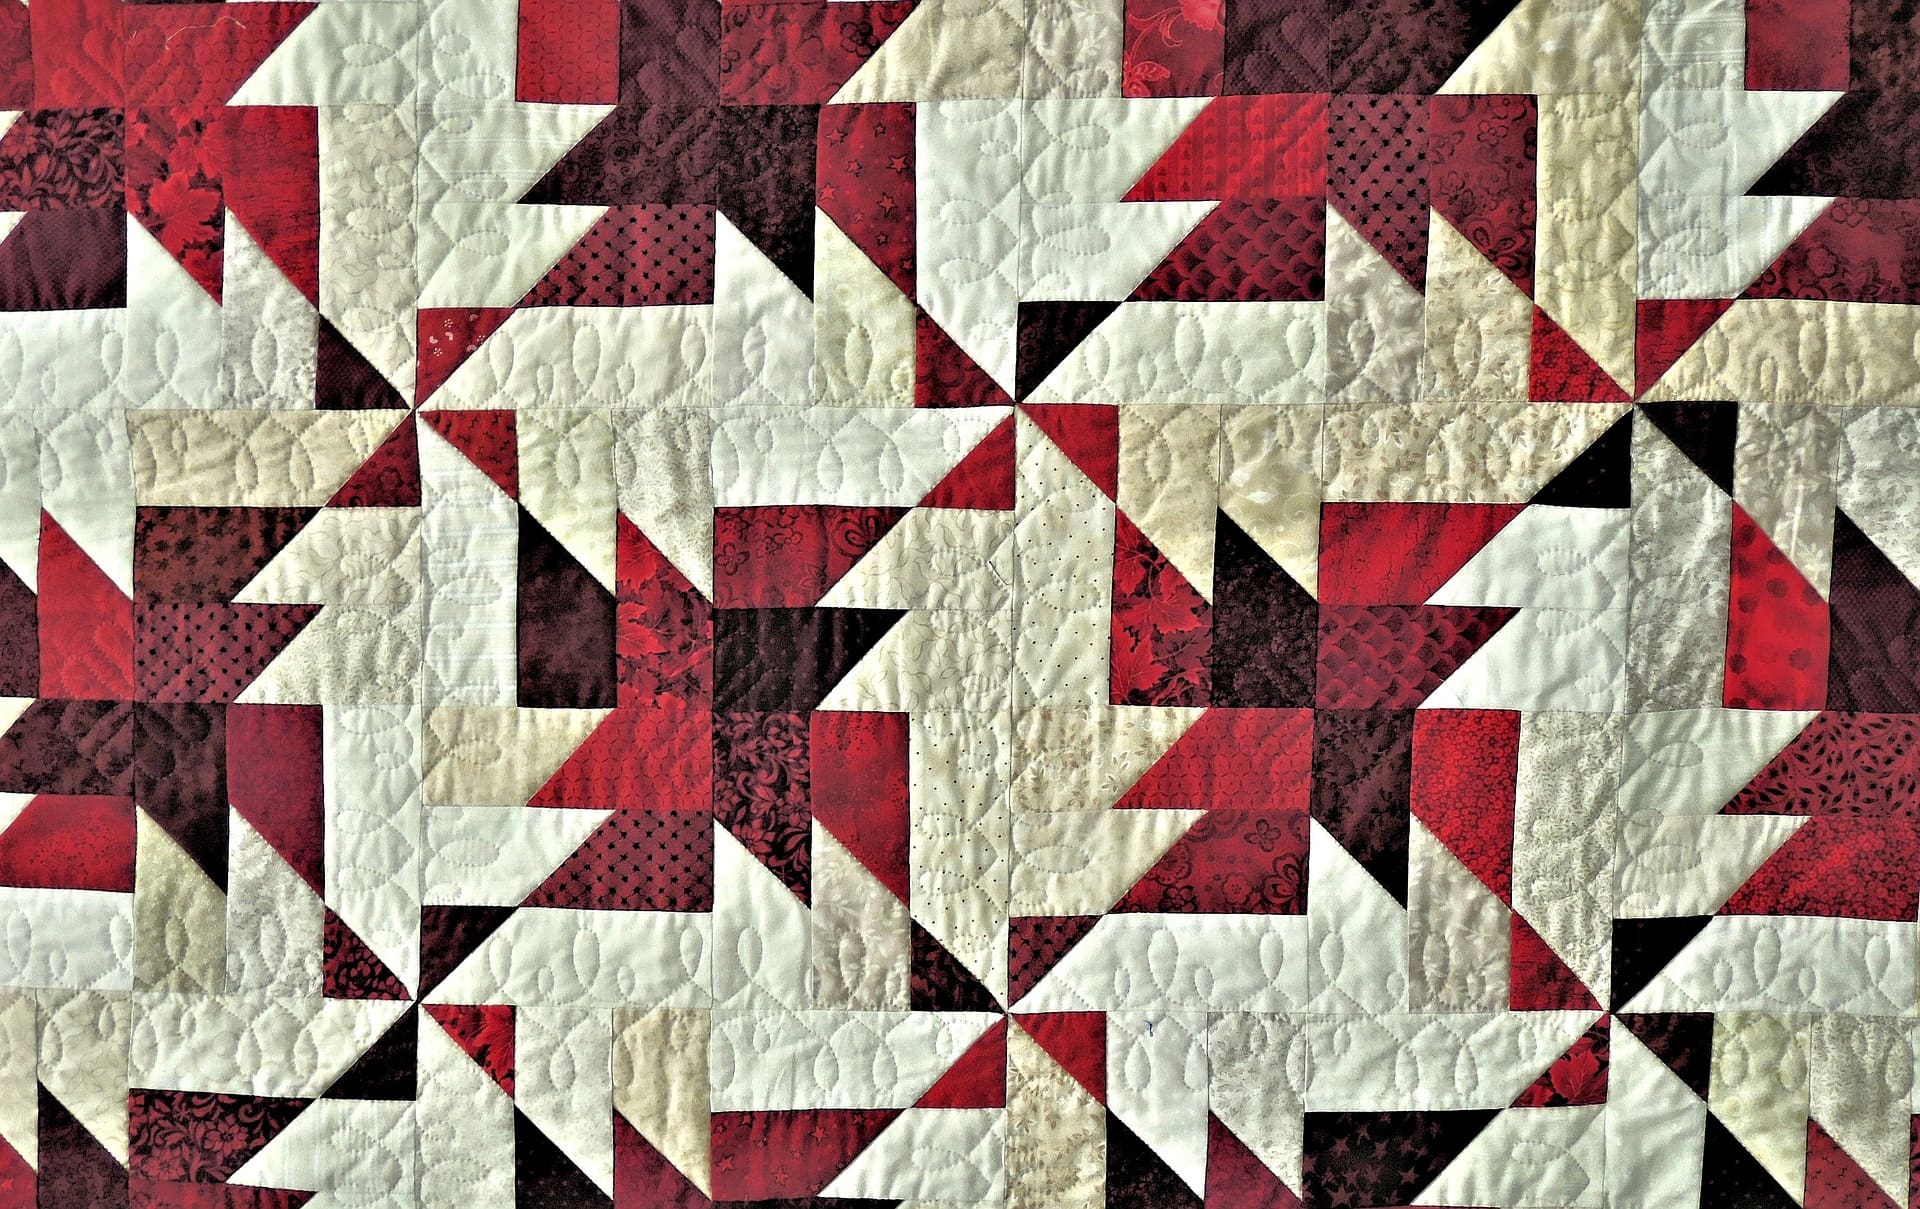
For first-ever quilt makers, start to make baby quilts and it’s perfect to learn basic techniques. Choose a basic block pattern like half-square triangles, patchwork squares to begin the making of the quilt.
- Gather cutting and other sewing basics tools
After choosing patterns and fabrics, you have to buy the basic sewing and quilting tools. Use good quality cutting tools to create professional-looking quilts. Instead of the regular sewing scissors, use rotary cutters which are the easiest and fastest cutting tools.
Use the transparent extra-long and wide ruler and high-quality cotton thread for quilting. The best thread color for quilting is neutral color threads like tan, gray or white. Gather the things that are useful for sewings such as straight pins, seam ripper, sewing machine, iron box, and safety pins. Get the fluffy material called batting or filling, which is sandwiched between the front and back of the quilt and provides warmer to your quilt.
- Cut and sew the patchwork
Before the cutting process, wash your fabric to avoid shrinkage and rinse any extra dye. To remove wrinkles, press your fabric with iron to make your cutting easier. To get accurate patchwork, carefully use rulers to measure and cut the fabrics with rotators of your preferred patterns.
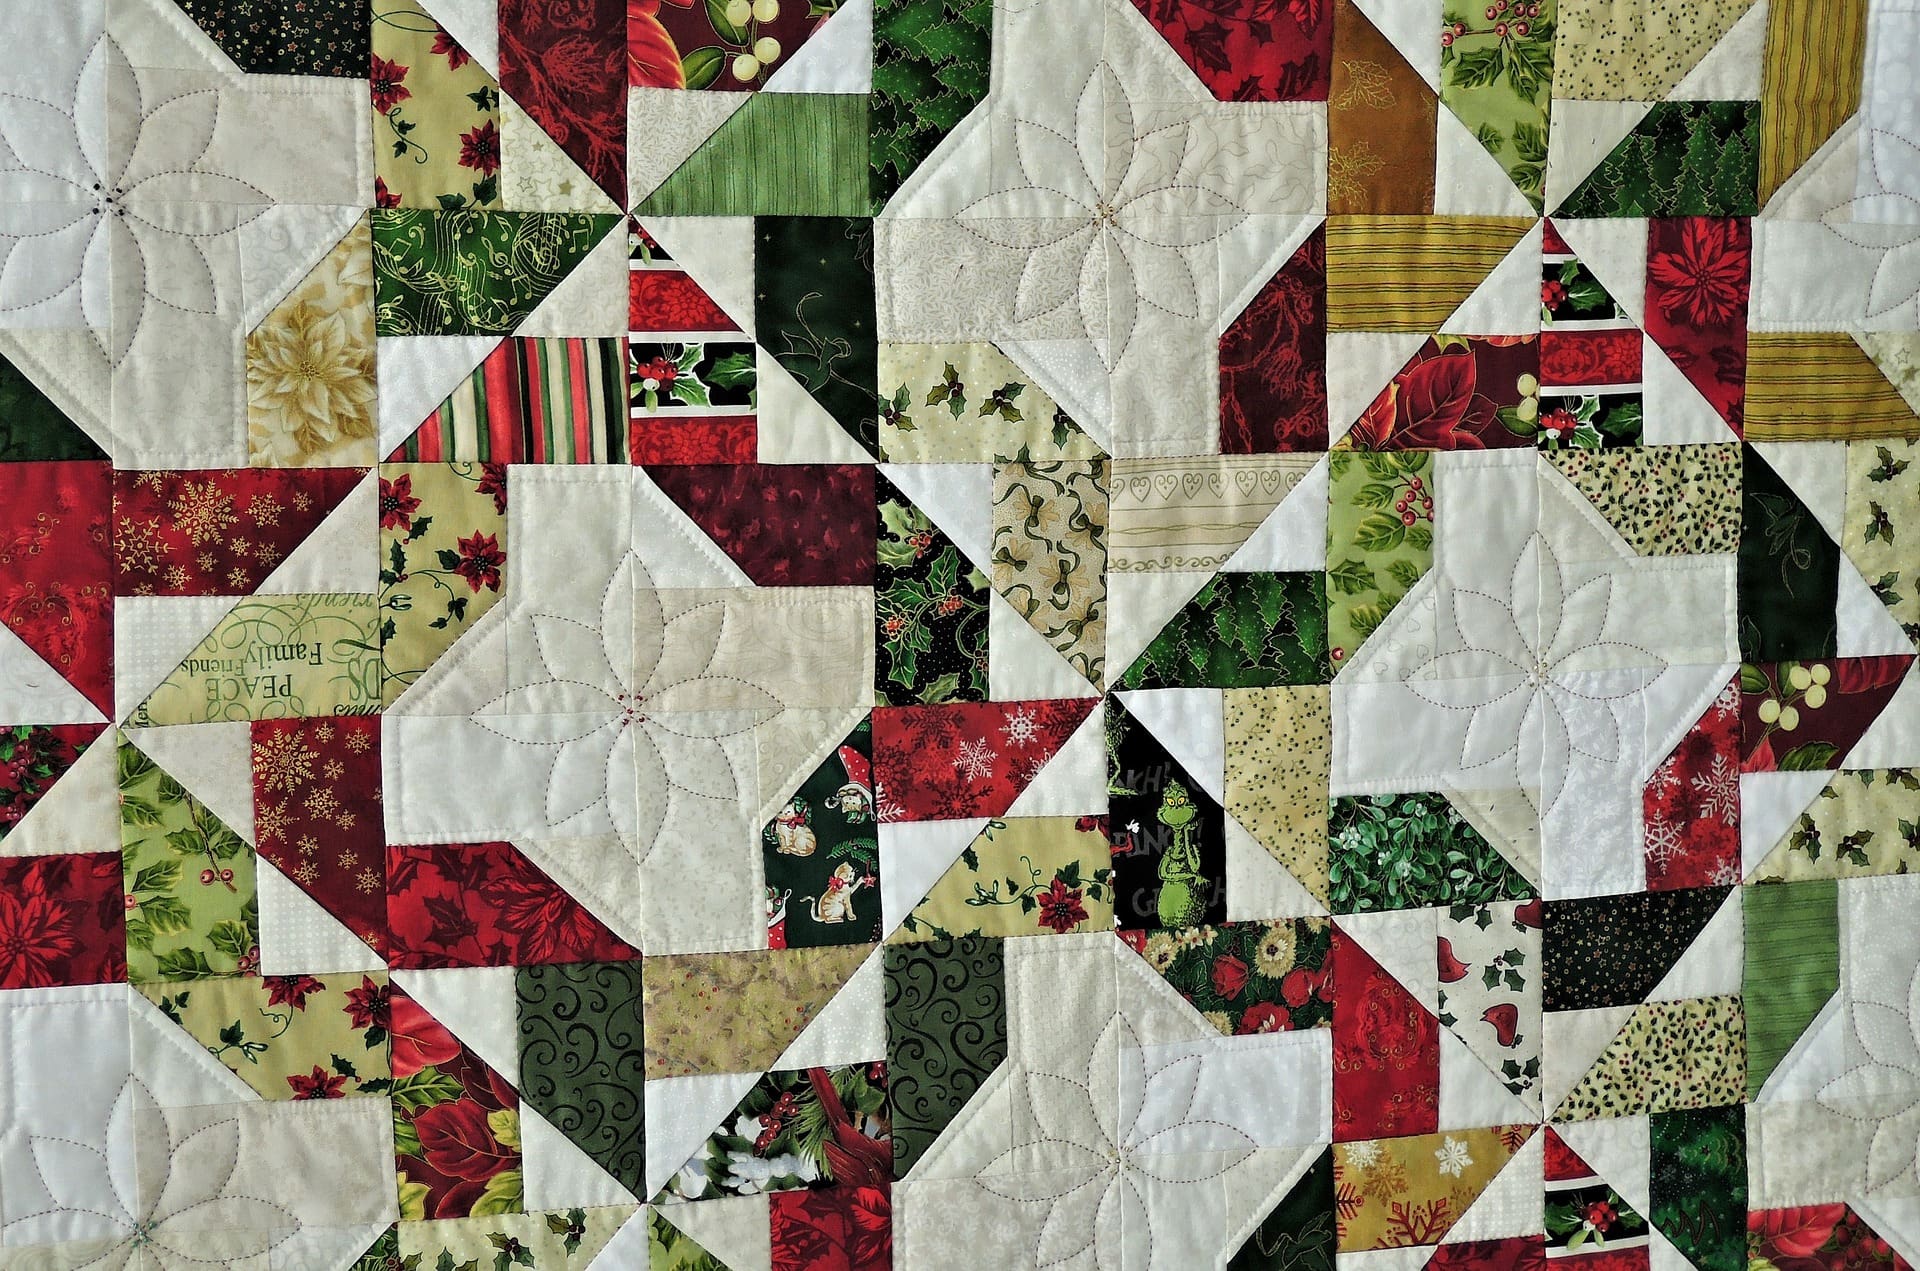
Lay the patches out and rearrange it according to your design, begin your quilt designs by sewing each piece together. After sewing patchwork, press down with iron to avoid wrinkles.
- Baste the quilt
Basting is the process of putting together the quilt sandwich and basting layers. Layer your backing fabric, quilt sandwich, and front quilt pattern, then start the bating process. Use spray adhesive or safety to hold all quilt layers together temporally.
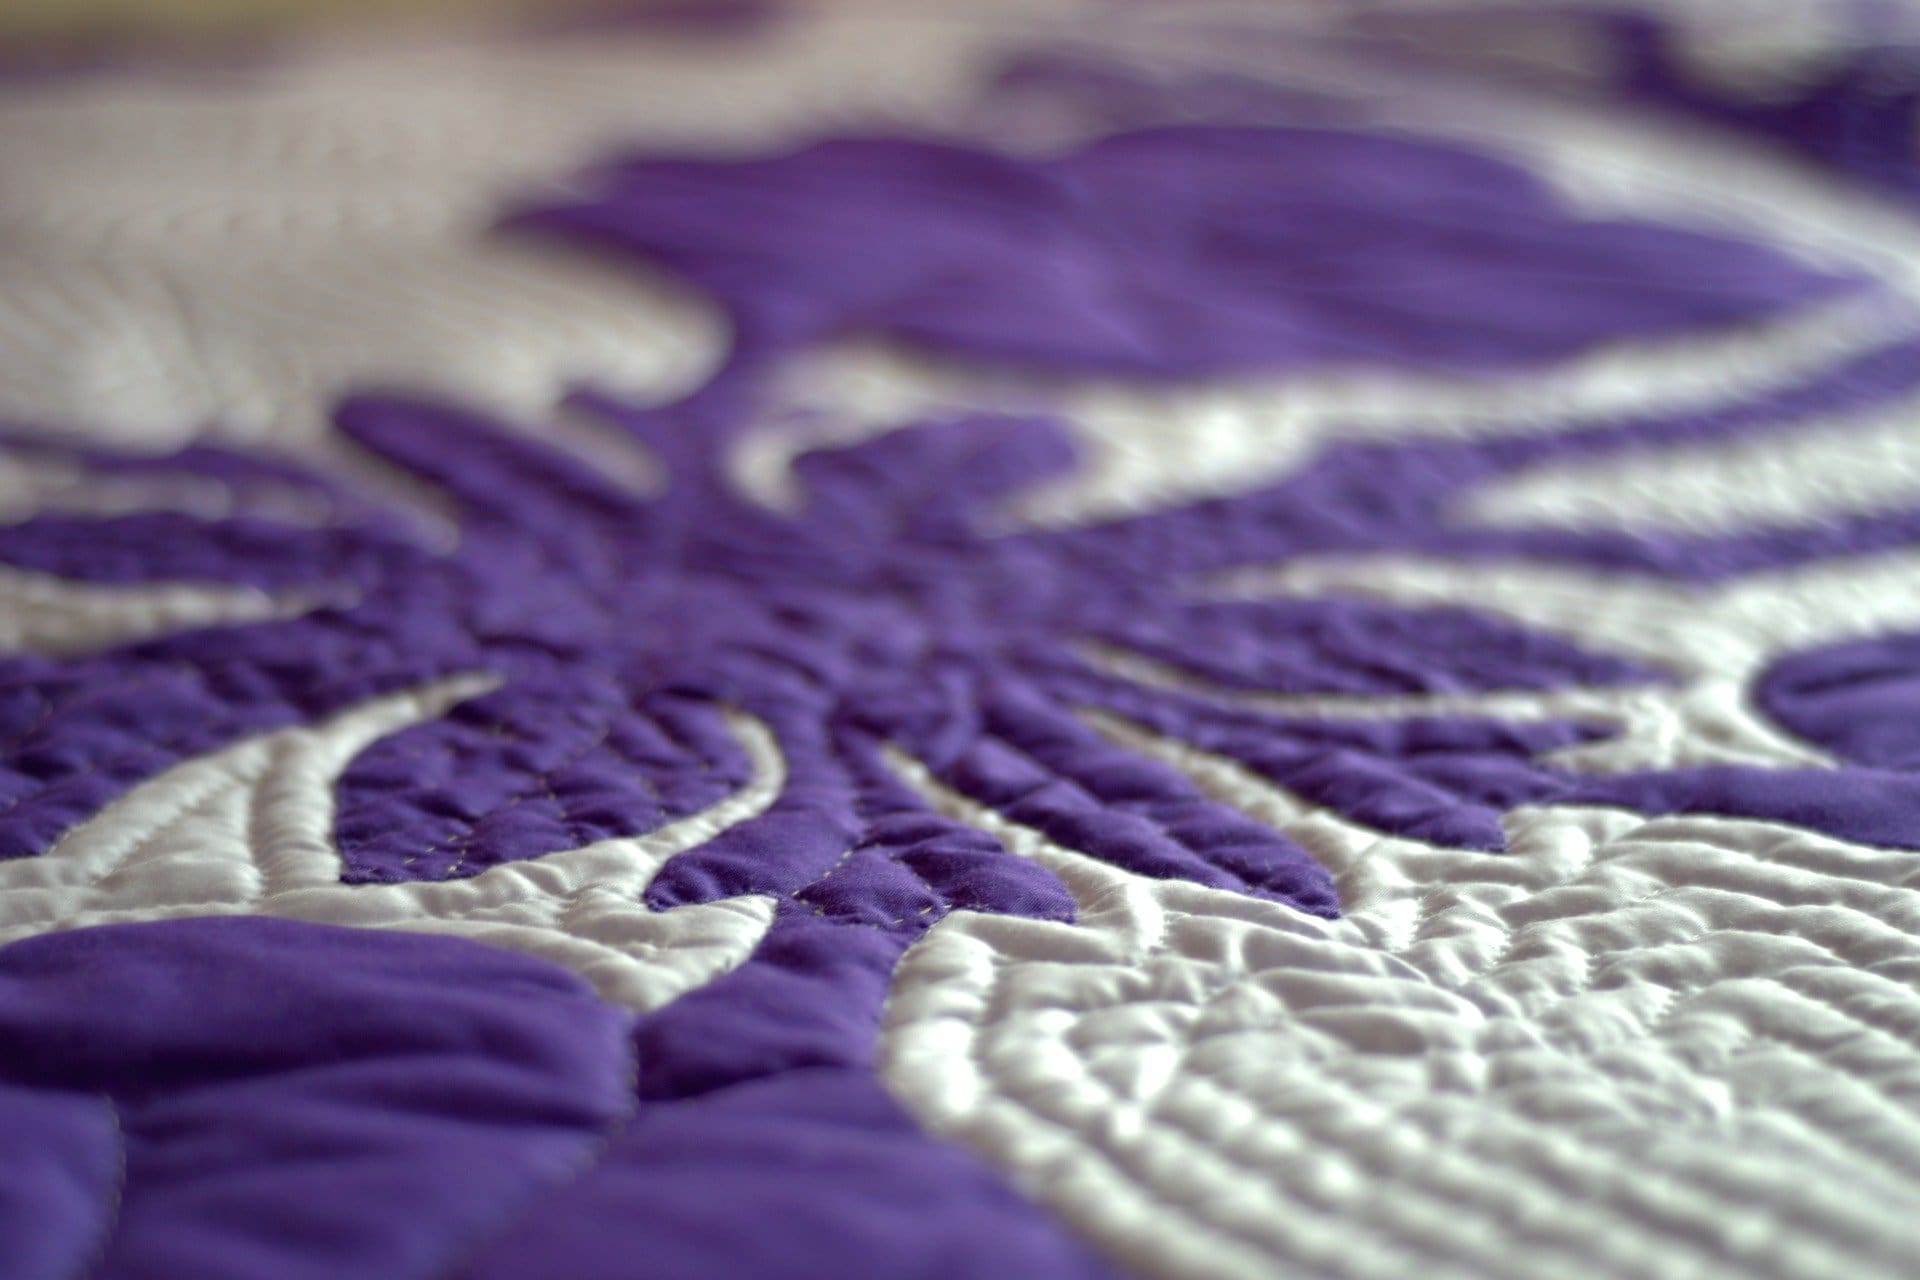
- Sew your quilt
Use the free-motion quilting technique to move your fabric under the needle to make different designs. Simple and popular quilt stitching is straight lines, it is the easiest method of stitching for beginners
- Blind the quilt
After the quilt stitching technique, add binding edges to your quilt. The binding means the border of the fabric that goes around the edges of the quilt and adds a finished look. Cut the fabrics into four trips according to the length of the border and sew it to make a perfect looking quilt.
You can gift your handmade quilt to your loved ones. Keep practicing and enjoy quilt making, your skills will grow on each quilt.