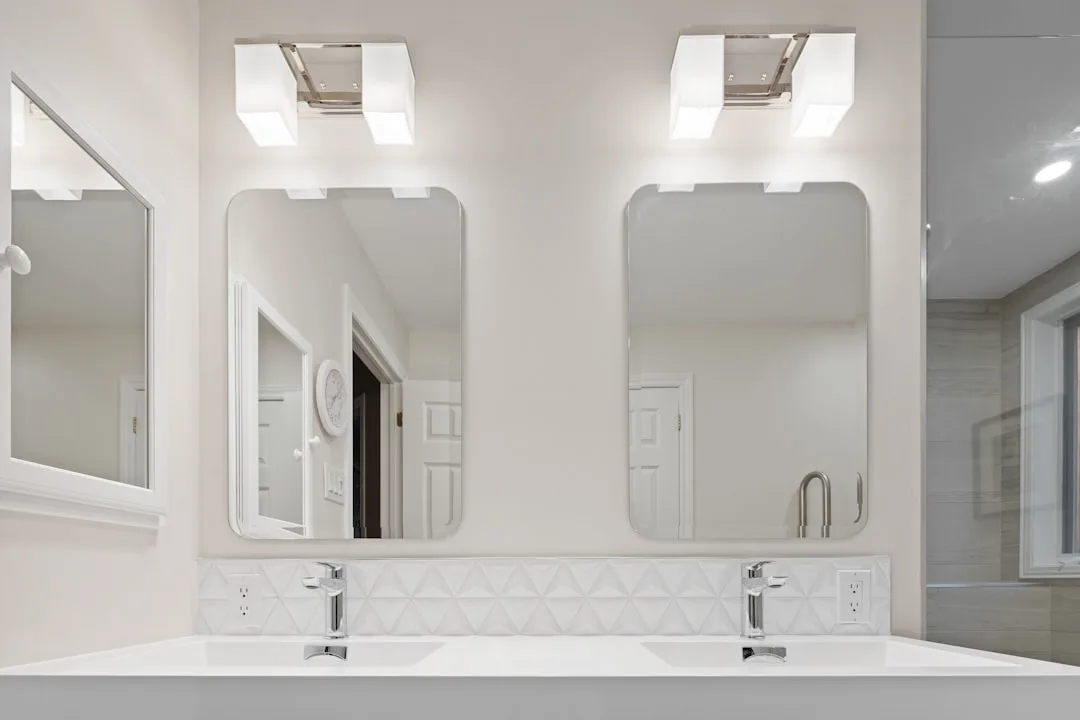
The bathroom lighting over mirror rules you find in renovation guides were designed for one specific setup — a 5’9″ person, a 36-inch mirror, and an 8-foot ceiling — and they are wrong for nearly everyone who does not match all three conditions exactly. Most people do not match all three. Yet that 75–80 inch number gets repeated in every renovation guide, every lighting brand FAQ, and every Pinterest caption as though it were physics rather than a rough midpoint someone calculated decades ago and nobody questioned since.
Quick Answer
The 75–80 inch height rule for over-mirror lighting was designed for one specific setup — a 5’9″ person, a 36-inch mirror, and an 8-foot ceiling — and it is wrong for nearly everyone who does not match all three conditions exactly.
What follows is not another restatement of those rules. It is an explanation of why they exist, when they fail, and how to find the number that actually works for your bathroom — your mirror, your ceiling, your height.
Can Bathroom Lights Hang Over a Mirror? (Yes, But the Real Answer Is More Interesting)
In This Article
- Can Bathroom Lights Hang Over a Mirror? (Yes, But the Real Answer Is More Interesting)
- The Height Formula That Actually Accounts for Your Mirror (Not a Generic Bathroom)
- The 75% Width Rule Has a Catch Nobody Mentions
- Bulb Type Changes Everything the Fixture Placement Cannot Fix
- When Over-Mirror Is Not Enough (And What to Add Without Rewiring)
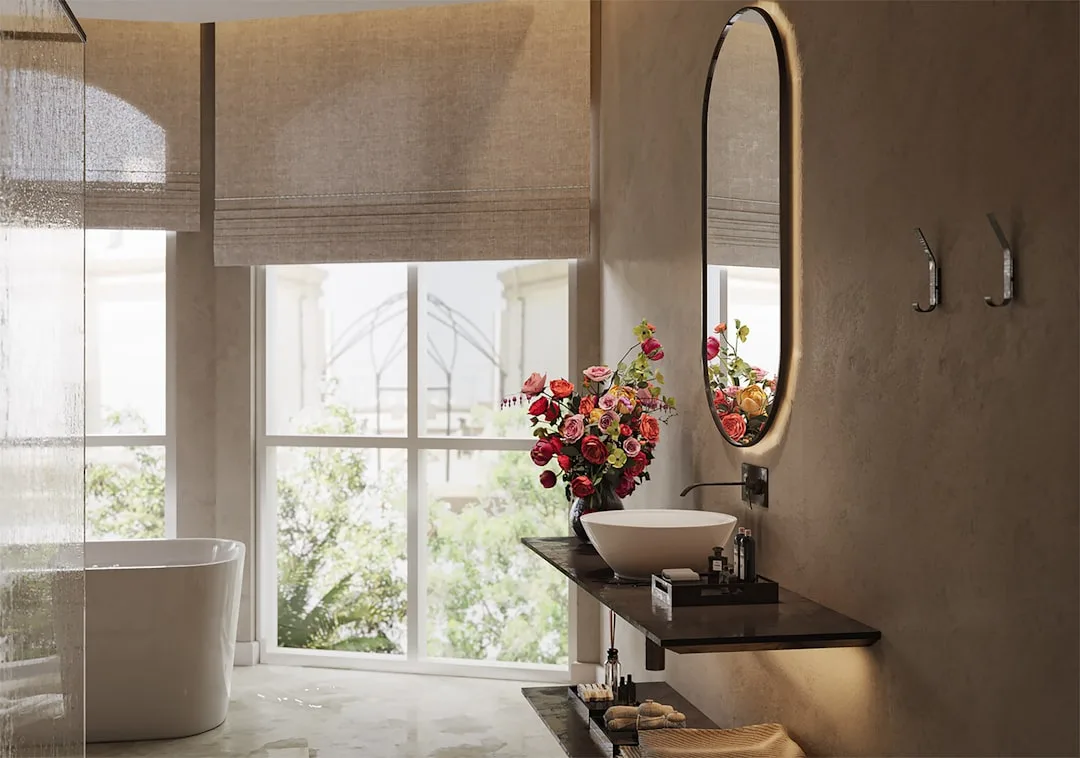
Lights can absolutely hang over a mirror. That positioning became standard for a specific reason — not tradition, not aesthetics — but geometry. When a light source sits directly above a mirror at the right height, it illuminates the face from an angle that produces minimal shadow. You get even light across the forehead, cheeks, and chin. That is the goal. The fixture type, the style, the finish — those come second.
But here is where it gets complicated. “Over the mirror” is not a single fixed position. It is a range, and the wrong end of that range produces exactly the same unflattering shadow as a ceiling-only fixture positioned six feet away. A bar light hung four inches above a 72-inch mirror sits at 76 inches — technically in the recommended zone. The same bar hung at the same 76 inches above a 48-inch mirror sits 28 inches above the mirror top, well into shadow-casting territory.
The 75–80 inch floor measurement assumes a mirror top edge around 72 inches — which corresponds to a 36-inch mirror hung with its bottom edge at approximately 36 inches. Residential mirrors range from 24 to 48 inches in height. That variation alone shifts the ideal fixture placement by up to 12 inches, which is an enormous margin in a bathroom where you are often working with 8 feet of ceiling and a 6-foot-plus person trying not to stoop.
I spent years installing lighting in apartments where the previous renovator had followed the “standard” height and the client still complained about dark circles they did not have anywhere else. The fixture was in the right zone by the rulebook. It was wrong for the mirror.
- Over-mirror placement dominates because it works — but only when positioned correctly relative to the mirror, not the floor
- Hanging too high creates the same harsh downward shadows as ceiling-only lighting
- The floor measurement is a proxy for the real measurement, which is the distance above the mirror top edge
- For short mirrors (24–30 inches), the 75-inch rule places the fixture dangerously far above the glass
The actionable takeaway: Before you look at a single fixture, measure the top edge of your mirror from the floor. That number — not 75 or 80 inches — is your starting point.
The Height Formula That Actually Accounts for Your Mirror (Not a Generic Bathroom)
Start with the mirror. Not the floor, not the ceiling, not the vanity cabinet. The fixture’s bottom edge should sit 6–8 inches above the mirror’s top edge as a baseline — this is the range that keeps the light source close enough to cast fill light on the face without the bulb entering your direct line of sight when you look straight ahead.
From that baseline, adjust for three variables nobody mentions in the generic guides.
Ceiling height changes the visual proportion of the fixture in the room. In bathrooms with ceilings below 8 feet, you may have no choice but to compress that gap to 4–5 inches — the math simply does not leave room. In bathrooms with 9-foot ceilings, you have latitude to push the fixture higher, and you should, because a fixture crowding the mirror top looks cramped against all that vertical space above it.
User height matters more than the guides admit. For households where the tallest user exceeds 6’1″, raise the baseline by 2–3 inches. At 6’1″, a fixture set at the standard position sits close to eye level when standing at the sink — the bare bulb enters the peripheral line of sight, which is both uncomfortable and counterproductive. I had a client — 6’3″, narrow Chicago bathroom, eight-foot ceiling — who flinched every time he used his bathroom. The fixture was at 77 inches, right in the middle of the recommended range, aimed directly at his eyes.
Mirror type changes the measurement entirely. Recessed mirrors — those set inside a niche — should be measured from the niche opening’s top edge, not the mirror surface, because the niche frame becomes the visual termination point. A fixture mounted above a recessed mirror needs clearance above the frame, not just the glass.
Here is a quick field test that costs nothing: stand at your sink, look straight ahead into the mirror, and have someone hold a flashlight or a phone light at the position you are considering mounting the fixture. If you can see the light source directly — not its glow, but the actual point of light — it is too low or too exposed.
A fixture placed more than 10 inches above the mirror top edge begins casting a downward shadow across the nose and under the chin — which is the exact problem over-mirror placement was designed to prevent. You can go too high. Most people do not realize this.
- Baseline: fixture bottom 6–8 inches above mirror top edge
- Ceiling below 8 feet: compress to 4–5 inches, prioritize clearance
- Ceiling 9 feet or higher: you can extend to 9–10 inches for proportion
- Tallest user over 6’1″: add 2–3 inches to baseline
- Recessed mirrors: measure from niche frame top, not mirror glass
The actionable takeaway: Write down your mirror top edge height, add 6 inches, and put a piece of blue tape on the wall at that mark. Stand at the sink. Look in the mirror. Adjust the tape until the light source from a phone held at that height stops appearing directly in your line of sight. That is your installation height.
The 75% Width Rule Has a Catch Nobody Mentions
Most guides state the 75% width rule as settled fact: choose a fixture that spans 70–80% of your mirror’s width. For a standard 36-inch single-sink mirror, that means a 27-inch bar. Fine. Works well. The rule earns its existence in that specific scenario.
Outside that scenario, it falls apart in two different directions.
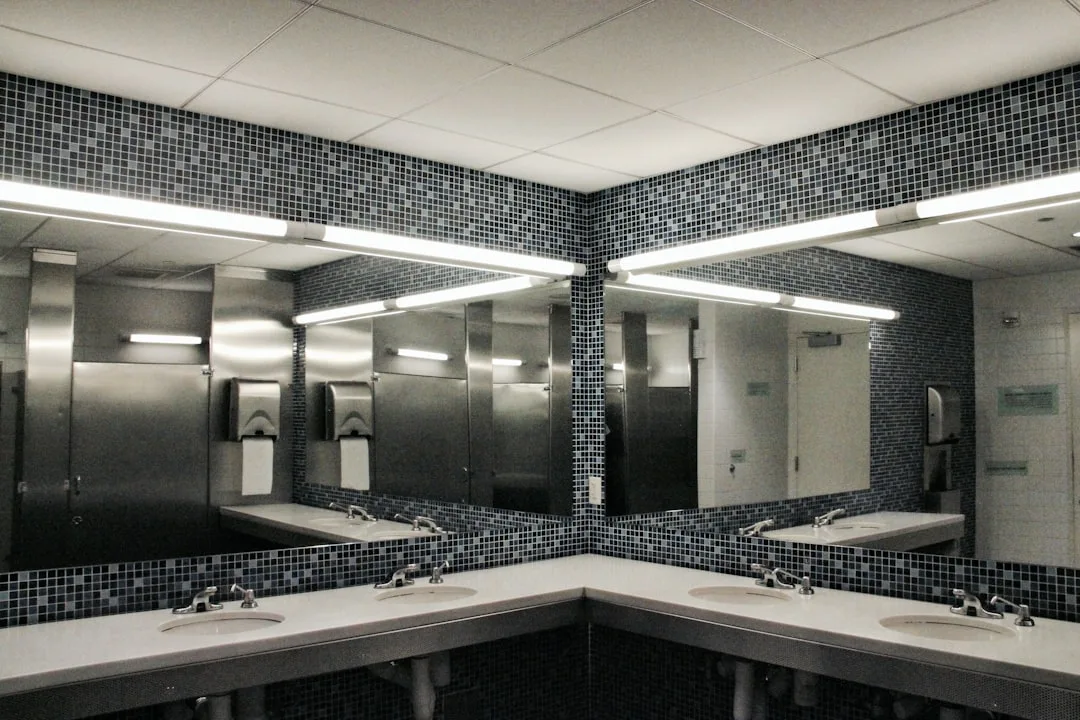
For wide mirrors — anything over 60 inches — a single bar at 75% width looks orphaned. A 75% fixture on a 72-inch mirror is 54 inches wide, which sounds substantial until you realize both sinks sit near the edges of that mirror and the light is concentrating in the center where nobody’s face actually is. The unlit zones at each end of a double vanity are not a style problem; they are a functional failure. Two people cannot both get useful face-level illumination from a single centered bar, no matter how wide the bar is, because the angle of incidence changes as you move away from center. At 18 inches off-center, even a broad bar light is delivering oblique light — the kind that exaggerates one side of the face while flattening the other.
The solution for wide mirrors is not a wider bar. It is two fixtures — one centered above each sink position — or a continuous run of fixtures that actually reaches the mirror edges. The 75% rule was written for single-sink vanities. Double vanities need a different framework entirely.
For narrow mirrors — anything under 30 inches — the 75% rule pushes you toward a fixture so short it looks like an afterthought. A 75% fixture on a 24-inch mirror is 18 inches wide. At that width, you are typically looking at a two-bulb bar with very little spread, which concentrates light in a narrow column directly above the nose bridge. The shadows on either side of the face become pronounced. For narrow mirrors, the practical fix is to exceed the 75% ceiling — go to 90–100% of mirror width, or even slightly wider, keeping the fixture from extending beyond the mirror’s outer edges when viewed from the front.
There is also a depth dimension nobody addresses. The standard 75% rule applies to flat, wall-mounted mirrors. Medicine cabinet mirrors project 3–5 inches from the wall. A fixture mounted directly above a projecting medicine cabinet at standard height sits partially above the cabinet top, meaning the light bounces off the cabinet surface before reaching your face — adding a warm reflected component that reads as yellowish under certain bulb temperatures. With projecting cabinets, you often need to raise the fixture an additional 2 inches to clear the cabinet top entirely and restore direct illumination.
- Single sink, 36-inch mirror: 75% rule works, yields roughly 27-inch bar
- Double vanity, 60-inch or wider mirror: split into two fixtures, one per sink
- Narrow mirror under 30 inches: go to 90–100% of mirror width to avoid shadow columns
- Medicine cabinet with 3–5 inch projection: add 2 inches to standard fixture height
- The 75% rule was calibrated for flat, single-sink installations — period
The actionable takeaway: Before applying the width percentage, identify your mirror category — single sink flat, double sink flat, or projecting cabinet. Each needs a different calculation, and treating them identically is where most width-rule failures begin.
Bulb Type Changes Everything the Fixture Placement Cannot Fix
Placement gets the geometry right. Bulb choice determines whether the geometry actually produces good light. These are separate problems, and solving one does not solve the other. Most bathroom lighting over mirror rules stop at placement entirely, which is why bathrooms can be perfectly positioned and still produce terrible vanity light.
Color temperature is the number printed on the bulb box after the letter K. The range relevant to bathroom lighting sits between 2700K and 4000K. At 2700K, you get the warm amber tone of incandescent — flattering for skin, misleading for makeup application, because colors look richer under warm light than they appear in daylight or office environments. At 4000K, you get a cooler, more neutral white that represents colors accurately but renders some skin tones slightly flat or washed out when used as the only light source. For most bathrooms that serve both daily grooming and makeup application, 3000K is the functional midpoint — warm enough to be comfortable for an extended morning routine, neutral enough to represent colors without distortion.
If the bathroom is used primarily for quick grooming with no makeup application, 2700K is the better choice. The warmth is easier on the eyes at 6 a.m. and the slight color shift does not matter when the task is shaving or washing a face.
CRI — color rendering index — matters more than most people realize and appears on almost no fixture packaging outside specialty lighting retail. CRI measures how accurately a light source represents the full color spectrum compared to natural daylight, scored from 0 to 100. Standard residential LED bulbs often land between 80 and 85 CRI. At that level, colors look generally correct but subtle distinctions — the difference between a burgundy and a deep brown, the accuracy of skin tone, the rendering of blue-toned concealer — become unreliable. For bathroom vanity lighting, a CRI of 90 or above is worth specifically seeking out. The bulbs cost slightly more. The difference in real use is noticeable immediately.
Lumen output above the mirror needs to account for the fact that you are partially blocking the light with your own head when you stand at the sink. A fixture that produces 800 lumens unobstructed may deliver considerably less to the parts of your face below eye level, because your skull is blocking a portion of the downward light path. This is one of the structural reasons side-mounted sconces outperform over-mirror bars for pure face illumination — the light path is not interrupted by the user. For over-mirror installations, a minimum of 1600 lumens for a single-sink vanity compensates for the obstruction effect and still produces comfortable (not harsh) light at typical bathroom distances.
- 3000K: best all-purpose bathroom color temperature, balances warmth and accuracy
- 2700K: ideal for grooming-only bathrooms where color accuracy is not the priority
- 4000K: accurate but can read as clinical; use only if the bathroom gets strong warm natural light
- CRI 90+: seek this number specifically for any bathroom used for makeup application
- Minimum 1600 lumens for a single-sink over-mirror installation to compensate for head obstruction
The actionable takeaway: Buy one bulb at the color temperature you are considering before committing to a full fixture purchase. Hold it at roughly the height you plan to mount the fixture and look in the mirror. CRI and color temperature are not returnable decisions once you have painted the walls and installed the bar — but a single test bulb on a clip light costs almost nothing and eliminates the most common lighting disappointment.
When Over-Mirror Is Not Enough (And What to Add Without Rewiring)
The bathroom lighting over mirror rules were written for fixtures as the primary light source. In a small powder room with white walls and a compact mirror, a single well-placed bar may genuinely be enough. In most other configurations — larger mirrors, dark walls, double vanities, bathrooms with more than one user — over-mirror alone produces a functional gap that no amount of precise placement fixes.
The gap is shadow on the sides of the face. An over-mirror bar, however well positioned, casts light downward and slightly forward. It does not wrap around the face. The temples, the jawline angle, and the side of the neck all sit partially in shadow because there is no lateral light source. For most grooming tasks, that shadow is not a problem. For anything that requires seeing both sides of the face accurately — symmetry checks, applying foundation evenly, evaluating a haircut — the shadow introduces real error.
The traditional solution is flanking sconces — one on each side of the mirror, centered at approximately 60 inches from the floor, which aligns with the average face center for most adults. Flanking sconces produce the wrap-around illumination that cinematographers call fill light — it eliminates the side shadows that over-mirror bars create by definition. The combination of an over-mirror bar for general brightness and two flanking sconces for shadow fill is the setup used in professional makeup rooms and well-designed hotel bathrooms for exactly this reason.
For bathrooms where adding sconces requires new wiring — which most do — there are two non-wiring alternatives worth knowing. Battery-operated puck lights with high CRI ratings (90+) have become reliable enough for actual use rather than just emergency backup. Mounted inside the mirror frame at either side or just outside the mirror edge, they add lateral fill without an electrician. The second option is an illuminated mirror — frameless mirrors with integrated LED strips along the perimeter have become broadly available and solve the lateral shadow problem directly, since the light source runs along all four edges of the glass rather than sitting above it alone.
Illuminated mirrors do introduce their own placement question: if the mirror itself is a light source, the fixture above it becomes supplemental rather than primary, which shifts the height calculation. The over-mirror fixture, if you keep it, now serves as an ambient source rather than a task light, which means you can raise it closer to the ceiling without the shadow consequences that would apply if it were the only source.
- Over-mirror bars alone produce lateral face shadows that precise placement cannot eliminate
- Flanking sconces at 60 inches from floor solve the shadow problem without changing the over-mirror setup
- Battery puck lights at high CRI inside the mirror frame add fill without wiring
- Illuminated mirrors solve lateral shadow at the source and demote the over-mirror fixture to ambient
- If using an illuminated mirror: treat it as primary, the over-mirror bar as supplemental, and adjust height accordingly
The actionable takeaway: Before deciding your bathroom lighting is wrong, diagnose which problem you actually have. If the overall brightness is insufficient, the lumen output or fixture height is the issue. If one side of your face looks darker than the other, the over-mirror setup is functioning correctly — you are missing a lateral source, and that is a different fix.
Frequently Asked Questions About Bathroom Lighting Over Mirror Rules
What is the standard height for bathroom lighting over a mirror?
The number most guides quote is 75–80 inches from the floor to the center of the fixture. That measurement was calculated for a 36-inch mirror with its bottom edge at about 36 inches from the floor — which puts the mirror top at 72 inches, and the fixture center at 76–78 inches. If your mirror is taller, shorter, or hung at a different height than this assumed configuration, the floor measurement becomes unreliable. The more accurate approach is to measure your mirror’s top edge from the floor and add 6–8 inches for the fixture’s bottom edge. That number accounts for your specific mirror rather than an assumed one.
Can bathroom lights be too high above the mirror?
Yes, and this is one of the most common mistakes in bathrooms with tall ceilings. A fixture more than 10–12 inches above the mirror top edge begins casting a steep downward angle of light that hits the top of the head and the bridge of the nose while leaving the cheeks, chin, and eye sockets in relative shadow. This is the same type of shadow problem that makes overhead ceiling fixtures so poor for vanity lighting. Over-mirror placement solves the overhead shadow problem only when the fixture is close enough to the mirror to produce a forward-angled light path. Too high, and you lose that advantage entirely.
Does the type of bulb matter as much as the fixture position?
Position and bulb type solve different problems. Position determines the angle and direction of light — whether it reaches your face without casting shadows. Bulb type determines whether that light renders colors accurately and at a comfortable intensity. You need both correct to get a bathroom that works well. The most precisely positioned fixture with a low-CRI bulb at the wrong color temperature will still produce unflattering light. CRI 90 or above and a color temperature of 2700–3000K covers most bathroom use cases.
How do bathroom lighting over mirror rules change for a double vanity?
Significantly. The standard rules were developed for single-sink setups where one person stands at the center of the mirror. A double vanity has two people standing near the mirror edges, which means a single centered fixture — regardless of how wide it is — fails to deliver direct light to both users simultaneously. The angle of incidence from a centered bar to a face standing 18–24 inches off-center is too oblique to provide even illumination. The correct approach for a double vanity is two separate fixtures, one centered above each sink position, rather than one wide fixture spanning the full mirror.
What should I do if I cannot raise the fixture higher because of ceiling height?
An 8-foot ceiling over a tall mirror leaves very little room. When ceiling constraints prevent proper over-mirror placement, the practical solution is to shift emphasis to side-mounted sconces rather than trying to force an over-mirror bar into a space where the geometry will not work. Two sconces flanking the mirror at 58–62 inches from the floor provide better task lighting for grooming than an over-mirror bar jammed too close to the mirror top. If sconces require wiring you cannot do, an illuminated mirror — one with built-in perimeter LEDs — solves both the height constraint and the lateral shadow problem without any additional electrical work.