The wall behind your toilet is one of the only vertical surfaces in a bathroom that gets almost no design attention — and in a room where the average usable floor space is under 50 square feet, ignoring it is a layout mistake you can fix in a weekend. If you’ve been searching for over toilet storage ideas bathroom designers actually use rather than just pin, you’ve probably noticed that most guides show you the eucalyptus-and-rolled-towels result without explaining what makes a particular solution work for your specific toilet, wall, and household. What they won’t tell you is the crossbar clearance dimension that determines whether it fits your toilet at all, which storage style will actually survive your household’s habits, or why the thing you plan to store up there might be slowly ruining itself. That’s what this is.
Quick Answer
The wall behind your toilet is one of the only vertical surfaces in a bathroom that gets almost no design attention — and in a room where the average usable floor space is under 50 square feet, ignoring it is a layout mistake you can fix in a weekend.
Measure Before You Shop: The Over-Toilet Fit Problem Nobody Warns You About
In This Article
- Measure Before You Shop: The Over-Toilet Fit Problem Nobody Warns You About
- Freestanding Etageres: Who They Actually Work For (And Who Should Skip Them)
- Floating Shelves vs. Recessed Niches: The Permanent Storage Decision
- Over Toilet Storage Ideas Bathroom Designers Actually Recommend by Room Type
- What You’re Storing Up There Might Be Ruining Itself
Most people open a product listing, look at the photo, read “fits most toilets,” and buy it. Then they spend a Saturday afternoon discovering that their toilet base is too wide, the crossbar sits against the wall at an angle, and the return window is closing in three days. I watched this happen to a client in Wicker Park — she’d ordered a beautiful black steel etagere that was aesthetically perfect for her bathroom and geometrically incompatible with her elongated toilet base. The unit went back. She lost two weeks.
Take three measurements before you open a single product listing:
- Tank height — from the floor to the top of the tank lid (standard tanks range from 12 to 16 inches tall, but pedestal and concealed-cistern styles vary dramatically)
- Tank width — the widest horizontal dimension of the tank itself, typically 7 to 9 inches
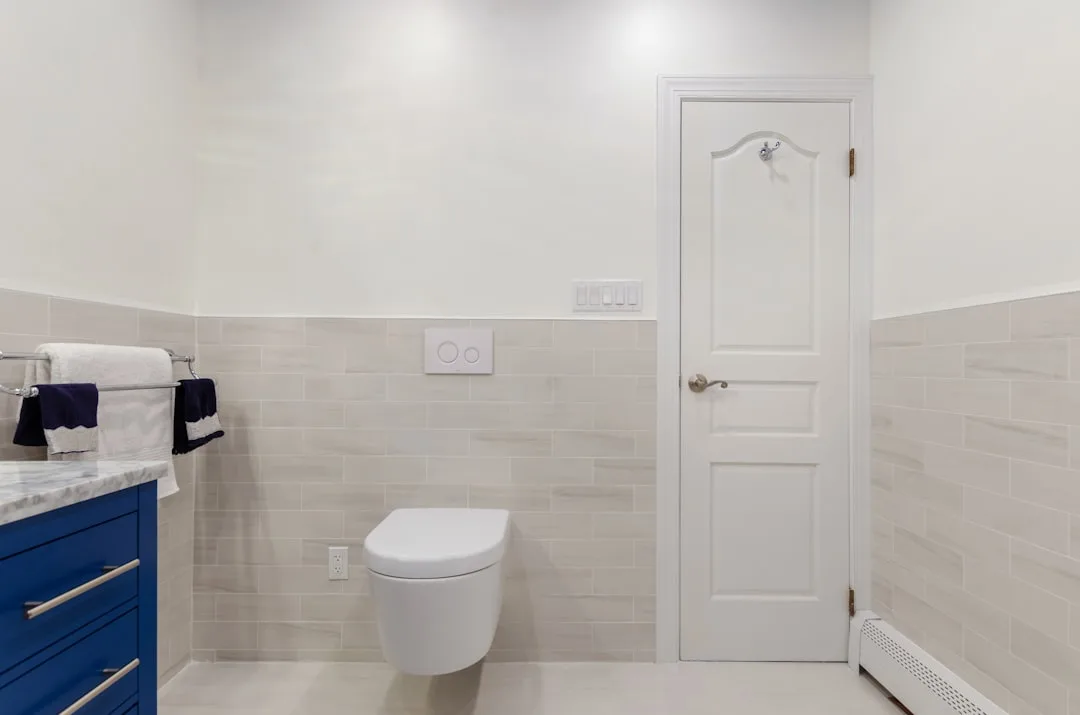
- Tank-to-wall distance — how far the back of the tank sits from the wall behind it; in tighter installations this is as little as 2 inches
That third measurement is the one that eliminates whole categories of product. A wall-mounted cabinet with a door that swings outward needs the tank sitting far enough forward to clear the door arc. Shallow floating shelves — 4 to 6 inches deep — usually survive the tank-to-wall constraint. Deeper shelves, 8 to 10 inches, frequently don’t.
For freestanding etageres specifically, the number almost no retailer lists prominently is the lower crossbar clearance height — that bar runs horizontally behind the toilet base and typically needs 10 to 14 inches of floor clearance to clear the base of a standard toilet. If your toilet has a wide skirt or offset floor bolts, that bar often can’t seat flush to the wall at all.
The usable vertical zone above a tank generally starts 6 to 8 inches above the lid — enough clearance that you can remove the lid for repairs without pulling the unit out — and extends to a comfortable reach height of around 72 inches from the floor. That gives you roughly 24 to 30 inches of horizontal working width above most tanks.
Quick measurement checklist before you shop:
- Tank height (floor to lid top): _____ inches
- Tank width (widest horizontal point): _____ inches
- Tank-to-wall gap: _____ inches
- Lower crossbar clearance needed: 10–14 inches minimum
- Usable vertical zone: starts 6–8 inches above lid, ends at ~72 inches from floor
- Available horizontal width above tank: typically 24–30 inches
Takeaway: Spend five minutes with a tape measure before you touch your phone. Tank height, tank width, tank-to-wall gap. Those three numbers prevent the majority of fit failures.
Freestanding Etageres: Who They Actually Work For (And Who Should Skip Them)
Here’s what most reviews won’t say plainly: the etagere is a design solution that works brilliantly for a specific type of household and creates real problems for others. The fact that it photographs well is not a sufficient reason to buy one.
Renters are the clearest yes. Zero wall damage, moves in under 20 minutes, no tools beyond possibly a rubber mallet, and it reinstalls identically in your next apartment. If your toilet has a standard footprint and your bathroom is a typical rental configuration, a freestanding etagere is close to an ideal solution.
Households with toddlers or active pets are a near-universal no. The open-frame design is structurally tip-prone by nature — the weight distribution depends entirely on what’s loaded and where, and the center of gravity shifts every time someone pulls a roll of toilet paper from the second shelf. CPSC data documents bathroom furniture tip-overs as a real emergency room category, not a theoretical risk. Most etagere models carry explicit warnings against anchoring into drywall alone, which means in a rental — where tip-overs are most likely to go unanchored — the risk sits precisely where it’s highest.
Seniors and anyone planning for aging-in-place should avoid most etagere models for a different reason. The lower crossbar reduces floor clearance directly behind and beside the toilet — exactly where a grab bar might eventually need to be installed. Buying an etagere now can mean removing it entirely later when accessibility becomes a priority.
For minimalists, the math here is unforgiving. A single-tier or two-tier etagere holding three items reads as considered. A four-tier unit with every shelf loaded reads as a supply closet, regardless of how expensive the bottles are or how tastefully the towels are folded. I’ve seen this mistake in $800,000 condos. The finish doesn’t rescue the volume.
Etagere decision matrix — quick reference:
- ✓ Renters: Strong yes — no wall damage, fully portable
- ✓ Single adults or couples with tidy habits: Good fit if shelves stay sparse
- ✓ Temporary solution while renovating: Ideal placeholder
- ✗ Households with toddlers or large pets: Avoid — tip risk is documented, not theoretical
- ✗ Aging-in-place planning: Skip — crossbar conflicts with future grab bar placement
- ✗ Anyone who realistically won’t keep shelves sparse: The volume will read as clutter regardless of finish
Takeaway: Before buying an etagere, answer two questions: Do you have toddlers, pets, or mobility considerations? And will you realistically keep each shelf sparse? If the answer to the first is yes, or the second is no, look at a different category.
Floating Shelves vs. Recessed Niches: The Permanent Storage Decision
Homeowners face a choice that renters don’t: whether to add storage that projects into the room or storage that disappears into the wall. Both approaches work. They work for different bathrooms, different budgets, and different tolerance for weekend demolition projects.
Floating shelves install in under two hours with basic tools. But they project 6 to 10 inches into the room, and in a bathroom under 50 square feet, that projection is perceptible. Not catastrophic — but perceptible. You feel the room close in slightly each time you stand at the sink. Shallow shelves at 4 to 6 inches of depth reduce this effect meaningfully while still holding most toiletry and décor items.
For drywall-only installation, toggle bolts rated for the appropriate load can safely support 20 to 30 pounds per shelf — adequate for a curated set of toiletries, small plants, and rolled towels, but not for a collection of ceramic vessels or the full cast of a medicine-cabinet overflow. Know your load before you choose your fastener.
Floating shelf load guidelines:
- Light load (under 15 lbs): Decorative anchors or standard drywall anchors adequate
- Medium load (15–30 lbs): Toggle bolts into drywall, or screws into studs
- Heavy load (30+ lbs): Stud mounting required — locate studs before finalizing shelf position
- Any load in a high-humidity bathroom: Seal the shelf underside; moisture wicks up into unfinished wood and causes warping within months
Recessed niches are the more demanding solution and the more rewarding one. Done correctly, a niche between standard 16-inch stud bays gives you approximately 14.5 inches of usable width — enough for two rows of products side by side — and adds zero visual bulk to the room. Common finished depths run from 3.5 inches (one stud depth) to 7 inches if you double the framing, which is a significant difference in what you can store.
What fits in a standard 3.5-inch recessed niche vs. a 7-inch niche:
- 3.5 inches: Single row of standard shampoo bottles, small candles, folded washcloths, soap dishes
- 7 inches: Two rows of product, small potted plants, rolled hand towels standing upright, larger vessels
The problem is the wall itself. The wall directly behind most toilets is often an exterior wall, a shared-unit wall in apartments, or a plumbing wall — all of which create complications. Exterior walls in climate-controlled homes contain insulation you cannot simply remove; shared walls in multifamily buildings are typically fire-rated assemblies you cannot legally cut into without permits; plumbing walls contain supply lines and vent stacks that make niche framing genuinely dangerous without a professional inspection first.
Before cutting into the wall behind your toilet, confirm:
- Is this an exterior wall? (Insulation and vapor barrier complications)
- Is this a shared wall in a multifamily building? (Fire rating and legal restrictions)
- Does this wall contain plumbing? (Supply lines and vent stacks — probe before cutting)
- Do local permits require inspection for wall modifications in wet areas?
Over Toilet Storage Ideas Bathroom Designers Actually Recommend by Room Type
Not every over toilet storage idea works in every bathroom. The solution that’s right for a 45-square-foot rental powder room is usually wrong for a 90-square-foot primary bath with double vanities. Here’s how to match the solution to the room.
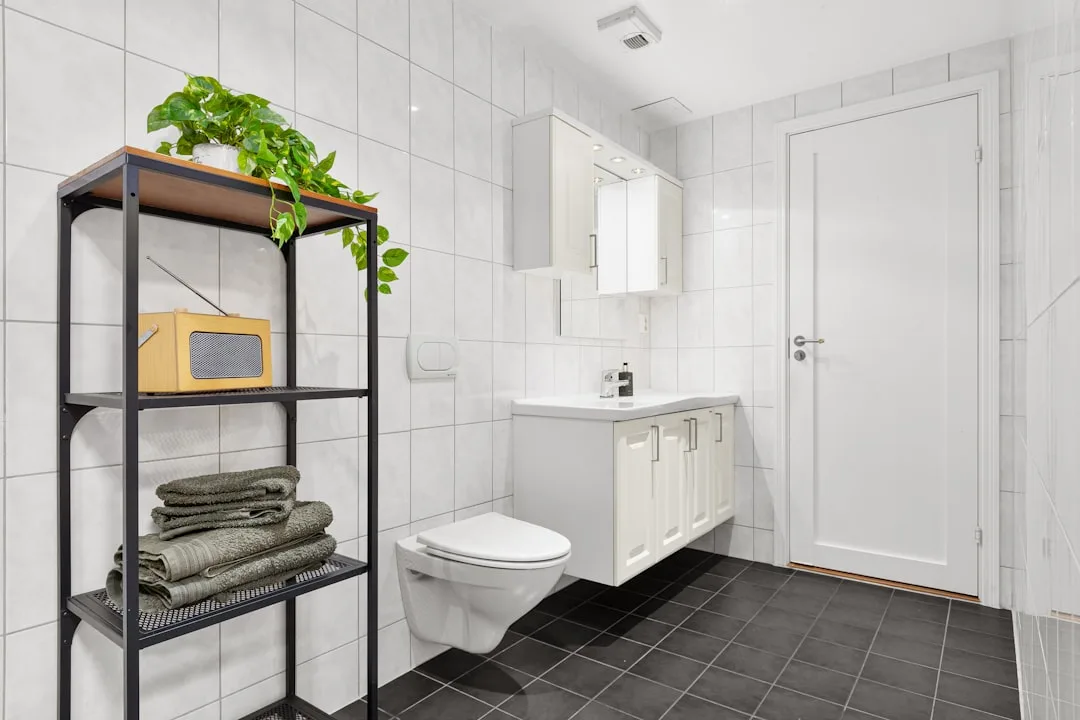
Small bathrooms under 50 square feet:
- Single floating shelf at 60–65 inches from floor (visually light, doesn’t close in the ceiling)
- Shallow recessed niche if the wall allows (maximum depth gain with zero projection)
- Two-tier etagere with only the top shelf used (bottom shelf becomes dead storage or stays empty)
- Wall-mounted cabinet with sliding door rather than swing door (eliminates door-arc clearance requirement)
Medium bathrooms 50–80 square feet:
- Stacked floating shelves with 12–14 inches of vertical spacing (allows for larger items and plants)
- Three-tier etagere used with deliberate restraint on lower shelves
- Over-toilet cabinet with closed bottom and open top shelving (hides functional clutter, displays curated items)
Primary bathrooms over 80 square feet:
- Built-in cabinetry flanking the toilet on both sides (requires planning around toilet rough-in position)
- Full recessed niche with tile surround (highest visual integration, highest installation cost)
- Ladder shelf leaned against the wall (only works when there’s enough floor depth behind the toilet — measure carefully)
Powder rooms and half baths:
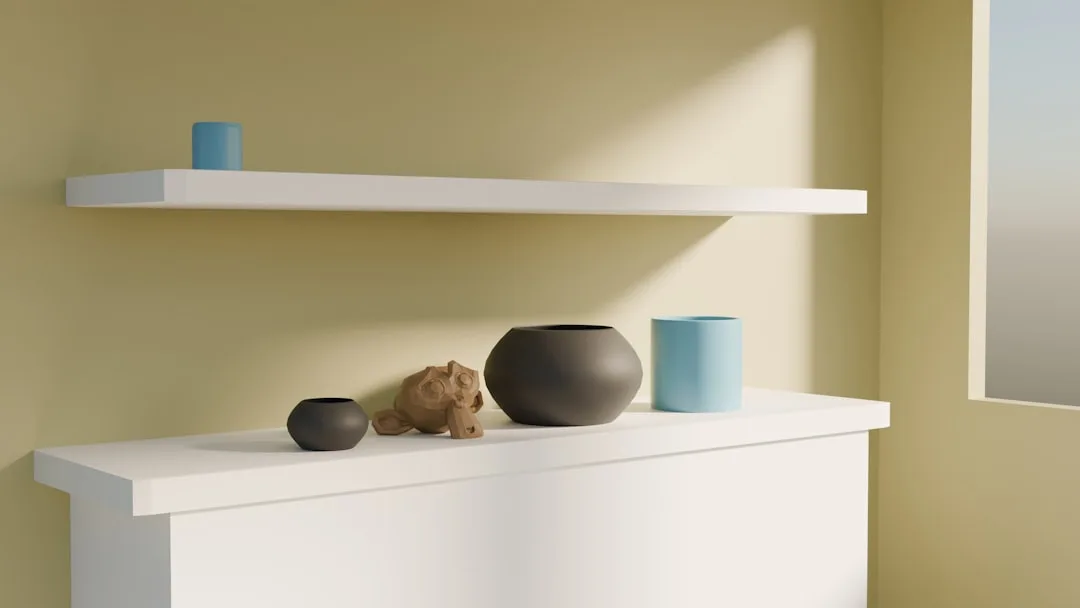
- Single statement shelf with one or two objects (the room is purely social — visual weight matters more than storage capacity)
- Small wall-mounted cabinet at eye level (conceals spare hand soap and tissue without the visual noise of open shelving)
What You’re Storing Up There Might Be Ruining Itself
This is the part most over toilet storage guides skip entirely. The environment directly above a toilet is one of the most hostile storage environments in a home for certain product categories, and the items people most commonly store there are often the ones most damaged by that environment.
Every flush aerosolizes a fine mist — the well-documented “toilet plume” — that settles on surfaces within roughly a 6-foot radius. The items on your over-toilet shelves sit inside that radius by definition. This matters more for some items than others.
Items that degrade in over-toilet storage:
- Unsealed medications and supplements: Humidity and temperature fluctuation accelerate degradation; the bathroom is categorically the wrong place for anything you’re taking for your health
- Natural fiber towels stored long-term: Rolled display towels that sit on open shelves for weeks accumulate particulate matter with every flush cycle; if you’re storing display towels, wash them before use regardless of appearance
- Wooden accessories without sealed finishes: Raw or lightly finished wood absorbs humidity and develops mildew on undersurfaces within months in a regularly used bathroom
- Skincare products with active ingredients: Retinoids, vitamin C serums, and similar actives degrade faster in fluctuating humidity and indirect light; a closed cabinet above the toilet is better than open shelves for these
Items that survive over-toilet storage without issue:
- Ceramic and glass vessels (inert, non-absorbent)
- Sealed plastic containers
- Synthetic-fiber decorative elements
- Toilet paper reserves in a closed basket or container (open display rolls are fine aesthetically but accumulate particulate)
- Artificial plants (no humidity sensitivity, no growth requirements)
FAQ
What is the minimum clearance needed between a toilet tank and an over-toilet shelf or cabinet?
The standard recommendation is 6 to 8 inches of clearance above the tank lid. This gives you enough room to lift the tank lid off for repairs or float adjustments without having to disassemble or reposition the storage unit. Some wall-mounted cabinet designs allow for less clearance because the unit sits flush with the wall rather than spanning the tank, but 6 inches is a reasonable minimum even in those cases. Measure your specific tank lid removal arc — some lids pivot rather than lift straight up, which changes the clearance math.
Can I install floating shelves above a toilet if I can’t find studs in that wall?
Yes, with the right anchors and appropriate load limits. Toggle bolts — specifically the snap-toggle or flip-toggle style — rated for your intended load can safely support 20 to 30 pounds per shelf in drywall without stud attachment. The key is knowing your actual load. A small succulent, a soap dish, and a candle weigh under 5 pounds total. A full set of ceramic canisters can hit 15 pounds before you add anything else. Weigh your intended shelf contents before selecting anchors, and never exceed the anchor’s rated load.
What’s the difference between an over-toilet cabinet and an over-toilet etagere?
An etagere is an open-frame unit with horizontal shelves and no enclosed storage — everything on it is visible. An over-toilet cabinet has at least some enclosed sections with doors, which hides contents from view and protects items from the bathroom environment. Cabinets are generally better for functional storage (medications, backup supplies, personal care items); etageres are better for curated display. Many units combine both — open shelves at the top, cabinet at the bottom — which is often the most practical configuration for households that need genuine storage, not just a place to put a plant.
Are over-toilet storage units safe for bathrooms with young children?
Freestanding etageres specifically carry tip-over risk that CPSC data confirms is a real injury category. If you have toddlers or young children in the home, avoid freestanding over-toilet units unless you can anchor them to a stud — not just drywall — and the anchor point is above the child’s reach. Wall-mounted shelves and properly anchored cabinets are significantly safer because they eliminate the tip-over risk by design. Also consider what you’re storing: anything at a child’s reach height (under 48 inches) should be non-breakable and non-toxic regardless of storage type.
How do I make over-toilet storage look intentional rather than like a supply closet?
The single most effective rule is the one-third rule: fill each shelf to no more than one-third of its visual capacity, and vary the height and type of objects. One tall item, one medium item, and deliberate negative space reads as curated. Every inch of shelf filled with products reads as overflow, regardless of how expensive those products are. Closed containers — baskets, jars with lids, small boxes — consolidate visual complexity. If you need to store 12 things and you have three shelves, four things per shelf will always look like too much; move some of it to a closed cabinet and display three things total.