Blog

  • Preparing Your Driveway for Sealing: Pro Tips

    Preparing Your Driveway for Sealing: Pro Tips

    Constantly exposed to environmental elements, such as UV radiation, rain, and snow, the asphalt driveway can wear faster than expected.

    Photo by Sound On from Pexels

    It is subject to daily wear-and-tear due to traffic load, and chemical and oil spills. These factors pose a grave threat to your asphalt driveway. But while these are unavoidable, you can minimize their potential impact with proper maintenance.

    One of the best ways to preserve your asphalt is through sealcoating. A properly sealed and well-kept asphalt pavement can appear aesthetically pleasing and structurally sound for a long time. It can help prevent premature damage to your asphalt driveway. Sealcoating will cost you but it’s a worthwhile investment.

    However, when it comes to sealcoating, proper installation is crucial. You don’t just buy a sealer and pour or spray it all over the pavement. Sealcoating contractors at ABC Paving emphasized that the proper of the asphalt driveway is paramount. A well-prepared and cleaned driveway ensures that the sealer adheres properly.

    Photo by Ralph (Ravi) Kayden on Unsplash

    Here are the somes tips on how to sealcoat an asphalt driveway.

    Choose the right day

    When it comes to sealcoating, favorable weather is vital. Whether you’re applying the sealer DIY or hiring a sealcoating contractor, you need to check the weather forecast for the next couple of days. Ideally, you should choose a day during summer when the chances of rain are low. Rain can delay the driveway preparation and sealcoat application. It can even cause the sealer to be washed off before it is set fully.

    Assemble all materials

    You want to avoid any delays during the sealcoat application to ensure homogeneity. The lack of supplies and materials is a common cause of delay. Hence, you want to assemble all materials before you even start.

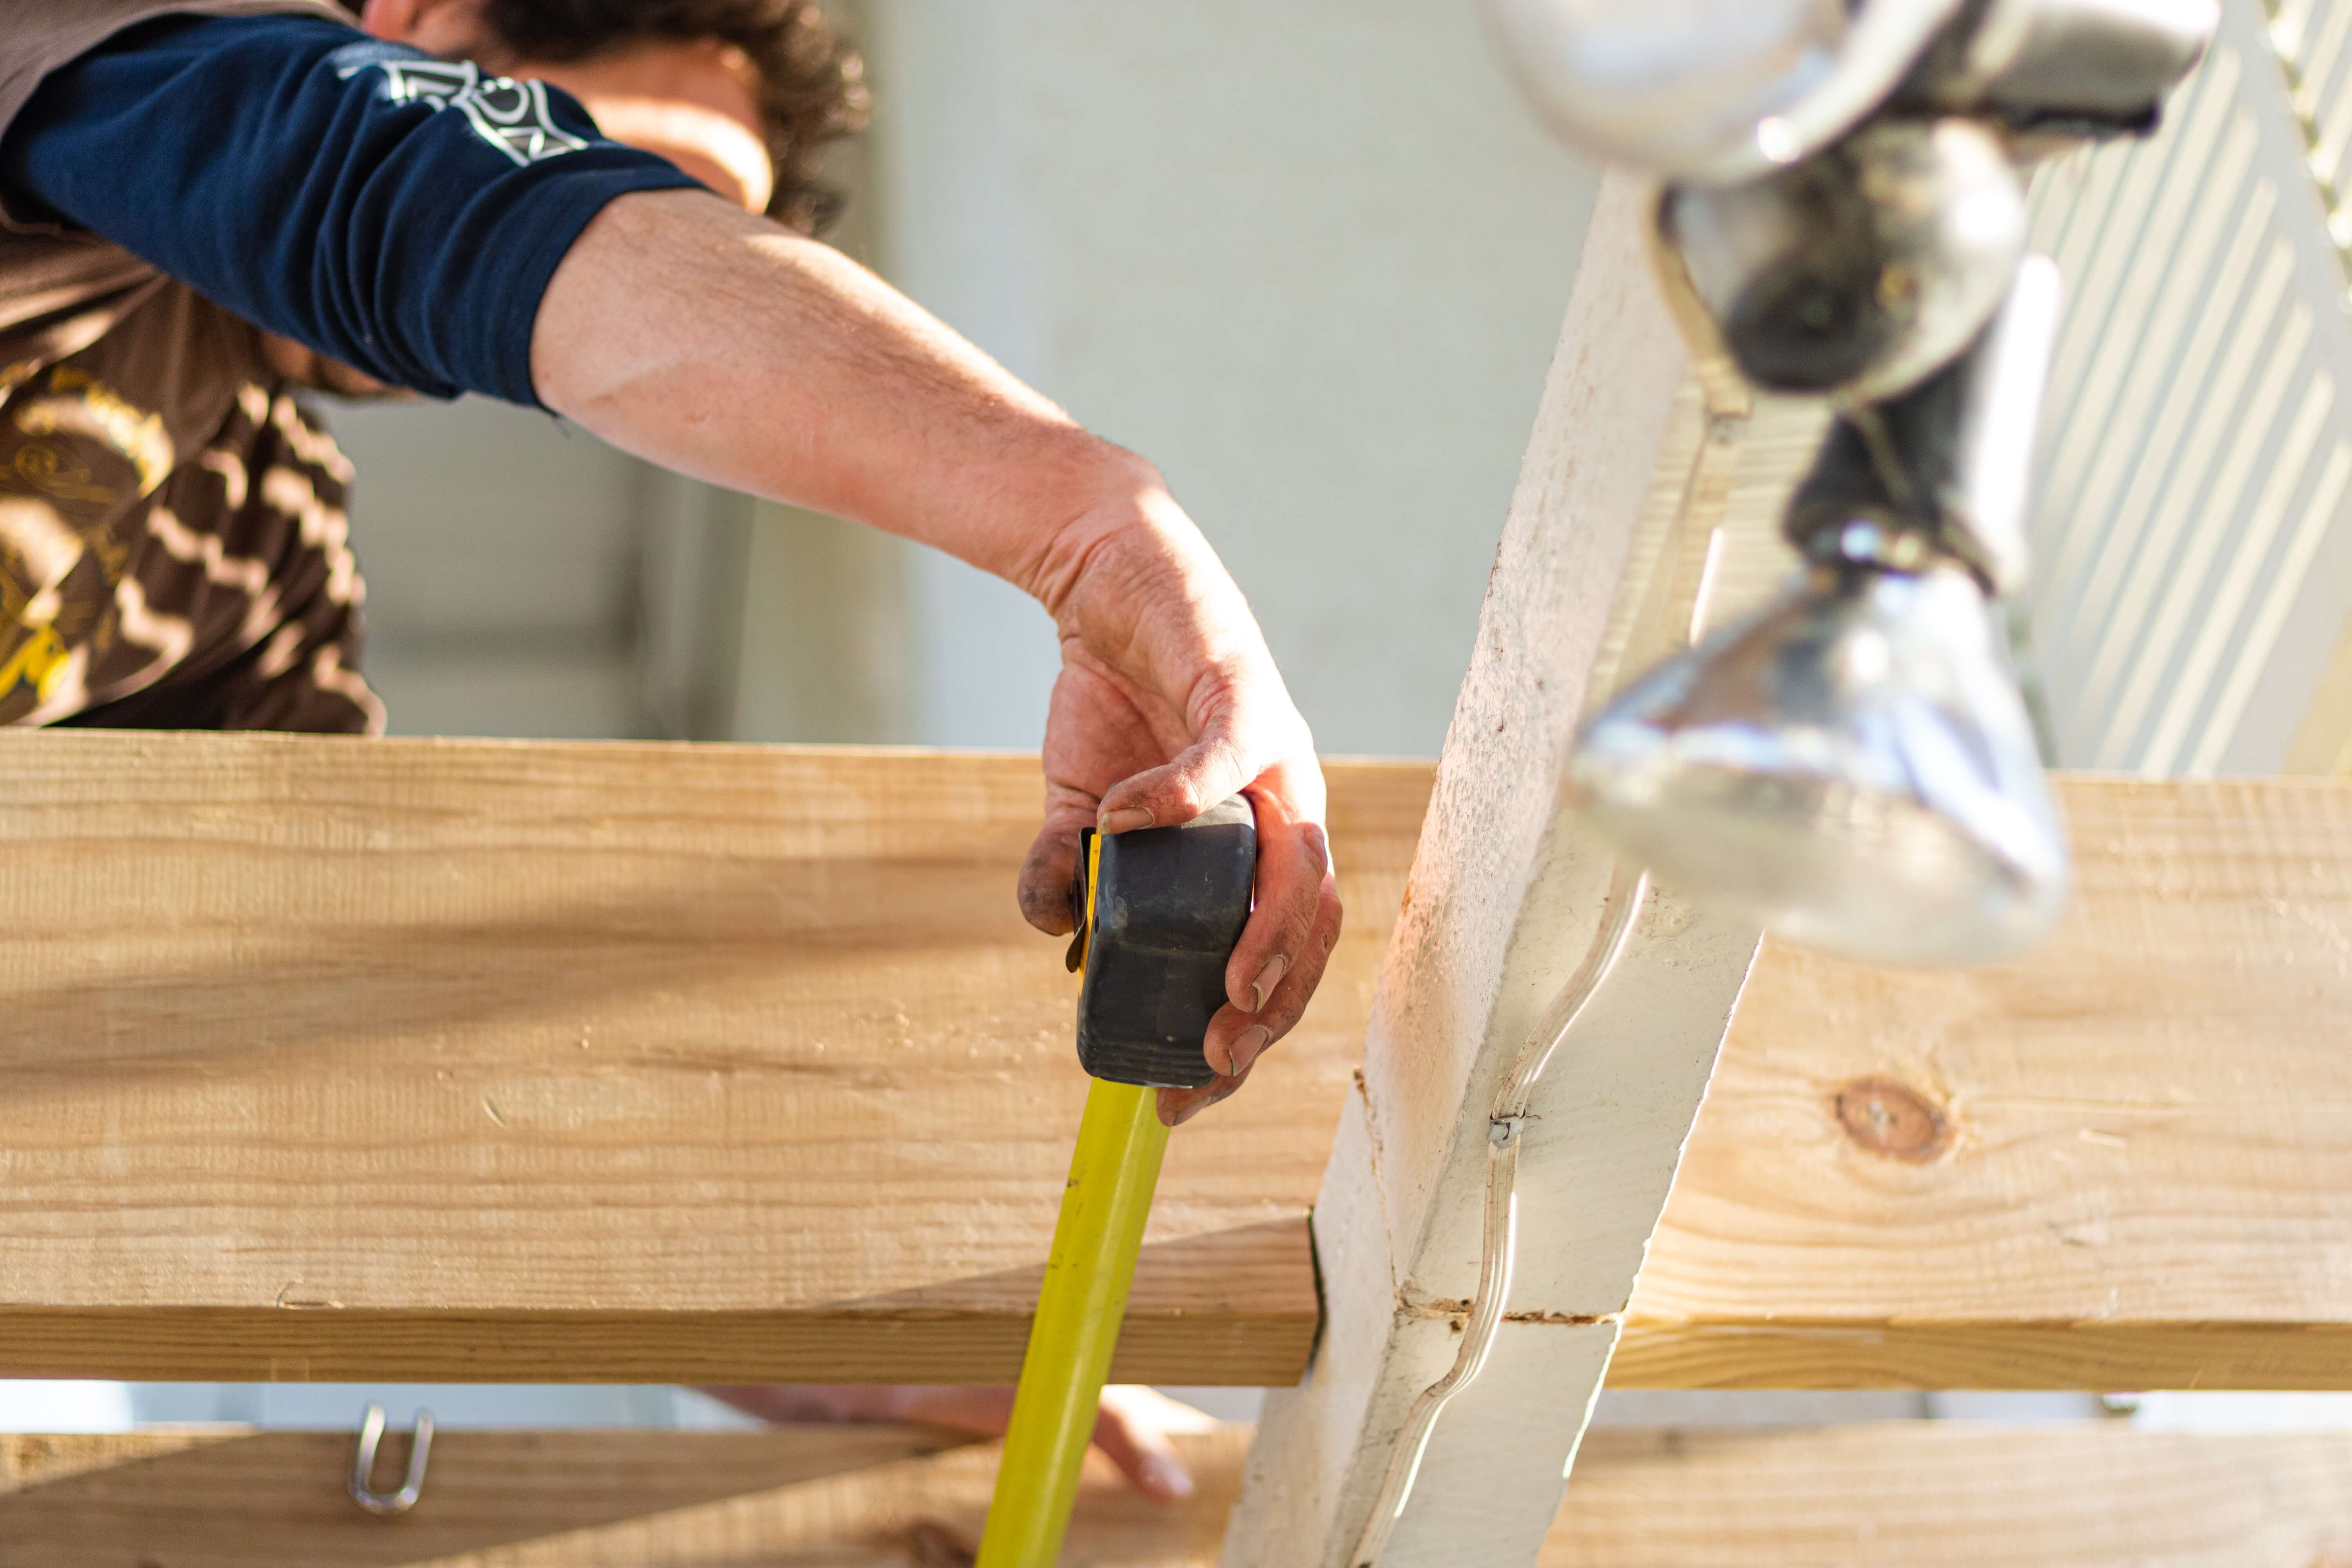
    Measure the dimensions of the driveway to help you estimate the materials you will need. Get the square footage to determine how much sealer is required. Typically, the coverage rate is 1 gallon of sealer per 100 sq. ft.

    Photo by Tara Winstead from Pexels

    Clean the driveway

    Before you start sealing, thoroughly clean the driveway. Use a stiff-bristled broom to sweep away grass, leaves, debris, dirt, pebbles, and loose aggregate. They can get stuck in your bristles and cause unwanted markings or poor asphalt adherence. If you have a high-powered blower, it can help further remove fine sand and other tiny debris.

    Remove vegetation like grass or weeds that might have grown in potholes and cracks over the edges of the driveway.

    Use a power washer to remove residue from dirt, cleaning solutions, and other chemicals. After washing, let the surface dry. You can manually remove them or use a trowel. Do this a day before the sealcoat application.

    Use degreaser

    The outermost layer of asphalt is particularly vulnerable to oil and chemical spills. If not cleaned right away, these compounds can have a long-term effect on your pavement. Identify areas where spills are most common. Use a professional-grade degreaser to remove spills. Aside from preserving the deep black appearance of asphalt, it will also help the sealer adhere to asphalt better.

    Photo by cottonbro from Pexels

    Repair cracks and potholes

    You don’t want to seal an asphalt driveway with cracks and potholes. This will ensure a smooth and even finish when sealcoating. After cleaning, fill up cracks and potholes. Use asphalt patch and follow the directions for application. However, if the driveway has extensive pothole damage or cracks, you might need to have it checked by a professional driveway sealcoating contractor. They can recommend appropriate repair like using a vibrating plate compactor or repairing the base layer.

    Photo by cottonbro from Pexels

    Allow driveway to cure properly

    For best results, apply sealer once the asphalt has cured completely. Typically, it will take at least six months with one summer season for bitumen to fully set. Asphalt has an unstable composition and needs to settle well for effective sealcoating.

    Proper preparation for the driveway sealing will ensure the best result. Make sure to follow these tips above. Take note that sealcoating projects can take time (a couple of days to a week. Hence, you need enough time to work on such a project. If you don’t have any spare time, it might be best to ask the help of sealcoating contractors.

  • Home Renovation 101: Be Prepared – Top Hints

    Home Renovation 101: Be Prepared – Top Hints

    Congratulations! No matter how complicated and time-consuming, home renovation is always an exciting project.

    Photo by Chastity Cortijo on Unsplash

    Whether it’s minor tasks like wall painting or more complex issues like electricity works, the result is likely to make any homeowner happy.

    To ensure full satisfaction, it’s important to do a little research. If you are planning to hire a general contractor, you need to find the right one for the job. If you are thinking about DIYing, you have to find the right educational resources, materials, and equipment.

    Either way, you can take advantage of some resourceful hints. Let’s take a closer look at a few of them.

    Photo by Daniela Gisin-Krumsick on Unsplash

    1. Set the Budget

    The first thing to do before renovating is to understand how much money you are willing to pay for this project. Renovation can be fairly economical or drastically expensive. Anything in-between requires careful budget planning.

    If you don’t have a transparent spending plan, you may end up overpaying for various aspects of the job. When the money runs out, you could face a serious problem. That’s why the budget must be clarified at the very beginning.

    According to home renovation contractors from AFS General, Florida, experienced contractors can work with any reasonable budget. They can also give you advice on how your plans correlate with the money you want to spend. 

    2. Consider the Function

    When people make plans to renovate their homes, they often fail to see the big picture and end up sacrificing form to function. If you don’t have experience designing a home, you need professional assistance. Otherwise, you may end up creating something beautiful yet useless.

    While minor form attributes may just be an inconvenience, failing to consider the original architectural style may lead to structural issues. That’s why it’s imperative to consider each part of your house separately while looking at the project as a whole.

    Photo by Callum Hill on Unsplash

    3. Don’t Dive into Trends

    Trendy renovation styles may look amazing to you today but could go out of fashion tomorrow. When renovating a home, always consider its resale value. While it may be hard to think about selling a house right now, you may need to do it in the future.

    When that moment comes, your trendy innovations may become a price-reducing factor. So if you don’t want to hurt the value, go with more or less traditional designs. Consult a designer to find out how to combine your desire for trendiness and the wish to keep the home’s value intact.

    Photo by KJ Styles on Unsplash

    4. Wait to Buy the Furniture

    Unless you have a professional designer working on the entire renovation process, take it one step at a time. You may think certain furniture will look great in your new living room only to find out that it doesn’t fit once the job is finished.

    Wait for all the major work to be done before buying furniture. You may change your mind after you see the full picture.

    5. Buy Good Materials

    Some homeowners try to save money by buying cheap materials. These materials may look just as good as their expensive counterparts do. However, they are likely to give out much quicker.

    By trying to save on materials during the renovation stage, you are setting yourself up for new expenses in the future.

    Instead of using cheap materials, take the time to wait for promotions and sales. Ask your general contractor and designer about places to buy good materials at a reasonable price.

    Photo by Ionut Vlad on Unsplash

    6. Choose a Reliable Contractor

    While you can finish some of the minor renovations on your own, you need contractors for major work. Take your time choosing the best contractor for your needs. The choice you make will dictate the quality and the timeline of your renovations.

    You can consider hiring a general contractor to coordinate the entire project or work with subcontractors separately.

    Photo by R ARCHITECTURE on Unsplash

    The Takeaway

    Renovating a house can be a complicated and time-consuming job. By choosing the right assistants and materials, you can simplify the process and ensure a satisfactory outcome. Make sure to get the big picture of what your renovations will look like when finished. Otherwise, you may end up redoing some of the work. 

  • Moving With Kids: How To Do It Right?

    Moving With Kids: How To Do It Right?

    If moving is stressful enough for adults, it’s doubly so for children. Moving to a new home means leaving their bedroom, their friends, their favorite park or playground, and everything they’ve grown up with.

    Photo by form PxHere

    Leaving your comfort zone and moving to an unknown place can be mind-boggling, especially to your little ones. Families relocate for many reasons, such as due to housing, family, work, government or military relocations. Oftentimes moving is inevitable and you simply need to prepare for it.

    Moving with kids tends to be more challenging than your moves in the past. Aside from the regular moving-related tasks, you have to pay extra attention to your little ones. Doing it right can make the move less stressful for the whole family.

    So, how do you ensure a smooth relocation with kids? Here are some pointers to keep in mind.

    Before the move

    Once you decide that the family is moving, let your children know immediately. Just as you need time to prepare, your kids also need time to process such a daunting experience.

    Talk to them about the move. Why is it needed? Where are you going? And what to expect during the process? Keeping them informed can help ease the process of acceptance. This will also ensure a positive moving experience for them.

    Photo by form PxHere

    Consultants at Mississauga Moving Company, Torex, recommend early preparations, especially when moving with kids. Ideally, start preparing at least two months before the actual moving date. Aside from giving you enough time to organize the move, de-clutter your stuff, and pack up, it will also provide enough time to say goodbye to their friends.

    Keep them involved in the moving process – from planning down to packing and unpacking. Toddlers can be assigned simple tasks like packing their toys or their belongings. Teens can help research about the new place and look for a new school.

    Regular family huddles can help everyone prepare for the move. Give them updates about the tasks at hand, to-dos, schedules, etc. This is also a perfect time to know more about how your kids feel about the move.

    Photo by form PxHere

    During the move

    On the big day, you might feel stressed out. Keep them busy with tasks that you have assigned beforehand. 

    Having a well-planned move can make the moving day smooth because the kids know what to expect.

    Make an inventory of all your stuff. This will help you keep track of your belongings and avoid leaving anything behind. Do a final sweep and check every room before moving out.

    Make sure your kids wear comfortable clothes. If your teens will help move some boxes, be sure they wear safe clothes and stable footwear. Teach them about proper lifting techniques to avoid injuries.

    Be ready with snacks and refreshments, extra clothes, nappies, medicines, and other kids’ essentials. If you have toddlers or babies, make sure you have their favorite toys ready should they become bored. You can ask for help from your friends and family to watch over your kids. With a lot of things to do, it can be a very hectic day.

    Try to look for interesting sights or places where you can stop over as you travel. This will make the journey more exciting and take the kid’s minds off your old home.

    Photo by form PxHere

    After the move

    Unpacking can be equally overwhelming. But unlike packing, you have plenty of time to unpack and sort out everything. Don’t pressure yourself into un-boxing your stuff at once. Start only with the important items.

    Make the kids feel at home by putting their favorite bedspread, familiar objects, favorite toys, and pictures. Try to establish the routine in your previous homes, such as TV time, bedtimes, and mealtime. Young children can become stressed with disruptions in their activities. Babies, in particular, are keen on predictability.

    Encourage your kids to express their feelings about the experience. Get them to call the friends they left. It will make them feel better and ease anxiety.

    Look for activities to do or places to visit in your new neighborhood. If your kids attend a club or participate in sports, try to find similar activities to make them feel at home and encourage them to make new friends.

    Photo by form PxHere

    Final Thoughts

    Moving with kids can be extra stressful. Proper planning and plenty of preparation can make the moving experience smooth and exciting for the entire family. Getting everyone involved from start to finish can give you a sense of fulfillment. It can help you settle in your home faster and make new memories together.

  • How Ibogaine Can Help Your Recovery

    How Ibogaine Can Help Your Recovery

    For years, ibogaine therapy has remained controversial because of its hallucination-inducing and mind-altering effects.

    Photo by Ryutaro Tsukata from Pexels

    And, although scientists are still researching the exact effects of ibogaine on the brain, they claim that it helps to prevent excitotoxic damage to the neurons. Some drugs like opiates are known to cause excitotoxic damage. 

    How ibogaine helps a recovering addict

    When you take ibogaine, it is changed into a compound known as noribogaine. Now, this compound targets your brain that has been affected by the drugs you have been taking. Noribogaine repairs these areas, thus allowing your brain to restructure into its original state before you become an addict. 

    And, although ibogaine can ease the effects of withdrawal and prevent cravings, the process is more of a detox, than stopping an addiction. That means, there are additional steps that you must take after you stop taking or searching for drugs to abuse. 

    Photo by lilartsy from Pexels

    So, if used for addicts recovering from opioids, ibogaine works following this timeline:

    1. Acute phase – typically, this begins within the first 1 to 2 hours of ingestion. The acute phase lasts for around 4 – 8 hours. During this period, the recovering addict can experience hallucinations and visions, in a very emotionally intense format. 
    2. Evaluative phase – this follows immediately after the acute phase can last somewhere between 8 – 20 hours. Introspection, contemplation of behaviors and life, as well as personal reflection are likely to take place during this phase. 
    3. Residual stimulation phase – this is the next stage after the evaluative phase. It happens within 12 – 24 hours and can last for 1 – 3 days—and even longer at times. During this phase, attention moves from internal to external stimuli. Besides, the effects can last for some time before fading away. 
    4. The recovery phase – this is the last phase of ibogaine therapy, where the substance users abstain from drug and substance abuse because all drug cravings are erased. However, self-destructive behavior patterns and thoughts need attention from professional therapists and counselors. 
    Photo by Jill Burrow from Pexels

    The experts from Clear Sky Recovery, ibogaine treatment clinic say that ibogaine therapy should be done in a quiet, calm, and secluded location. Besides, the recovering addict needs to have 24/7 medical care and supervision. In addition, ibogaine can keep a person alert and awake for several days in the course of the treatment. Therefore, users might require to rest after they are done with their treatment. However, it’s important to note that ibogaine isn’t a magic solution for drug and substance abuse. Therefore, recovering addicts require additional therapy, follow-up care, as well as learning new mechanisms to cope for them to avoid relapse. 

    The success rate of ibogaine therapy

    Medical experts who use ibogaine therapy to treat substance addiction say that it has an average of 50-80% success rate. Although this might sound a bit promising, ibogaine therapy works differently on different people. The long-term success of these treatment methods depends on the support that the patients receive after ibogaine therapy. Therefore, we shouldn’t rely on the treatment success rate alone here. 

    A study conducted in 2017 revealed that ibogaine is linked to a reduction in opioids, total abstinence, as well as permanent positive psychological results—this includes reduced rates of anxious and depressive symptoms. 

    Photo by Eren Li from Pexels

    Additional treatment options that can be used alongside ibogaine

    As said earlier, you might need additional treatment options, alongside ibogaine for your recovery to be effective. However, if you are searching for any form of treatment to overcome addiction, make sure that you consult a professional before you begin any treatment. Here are additional treatment plans that you can consider:

    • Detoxification – this helps to get rid of drugs from your body. This can be done in a medical facility or at home, but under the supervision of a certified medical professional. There are hundreds of medical centers across the country that offer this service, and the medical professionals in these centers are trained to help you with detoxification. Your doctor can also prescribe medications to assist you to manage any pain that you experience during your detoxification treatment.
    • Behavioral counseling – a psychologist who specializes in drug addiction can work with you and help usher you into a new life, free of drugs. With behavioral counseling, you can feel free, safe, and secure to share your issues, since the counselor will not share whatever you say with anyone. However, it’s important to look for a counselor you are comfortable with if you want to make a speedy recovery. Your counselor can also do an evaluation to check for any possible mental issues like anxiety or depression, as they are very common for someone recovering from drug addiction.

    It’s important to note the importance of long-term follow-ups, even when you feel that you’ve recovered from your addiction problem. Overcoming drug and substance addiction is not an easy task. Therefore, it’s important to prioritize seeking help and support from counselors and medical professionals if you don’t want to relapse. 

  • 5 Reasons Hiring a Commercial Painter Will Make Your Vancouver Business Look Great

    5 Reasons Hiring a Commercial Painter Will Make Your Vancouver Business Look Great

    Your business exterior and interior aesthetics communicate an experience to your customers.

    Photo by Demian Smit from Pexels

    When your external siding and paint job are peeling, for example, you send the message that your business is too frugal to make repairs.

    On the other hand, when you hire a commercial painter in Vancouver to make your business look amazing, your customers will perceive your business as reliable, professional, and in good repair.

    If you’re running a business in Vancouver or the surrounding areas, you need to take good care of your building. While you need to get a handle on landscaping and repairs, don’t forget about your paint jobs.

    Photo by cottonbro from Pexels

    Keeping the weeds at bay is important, but your paint job will make a bigger impact on your customers. However, painting your business isn’t a DIY task. No matter how much money you want to save, here’s why you need to hire a professional commercial painter.

    1. You always get what you pay for

    You’ve heard the phrase “you get what you pay for,” and it’s true. Cheap services are rarely high quality, although you can find competitive rates and small discounts. Professional commercial painters aren’t likely to offer huge discounts on painting, so check their credentials if you find an extremely cheap painter.

    Getting discounted or free professional services is rare. True professionals don’t have to offer discounts to get clients because their work is in high demand. If you pay 50% of the going rate for a paint job, you’ll get 50% of the quality you expect.

    2. Professional painters won’t carelessly damage your property

    It’s hard to imagine a painter damaging property, but it happens often. People who aren’t trained and licensed get hired for big jobs they either can’t complete or ruin.

    Photo by Anna Shvets from Pexels

    A professional commercial painter will spend all the time needed to mask important areas of your building, use the appropriate drop cloths, cover furniture that can’t be moved, and take extra care when handling paint rollers and buckets. They won’t put paint buckets on ledges where they can fall down a flight of carpeted stairs, and they won’t walk around the building with a loaded roller in their hand.

    3. Professional painters are insured

    Professional painters are human beings, and humans are prone to accidents and mistakes. No painter is perfect, but professional painters are always the better choice because they are insured. Plenty of things can go wrong during a paint job. If you hire a discount painter, they’ll probably leave you high and dry.

    On the rare occasion that a professional painter makes a mistake and splatters paint on a hardwood floor, a carpet, or your property, they’ll fix the problem. If they can’t fix it on their own, their insurance will cover the repair.  

    Photo by Aleksejs Bergmanis from Pexels

    4. Professional commercial painters have business integrity

    According to the paint pros at Sherwin Williams, bad paint contractors don’t have business integrity. They often write up fuzzy contracts with vague terms. Often, they ask for weekly payments and only accept cash. Bad contractors also have poor communication skills.

    Don’t risk working with anyone who isn’t completely professional. That side gig painter you found on Craigslist probably isn’t the best person for the job. It’s always better to invest in a professional, licensed commercial painter than to take your chances not knowing what you’ll get.

    5. A professional painter won’t have to redo their work

    Professional painters might need to do some touch-up work or redo a small area if it didn’t dry properly or if unforeseen circumstances created a problem (like if a herd of moths flew into wet paint). However, a professional won’t create a mess that has to be redone from scratch.

    Photo by Jonathan Borba from Pexels

    When you hire a discount painter, you never know what you’re going to get. The results might not even be anywhere close to what you asked for and are expecting. If the painter doesn’t have to redo their work because of a mistake, you might have to redo the entire paint job because you chose the wrong painter.

    Hire a professional commercial painter for optimal results

    There’s no way around it – hiring a professional commercial painter is the only way to get the paint job you want. If you care about your Vancouver business and want to create a positive impression on your customers, hire a pro and get it done right the first time.

  • Rebuilding Your Home After a Fire: What to Expect from Your Insurance Claim

    Rebuilding Your Home After a Fire: What to Expect from Your Insurance Claim

    Not all building projects are about renovating your home; sometimes, you need to repair your home after damage such as a fire, flood, or extreme weather.

    Photo by form PxHere

    When that happens, the repair work you do should be covered by your home insurance policy, but it’s not always that simple.

    It’s relatively common for complications to come up during the insurance claims process. They can range from communication issues down to the depreciation of your roof. Any of them can be expensive if they’re not handled with care.

    First, check out these 5 common problems with home fire insurance claims if you’re nervous about what to expect.

    Once you’re familiar with what can go wrong, you need to know how to bounce back. These are some of the best ways to respond or get ahead of complications with your insurance claim.

    Wood photo created by freepik – www.freepik.com

    Get Help Filing Your Claim

    Insurance claims can be complicated, and with potentially tens or even hundreds of thousands of dollars on the line, it makes sense to bring in an expert. You’re not an expert in insurance claims, but someone who handles them on a routine basis can make sure that your paperwork is complete, that you understand everything your policy covers, and that you haven’t left any important losses off of your claim.

    Negotiate If the Offer Isn’t Enough

    When you finally do get an offer from your insurance company, you might feel that the offer is disappointing. It’s important to remember that the insurer’s offer isn’t necessarily final. It may even be a starting point for them as they expect you to negotiate.

    One of the things homeowners can do to start negotiating with their insurers is to get an independent appraisal. You can hire a third party to review:

    • The extent of the repair work that needs to be done;
    • The value or replacement cost of covered structural work;
    • The value or replacement cost of personal belongings.

    At this stage, bringing someone in to help is the best thing you can do for your claim.

    Photo by form PxHere

    How to Challenge Insurance Claim Denial?

    Having your claim denied is devastating. Without the insurance funds, how can you begin to rebuild? There are several reasons an insurer may be able to deny a claim legitimately. For example, most insurance policies have rules about how long a property can be vacant before coverage ceases. If you left your home empty for too long and a pipe froze and burst, your claim on the water damages can be turned down.

    Photo by form PxHere

    In other cases, the denial may be the result of poor communication or an incomplete claim being made. You may just need the help of someone like an insurance lawyer, who can review your claim and contact the insurer.

    If all else fails, they can also take legal action on the claim, though it’s usually preferable to avoid such a dispute if there is an alternative way to proceed.

  • Where to Purchase a Summer Home in North America

    Where to Purchase a Summer Home in North America

    The cottage is a way of life. Once you purchase a cottage, you suddenly have two spaces to call your own.

    Photo by form PxHere

    Your everyday day home is where you experience the platitudes of the daily grind. But, you’ll also have your summer home — the place to escape to throughout the year, where it’s quiet, peaceful, and private.

    Have you been thinking about taking the plunge and buying a cottage? You’ve saved up the funds, you’re ready to leave the city in the summer, and you can’t wait to enjoy the great outdoors and the cottage life. But the only thing you’re unsure of is where to go!

    Photo by Pixabay from Pexels

    Depending on what you’re looking for — whether it’s lakeside views, the quaint country life, or sandy beaches — North America has it all. Here’s a list of the best places on the continent to find the cottage of your dreams.

    Muskoka, Ontario

    Suppose you’re looking for stunning wildlife, incredible waterfront and lakeside views, and an opportunity to break free of the everyday routine. In that case, Muskoka is the place for you. Muskoka is a region of Ontario, Canada, with over 1000 lakes that spans almost 4,000 km2.

    Not only is the scenery beautiful, but you’re also conveniently close to major cities such as Toronto and New York, so it’s easy to access and close to the urban sprawl. Check out these cottages for sale in beautiful Port Carling to get a sense of the kind of luxury and comfort you’ll find in the area.

    Photo by icon0com form PxHere

    Hudson Valley, New York

    Luscious green hills and valleys, picturesque towns that look like they’ve been pulled from a vintage postcard, and endless natural beauty  — this is what New York’s Hudson Valley region is known for to locals and international travellers. If you’re the type of person who wants to go in and out of the city quickly and easily, this is the ideal location for a summer home since it will only take you two-hours to drive to Manhattan.

    When you purchase a summer home in this part of the world, you’re going to feel like you can breathe again. You’ll be close to forests, rivers, and open fields, and you’ll have so much more space to enjoy. It’s also full of history and culture, and there are many museums and galleries to check out and world-class restaurants and farmer’s markets.

    Photo by form PxHere

    Santa Barbara, California

    Are you more of a sandy beach and year-round perfect weather type of person? Then you might want to consider what cottages are available in Santa Barbara, California. Nestled between the Pacific Ocean and the Santa Ynez Mountains, Santa Barabara has proudly been called The American Rivera due to its warm climate and scenic ocean views.

    There are also several national parks to go hiking, cycling, or camping, including the Channel Islands National Park. So, you and the family could enjoy activities of all sorts, all summer long.

    Buying a new cottage is an exciting accomplishment. Talk to local, trusted real estate agents who can help you find the summer home of your dreams in the place that will suit your needs best.

  • 6 Reasons Why Your AC Bill is out of Control!

    6 Reasons Why Your AC Bill is out of Control!

    The air conditioner is one of the most used appliances in summer. Since it is still hot out there, that’s why it is inevitable to use an air conditioner to maintain a good ambiance inside. Like every appliance, the efficiency depends on certain factors, and when it drops the energy bills can go sky-high. The worst part is that people keep paying such elevated energy bills unnecessarily. By the time they understand the problem the AC would eat up a considerable amount of money. A faulty AC can also consume a lot of energy and that’s why you should only trust the best AC repair companies in Louisiana to fix them. Below you can find some of the most significant reasons why your energy bills are so high.  

    Image by Mustafa shehadeh from Pixabay
    1. Outdated air conditioner

    The very first reason why your energy bills are so high is that your air conditioner is probably outdated. The older models consume a lot more energy than you imagine. The latest models are specifically designed to consume less energy and provide better results. You might have heard about the DC inverters and they are a highly energy-efficient solution that consumes less than what a regular air conditioner consumes. Some might question the cooling efficiency, but it is an excellent opportunity to reduce the energy bills. The newer is your model the lesser energy it’ll burn. 

    1. Zero maintenance 

    Another big reason why the energy bills go too much high all of a sudden is because your air conditioner rarely gets the service. Maintenance is extremely important to maintain performance. If your unit gets dirty the filters choke up and it takes longer to cool down the room. That’s why more energy is consumed and consequently, the bill keeps growing. This is a common phenomenon even with the latest energy-efficient appliances as well. The experts recommend cleaning the appliances regularly so their performance always stays at the top. Frequent maintenance isn’t expensive and if you learn a few tricks from professionals, you can do it yourself as well. 

    1. Broken thermostat

    Different kinds of defects affect the appliances in different ways. Similarly, if the thermostat of your air conditioner is broken or you didn’t optimize the settings, then it will consume tons of energy. The thermostat is the device that regulates the temperature of the air conditioner and with its help, the compressor turns on and off. When the compressor is turned on the appliance consumes a lot of energy. That’s why if the thermostat is broken, then the appliance would never know when to turn on and off. It would stay on all the time. An easy way to detect this defect is to sense the variations in temperatures. If you have doubts, then get it checked. 

    Photo by mohamed hassan form PxHere

    Also Read: AC Repair Terrytown LA

    1. Expensive working hours

    Different areas have different energy policies, especially the areas that have industrial estates nearby follow a different kind of routine. If you live in such an area and are annoyed by the higher energy costs, then you might want to look at the bill in detail. Usually, there’s a clear division between expensive and cheaper working hours. During the day when there are a lot of consumers, the cost of energy is lower as compared to when the demand is contracted at night. Unfortunately, it isn’t something that you improve, the best you can do is to optimize the consumption routine. Try to cut down consumption in peak hours.

    1. Poor insulation

    If you want to develop a perfect cooling system, then it is necessary to cover all the aspects of efficiency including the room. The room must be optimized for better energy performance. You can hire a local company that can help you insulate the room. Another thing that you should keep in mind is that frequent door opening can also reduce the cooling efficiency. Similarly, if you have an exhaust system, then make sure it stays inactive when you use your air conditioner. Because both of the above given factors move out the chilling a lot faster than you imagine. As a result, your air conditioner has to work for a long time to cool down the room which means higher energy bills.  

    Photo by mohamed hassan form PxHere
    1. Setting imaginary temperature

    When you buy an air conditioner the user manual comes with it, it holds the key to optimize the use of your device. It’s true that the minimum temperature can be set around fifteen degrees, but just think about it, is it really a temperature that you can achieve in reality? Probably not, unless it is a refrigerator. So, setting up an imaginary temperature will only lead you to higher electricity bills. If you want to reduce the bills it is recommended to consult the user manual. Because if you can understand how your air conditioner operates it can be easily optimized.

    Air conditioner consumes a lot of energy that result is higher energy bills. The best way to deal with such an appliance is to follow the expert’s suggestions because quick fixes are short-term. If you follow the guidelines of professionals, then it can be turned into a perfect appliance that consumes only a limited amount of energy.