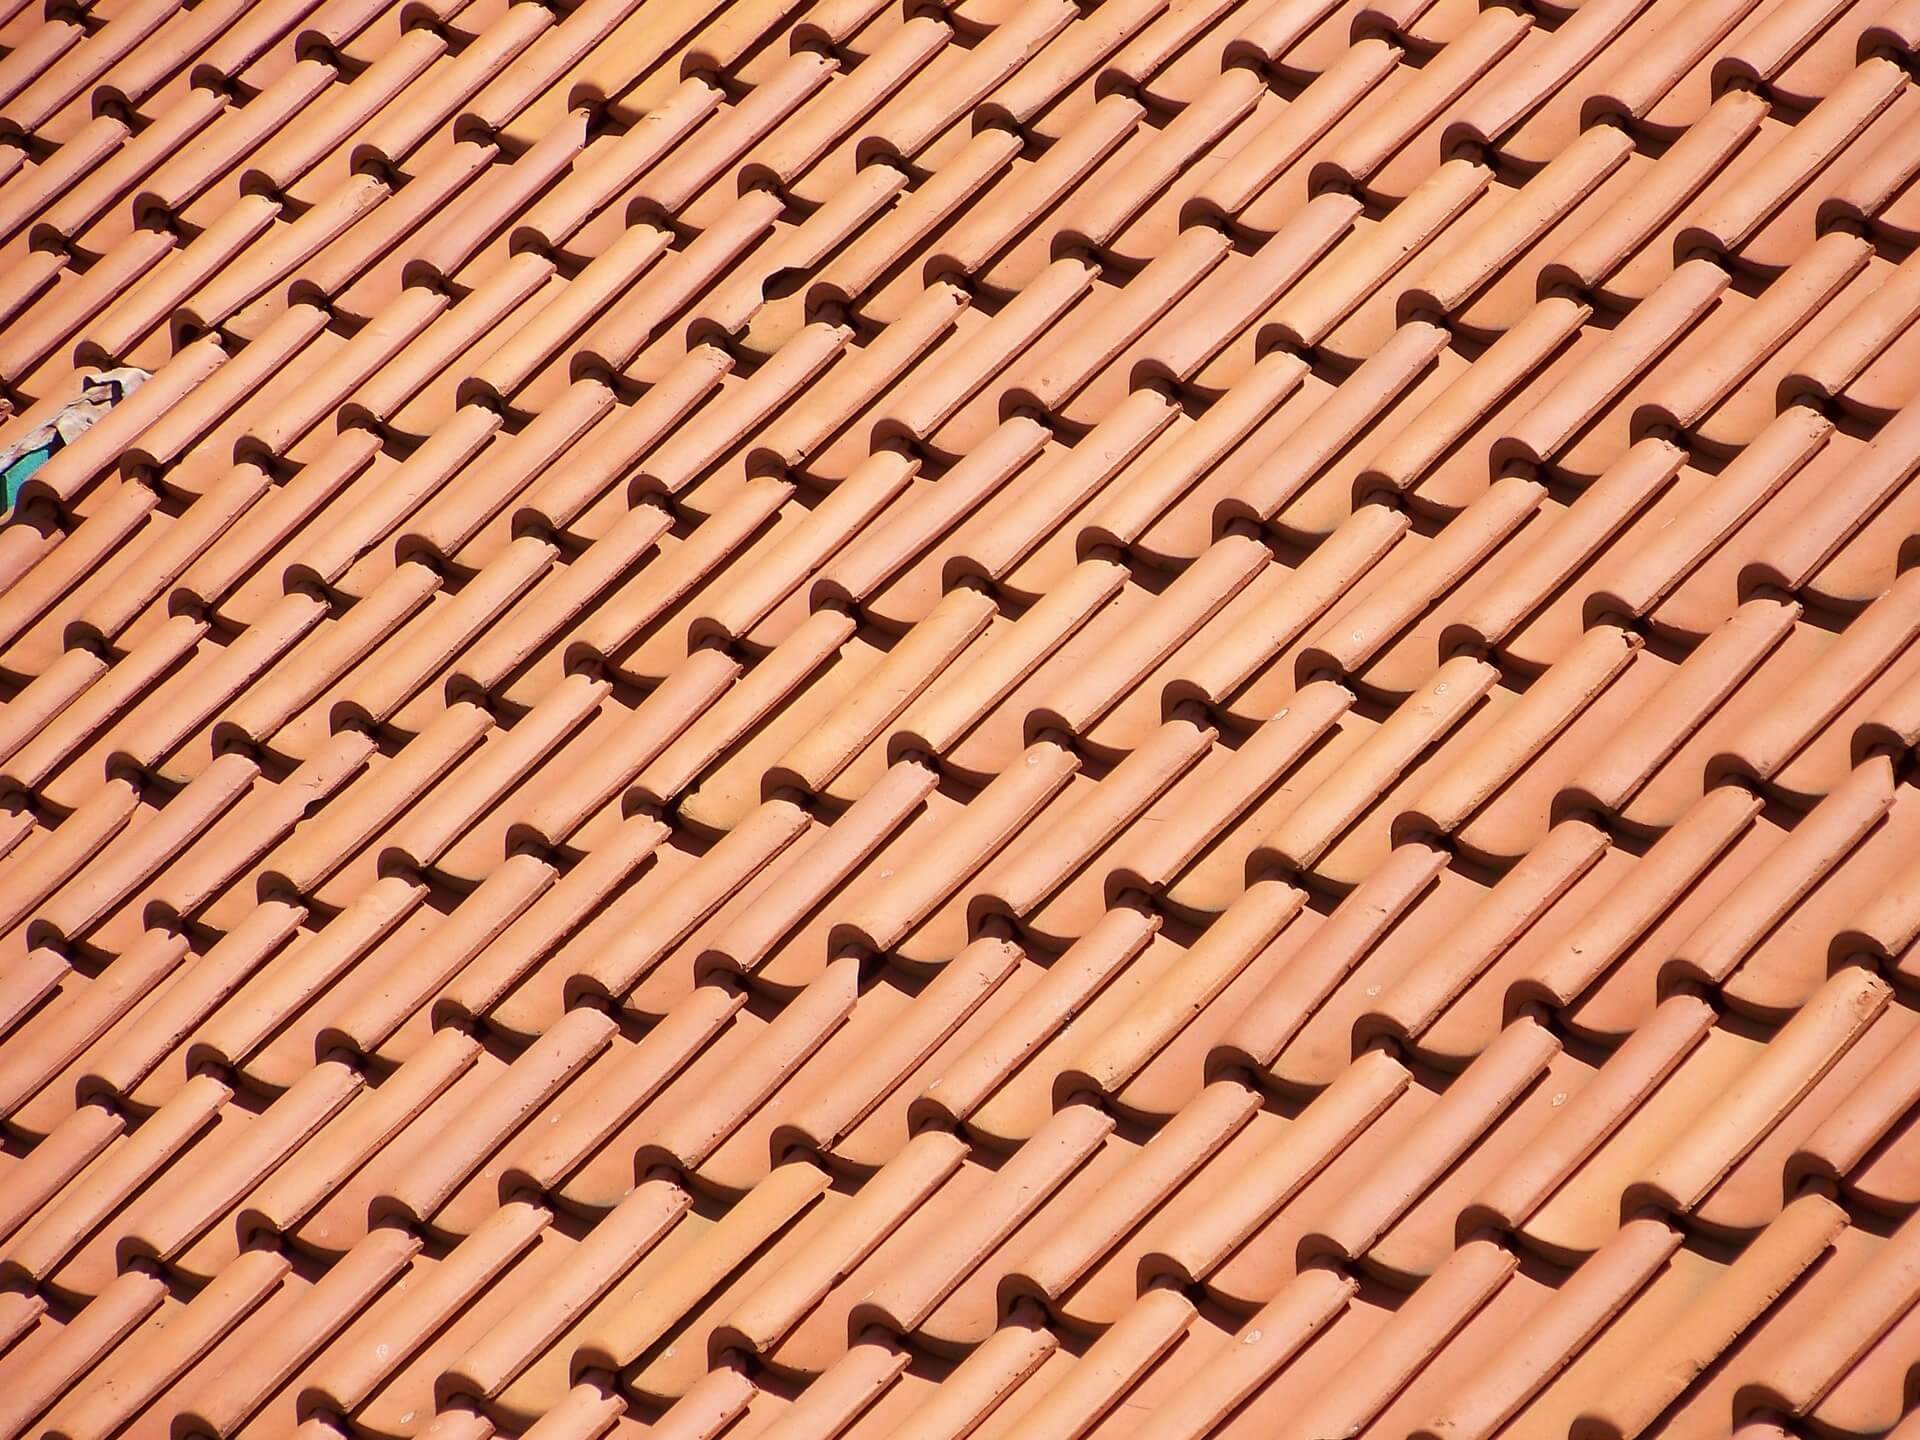
1. Check for visible signs of water penetration, such as staining, blisters or missing shingles. Be sure to check the area around vents and skylights; they are often sources of leaks.
Photo by form PxHere
If there is any question about whether a leak exists at an attic vent, leave it opened during a rainfall to see if moisture collects inside the house (when it rains), or outside the house (when it doesn’t).
2. Make sure that high points are inspected thoroughly. Inspectors should look up under metal flashings of chimneys and roof penetrations (such as pipes, skylights and vents), paying special attention to seams were flashing material changes direction.

3. If you see obvious signs of areas that have gotten wet, such as blisters, or missing shingles where moisture has entered the roof framing, you should make a visual inspection of the roof deck for decay and damage.
4. If there are areas in your roof that appear to have been repaired previously with asphalt-based or modified bitumen [a rubberized asphalt] products (also called “tar paper,” “tar and gravel” or simply “asphalt”), it’s important to know the type of material used. This is because existing problems like delamination may be aggravated by exposure to high heat from an infrared camera inspection device. In addition, many types of modified bitumen materials do not adhere well over time and can peel off easily when dry under normal conditions, allowing wind-driven rain to penetrate the roof deck.
5. If you suspect that an infestation of wood-destroying insects exists, it’s important to make sure there are no large areas of deteriorated or missing wood before treatment is initiated. This is because insect activity can make openings larger than they would be otherwise.
6. Be on the lookout for signs of water penetration at flashing joints and more importantly where flashings transition from one type [metal] material to another [concrete]. These areas are often overlooked during a typical inspection and they are prone to chronic water leakage onto the drywall or insulation below. In addition, if your house was built before 1978, you should look carefully at all metal flashings for signs of lead-based paint.
7. Inspect the area around attic penetrations to make sure they were properly flashed and sealed at installation. For example, you should look for missing or cracked sealant on chimney flashing where it passes from a shingle roof into your house; ideally, there should be no cracks at all in this joint. Also, look for sealant defects around pipe chases that penetrate the roof deck.
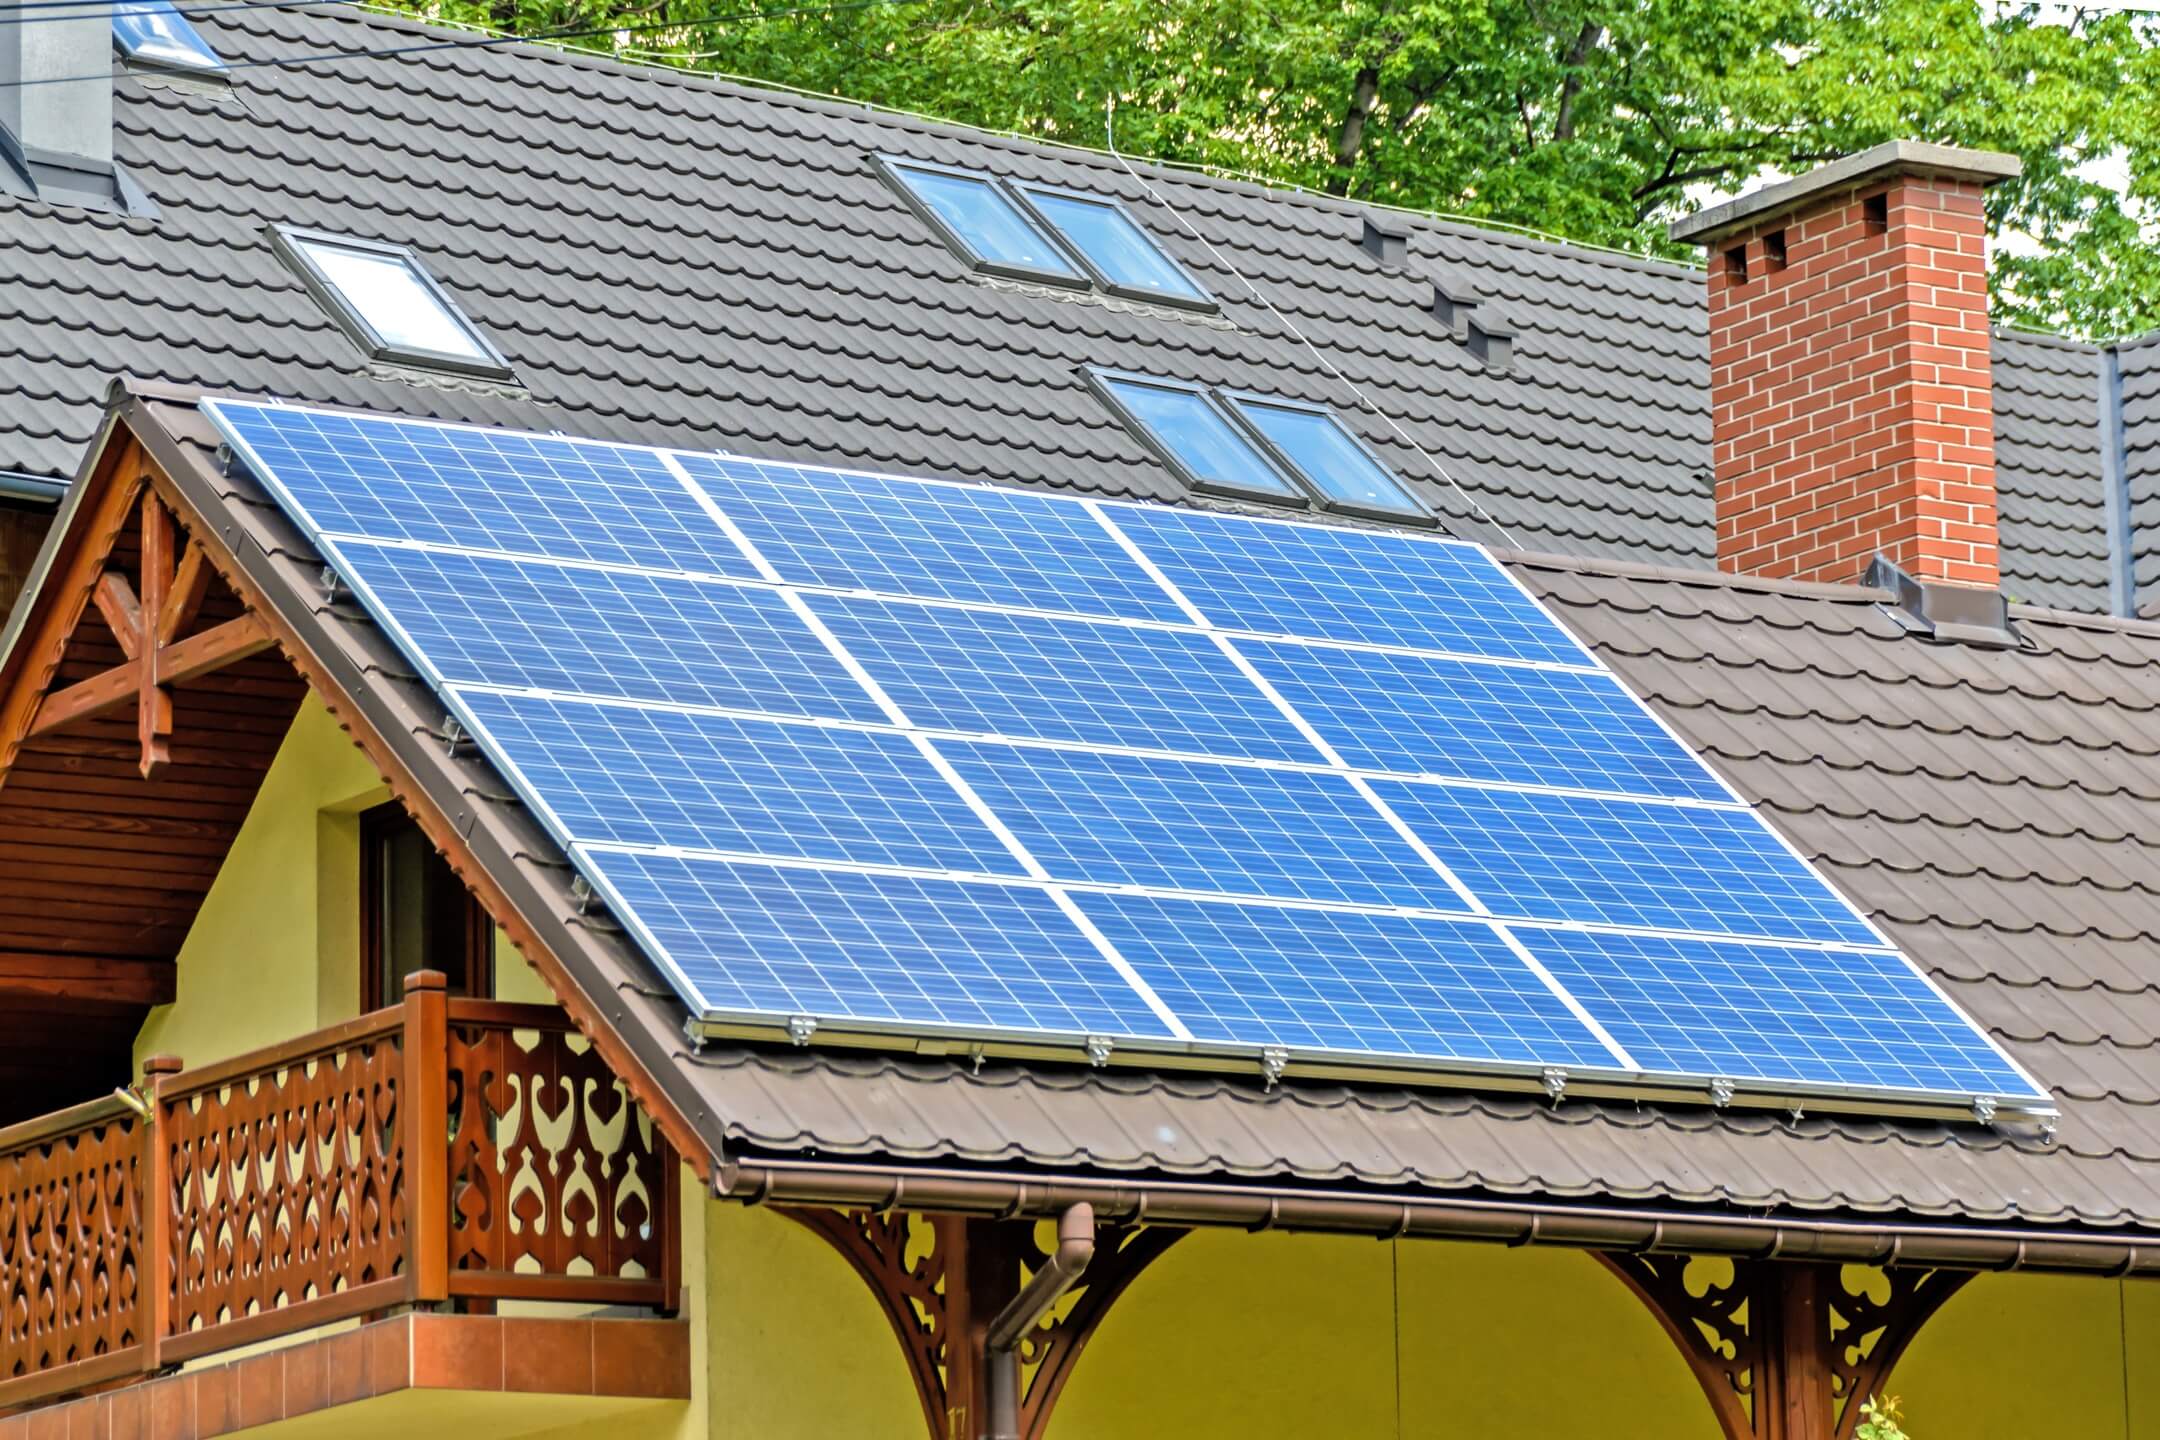
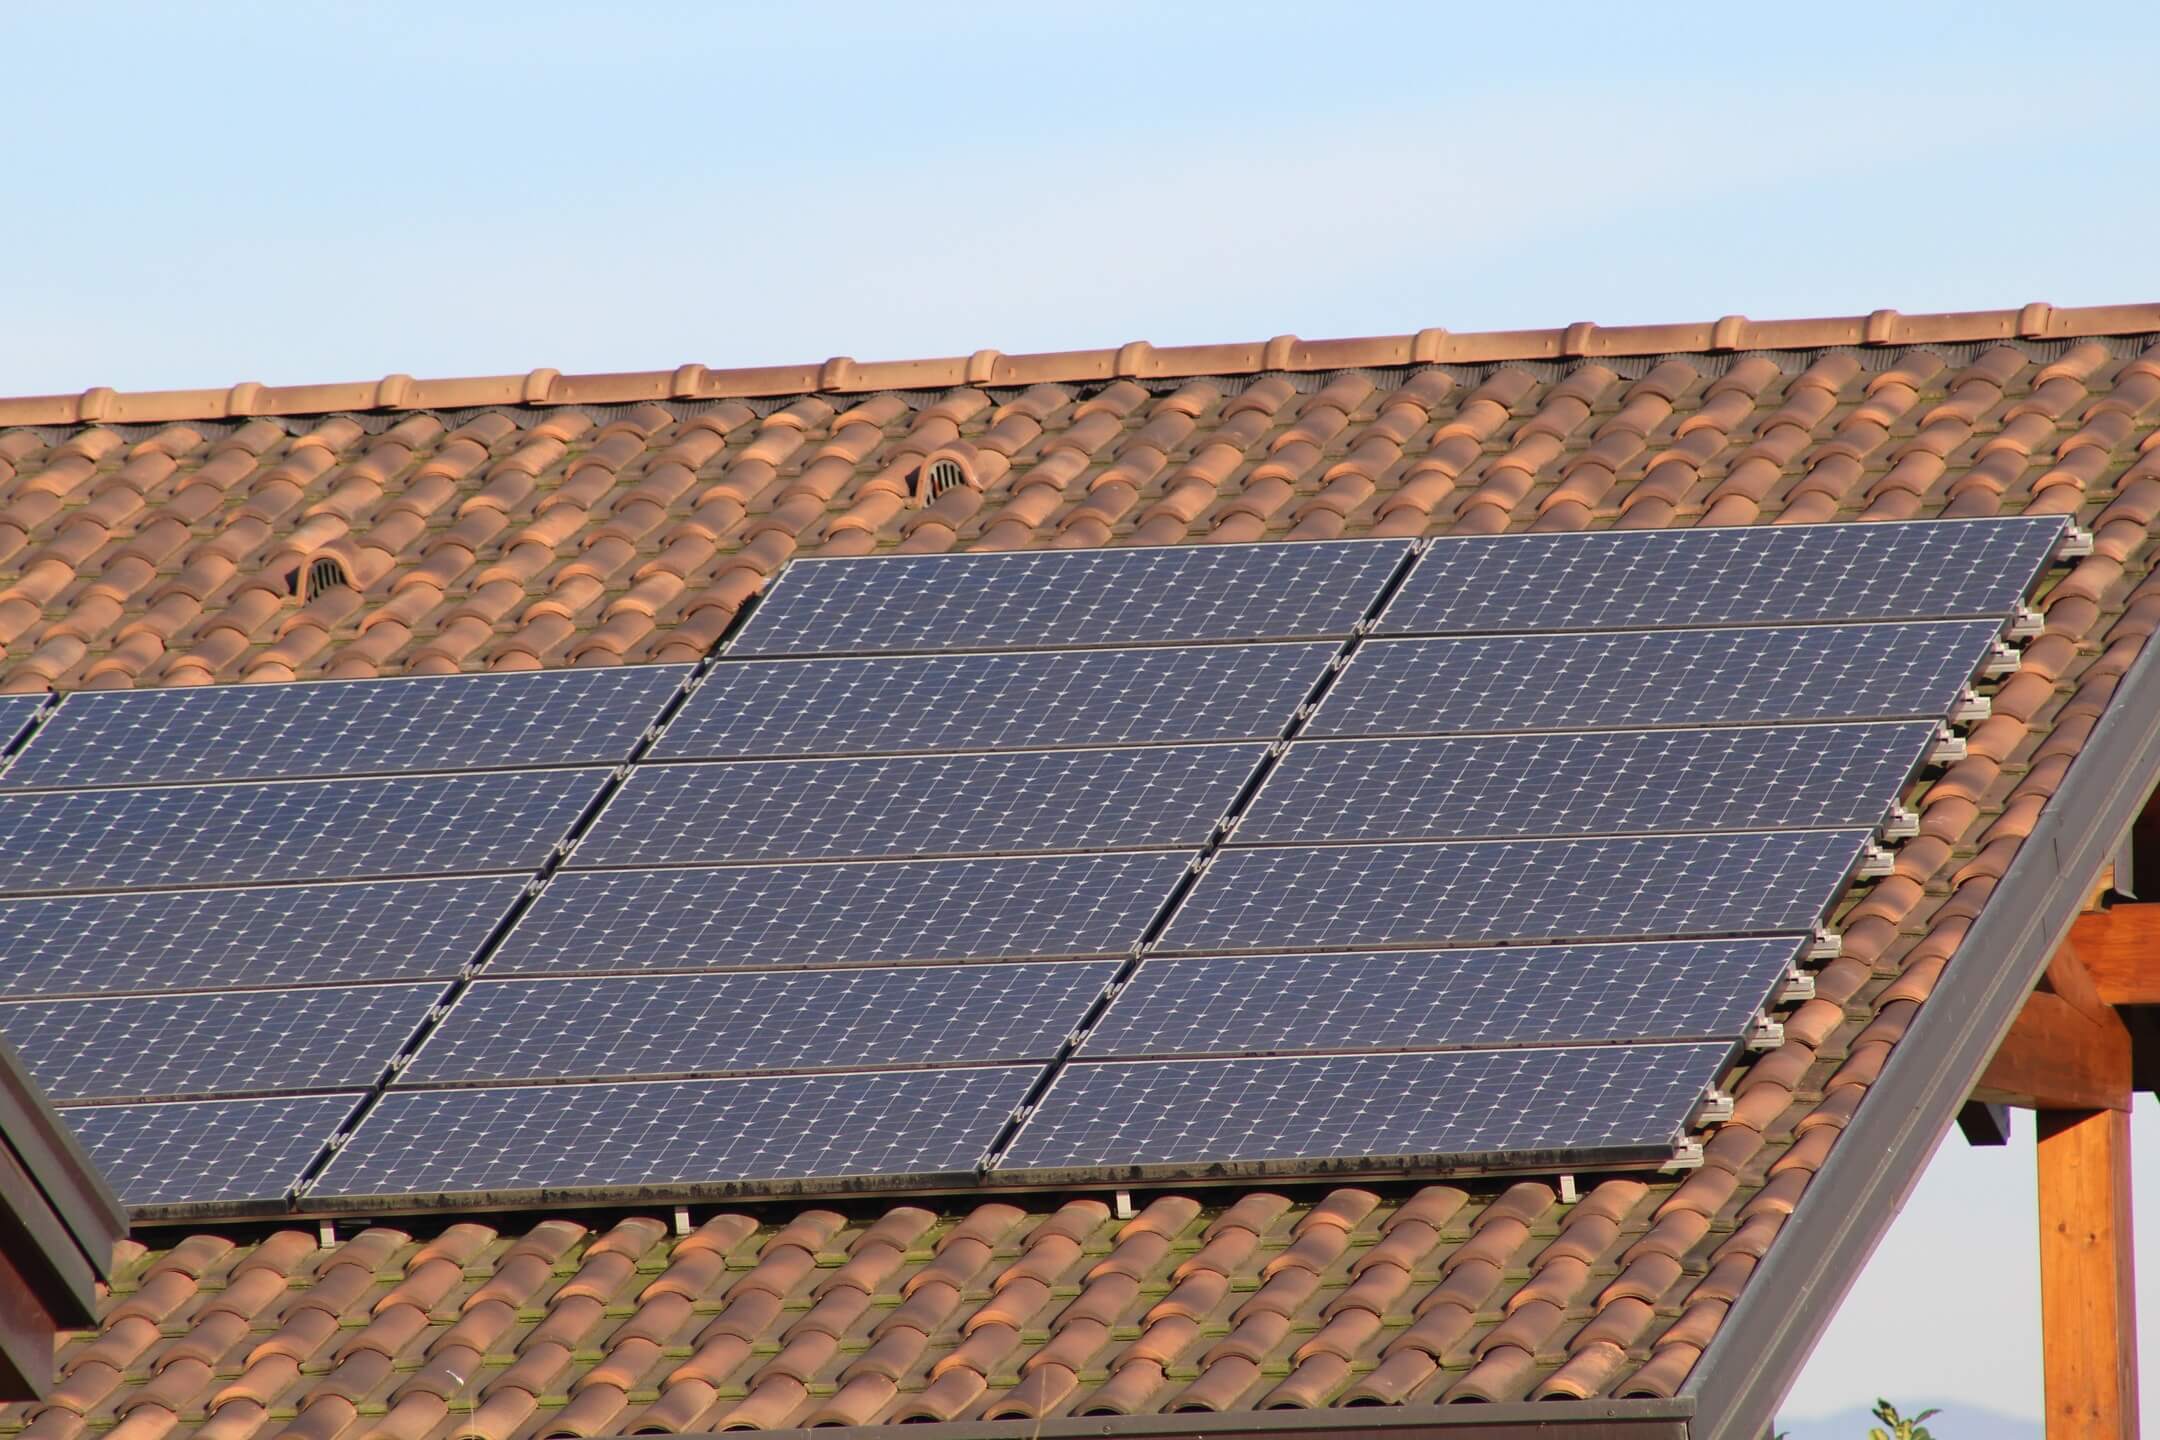
8. If your house has a flat roof, inspect and test all flashings to make sure they are well-sealed and intact. Inspect skylights, in particular, because they are especially prone to damaging leaks after 10 or 15 years of exposure to sunlight.
9. Inspect the edge of shingles that stick out over a roof valley to make sure flashing is in place and intact.
10. Check for damage at all metal flashings, especially where they pass through wood framing members (such as rafters or headers).
11. Remove any snow or ice from the exterior surface of your roof to make sure that it is free from ice dams.
12. Check for missing or damaged shingles on a steep roof where heavy icicles are hanging over the edge, especially in areas with frequent thaw cycles and poor drainage away from the structure.
13. If your house has vents (such as for an attic fan) located at the base of a television or satellite dish, inspect the area around them to make sure they were properly installed during construction and have not been damaged by lawn equipment [or fallen trees]. Electrical power should be turned off before you approach any electrical equipment near these vents. The same holds true if you have skylights — their flashing should be checked carefully around each one for signs of damage or deterioration.
14. Look for signs of water penetration or missing sealant around chimneys, air conditioning vents, soffit vents and other roof penetrations. Make sure that each one is properly flashed and sealed at installation.
15. Check vent pipe flashings to make sure they are completely bonded to the shingles above them — ideally, this joint should be a continuous line of sealant from bottom to top where the flashing transitions from metal to asphalt shingles or vice versa.
16. Inspect ridge beams carefully for signs of damage from high winds; if your house has aluminum ridge caps [which usually have three protruding bolts], look for holes in the material where wind-driven rain can reach the plywood sheathing on the roof deck.
17. If your house has an attic ventilation system, make sure that the inlet and outlet vents are not blocked by insulation or roofing debris. You should also check to be sure that the boot flashing is intact around each vent — it’s a telltale sign that water may be leaking into the space between the top of the foundation wall and the underside of rafters above.
18. Check for any signs of roof penetrations from plumbing vents or chimneys; these areas often suffer water intrusion due to faulty flashings or sealant defects from improper installation during construction. Look for cracked caulk around pipes entering through roofs as well as worn-out boot flashings at chimney junctions with roofs or walls (and especially at a chimney/soffit or soffit vent junction).
19. Look for missing or damaged shingles, especially in areas with frequent winds; for example, if your roof is under a tree where branches are blowing all the time, look along the edges of these trees to be sure that large branches aren’t striking and damaging your roof near its edge. If you find damage to the upper 4 inches of an asphalt shingle [where wind-driven rain typically enters], tear out and replace this section of shingle before it rusts further.
20. Check for cracks in mortar joints if your house has block walls built on top of concrete footings — signs of water leakage from a cracked wall can also mean that water is leaking into the wall framing or adjacent roof framing, as well.
21. Inspect your roof deck carefully for signs of water leakage and rot; look at all joints along rafters and where a ledger board sits on top of the foundation wall to see if there are any cracks or gaps large enough for water to penetrate into the house [or attic]. Signs include discolored wood fibers, rotted wood, or signs of mold/fungus growth on the underside of shingles near leaky areas. Roof sheathing that is heavily compressed with standing water may have developed mold inside it — this type of damage will not be visible from looking at the outside surface of your roof unless you take down one or more sections of shingle covering the sheathing.
22. Repair any signs of rusty nails or screws in roof framing before they turn into major leaks; once a shingle has been punctured by a rusty nail, the water can seep underneath this shingle and cause rot to develop faster than you may think. If you see rust on your nails/screws when you remove them, coat them with a little rust preventer spray paint to keep moisture from reaching the steel underneath. Alternatively, replace suspect nails/screws altogether if they are badly rusted — it’s better to have holes filled with new fasteners than try to repair damaged threads around those fasteners.