Every natural occurrence on the planet is quantified in units and can be measured.
Every physical entity in the world has order and use thanks to testing and measurement devices. Electricity is made useful through equipment that can measure everything about electric current. Why would you need such equipment in your toolbox?
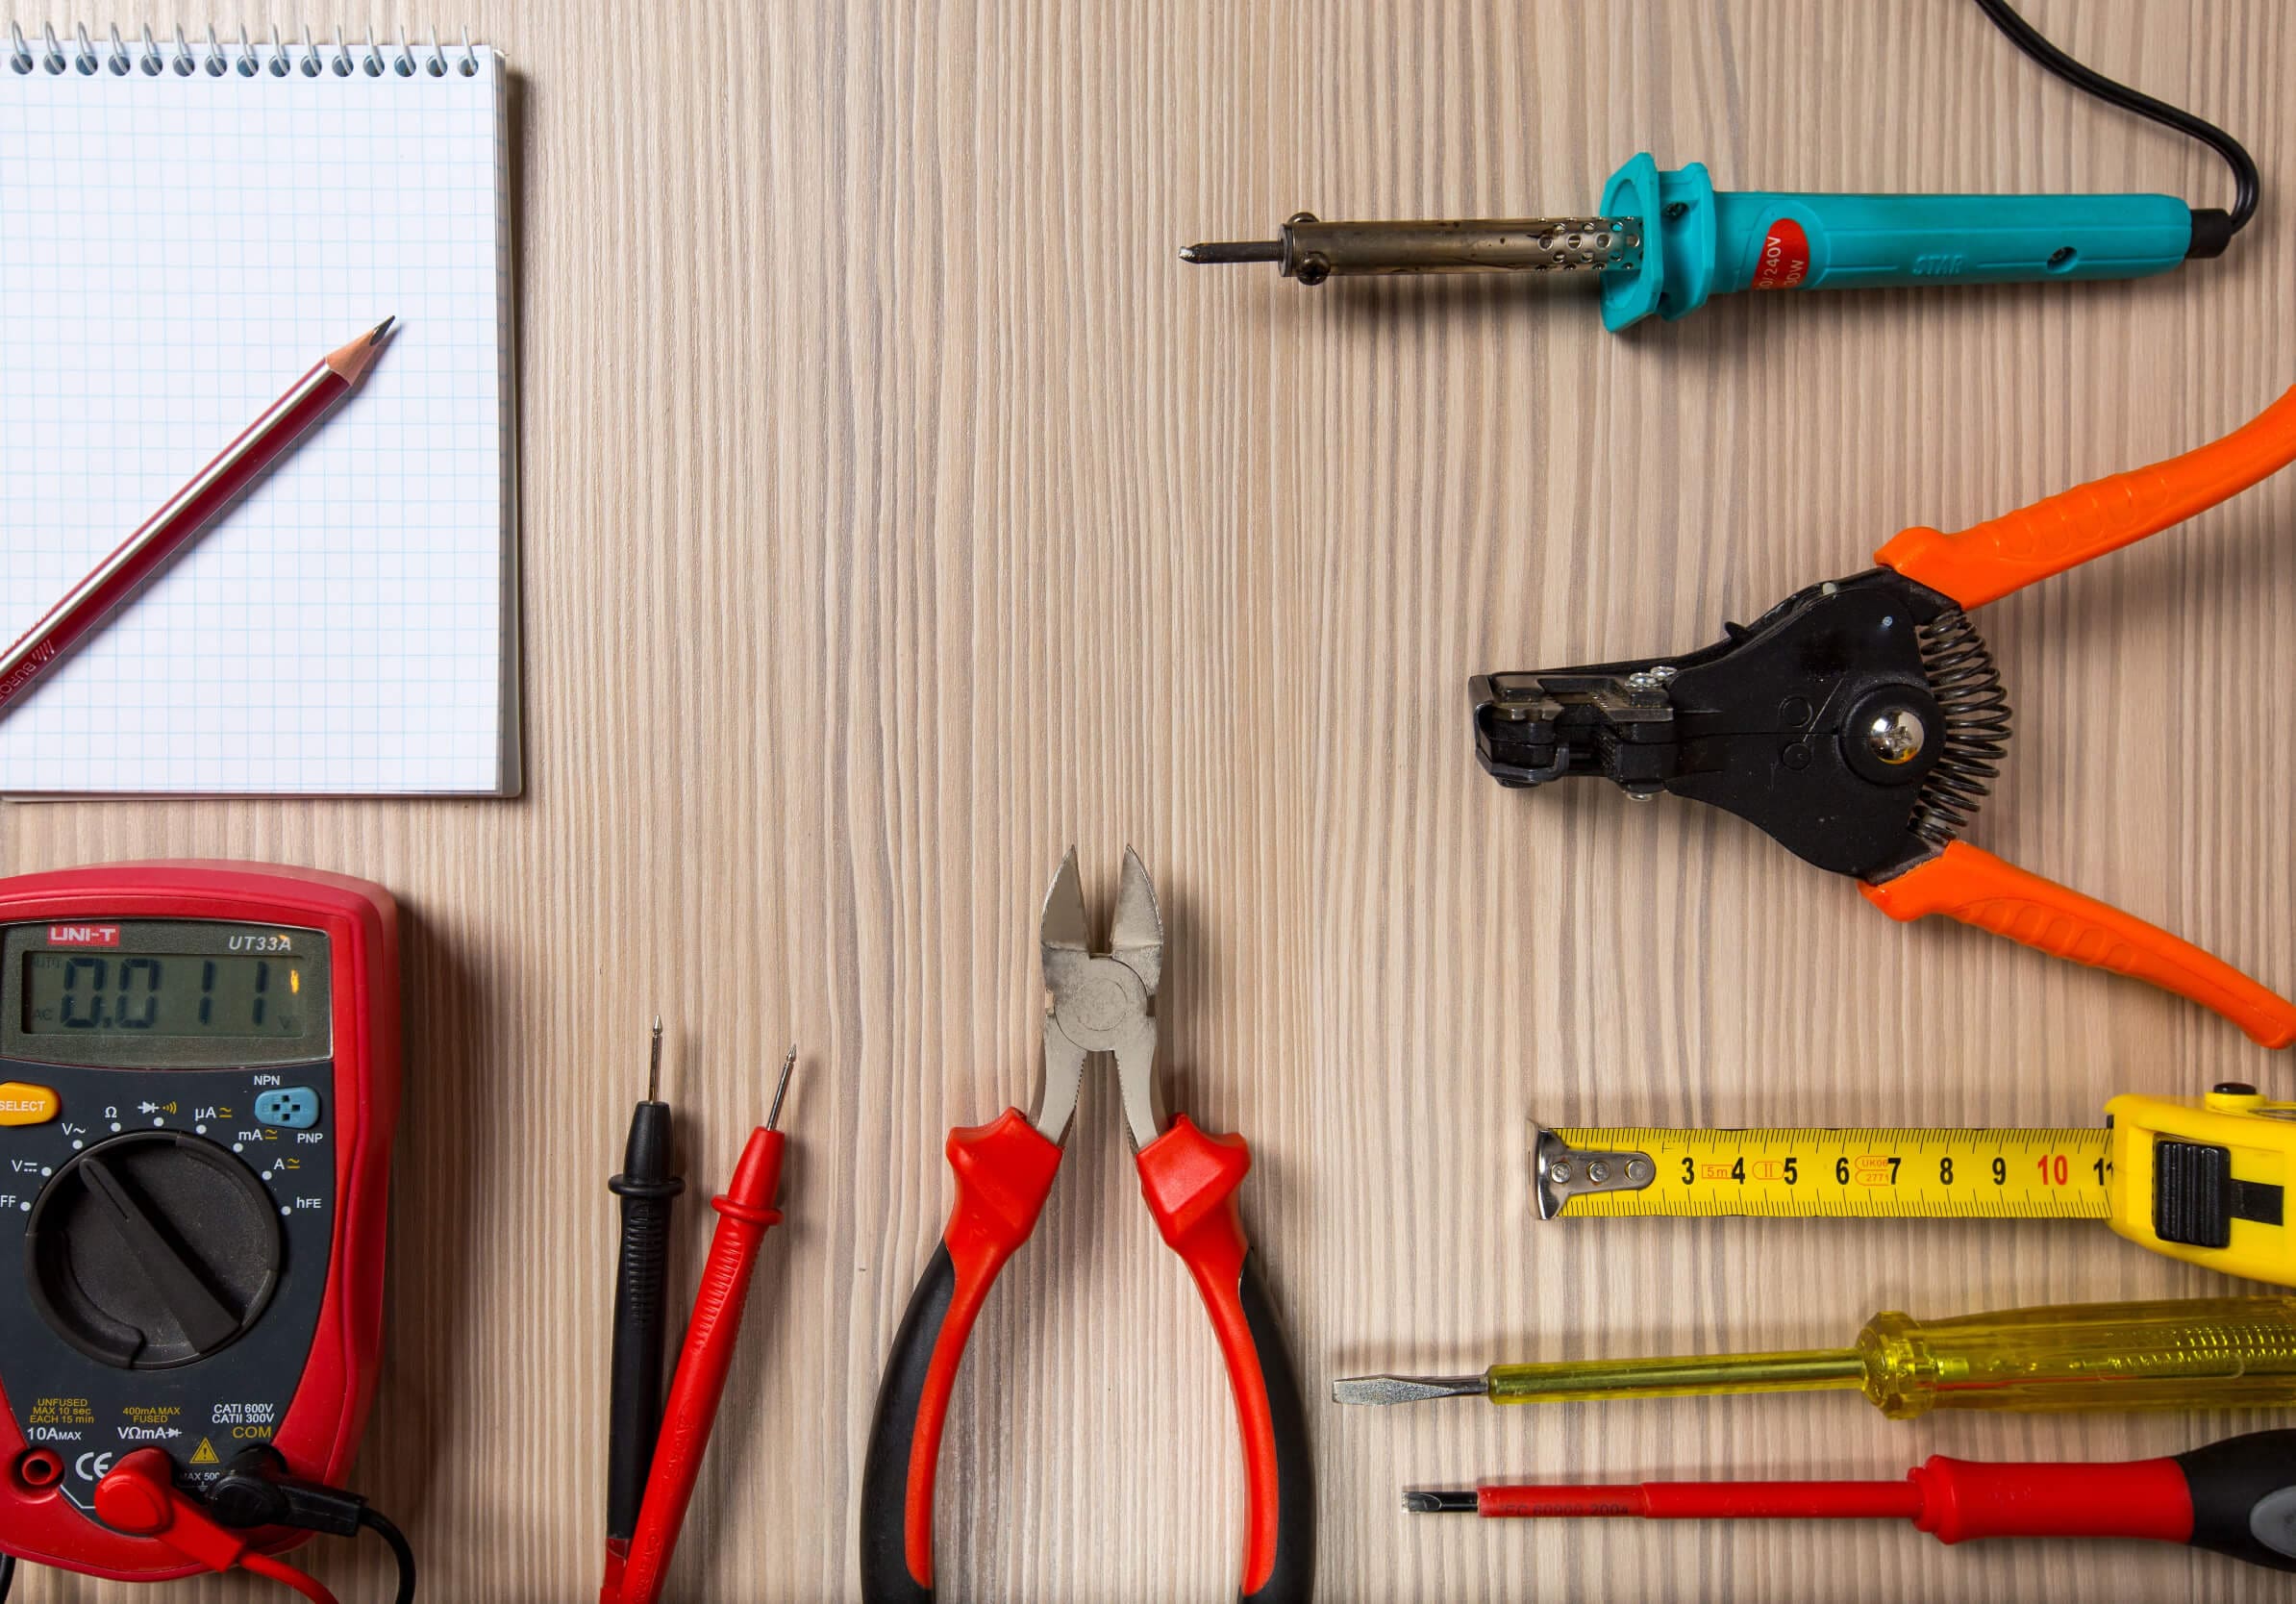
Electrical engineers and technicians have access to a wide range of tools. Some of them are complicated and often expensive gadgets for measuring a single quantity, but if used correctly, they can pay for themselves in as few as one or two uses. However, the multimeter, which has been there since the dawn of electronics, is still the most commonly used device in the toolkit. But no matter what you already use it for, there’s always something more you can do with them.

The most commonly used name for a multimeter is ‘voltmeter’ because volts are the most prevalent quantity tested by this instrument. This is due to the fact that most meters are used to locate faults, and most faults are found in live circuits. Besides measuring basic voltage, there are a number of other capabilities, as well as other modes within those functions, that can assist any electrical technician or engineer.
This article will teach you how to use a multimeter around the house if you don’t already know-how. Just remember to proceed cautiously and get professional help if necessary, as goes for any electrical work. You can find the perfect multimer for your home here:
phyxter.ai/blog/best-multimeter-for-hvac-techs
What Exactly is a Multimeter?
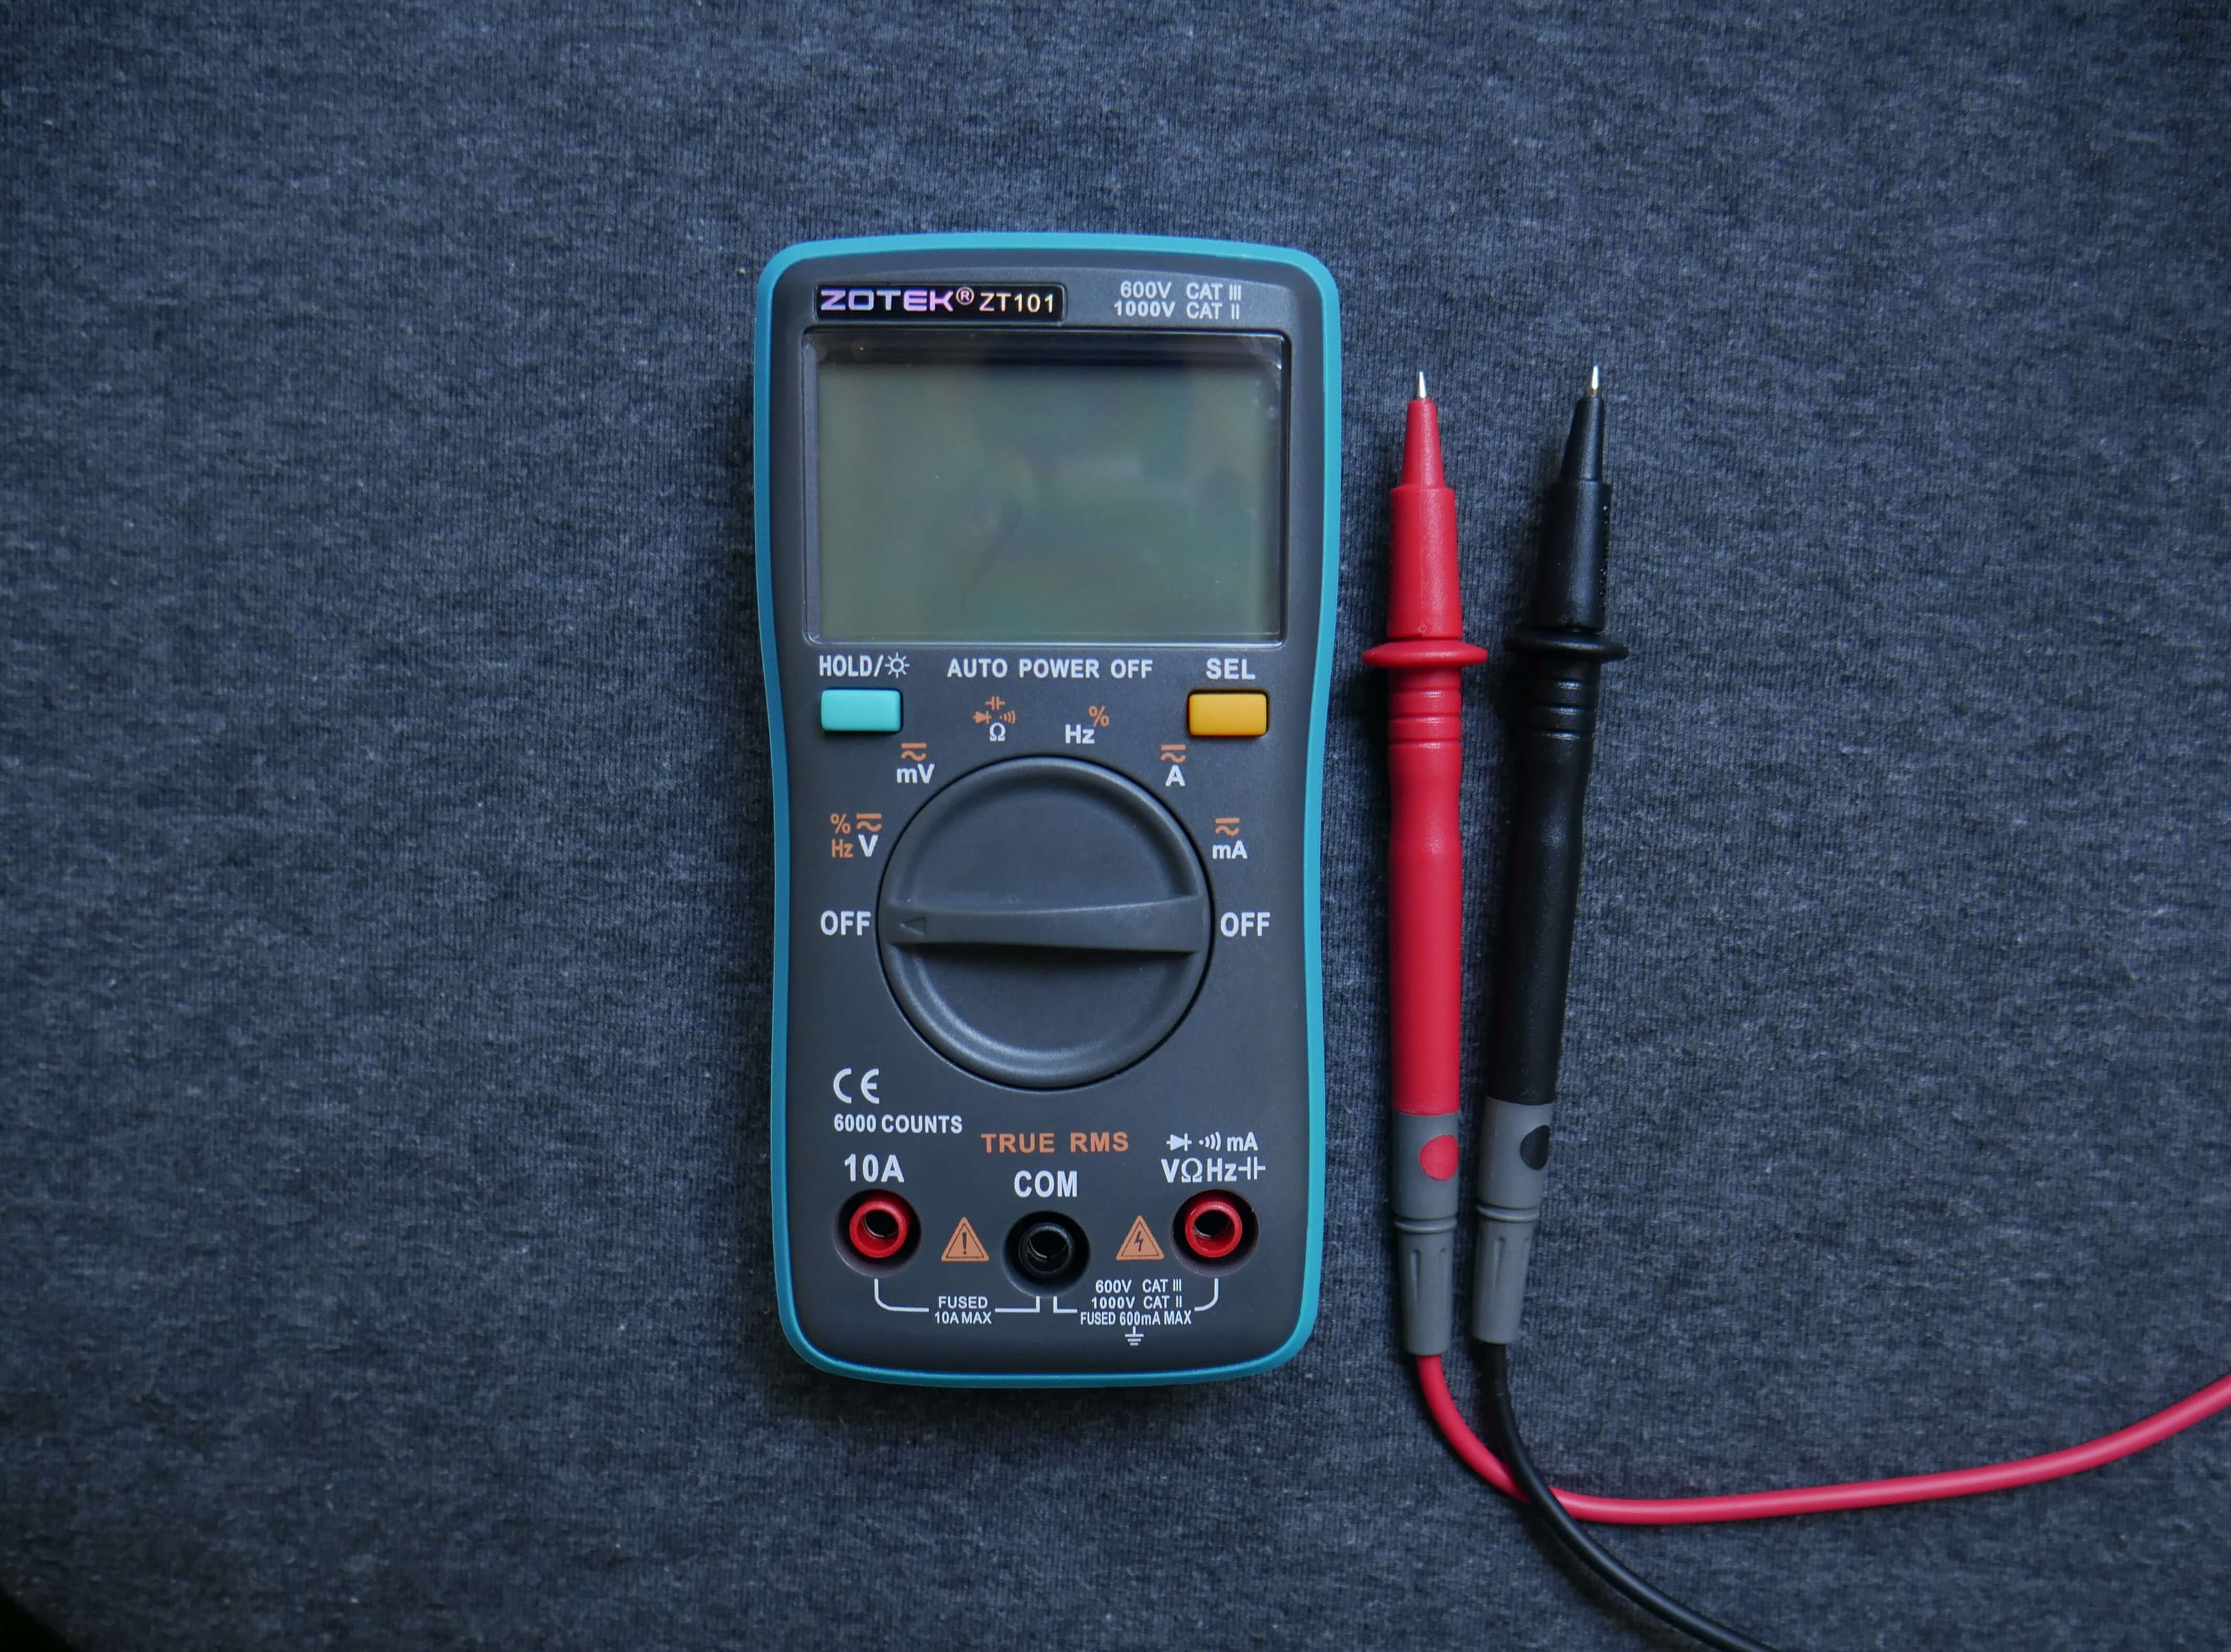
Don’t be intimidated by a multimeter’s confusing symbols and buttons. The three main functions you’ll utilize the most are voltage measurement, continuity measurement, and resistance measurement in electrical components and circuits.
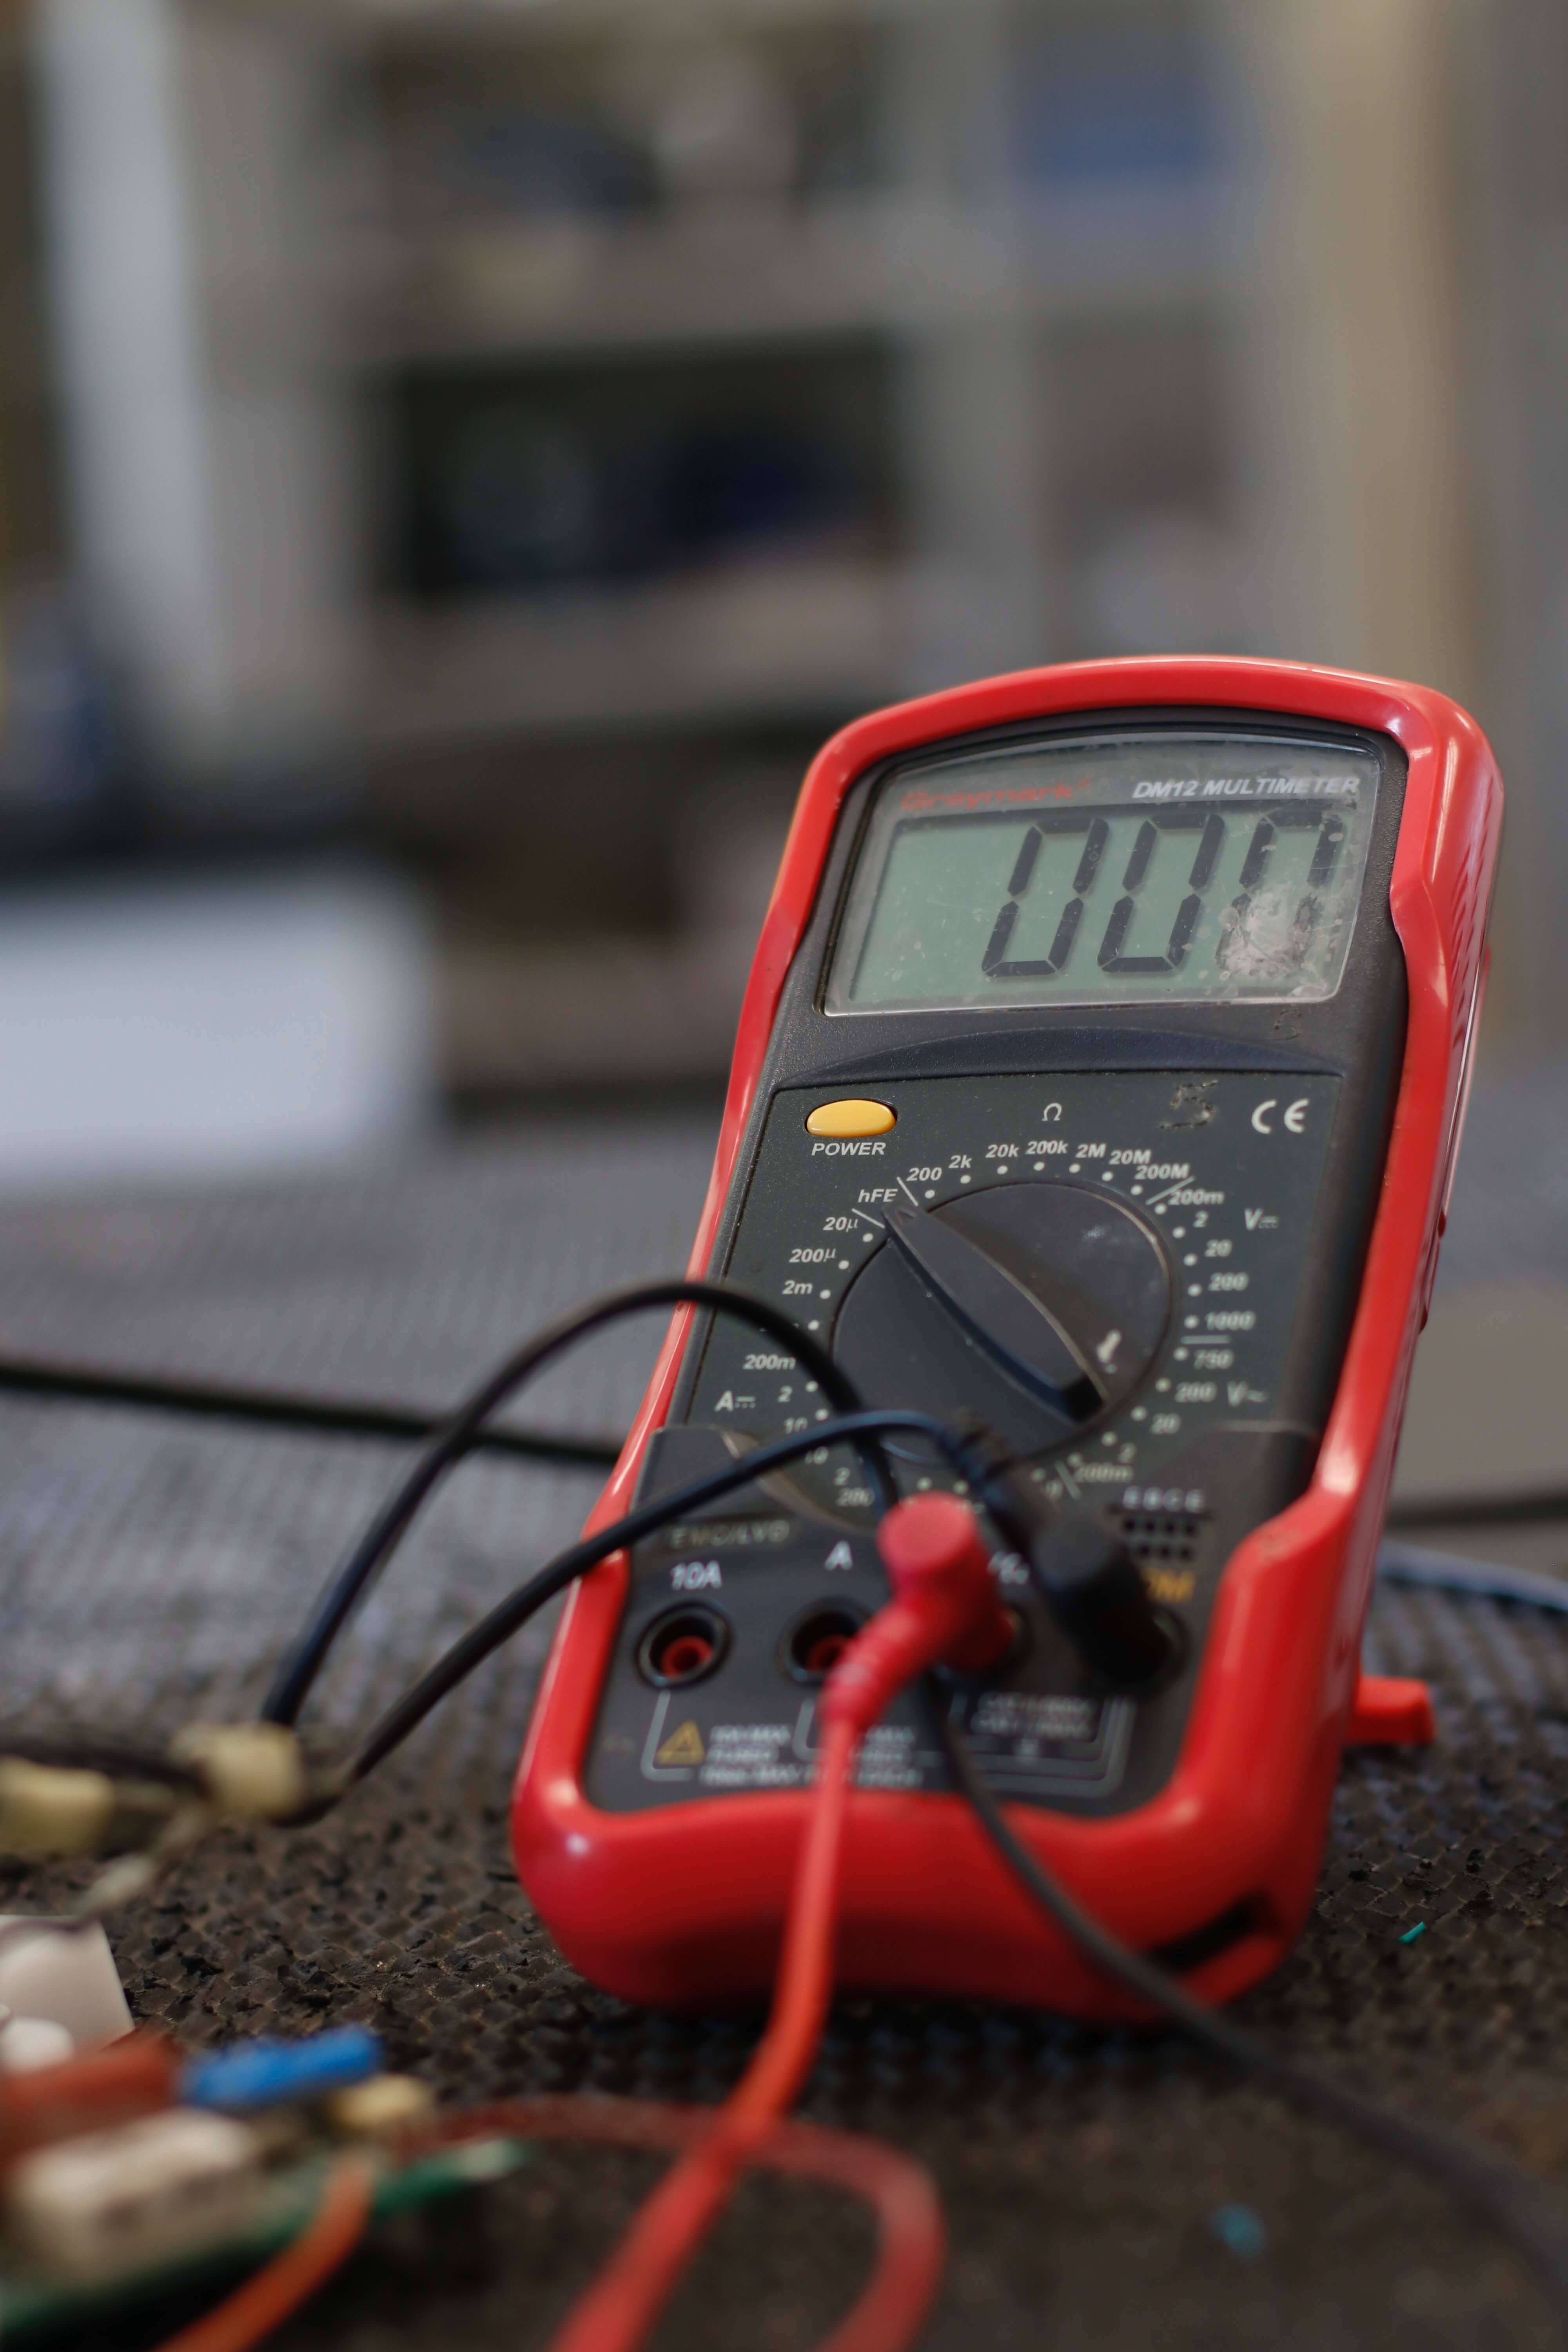
A multimeter has two wire leads for measuring electrical energy. They’ll give you measurements if you touch them with exposed cables. Its dials and buttons control what type of energy you’re measuring and how much of it you’re measuring. Your house might be in danger of an electrical fire if you don’t understand these dimensions. You could also be putting yourself in danger while trying to test things. This article will show you how to use these capabilities to do basic household activities.

- Ensure Safety
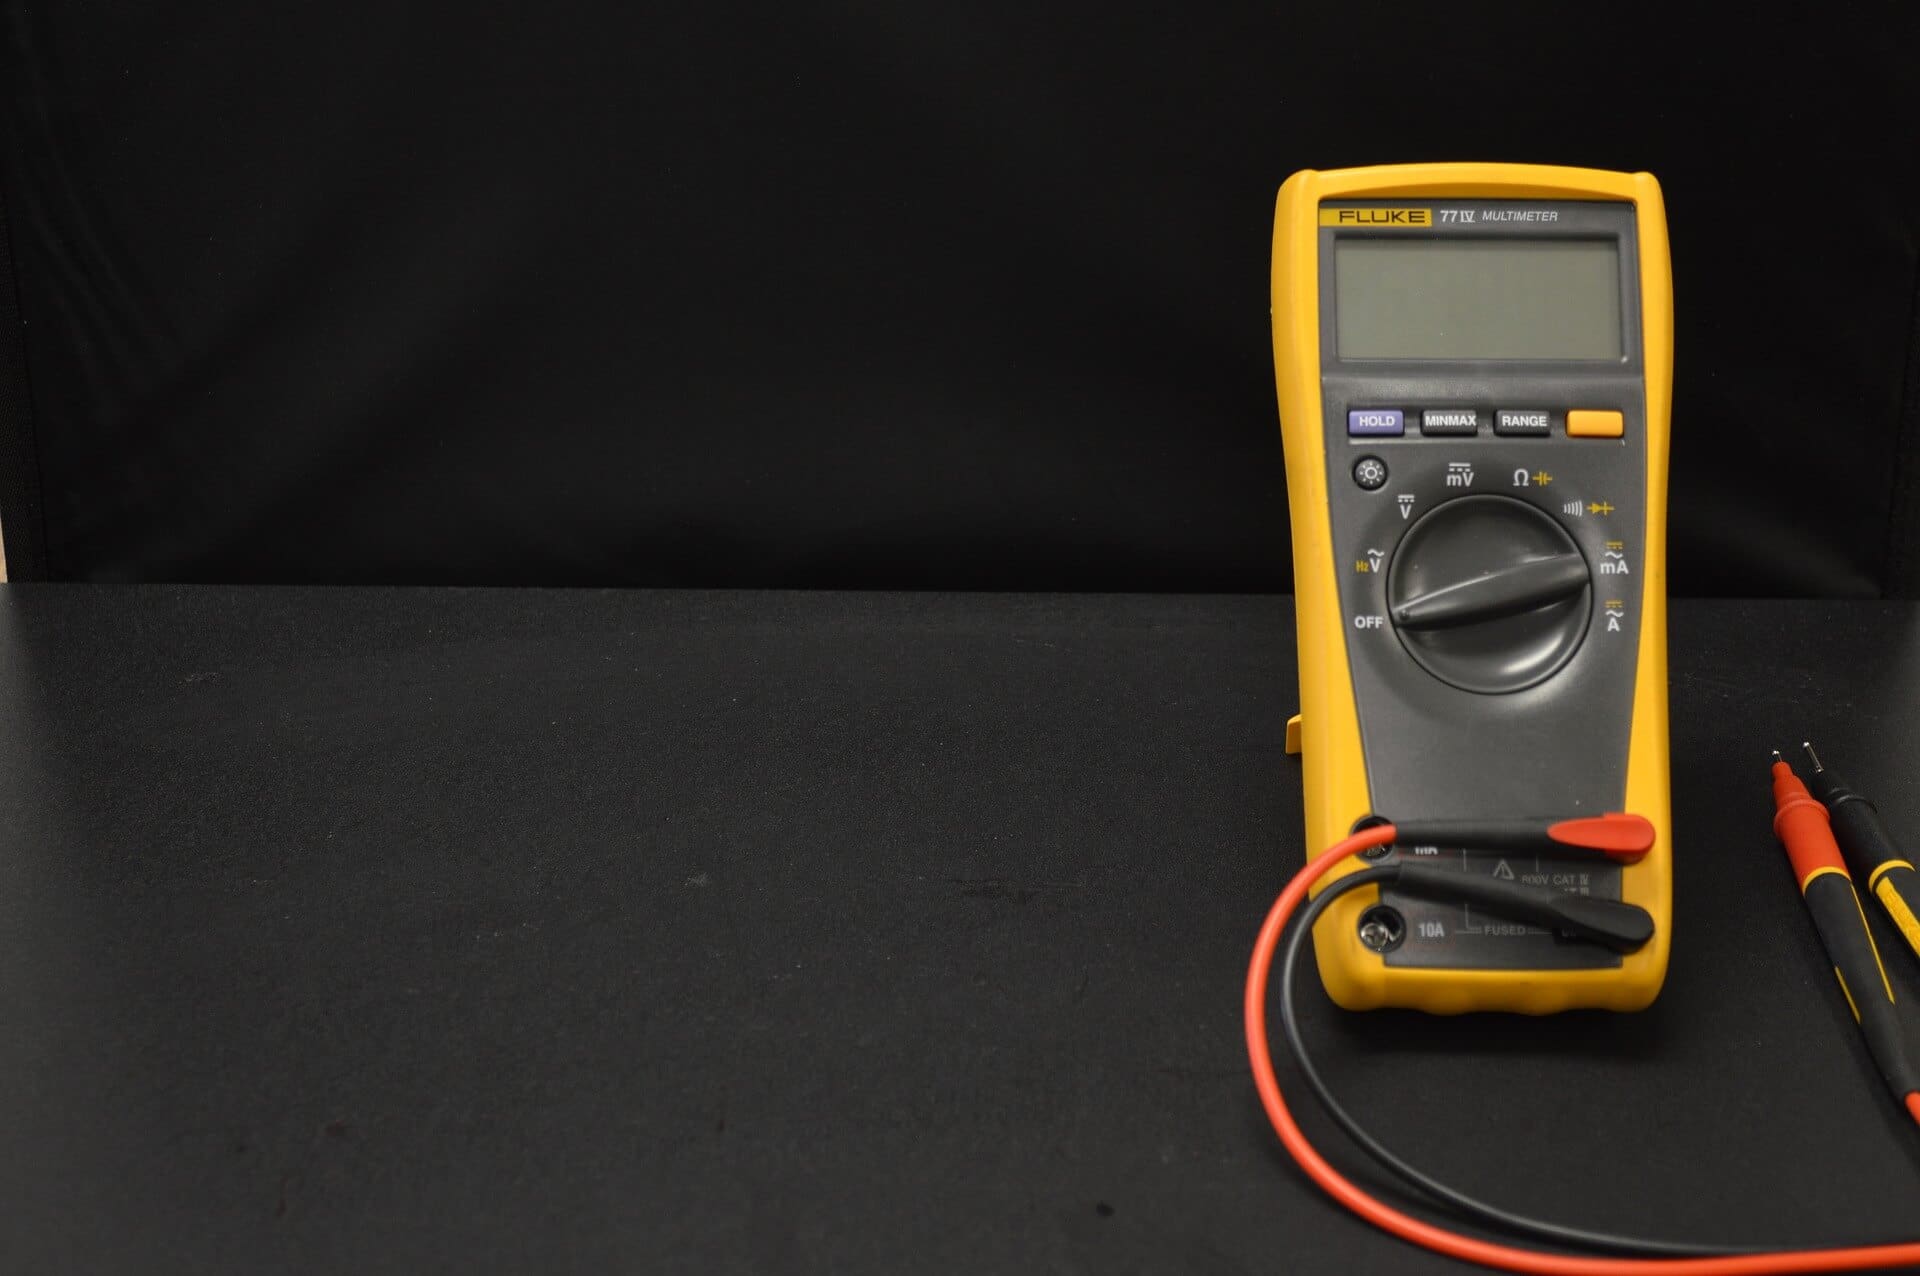
The use of a digital multimeter allows for the safe repair of electrical equipment without the risk of electric shocks. The multimeter comes with two probes that are linked to the positive and negative terminals of various terminals to measure readings. Different electrical conditions require a testing meter that can operate at a range of voltages. Since technicians in the electricity industry work in unique environments, Fluke multimeters are available for every possible voltage range. The remarkable thing is that analog multimeters are available that are as accurate as digital multimeters and have all of the latest technology.
- Test Batteries
Are you tired of sifting through all of your old disposable batteries to find one that works? The worst part is not knowing if they’re alive or dead. Don’t worry, your multimeter is always nearby to assist you in these instances.
To test batteries, simply turn on your multimeter and look for the two hooked probes labeled black and red. Now, connect the black probe to the negative end of the battery and the red probe to the positive end. Look at the number on the multimeter’s screen. If your value equals the battery’s rated voltage, it is alive; otherwise, it is dead.

- Check for Functioning Lights
Bulbs and lights are fundamental things in our lives. However, there are occasions when we are unsure if a bulb is actually operating or not. In this circumstance, your multimeter comes in handy to help you figure out which ones are working and which ones aren’t. However, this method will only work on standard incandescent bulbs.
The black probe should be placed on the external side of the metal thread end of the bulb, and the red probe should be placed on the bulb’s electrical foot point. If the bulb is alive, it makes a sound when you touch it with the red probe. If there is no sound, your bulb is probably dead. Always double-check to make sure your meter is turned on!
- Examine Extension Cords
Do you have any doubts about that dusty extension cord and its reliability? Then follow these steps:
- Set the continuity test mode on your multimeter (search for the symbol of a soundwave which is a dot with progressively growing curved lines). The setup of your probe terminals should remain the same (red in volts/ohms, black in COM).
- Activate the multimeter.
- In one of the plugs on one end of the cord, place the black probe.
- On one end of a grounded extension cord, there are three prongs and three matching receptacles (in size and shape). Connect the red probe to the prong on the plug terminal of the cord that matches the red probe.
The multimeter will generate a tone or beeping sound if that particular connection, which is connected by a wire inside the cord, is good. This indicates that the connection is continuous, which means it may transport current and complete a circuit. In the same way, test the two remaining plug/receptacle pairings. You know you’re in the biz when all three beep. If not, you’ll need to go shopping for a new cord.
- Detect Hot Wires
To examine a light switch for hot wires, follow these steps:
- Start by turning off the electricity at the main breaker panel.
- Next, carefully remove the attached switch from the inside of the box.
- To see whether the switch has any electrical power, turn on the power at the panel again.
- Make sure the red probe is in the “V, ohm” terminal and the black probe is in the “COM” terminal.
- Switch on your multimeter, softly press the black probe to a metal piece of the light switch casing, then lightly contact the red probe to the switch contact labeled “COM.”
If the multimeter reads 120 volts or higher, it confirms that the switch is receiving electrical power from the home, indicating that it is a hot wire.
- Look For a Faulty Switch
Another way multimeters can be useful is by looking for a faulty switch.
- Shut down the electricity at the panel, then unhook and remove the switch from its electrical box.
- Switch on the multimeter and set it to resistance (ohms) operation. On COM, the probe terminal placements are black, but on V/ohms, they are red.
- On the switch, connect one probe to the black “COM” connection and the other to the brass terminal. It doesn’t matter which probe is connected to which switch terminal.
If you look at the multimeter’s screen, it should indicate “OL.” This means that there is infinite resistance on the switch circuit. Check the measurement by doing a reverse test with the switch on. If the resistance number on the multimeter’s display is near zero, your switch still seems to be good. However, if it says “OL,” you should replace the switch as soon as possible.
- Detect Minor Electrical Issues
Those who are unfamiliar with digital multimeters can also troubleshoot a variety of electrical issues. However, this does not make you an expert in the field of electricity. Maybe you have a fan or appliance that refuses to turn on? A multimeter can also assist you in detecting minor electrical issues around your home through a similar process described above.
A multimeter will assist you in determining the actual cause of this incident. With the assistance of your multimeter, you can determine if the fault is in the fan or the switch. Wires, switches, plug points, large or small appliances, and everything else electrical can all be checked.
So, if you have a digital multimeter, you can quickly figure out what’s wrong and what to do about it. As a result, you can swiftly decide whether or not to hire an electrician.


