
Are you gearing up to install insulation on your own? Unless you are a qualified insulator, then you will need all the help that you can get. Here is what you need to know to give you the best chance at installing insulation that stands the test of time… and severe weather.
Photo by Erik Mclean on Unsplash
Insulating your home against the colder weather is a great idea. This will improve the energy efficiency of your heating and cooling systems. In monetary terms, you should see a significant saving on your energy bills after you install insulation in your home. Some types of insulation – such as spray foam – require professional installation. However, if you are working with fiberglass, you can DIY that insulation. Here are 7 tips on how to do it properly.
The 7 Tips for Installing Insulation
Here are 7 tips that will help you successfully install your next big insulation project.
1 – Watch your Electronics
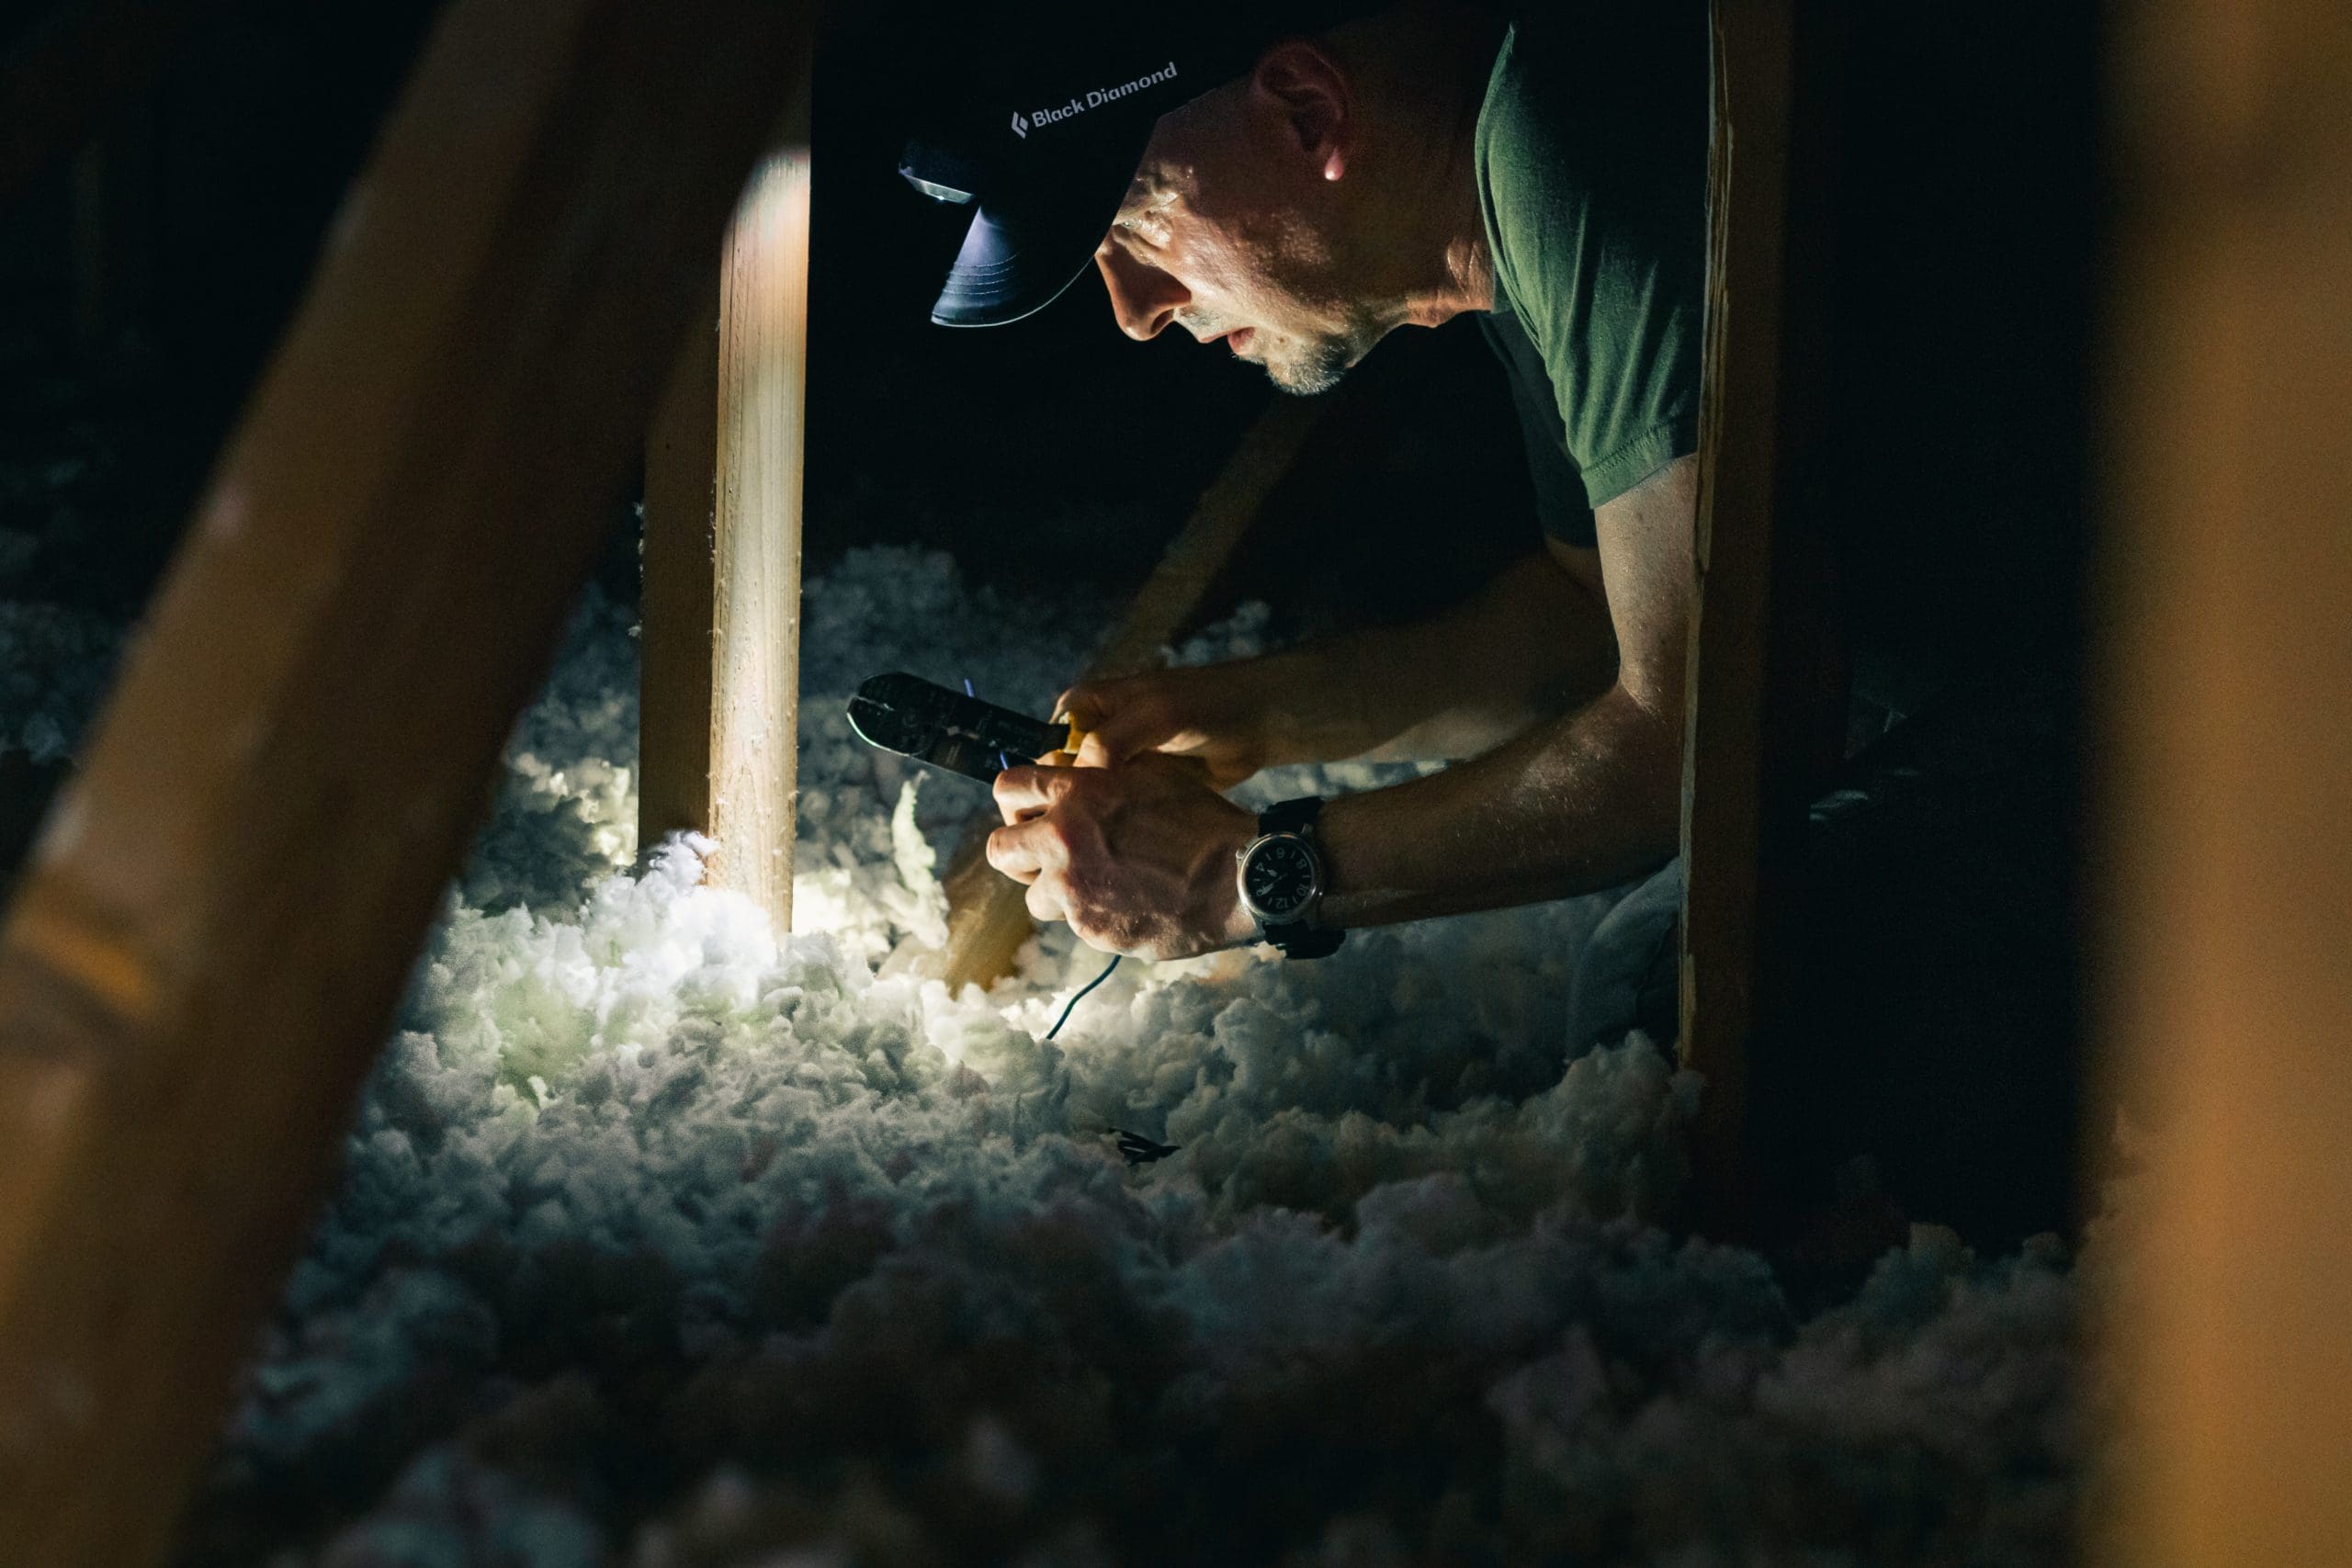
One of the top questions we receive is if insulation can touch electrical wires or not. Can insulation touch wires? If you are worried about it, you ought to contact a licensed and insured electrician. Many newer houses have panels and subpanels in the walls where the wires gather. Older houses do not have the same safety codes. Wires can be loose in the walls, and when this happens, you should avoid insulating them.
2 – Clean the Area
Start with tidy space. The more debris lying around the room you are insulating, the harder your job is going to be. Clear your space and keep an eye on those tricky areas. You might need to insulate around pipes or run wires through them.
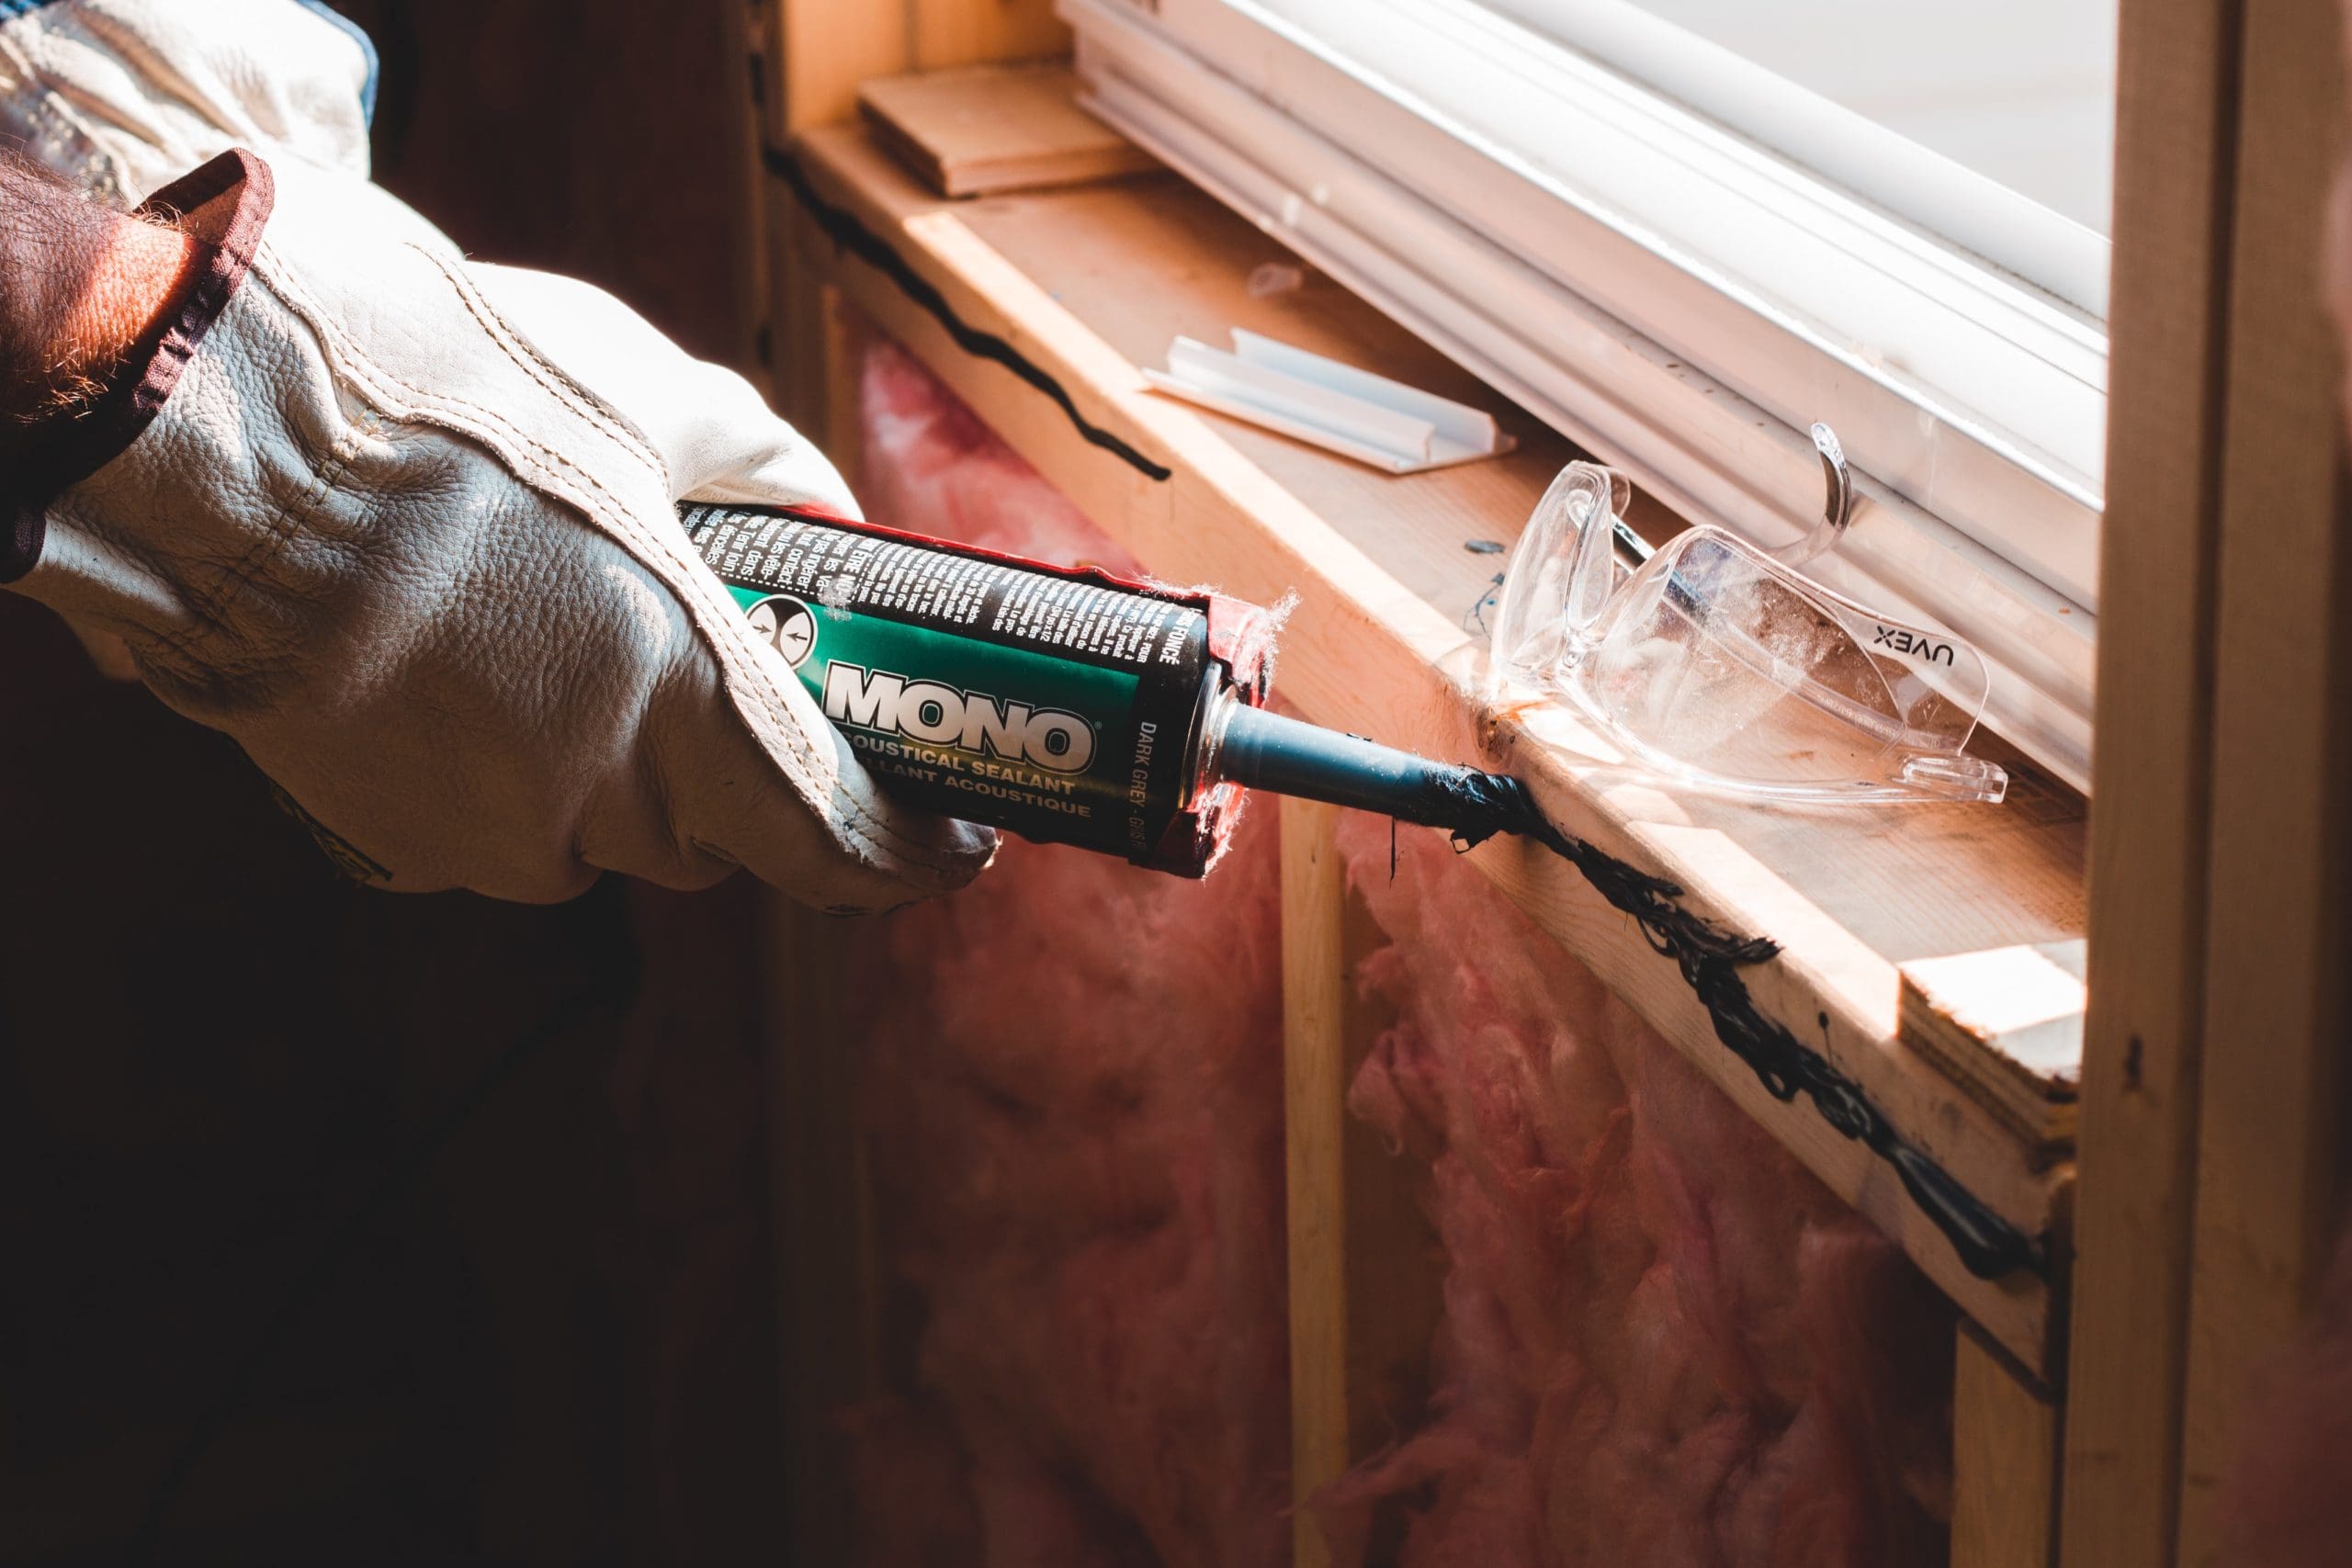
3 – Check your Materials
If you are insulating, you ought to consider a vapor barrier. This will stop water and condensation from building up on the glass and eventually causing rot. Some insulation comes with a vapor barrier attached to one side of it. If you don’t have this, we advise that you seek out a separate vapor barrier.
4 – Safety First
Before you begin working with fiberglass, you should protect your nose, mouth, and eyes. The fine particles of glass will get into the air as soon as you start moving it around. Do not breathe this in. It will take a day or two for the material to settle completely, so it is best to insulate a single room of the home at a time.
5 – Trim your Batts
When working with fiberglass, the starting point should always be to measure twice and cut once. Measure your space and cut your batt to fit it, then slide it in there. You can cut batts as normal, but you can also halve their thickness when you need to. One method of feeding wires through batts is to cut the sheet in half, then lay the wires through the middle.
6 – Insert and Trim
Once you have cut your sheets to size, you will need to install them and trim them. Place the batt into the cavity and press it in so that you are tucking it underneath the joists. This should hold it in place for long enough for you to get that last layer on. You want to make sure you tuck it neatly and firmly into the cavity so that it doesn’t fall out later and put pressure on the membrane.
7 – Adding the Membrane
Once installed, you should not just leave your insulation uncovered and freestanding. Instead, you ought to place the vapor barrier over it. This is usually a plastic sheet of the membrane which you place over the whole area. You can tack it into place, and it will both hold the fiberglass in the wall and prevent moisture from rotting it.