Category: HOME

  • How to Fit a Furnace into Your Interior Design Plan

    How to Fit a Furnace into Your Interior Design Plan

    When it’s freezing outside, having a working furnace is crucial. Furnaces use combustion air to generate heat, so your house has a warm and cozy atmosphere whenever needed.

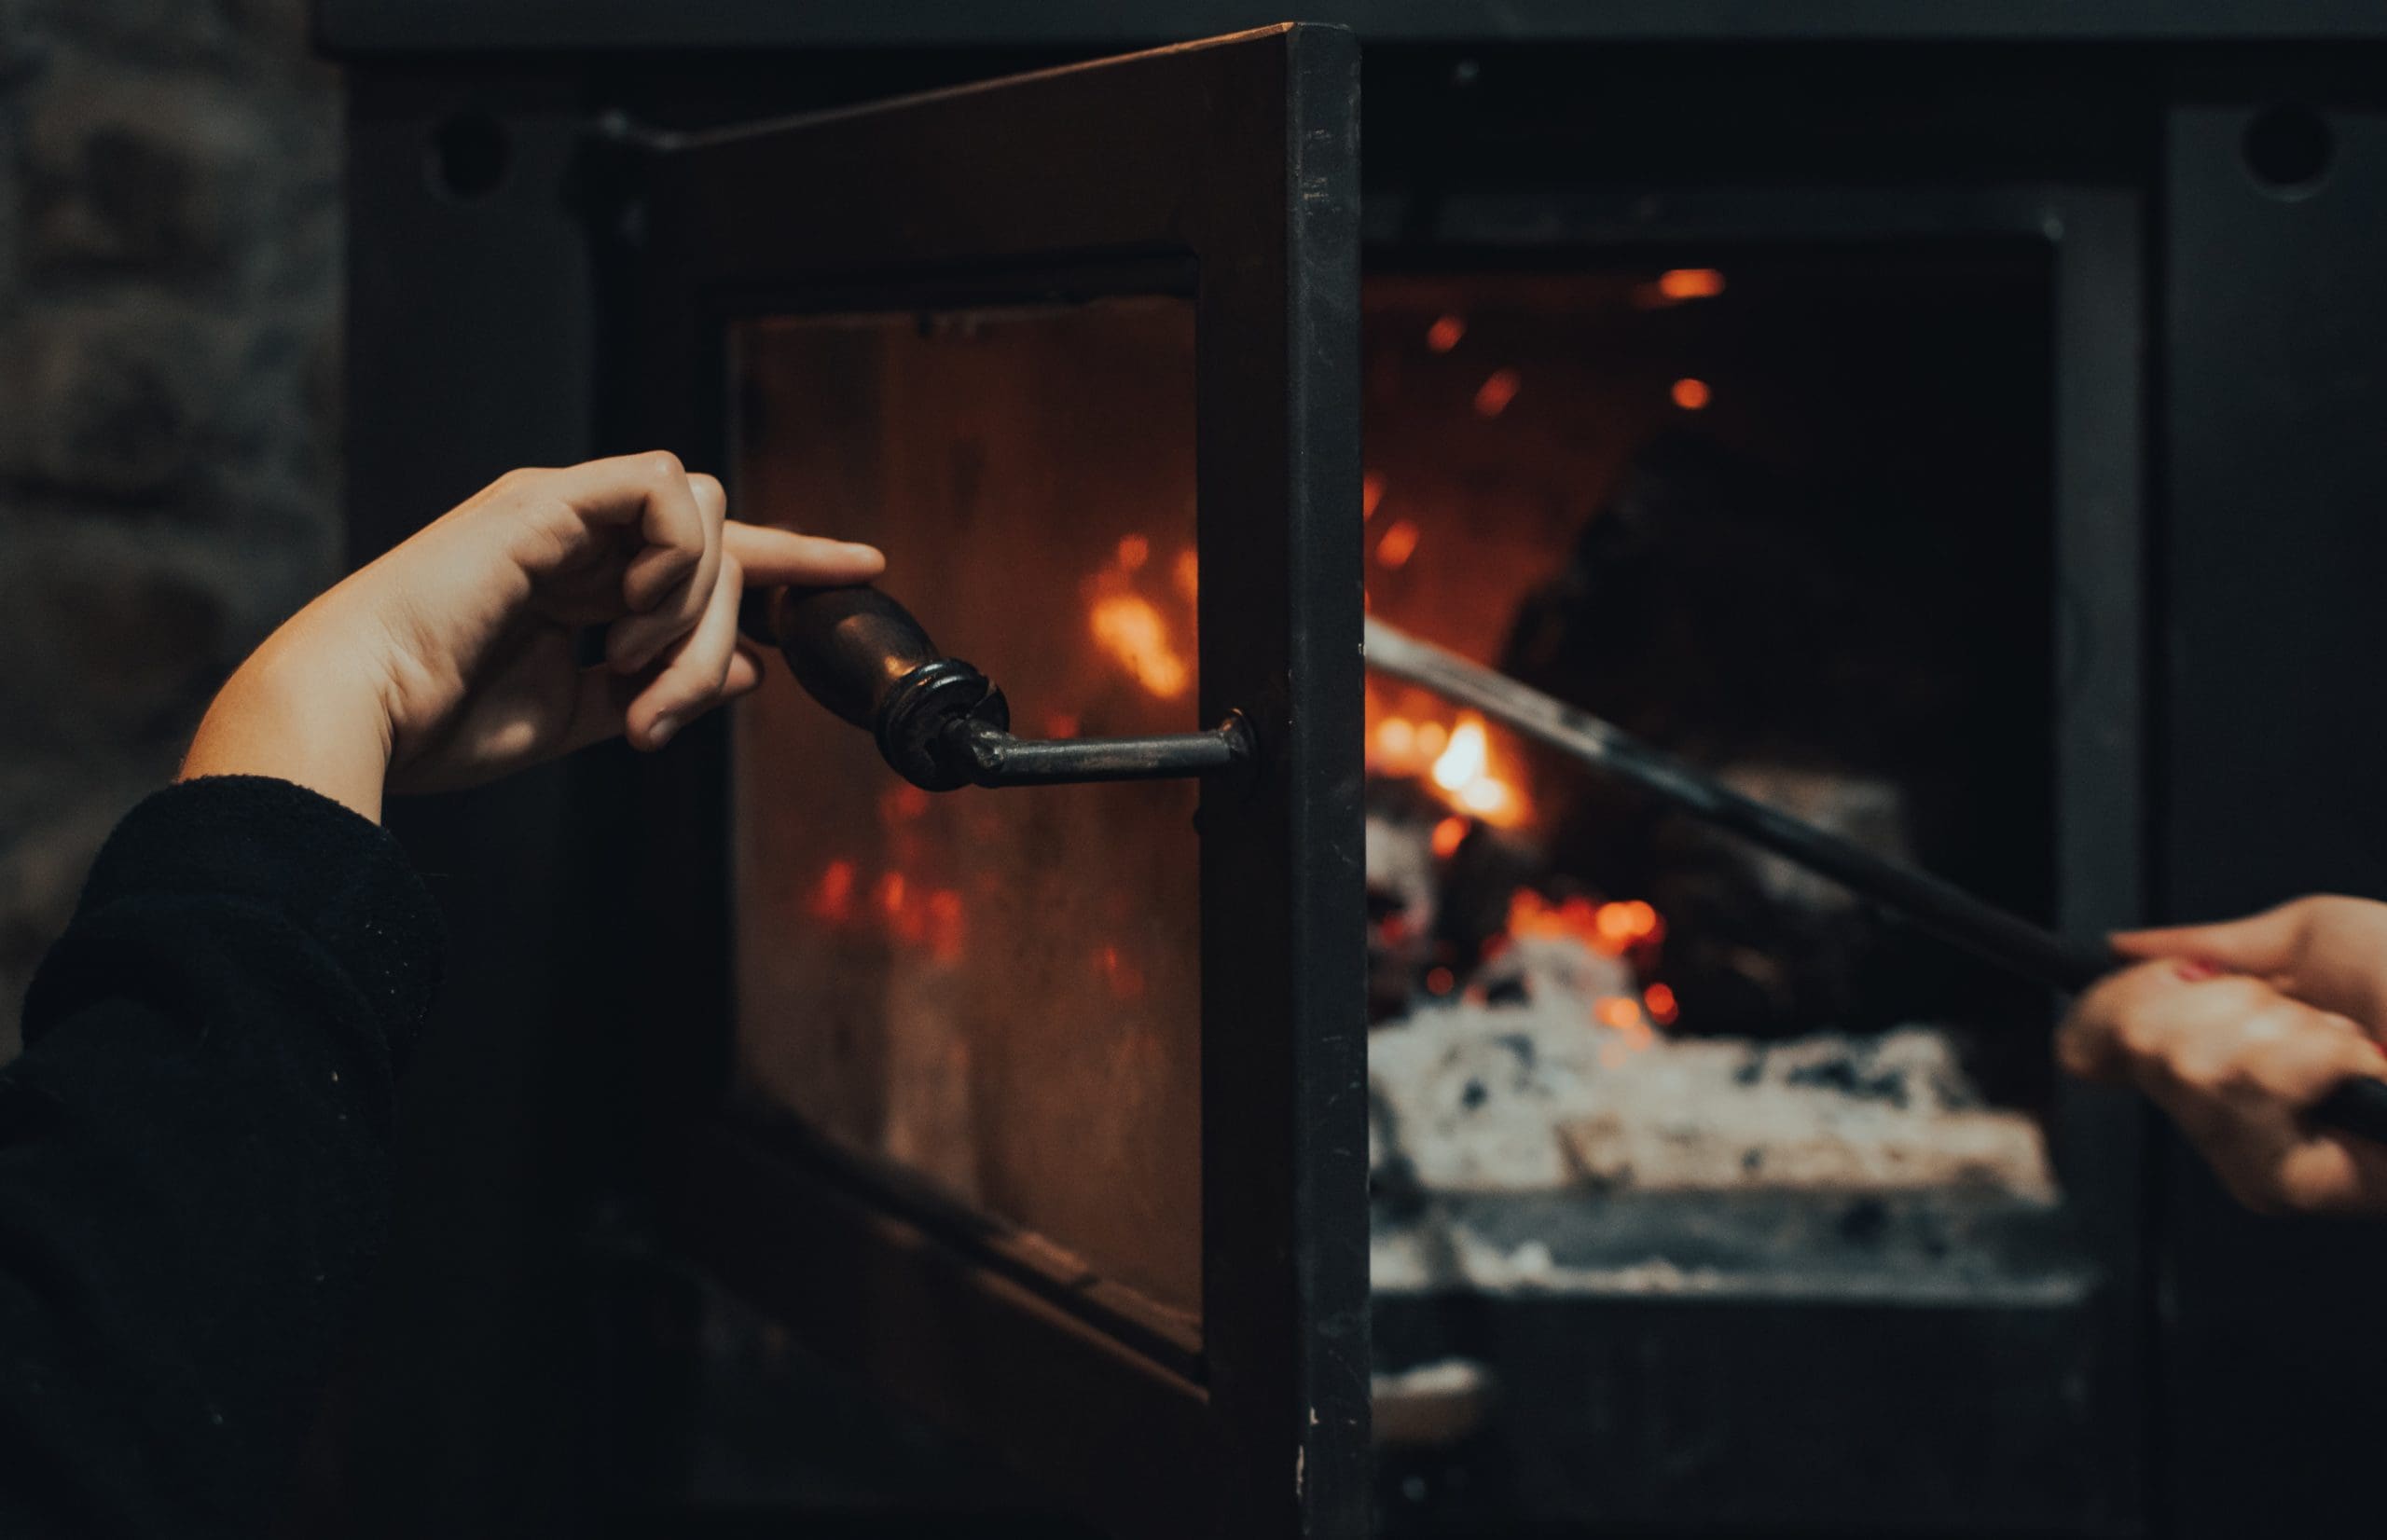
    Photo by Vidar Nordli-Mathisen on Unsplash

    No one wants to be cold in their own home. And if you have a boiler, you may be looking for a more updated, efficient way to keep you and your family warm.

    Although you should always rely on a certified technician to install your furnace, there are ways you can incorporate a furnace into your interior design floor plan.

    Photo by Gaspar Zaldo: https://www.pexels.com/photo/a-person-pushing-the-fire-woods-in-the-furnace-8721369/

    Apply for a Permit

    One of the first things you need to do before you begin any other step is to ensure the professional technician you’re working with has a permit to install furnaces. That way, you can rest assured that it will be installed correctly. These permits also require an inspection to be done after to ensure everything is up to code.

    Create an Interior Design Floor Plan

    Regardless of whether you’re renovating your interior or building a house from scratch, you can’t create a proper design without knowing your objective. What’s your goal for creating the space?

    Once you know the answer to that question, include your furnace in those plans. Then, you or your contractor can use AutoCAD, or just paper and pencil, to map out your interior design floor plan.

    Understand All Furnace Codes

    Every building and city is going to have its own set of codes. It’s your job to ensure your contractor and professional furnace technician knows and follows them all.

    However, it can be helpful to know the main ones that most municipalities follow. Here are a few of the hundreds of codes your contractor must follow to install your furnace correctly.

    Photo by Amruth Pillai on Unsplash

    Clearance

    All furnace rooms must have enough space in an enclosed area. If the furnace is in too small of a space, the heat in the room can be dangerous. It also makes maintenance a nightmare. The general rule of thumb is to keep it at least 30 inches from any walls. 

    But it varies by area; your technician will know the right ones. 

    Ventilation

    Ventilation is also essential. The air in your furnace room has to have somewhere to go, or it can become a huge safety hazard.

    Without air combustion or an exhaust vent, you put your family at risk of carbon monoxide poisoning and house fires. There should generally be about 12 inches from the top of the furnace to a ceiling vent. However, it depends on the size of the furnace room. Your contractor should be able to follow the proper guidelines to keep your home safe.

    Photo by Stéphane Juban on Unsplash

    Energy

    Your furnace will require certain levels of energy efficiency. Under federal law, there is a minimum requirement that has to be met. 

    This minimum varies by location, type of furnace, and furnace input. The amount required can vary from 80% to 95%, depending on the furnace type, such as warm-air or oil-fired furnaces.

    Be Mindful of Furnace Placement in Your Interior Design Floor Plan

    Let’s face it; as vital as they are, no one wants to see their furnace all the time. So many people always ask if you can tuck the furnace away in a closet. Technically speaking, the answer is yes, but it’s not advised if you can afford not to. If you do, you have to adhere to all of the previously stated codes, which is hard to do in such a small space.

    Most furnace rooms should ideally be 6×8 feet or bigger to give you and technicians enough space to access it comfortably. You wouldn’t want the furnace near your bedroom anyway because they can be loud.

    Photo by Jessica Johnston on Unsplash

    Get It Installed Professionally

    To minimize property damage, furnace malfunctions, and safety risks, you can’t install a furnace yourself. Instead, always call a professional furnace technician who has the certifications, experience, and know-how to get the job done right. 

    They know all the required codes, correct electrical wiring, duct systems, pipes, and more to install your furnace correctly the first time. That means you don’t have to spend more money out of pocket for additional repairs that could have been avoided if a professional had initially installed it.

    If you really want to do your due diligence, check into the company’s history, reviews, awards, and certification requirements, so you feel confident in the professional furnace technician you chose. 

    Things to Remember When Installing a Furnace

    Additionally, when creating an interior design floor plan, there are a few other details to keep in mind.

    Choose the right furnace

    Choose the right furnace for your needs. You don’t need to go all out and purchase the most enormous furnace on the market. The biggest doesn’t always mean it’ll work the best in your home. In fact, if the size of the furnace doesn’t work with the size of your home, it can lead to further issues like higher energy bills, humidity in the house, and more.

    Photo by Spacejoy on Unsplash

    Double-check your warranty

    Another reason to avoid DIY furnace installation is that it may void your warranty. So, check what voids a warranty and what is required. Some furnaces require annual inspections, so it’s best to know what to plan for.

    Be diligent about gas leaks

    Another major reason to never install a furnace yourself is that you risk the furnace malfunctioning and causing a gas leak. A gas leak can cause death, explosions, and even harm your neighbors.

  • Best Perennials for Sun 

    Best Perennials for Sun 

    Choosing the best flowers for your garden can be difficult with many options.

    Photo by amy lynn grover on Unsplash

    Perennials  are great because they require less care once they’ve established themselves in your  garden and come back year after year, so you don’t have to replant every season. They  also help attract pollinators for themselves and any other plants you may be growing.  Get a nice sunny place in your garden to try out some of these gorgeous perennials you  can enjoy for years to come. 

    Daisies 

    Daisy plants bloom twice a year in most zones where they can be grown. They have a  long blooming season in the summer and can produce a few flowers during mild  winters. Depending on the variety, these hardy plants produce one to two flowers per  plant. While white is the most common color for daisy plants, there are also other  colored varieties, including pink and red. Daisy plants require little maintenance, making  them great for gardeners of all skill levels. Daisies can also be harvested to make a tea  with a gentle floral flavor.

    Photo by micheile dot com on Unsplash

    Black Eyed Susan 

    Black-eyed Susan originated in North America and has been cultivated by Native  Americans since before European settlers arrived, making it a very easy-to-grow option  for gardens almost anywhere in the US. They are believed to be a valuable medicinal  plant according to many Native American tribes. The typical variety of black-eyed Susan  flowers is a vibrant yellow, but over years of cultivation, varieties now exist in multiple  colors, including orange, red, and brown. These beautiful perennials are known to  attract butterflies and other valuable pollinators to the garden.

    Photo by Nick Fewings on Unsplash

    Coneflowers 

    Coneflowers or echinacea are rising in popularity as a decorative plant for tea use.  While purple is the most common color variation, the flowers can be found in many  colors, including pink, white, green, red, and yellow. There are over 40 varieties of these  flowers, all of which are prolific growers in North America. All varieties have large cone shaped heads, which is where coneflowers come from. They grow best in eastern and  central North America, where they are native. Echinacea flowers have a long blooming  season that often lasts most of the summer. These can be a great attraction for  butterflies and other pollinators.

    Photo by Maddy Weiss on Unsplash

    Perennials will continue to bloom yearly if you want a beautiful garden that requires  little to no maintenance. This can make it relatively simple to accomplish whatever  vision you have for expanding your garden. Try these perennial flowers that are native  to the US for ease of growing in the first place. These flowers even grow well together.  Once established, the plants will all but maintain themselves in your colorful flowerbeds.  In addition to the beauty of the blooms, all of these perennials are known to draw in a  variety of pollinators, including butterflies which are arguably the gorgeous pollinators  you’ll find in the garden.

  • 6 Tips for Crushing Your First Interior Design Meeting

    6 Tips for Crushing Your First Interior Design Meeting

    The initial meeting with a new client is one of the most important meetings you’ll have.

    Photo by Toa Heftiba on Unsplash

    This is where you set expectations, gather inspiration, and establish a positive relationship with the client. Make sure you come prepared!

    The Importance of the First Meeting

    Photo by micheile dot com on Unsplash

    It’s difficult to overstate how important the first meeting is with a new client. This isn’t meant to scare you, but it should provide some motivation to get it right. 

    There have been hundreds of studies conducted on first impressions over the years, but they all tend to reach the same conclusion: A good first impression paves the way for a strong and fruitful business relationship, while a negative one is nearly impossible to overcome.

    According to one of those studies, 66 percent of potential clients won’t give a business a second chance after a bad first impression. And here’s the kicker: This first impression is made within the first 27 seconds (though it extends throughout the entire initial interaction). That means you better come prepared and really nail that initial interaction.

    Photo by Connor Wang on Unsplash

    6 Tips for a Successful First Meeting

    As an interior designer, you need to think about ways you can establish a confident, yet personable image from the moment you meet a new client. 

    Here are several tips to make these initial meetings even more fruitful for you and your business:

    1. Be Friendly and Inviting

    People want to work with people they get along with. You can increase your likeability by being friendly and inviting in the first 27 seconds. This means smiling, making eye contact, extending a firm handshake, and asking how they’re doing. Avoid diving straight into work. Try to develop a personal connection with them first.

    1. Offer a Favor

    Neuroscience says that you can get people to like you more by extending a quick favor within the first few moments of meeting someone. It doesn’t have to be anything more – small offers can pave the way for significant goodwill.

    Photo by Jason Wang on Unsplash

    For example, you could offer to get your client a water bottle. Or maybe you ask them if the temperature in the room needs to be adjusted. We’re not talking about moving mountains here. Small, simple offers are all it takes. 

    1. Have a Process

    Before transitioning into the “business” part of the meeting, let your new client know what to expect by outlining the process. In other words, tell them exactly how the meeting will go in a step-by-step manner. Not only does this allow them to track in their mind, but it proves that you aren’t just “winging it” – you have a process.

    1. Take Good Notes

    Your meeting shouldn’t be a one-sided lecture. This is a two-way conversation. And in order to properly utilize your time, it’s helpful if you can take good notes.

    Photo by Toa Heftiba on Unsplash

    While there’s nothing wrong with a good old-fashioned composition notebook or yellow legal pad, try using a note-taking app that allows you to securely store them on the cloud. This ensures you have access to notes from anywhere (even if you leave your laptop at the office one day). 

    1. Ask Smart Questions

    Good questions are important for two reasons. First off, they allow you to gather valuable information needed to make smart design decisions that work for your clients. Secondly, they show your clients that you care about them as individuals. 

    Here are some good ones to toss into your first meeting repertoire:

    • Can you tell me a little bit about each member of your family?
    • How would you describe your current style?
    • Are there any interior design accounts that you follow on Instagram or Pinterest?
    • What would you consider a successful outcome of us working together?
    1. Give, Give, Give!

    Novice interior designers – or really any designer that doesn’t have a ton of confidence in their work – often get scared of giving away too much information in that initial meeting. They become worried that the client might steal their ideas and then do it themselves (or hire a cheaper competitor to execute). But don’t let that scare you. The idea alone isn’t worth much. It’s the implementation that makes it valuable. 

    Photo by Jason Wang on Unsplash

    “Yes, you can suggest to a client to build a fountain in the patio of his home, but only you know what kind of fountain it should be to make it look nice,” designer Anna Kovalchenko writes. “If the client doesn’t understand it, maybe you don’t need this client. If he understands it, giving away ideas and showing off your creativity is the powerful tool to win a project.”

    The more good ideas you give during a meeting, the more creative you come across. And if there’s one thing people are looking for in an interior designer, it’s creativity. They can go to Pinterest and get a bunch of ideas. They want someone who can develop unique ideas without needing a template or mold.

    Photo by Sidekix Media on Unsplash

    Adding it All Up

    There’s no easy, one-size-fits-all method for creating a positive first impression. Everyone is different, perceptions are unique, and it depends on a blend of circumstantial factors. 

    Having said that, you can dramatically improve your ability to get results by heeding the advice highlighted above. We’ve given you the keys – now go out and drive!

  • How To Make An Infographic Help Boost Your Product Sales

    How To Make An Infographic Help Boost Your Product Sales

    When it comes to marketing, an infographic is one of the most powerful tools in your arsenal.

    Photo by Austin Distel on Unsplash

    Not only are they visually appealing, but they can also help communicate complex ideas quickly and easily. And when it comes to selling products, an infographic can be a great way to highlight the benefits of your product and encourage people to buy. So how to make an infographic that will help boost your product sales? Here are seven tips that can guide you:

    Photo by Venngage

    1. Tell the story of your product

    Your product likely has a story behind it – whether it’s how it was developed or why it’s unique. Telling this story in your infographic can help people connect with your product and understand its value. How to create an infographic that is successful is to keep your story clear and concise. You want to hook your audience with an interesting tidbit or statistic and then lead them through the rest of the story using strong visuals. Include a mix of charts and pictures to help break up the text and keep people engaged. A graph maker is a helpful tool for creating visuals to accompany your data stories. Finally, include a call to action at the end of your storytelling to people about what they can do now that they know more about your product. 

    2. Show your viewer how your product fits their story

    People are more likely to buy a product if they feel like it’s been designed specifically for them. So, consider how to create an infographic that shows how your product can fit into your viewer’s story. You can illustrate how your product works, how it can be used in various situations, solve a problem, or even make their lives easier. And don’t forget to include a testimonial from satisfied customers to show that your product is the real deal.

    3. Use data visualization to tell your product story

    Data visualization is a great way to highlight the key benefits of your product. How to build an infographic that will highlight your product? If you have any data supporting your product’s claims, include it. This could be things like customer satisfaction rates or before-and-after photos.

    4. Use the psychology of color

    Color can be a powerful tool for catching people’s attention and conveying the right message. When choosing colors for your infographic, consider what each color represents and how it might affect your viewers. Studies have shown that specific colors influence emotions and behavior, so choose wisely! Use colors that will create a positive association with your product. For example, blue is often associated with trustworthiness, while green can represent growth or progress.

    Photo by Venngage

    5. Choose the right fonts

    An effective infographic has to have good content. But once you have your content nailed down, you need to think about how to make a good infographic that will present it in a way that is both visually appealing and easy to understand. That’s where fonts come in. The right fonts can make all the difference in how your infographic is perceived. Here are some tips to help you choose the right fonts:

    • Consider the tone you want to set. If you want your infographic to be seen as fun and approachable, then use playful fonts. If you want it to be more serious and professional, use more traditional fonts.
    • Make sure the font is easy to read. This factor is crucial if your infographic contains a lot of text. Avoid using fonts that are too distracting and difficult to read. Instead, opt for simpler fonts that will be easy on the eyes.
    • Avoid using too many different fonts. Using more than two or three fonts can make your infographic look cluttered and messy. Stick to one or two fonts throughout your design, and use different weights and styles to create variation.
    Photo by Austin Distel on Unsplash

    6. Make it an easy read

    When people see an infographic, they’re not going to read it like a blog post or article. Instead, they’ll probably scan it to get the gist of what it’s about. So, how do you make an infographic easy to read? Ensure your infographic uses short paragraphs, bullet points, and clear headings. You can also highlight key information with colors or icons.

    Photo by Isaac Smith on Unsplash

    7. Consider the context

    Where will your infographic be seen? When designing an infographic, this question is essential to consider, as the context can affect how people perceive it. For example, if you’re sharing your infographic on social media, you’ll need to ensure it’s optimized for mobile viewing. And if you’re including your infographic in a presentation or report, you’ll want to choose a more formal style.

    By following these tips, you can create an infographic that will help boost your product sales and get people excited about your product. Just remember to keep your audience in mind and focus on conveying the key benefits of your product. You can create an informative and visually appealing infographic with little effort. And who knows? Maybe it will even go viral!

    Venngage makes it easy and accessible for anyone who wishes to create an infographic. Sign up now so you can create that perfect marketing tool today!

  • 4 Things You Shouldn’t Do With A Mindmap

    4 Things You Shouldn’t Do With A Mindmap

    A mind map is a great way to brainstorm ideas and get clarity. There are many ways to use a mindmap maker, but there are also many things you should avoid doing with it since they can actually hinder the process of getting clear on your thoughts. 

    Source: mohamed_hassan/Pixabay

    1. Making the Map Too Big

    This is one of the most common mistakes people make when using a mindmap maker. They think they need to put things together on a single map just because it’s called Mindmap, but that doesn’t mean you have to fill up an entire medium-sized paper, or even A4-sized paper with writing. A lot of people have the habit of first writing down everything they can think of, then crossing out some things and putting more on. This is a waste of time.

    Mindmaps are meant to be used as reference windows so you can look up something specific very easily. It’s not supposed to be filled with information just because it’s a mindmap. That’s like hiring an accountant to do your laundry, or a director to prepare dinner for you every single day. It just doesn’t make sense and it makes no efficient use of their time and skills.

    Most people miss the point of using a mindmap maker free because they think that they need to put everything down on paper in order to understand it. What they don’t realize is that most times, mindmaps are used to refresh your memory about something you already know pretty well instead of learning things from scratch.

    Photo by charlesdeluvio on Unsplash

    If you can’t think of a topic for a mindmap maker online, the next time you’re reading a book or article, go ahead and try making a map of what you’re reading. This way, it will help you recall the information much better than just reading it off the page since it’s broken down into bite-sized chunks that are easier to digest. You can also use a mindmap maker guide. 

    On the other hand, if you do need a mindmap maker, you should check out Venngage. 

    2. Using A Mindmap To Make Plans/Schedules For The Future

    An online mindmap maker is meant to be used for planning out projects, writing an essay or creating a schedule. We all have that one friend who always brings his mindmap everywhere to make plans for everything under the sun. That, of course, isn’t the right way to use a mindmap. 

    There are other ways to make plans and create schedules other than using mindmaps. For example, you can use a timeline instead. There are tons of software for that, and not to mention the fact that you can just use pen or paper too if that’s how you roll.

    Mindmaps are great for brainstorming, theory crafting, and keeping track of ideas and thoughts in your head. That’s why most writers use mindmaps to come up with new content for articles like this one.

    If you want a digital tool that makes it easier to manage tasks and create schedules, there’s no need to use a mindmap at all. Just try using a typical task management tool.

    Source: BiljaST

    3. Using The Mindmap Software As A Crutch To Think Less

    Some people will close their eyes and plug out everything around them except the screen of their computer or tablet to make a mindmap. This is one of the most common mistakes I see people doing all the time. The reason for closing your eyes when making a map is because you’re afraid of missing out on other ideas, but depending too much on the software will make you forget that there’s also an intuitive side to it that can help give you more creative bursts when thinking about ideas.

    At one point in time, I used to make mindmap maker software where I’d drag and drop topics onto the page, then append subtopics underneath it. From there, I started creating sub-sub topics until it got to the point where whole sections of my mindmap were just clusters of ideas that weren’t organized at all!

    Photo by Hello I’m Nik on Unsplash

    This became one of the biggest reasons why people who saw my mindmaps hated them. They were disorganized and looked like a mess, but the funny thing was I was not aware of it at all! As a result, people who saw my mindmaps thought that I wasn’t smart enough to organize my thoughts because everything was just jumbled up into one big mess.

    The solution to this problem is to trust less on the software and learn how you can use it as a helper rather than using it as a crutch.

    4. Using A Mindmap To Obsess Over Minor Details

    Who here makes mindmaps where each topic has at least 5 subtopics attached to them? While it’s extremely common to see this kind of stuff because people are taught to be perfectionists, it’s important to note that you shouldn’t try to make super-specific maps that could possibly go into infinite loops.

    Photo by Fabrice Villard on Unsplash

    You need to find the right balance between detail and simplicity, otherwise, your maps will end up looking like a map of highways in Los Angeles. Nobody has time for that! If you’re trying to make a map of how your business works, don’t use a mindmap where all the topics and sub-topics are so specific because chances are, you’ll just end up expanding their scope way too far which makes your whole map unreadable.

    Mindmaps should be used as tools for brainstorming ideas, not for amassing data or information that will basically clog up your brain space.

    In Summary

    Mind maps are an easy way to organize your thoughts in a visually appealing and simple form. Heck, some of us may still have one because it’s just so easy to create these things! You should, however, never do these things with them.

  • 4 Reasons To Consider Custom-Designed Storage Solutions In Des Moines

    4 Reasons To Consider Custom-Designed Storage Solutions In Des Moines

    The purpose of custom storage solutions is to utilize the available space effectively. A bespoke storage unit can help eliminate the mess without making it challenging to move around the area if a wall area is not utilized. Consulting companies that provide custom-designed storage solutions in Des Moines can be very beneficial in making one’s house a lot more organized, modern, and presentable. 

    Photo by Sanibell BV on Unsplash

    About 215,000 people reside in Des Moines as of February 2021. It ranks as the 105th most populated city in the country. Because it is Iowa’s capital, it serves as the state’s hub for commerce, the arts, and culture. Its metro area has a 500,000-person population and offers first-rate public services, communities, and neighborhoods. In addition, the customers have a superior shopping experience when using custom-designed storage solutions, which also exude an atmosphere missing from stores that use standard racks.

    Photo by Sanibell BV on Unsplash

    What Do Custom-Design Storage Solution Companies Do?

    Custom-designed storage solutions are developed and constructed from the beginning with an understanding of the final efficiency outcomes and benefits. The unique designs provide changeable pallet racking while taking into account specific needs.

    They use various inserts, fronts, and materials to produce everything from a simple shelf system to an amazing and unique combination. The wall systems’ versatility enables them to meet any room’s storage requirements. 

    Reasons To Consider Custom-Designed Storage Solutions In Des Moines

    Photo by Sam Yink on Unsplash

    It can become a bit of a hassle to organize and keep one house in order all the time. It even becomes tiresome to get everything back in its place in a single day owing to someone’s busy schedule. Therefore, moving a step forward to custom-designed storage solutions in de moines is always a good idea. Every four years, this city hosts the Iowa caucuses. More than 77,000 individuals commute to downtown Des Moines each week for employment. The neighboring Des Moines River, a branch of the Mississippi River with a French name that initially meant “River of the Monks,” served as the inspiration for the capital’s name. Des Moines has earned the moniker “Hartford of the West” due to the fact that both Hartford and Des Moines are well-known hubs for financial services, particularly insurance. Hawkeye State is the nickname for Iowa.

    1. Declutter

    Certain parts of someone’s house are just naturally prone to clutter. A specialized storage box helps keep clutter from accumulating, whether it’s the kids’ toys or their husband’s woodworking equipment in the garage. Everything will genuinely have a place with a specialized storage container. However, it could be difficult for one to ensure that everything is genuinely placed back where it belongs.

    Photo by R ARCHITECTURE on Unsplash
    1. Functional

    Customizing storage containers is the best approach to make the most of the space. A personalized storage container may meet all of one’s storage needs, so one won’t have to stress about what to do with the mess. Bins used for storage are unattractive and can occupy a lot of room. Furthermore, it’s challenging to conceal them due to their peculiar forms. Avalanches also frequently result when stacking storage containers. Instead, if someone chooses a bespoke storage option, they may pick a design that complements the other pieces of furniture in the room.

    1. Taking Pleasure in Ingenious, Useful Organization

    Most people believe that a tiny closet does not provide many options, so one may bid farewell to their aspirations of having solid wood shelves. But designers have the knowledge and creativity to make almost anything a reality. Furthermore, designers can put their suggestions to work in realistic ways. In this manner, they avoid having lovely storage that serves no use at all.

    1. Longevity And Quality

    Prefabricated storage cabinets are not durable. If someone purchases something off the shelf, they’ll probably need to replace it within a few years. Having bespoke furniture created is an inexpensive and time-consuming process that may be easily avoided. Customized storage containers are high-quality and durable, despite the higher initial cost. Due to its durability and because it is able to withstand hard usage, they won’t need to replace it yearly.

    Photo by Sven Brandsma on Unsplash

    How Can Custom Storage Help In The Later Future

    Many will check out a few things when visiting the house for showings. Each person has a list of non-negotiables; some may include a backyard pool, a double garage, or a master bedroom big enough to fit a large furniture set. However, a significant quantity of closet space is something that virtually everyone desires. Thanks to custom-designed storage, the home’s storage rooms have more room, which improves the possibility that prospective buyers would value the huge, well-organized closets. In addition, the likelihood of closing the deal might be increased since they will be able to envision their possessions in one’s house.

    Conclusion

    Gaining more storage is one of the primary reasons homeowners renovate their houses. And even if someone decides against significant additions, they can still locate the extra space they need with bespoke storage solutions, keeping their home more tidy and organized.

  • 4 Simple Tips to Help Homeowners Increase Life-span of Furnace

    4 Simple Tips to Help Homeowners Increase Life-span of Furnace

    Your home’s heating system operates 24×7 every winter.

    Photo by Ian MacDonald on Unsplash

    But, it won’t be able to endure that forever without servicing or maintenance. Usually, an average furnace lasts for 18-20 years. However, HVAC experts in Sumter opine that the number can decrease or increase, depending on how it’s being taken care of. 

    Upgrading a malfunctioning home heating system is not ideal in the winter season. That’s because Sumter’s winter days have an average daily high temperature of 42-59°F. Occasionally, temperatures can even drop below 23°F on certain days. 

    Photo by Florian Schmidinger on Unsplash

    Therefore, it is critical to repair or replace the HVAC system before it ultimately gives up. 

    However, those with a new model installed in their homes should try following some HVAC-experts-recommended suggestions that might help extend the lifespan. This article is all about it.

    1. Never Skip Seasonal Maintenance Dates

    Furnaces are not demanding or power-hungry until users keep tuning them up after every fall season. Regular preventive maintenance has always proved beneficial when it comes to extending the heating system’s lifespan. 

    Hire a professional HVAC company to have their experts inspect and determine if the heater has any issues. Also, remember that a clean heater is always going to save you money by avoiding serious problems. Besides, it will ensure that indoor air quality is not compromised for everyone’s sake.

    Photo by Digital Marketing Agency NTWRK on Unsplash
    1. Don’t Avoid/Postpone Repair Sessions

    Sometimes, during the maintenance, technicians suggest potential repairs to the heating system that might increase longevity. What’s wise is to listen to that and arrange the repair work as soon as possible. 

    Regardless of whether the repair is just for a bad belt or a clogged condensate line, postponing it might lead to additional problems. Therefore, if you want the heating system to last long, never postpone or avoid HVAC-expert-suggested repair works.

    1. Replace Furnace Filters Regularly

    No doubt, this is one of the easiest ways to ensure that the home heater lasts long. The filter plays an active role in filtering out dirt, fur, hair, and other elements from entering the blower fan of the heater. When it becomes clogged, it blocks the free flow of air to the blower fan. 

    This scenario will result in overheating as the furnace will have to work more. In the aftermath, it will not just reduce the lifespan of the machine but also significantly increase monthly energy consumption. Just changing the filters periodically will help users avoid this situation.

    Photo by Avi Werde on Unsplash
    1. Increase Energy-Efficiency of Home

    Making your house energy-efficient will automatically shed loads from the HVAC system. If your home has plenty of leaks and holes here and there, it will need the furnace to work more to maintain a comfortable temperature inside. That means excessive stress will be on the machine’s motor, which isn’t a good sign for longevity.

    The best approach homeowners can take is to make their houses insulated. In that way, hot air inside will not be able to escape, and hence, the heater won’t have extra stress to heat the interior on a cold night in Sumter.

    Photo by R ARCHITECTURE on Unsplash

    Wrapping Up

    Sumter is a beautiful city located in South Carolina. Apart from being the battle site for the American Civil War, the place is also famous for its chilly weather in winter. It is wise to call the HVAC experts in Sumter to ensure that your home stays winter-ready. Professional services will also ensure that the energy bills stay on the lower side.

  • What is the best roof coating for the waterproof flat roof (in LA)?

    What is the best roof coating for the waterproof flat roof (in LA)?

    People tend to pay the most attention to the roof of your home since it is the section of the structure that is most visible from the street.

    Photo by Michael Jasmund on Unsplash

    However, most people dont know that the condition of your roof conveys a lot of information about how well you take care of your property. 

    Most people’s attention is directed at the inside, and they forget how important it is to maintain the roof. Maintaining your flat roof look beautiful and amazing for your household, guests and observers will demand careful upkeep and routine service. A Walkthrough of the Waterproofing Process for Flat Roofs

    Photo by Ryunosuke Kikuno on Unsplash

    Waterproofing your roof is one of the most important things you can do to maintain its condition. The exposure your roof receives from outside elements is substantially reduced when waterproofing it. Deterioration of the decking may result from several factors. The rotting and decomposing that occurs over time may eventually reduce the lifespan of your flat roof.

    Various approaches to waterproofing

    Three primary approaches to flat roof waterproofing liquid waterproofing, a single-ply membrane, or reinforced bitumen membranes. 

    Photo by Zachary Keimig on Unsplash

    Liquid waterproofing

    Application of a certain kind of coating requires for it to work. These coatings may take the form of liquid fleece membranes, liquid fibreglass, or plastic that reinforces with glass. Flat roofs are the most typical surface for waterproofing, even though it fits with all roofing materials, including slate and aluminium. 

    Depending on how the coating was applied, how well it was maintained, and the overall quality of the layer, its lifespan may range anywhere from 20 to 40 years.

    Reinforced bitumen membranes

    It is a method that involves layering your flat roof waterproofing with two or three different types of membranes. After the layers lay down, heated bitumen pour on top of them to glue them together. Mixing the layers with a polyester carrier gives you a waterproof textile. 

    The material then installs across the insulation if the design is for a warm flat roof, and it is installed across the structural deck if the design is for a cold flat roof. Torching, cold application, and self-adhesive, some of the ways that use in the process of affixing the membranes to the flat roof.

    Photo by Sieuwert Otterloo on Unsplash

    Single ply membrane

    Using a single-ply membrane appropriate for use on monumental buildings. These membranes link with warm flat roofs for optimum performance, and the sheet dimensions vary from 1-2 millimetres broad to 1-2 millimetres thick to 20 meters in length. 

    Because of this, the material places on top of the insulation by roof waterproofing services in LA. There is an additional layer of the material behind the insulation and on the decking that supports the structure. Attaching single-ply membranes may accomplish using ballasting, adhesion, and fastening techniques.

    Photo by Zac Gudakov on Unsplash

    Conclusion

    The water and debris that accumulates on flat roofs with shallow slopes damage your roof and may also produce pooling, which ultimately ruins the roof if allow persisting for an extended period. You openly choose a way of waterproofing based on your own choice and a strategy appropriate for your structure.

    Waterproofing gets important because it guarantees a longer life span for your flat roof and avoids damage to the inside components of your home that might be caused by water. Ultimately, it ensures a pleasant and stress-free living environment by relieving you of the responsibility of performing routine maintenance and repairs on the roof.