Most people who attempt diy curtains to make at home waste the first 30 minutes the same way — and it has nothing to do with sewing. They grab their tape measure, pull a number off the window frame, and head straight to the fabric store with a figure that will haunt every decision they make from that point forward. The measuring problem isn’t about math. It’s about not knowing which number you actually need — and most tutorials that claim to cover this gloss over it in a single sentence buried after the supply list.
Quick Answer
Most people who make their own window panels waste the first 30 minutes the same way — and it has nothing to do with sewing.
I spent eleven years designing interiors professionally, and the pattern I kept seeing was this: people who were competent with a sewing machine still ended up with panels that looked wrong. Too stiff, too short, too narrow, bunched at the rod like an accordion. The fabric wasn’t the problem. The decisions made before cutting were.
This article exists because diy curtains to make at home is genuinely one of the more accessible projects in home decor — but it has a specific set of failure points that no one wants to talk about plainly. These six traps are the ones I’ve watched people fall into repeatedly, including myself on a few early jobs I’d rather forget.
1. Measuring Your Windows the Way Everyone Gets Wrong
In This Article
- 1. Measuring Your Windows the Way Everyone Gets Wrong
- 2. Picking Fabric That Looks Right in the Store but Hangs Wrong at Home
- 3. Defaulting to a Rod Pocket When Your Window Needs Something Else
- 4. Skipping the Pre-Wash Step and Paying for It Later
- 5. Hemming by Eye Instead of Using a Hem Gauge
- 6. Underestimating What Lining Does to a Panel
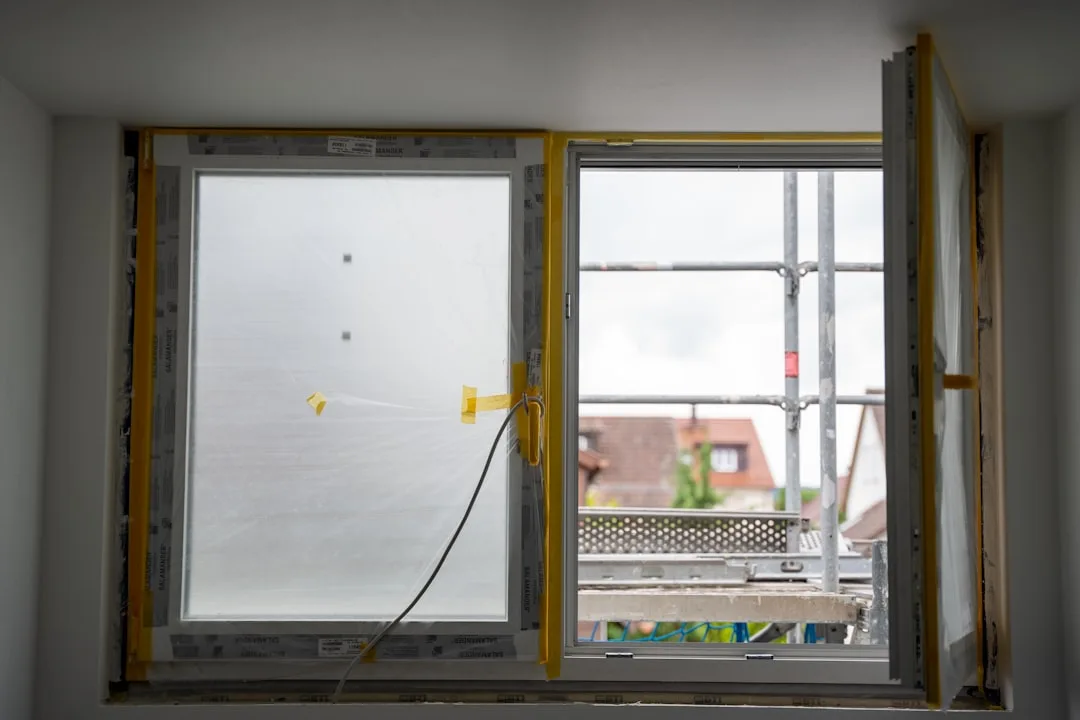
Before you buy a single yard of fabric, you need two measurements that are completely different from each other, and most people only take one. The inside mount measurement is the dimension inside your window frame — relevant if you’re building something that sits within the casing, like a Roman shade or an inside-mount blind. The outside mount measurement is what you actually need for curtain panels, and it means measuring the total width you want to cover, not just the window itself.
Here’s where the wasted fabric begins. Fabric retailers have noted that cutting errors and mismeasurement account for the majority of wasted yardage in home sewing projects — meaning most DIYers have already lost money before they thread a needle. The reason is almost always the same: someone measured the window opening instead of the intended coverage area.
For outside-mounted panels, you typically want your rod to extend 6–12 inches beyond each side of the window frame. That’s not decorative excess — it’s what allows the panels to stack off the glass when open, letting maximum light in. A 36-inch window with panels that only cover 36 inches will look like shutters, not curtains.
The 2x–2.5x fullness rule is the calculation most tutorials mention once and never explain. For every inch of rod width, you want 2 to 2.5 inches of fabric. A 60-inch rod needs 120–150 inches of total fabric width before you account for seams or hems. On 54-inch-wide fabric, that means cutting and joining multiple widths. If a tutorial doesn’t mention this until the fourth paragraph, skip it.
For length: floor-length panels should be cut to hang approximately 1/2 inch above the floor, not hemmed to exact floor height. Floors aren’t perfectly level. A panel hemmed to touch the floor on one end will drag on the other. Leave that small gap and no one will ever notice — but if you hem tight, you’ll spend weeks looking at a panel that skims the baseboard on the left while pooling on the right.
One tool that pays for itself on the first project: a laser level for marking bracket height. You can set it once, run the line across the wall, and know your rod will be perfectly even. A pencil and a measuring tape require two people or a lot of patience. The laser level requires neither.
Takeaway: Measure the coverage area, not the window. Account for fullness at 2x–2.5x rod width. Cut long and trim — never cut short and regret it.
2. Picking Fabric That Looks Right in the Store but Hangs Wrong at Home
Fabric stores are lit to make everything look good, which is exactly the problem. I once selected a cream cotton blend for a client’s dining room that photographed beautifully and draped like cardboard. Stiff panels in a small room make the whole space feel like a doctor’s waiting area.
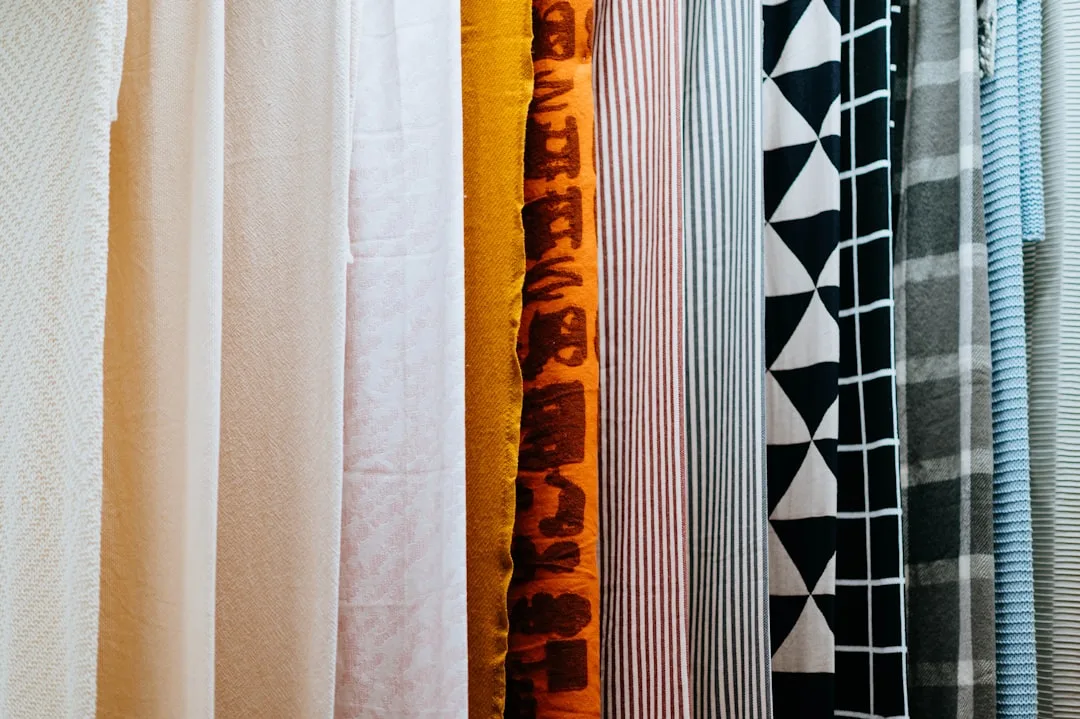
The drape test is simple and immediate: pull about a yard of fabric off the bolt and drape it over your forearm with your elbow bent. Let it fall naturally. If it forms soft, rounded folds, it will hang with movement. If it holds a crease, sticks out from your arm, or shows visible resistance — that fabric will fight you on the window.
Weight categories matter more than fiber content:
- Lightweight sheers (voile, gauze, batiste): best for small windows, layering, or adding softness over a blackout blind. They move in air currents and add life to a room.
- Medium-weight linen blends: the workhorse of DIY panels — forgiving to sew, drape beautifully, and photograph well. Best for standard living room or bedroom windows.
- Heavier cotton canvas or thick linen: statement panels in large living rooms, where weight creates beautiful drape. Harder to sew for beginners but worth it for impact.
Here’s something competitors consistently bury: fabric with more than 3% synthetic content — think polyester blends — can be genuinely difficult to press and hem cleanly. The fibers resist the iron’s heat, hems pucker, and the finished panel looks homemade in the worst way. Natural fibers or high-natural-content blends are far more forgiving for first-time panel makers.
Fabric width changes your seaming requirements. 54-inch wide fabric versus 60-inch wide fabric sounds like a minor difference — but on a wide window where you’re joining multiple widths, those extra 6 inches per panel can eliminate an entire seam. Fewer seams means less bulk at the rod and a cleaner hang.
On sourcing: the remnant bins at decorator fabric warehouses are the single most underrated resource for panel fabric, and most competitors writing about budget options skip them entirely. A standard queen-size flat sheet — roughly 90 x 102 inches — can yield two complete 84-inch panels for a single window at a fraction of what retail curtain fabric costs per yard. The weave is consistent, the fabric is pre-washed, and the sizing is already close to what you need.
Takeaway: Always do the drape test before committing. Choose natural-fiber or high-natural-content blends for easier pressing. Flat sheets are a legitimate, smart fabric source — not a compromise.
3. Defaulting to a Rod Pocket When Your Window Needs Something Else
Rod pockets are what 90% of DIY tutorials teach because they’re easy to explain. You fold the top over, sew a channel, slide a rod through. Done. What those tutorials don’t tell you is that rod pocket panels are essentially stationary once they’re hung — every time you push them open, the fabric at the pocket bunches, pulls, and eventually tears along the seam. For a window you open daily, a rod pocket is the wrong answer.
Matching your header style to how the window actually functions is the decision that separates panels that look polished from panels that look like a first attempt. Here are the four header types worth knowing for diy curtains to make at home, and when each one earns its place:
- Rod pocket: appropriate for stationary panels flanking a window that’s rarely opened — decorative side panels in a living room, layered sheers behind a drape, or a guest room window that goes untouched for weeks at a time. Never use it on a window you open every morning.
- Tab top: casual, relaxed look that works well in bedrooms and informal spaces. Easier to sew than grommets, moves reasonably well on the rod, but adds visible length between the rod and the panel start — account for this in your measurements or the finished panel will hang shorter than expected.
- Grommet header: the cleanest modern look, slides easily, and holds its shape wash after wash. Requires purchasing metal grommet rings and a grommet punch tool, but the hardware cost is low and the result looks far more finished than a rod pocket. Best for heavier fabrics where the ring size can support the weight.
- Pinch pleat with curtain hooks: the most tailored option, and the one most associated with custom-looking panels. Requires either hand-sewing or a pleat tape product — pleat tape is the shortcut most DIYers don’t know exists, and it turns a complicated header into a 20-minute task. Works on any fabric weight and gives you the kind of even, structured fold you see in professionally installed rooms.
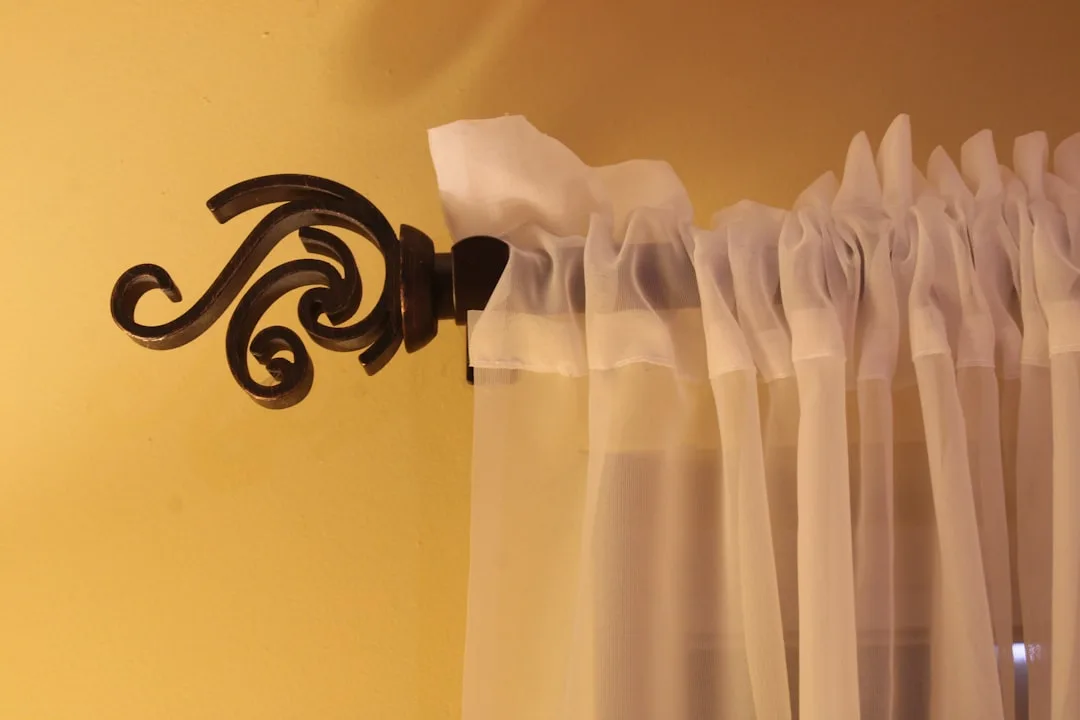
One detail that changes the visual weight of any header: mounting height. Hanging your rod close to the window frame makes the window look smaller and the ceiling look lower. Mounting the rod 4–6 inches above the frame — or within a few inches of the ceiling in rooms with standard 8-foot ceilings — draws the eye up and makes the window appear significantly taller. This single adjustment costs nothing and has more visual impact than most fabric upgrades.
For windows with blackout requirements — bedrooms, nurseries, home offices — the cleanest solution is a two-layer approach: a blackout roller blind inside the frame, plus decorative panels on the outside that provide the finished look without needing to be functional. This means you can choose your header purely for aesthetics, since the actual light-blocking is handled separately. The result is better on both counts.
Takeaway: Rod pockets belong on stationary panels only. Choose your header based on how the window functions, not just how easy it is to sew. Mounting height is free and high-impact — use it.
4. Skipping the Pre-Wash Step and Paying for It Later
Natural fibers shrink. This is not a rumor or a worst-case scenario — it is a reliable property of cotton and linen that will absolutely affect your finished panels if you don’t account for it before you cut. Standard cotton fabric can shrink 3–5% after the first wash. On an 84-inch panel, that’s 2.5 to 4 inches of lost length. A panel that cleared the floor by half an inch now hovers two inches above the baseboard, and there’s no fixing it without cutting new fabric.
The pre-wash process takes one afternoon and costs nothing. Run your fabric through a normal wash and dry cycle before cutting — the same cycle you’d use to launder the finished panels. Press while still slightly damp. Then cut. Every inch you measure after pre-washing is the inch that will actually be in your finished panel.
Two additional reasons pre-washing matters beyond shrinkage: fabric sizing and dye stability. Most retail fabric is treated with a starch-like sizing compound that makes it feel crisper and more substantial on the bolt. After washing, that compound rinses out and you get the true hand and drape of the fabric — which is what you’re actually sewing with. A fabric that passed your drape test on the bolt may behave differently after washing, and better to discover that before cutting than after. On dye stability: deep-colored fabrics — navy, forest green, charcoal — can bleed significantly in the first wash. Pre-washing catches this before it can transfer to trim, lining, or adjacent panels.
Takeaway: Always pre-wash before cutting. No exceptions for natural fibers. The afternoon it costs is the 84-inch panel it saves.
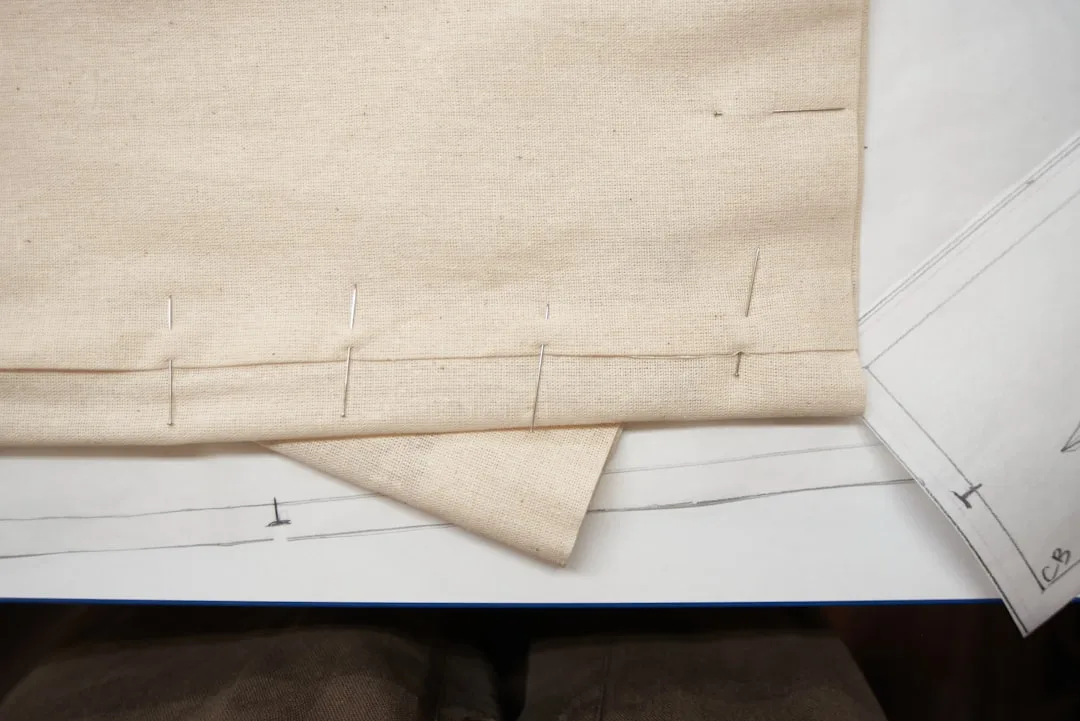
5. Hemming by Eye Instead of Using a Hem Gauge
Side hems on curtain panels are where projects that looked controlled suddenly start to unravel — not literally, but visually. A side hem that starts at 1.5 inches and drifts to 1 inch halfway down the panel catches light differently along its length, creating a shadow line that’s invisible to you while sewing but obvious to everyone who looks at the finished window.
The fix is mechanical, not skill-based: a hem gauge. It’s a small metal ruler with a sliding marker that you set once and use to fold every inch of hem to exactly the same depth. Press as you go, moving the gauge along rather than eyeballing each fold. The total time added to the project is minimal. The consistency improvement is significant.
For bottom hems specifically, a double-fold hem adds weight that helps panels hang straight. The standard approach is a 4-inch double-fold bottom hem — fold 4 inches up, press, fold again, press, then sew. This creates an 8-inch total hem allowance at the bottom, which is why your cut length needs to be 8 inches longer than your finished desired length, not the 2–3 inches most beginner tutorials account for. If you cut to finished length and then try to add a proper bottom hem, you will lose panel length you cannot recover.
Weights sewn into the bottom hem are a professional technique almost never mentioned in consumer tutorials. Small curtain weights — available at most fabric stores in a chain or individual disk format — are basted into the corner and bottom fold of each panel. They pull the hem straight, prevent billowing in air conditioning, and give the panel the kind of settled, grounded hang that makes store-bought curtains look more expensive than they are. On lightweight fabrics especially, hem weights are the difference between a panel that moves beautifully and one that flips up every time a door opens.
Takeaway: Use a hem gauge on every side hem, every time. Add 8 inches of cut length for a proper double-fold bottom hem. Hem weights cost almost nothing and solve billowing completely.
6. Underestimating What Lining Does to a Panel
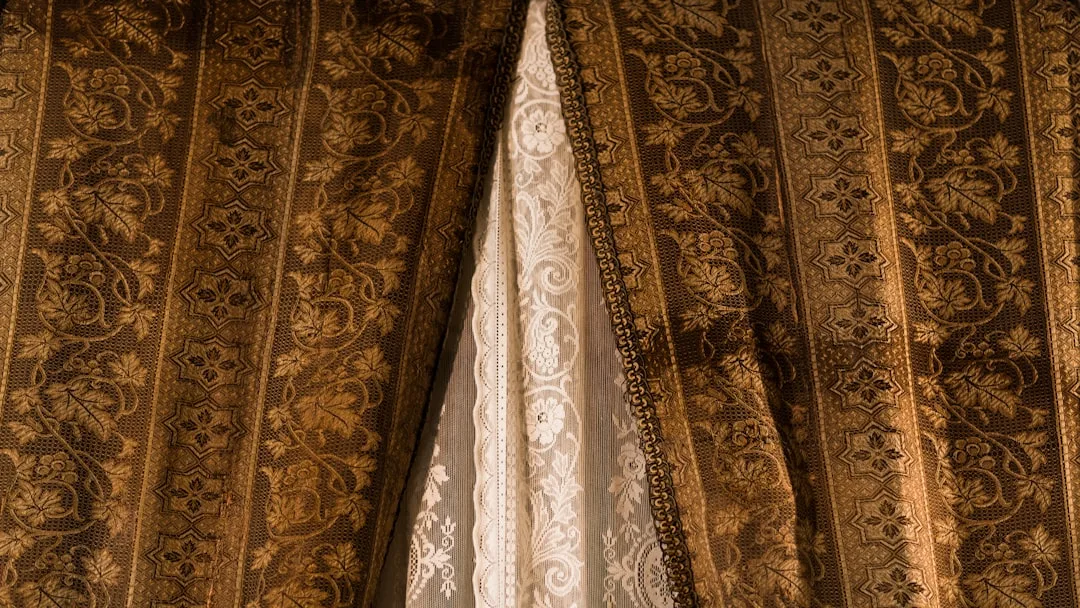
Unlined panels are faster to make and cost less upfront. They’re also prone to fading, lack any thermal or light-filtering benefit, and have a tendency to look flimsy from outside the house — the back of an unlined panel is often a different color than the front when backlit, and from the street or garden, your windows will look mismatched even if every panel is cut from the same bolt.
Lining changes the structural behavior of a panel. A cotton lining adds enough body that even lightweight fashion fabric will hang with clean folds rather than collapsing flat. It protects the face fabric from UV degradation — especially important in south- or west-facing rooms where direct afternoon sun will bleach unprotected fabric within a single season. And it makes the panel look finished from both sides, which matters if your windows are visible from outside.
Three lining options based on what you need:
- Standard cotton sateen lining (typically 54 inches wide, sold specifically as curtain lining): the default choice. Inexpensive, easy to sew, adds body and a clean white reverse. Works for most applications.
- Blackout lining: a coated fabric that blocks 95–100% of light. Heavier than standard lining and requires some care in seaming — the coating can fuse to a hot iron, so always press from the fabric side. Worth the extra handling for bedroom or nursery panels.
- Thermal or interlining: a soft, flannel-like layer added between face fabric and lining. Adds significant warmth retention and sound absorption. More common in colder climates or rooms with drafty single-pane windows. Adds bulk but the payoff in room comfort is real.
The simplest lining method for first-time panel makers is the attached lining with a bagged construction — face fabric and lining are sewn right sides together at the sides and bottom, turned, pressed, and the top is finished together. No slipstitching, no visible stitching on the lining hem. The result looks professionally constructed and the method is forgiving for beginners.
Takeaway: Line your panels. Standard cotton sateen lining adds body, protects face fabric, and makes panels look finished from outside the house. The extra yardage cost is small against the improvement in hang and longevity.
Frequently Asked Questions
How much does it actually cost to make diy curtains at home versus buying them?
For a standard 84-inch panel on a 60-inch rod, expect to spend $15–35 in fabric using a medium-weight linen blend at retail pricing, or $8–18 using flat sheets or remnant fabric. Add $5–10 for lining. Compare that to store-bought panels in the same size range, which typically run $30–80 per panel for quality that matches what you’d make at home — and often less. The savings are real, particularly once you have the tools. Hardware is the one-time cost that people underestimate: a decent rod, brackets, and rings will add $20–60 per window, but those are reusable.
Do I need a sewing machine, or can I make panels by hand or with iron-on hem tape?
Iron-on hem tape is a legitimate option for straight hems on panels that won’t be washed frequently. It holds well on cotton and linen, creates a clean fold, and is faster than machine sewing for someone who doesn’t own a machine. The limitation is durability — repeated washing weakens the bond over time, and hem tape doesn’t work for header construction (rod pockets, tab tops, or grommet headers all require stitching). A basic sewing machine opens up every header option and makes side hems far more consistent. If you’re making panels for more than two windows, a machine pays for itself in time within the first project.
What’s the minimum sewing skill level needed to make curtain panels at home?
Straight-line sewing only. Curtain panels are rectangles. Every seam is a straight line, and none of them are structural in a way that demands precision beyond keeping a consistent seam allowance. Someone who has never used a sewing machine before can produce a functional, good-looking panel on their first attempt if they’ve pre-washed the fabric, cut carefully, and use a hem gauge. The technique ceiling is low. The decisions that matter — measuring, fabric selection, header choice — are not sewing skills at all.
Why do my panels look fine on the hanger but bunched and uneven on the window?
Almost always a fullness problem. If total fabric width is less than 2x the rod width, panels will look flat and undersized rather than full and draped. The second common cause is uneven hem weights — one panel with more body than the other, often because they were cut from different parts of the bolt where fabric tension varied. Steam pressing both panels thoroughly while hanging, then leaving them closed for 24–48 hours, will often resolve minor unevenness as the fabric relaxes. For persistent bunching at the rod, the header channel may be too tight for the rod diameter — the rod should slide through with slight resistance, not require force.
How do I get panels to hang straight without professional steaming equipment?
A handheld garment steamer works better than an iron for in-place panel dressing because you can work with the fabric hanging rather than laying flat. Start at the top and work downward, using your free hand to smooth and guide folds as you go. For stubborn panels, lightly mist with water from a spray bottle, arrange the folds by hand, and let dry in position. Clip weights (binder clips work) along the bottom hem while drying will pull the panel straight. The same result that takes a professional steamer 10 minutes takes a handheld steamer about 20 — not a meaningful difference on a project this size.