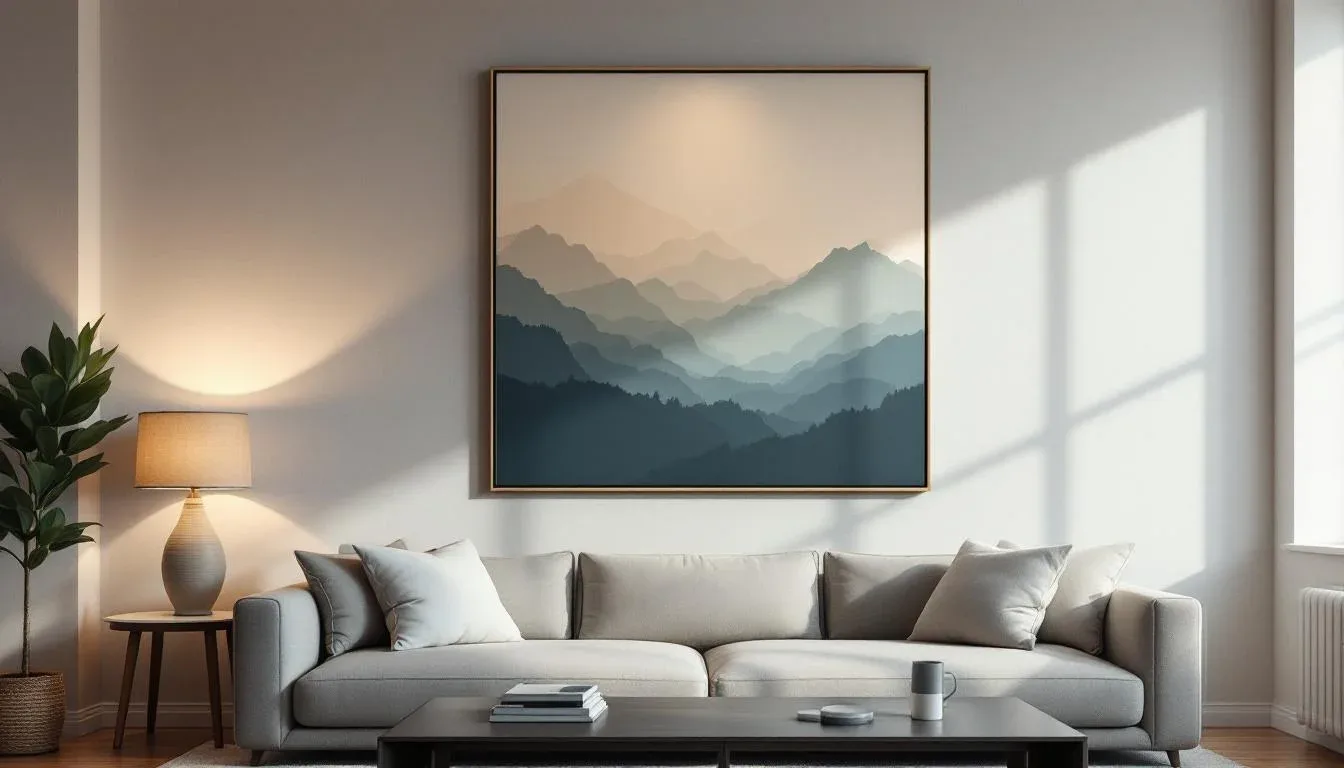
The artwork cost you hundreds — maybe thousands — but the wrong light fixture is making it look like a photocopy of itself. Flat. Colorless. Dead on the wall. Most homeowners never notice until a designer points it out — and by then, the piece has been hanging wrong for years.
The frustrating part? Fixing it rarely requires an electrician or a major renovation. What it requires is understanding a handful of principles that lighting guides routinely bury under generic advice about angles and bulb types. This guide skips the basics you’ve already read and gets into the specifics that actually change how a piece looks.
Why Most Home Artwork Lighting Falls Flat (And What’s Actually Going Wrong)
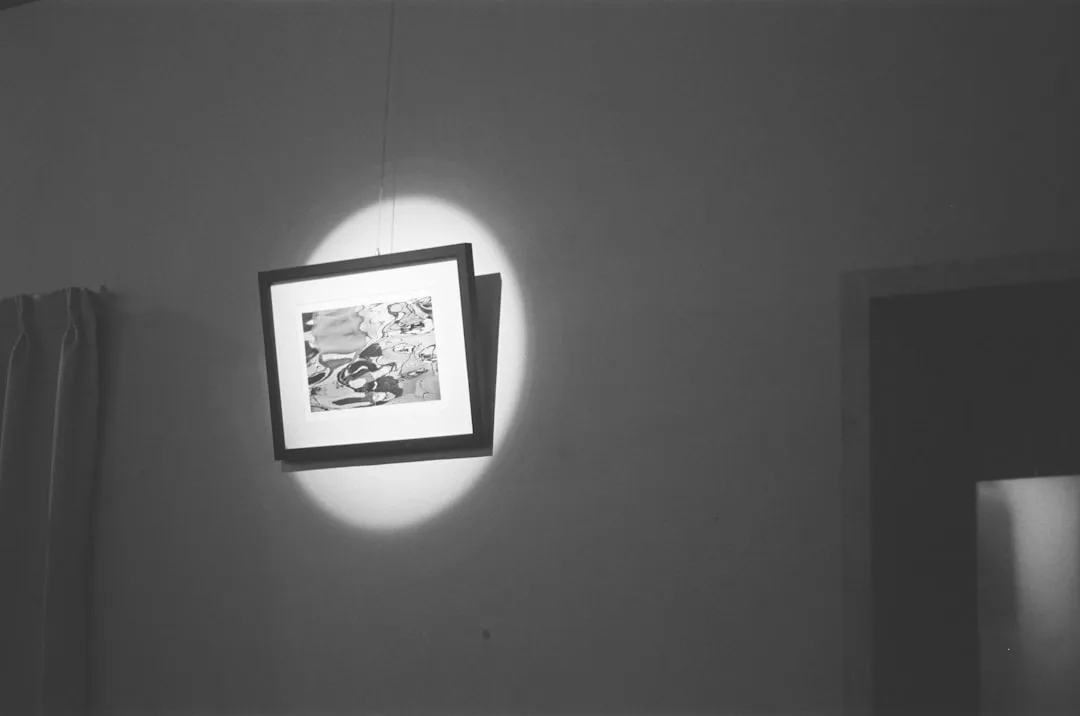
The instinct when art looks dull is to blame the bulb. Swap in something brighter, right? Wrong. In most homes, the real culprit is ambient light competition — the ceiling fixture that’s flooding the entire room with enough lumens to neutralize any accent lighting you’ve added for the painting.
Think of it this way: if your overhead fixture is pumping out 1,200 lumens into a 12×14-foot living room and your picture light is adding 400 lumens focused on a 24-inch canvas, the math isn’t in your favor. The accent light needs to overpower the ambient light at the artwork’s surface by a ratio of at least 3:1 to register as accent lighting — and ideally 5:1 for dramatic effect. Most homeowners are running at 1:1 without realizing it.
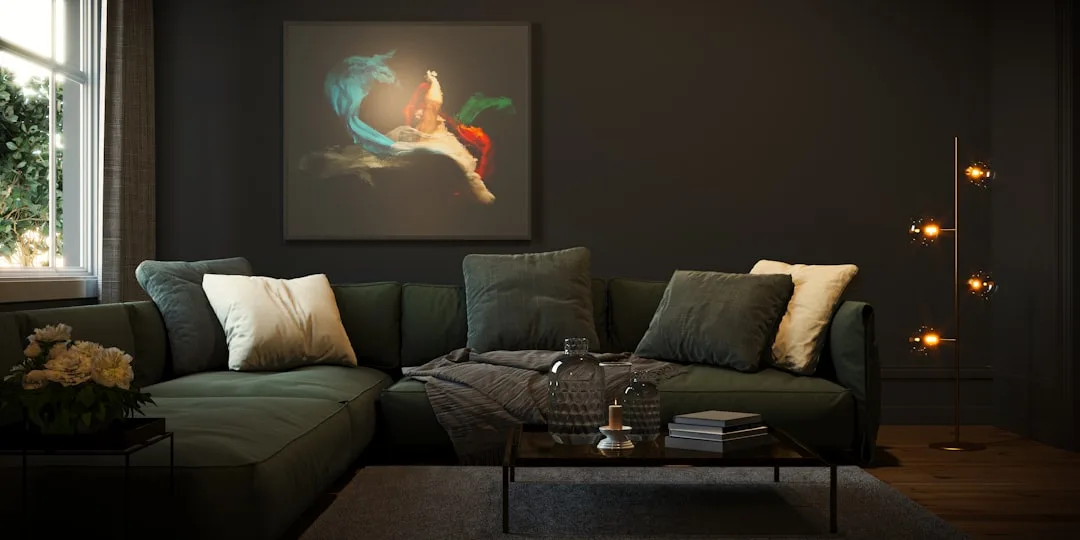
Wall color compounds this. A flat white wall with high reflectance (LRV above 80) bounces ambient light back onto the canvas from every direction, softening shadows and eliminating the contrast that makes art look three-dimensional. Switch to a deep matte finish — something like Benjamin Moore’s Wrought Iron or Farrow & Ball’s Down Pipe — and suddenly the same artwork light reads completely differently. The darker, non-reflective surface stops competing with your fixture.
Ceiling height is the third overlooked variable. Light loses approximately 75% of its intensity when the distance from source to artwork doubles — that’s the inverse square law in practice. A recessed fixture that works perfectly at 8 feet becomes nearly useless at 12 feet without a significant lumen increase or a completely different fixture type.
Here’s what’s actually going wrong in most homes:
- Overhead fixtures aren’t on a separate dimmer from art lighting circuits
- Wall paint finishes with eggshell or satin sheens create micro-reflections across canvas surfaces
- Recessed cans are mounted too close to the wall, throwing light at the wrong angle entirely
- Accent fixtures are underpowered relative to the room’s baseline light level
Actionable takeaway: Before you buy a single fixture, turn off every overhead light in the room and use a flashlight to illuminate just the artwork. If it suddenly looks dramatically better, you have a lumen competition problem — not a fixture problem.
Choosing the Right Light for Artwork at Home: Beyond the LED vs. Halogen Debate
Everyone argues about LEDs versus halogens. That debate is largely settled — LEDs win on heat output, lifespan, and energy cost. But the conversation that actually matters for artwork lighting involves three numbers most homeowners have never looked at on a packaging label: CRI, color temperature, and beam angle.
Color Rendering Index (CRI) is the measure of how accurately a light source renders colors compared to natural sunlight, which scores a perfect 100. A CRI of 80 — what you’ll find in most standard household bulbs — renders colors at roughly 80% accuracy. That sounds acceptable until you see the same painting under a CRI 95 bulb and realize the ochres in the brushwork look completely different, the deep blues have separation you couldn’t see before, and shadow areas have tonal depth instead of muddy flatness. CRI 90+ is the non-negotiable threshold for artwork lighting. CRI 95+ is worth the extra cost for paintings, photography, or any piece where color fidelity matters to you.
Color temperature changes the emotional register of an entire wall. Here’s the practical breakdown:
- 2700K–3000K (warm white): The right choice for oil paintings, watercolors, antique prints, and any traditional or classical art. This range makes warm pigments — reds, golds, earth tones — vibrate with life.
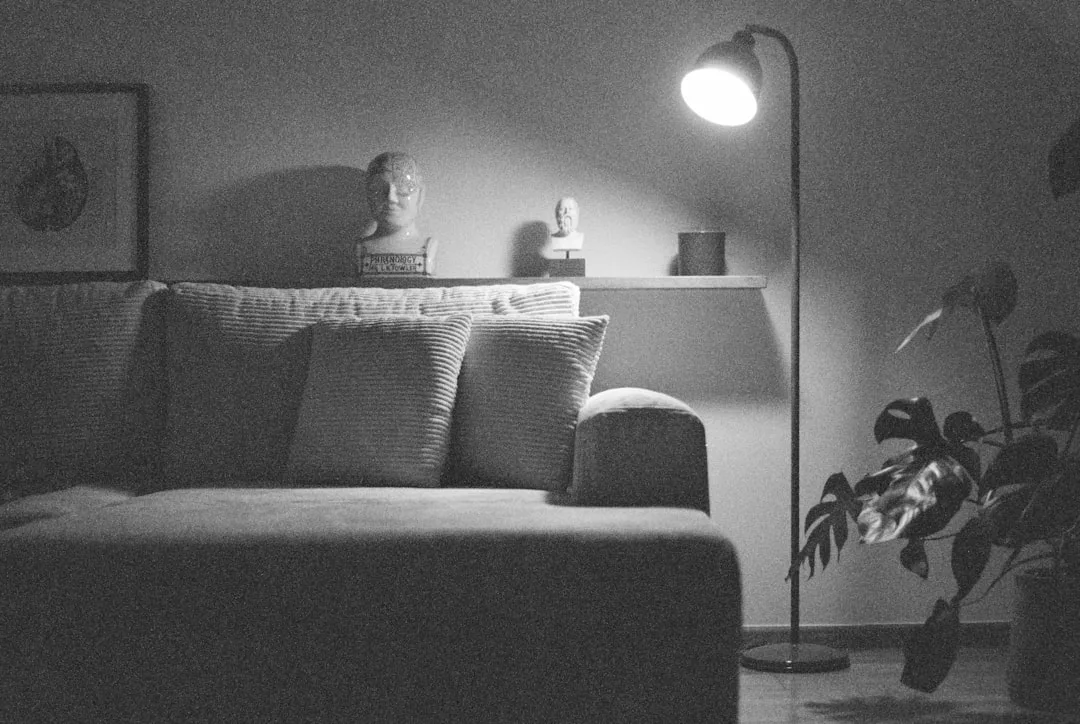
- 3500K–4000K (neutral white): Better for black-and-white photography, contemporary abstract work, and any art with cool or neutral tones. Warmer temperatures make cool-toned photography look slightly yellow and off.
- 2200K–2500K (candlelight range): Reserve this for purely atmospheric applications. Beautiful in dining rooms, but it will pull detail and color accuracy from almost any art medium.
Beam angle is where most people leave real performance on the table. A 15–25° narrow spot throws a tight column of light — ideal for small pieces under 18 inches wide, single sculptures, or framed photography. A 40–60° flood is what you need for large canvases, gallery walls, or any piece wider than 30 inches, because a narrow beam will create a hot spot in the center and fade at the edges.
Actionable takeaway: Check the packaging for three numbers before purchasing any bulb or integrated fixture: CRI (you want 90+), color temperature (match it to your art medium), and beam angle (size it to your artwork’s dimensions).
Room-by-Room Guide to Lighting Artwork at Home
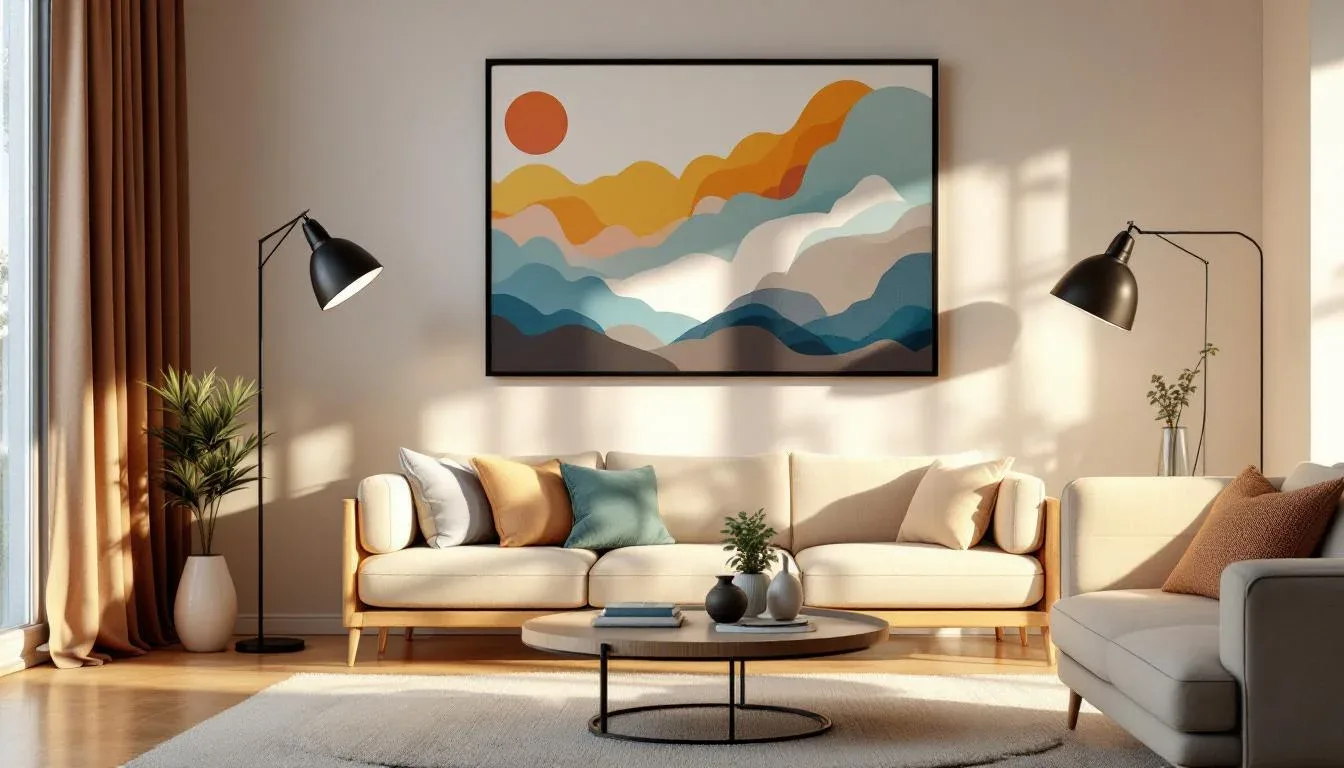
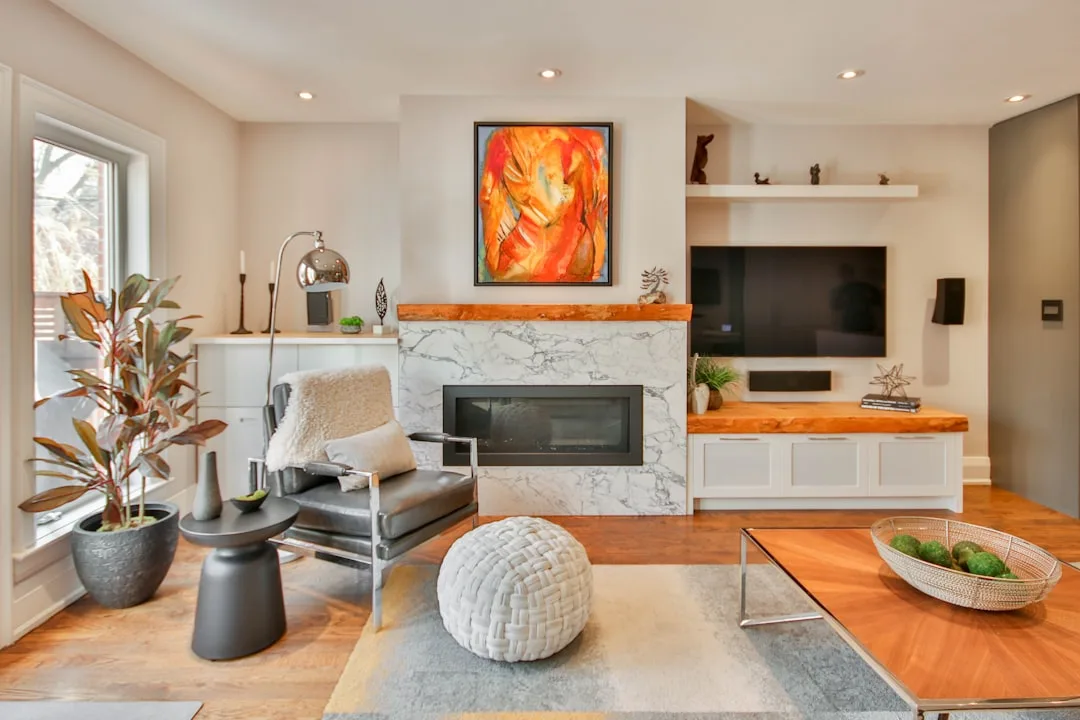
Living Rooms
The living room is the most complicated room for artwork lighting because it has the most competing light sources. South-facing windows create moving glare hotspots between 10 a.m. and 2 p.m. that wash out any accent lighting entirely — and there’s nothing a fixture can do about it. The practical fix is positioning art on north or east walls where possible, or treating south-facing windows with sheer UV-filtering cellular shades that reduce direct glare without blocking daylight entirely.
Dimmable accent fixtures are non-optional in living rooms. The light level you want at 7 p.m. with guests is completely different from what works during a Sunday afternoon with ambient daylight flooding in. A Lutron Caseta dimmer paired with any 0-10V dimmable LED fixture gives you full-range control without compatibility headaches.
Dining Rooms
In dining rooms, the challenge isn’t finding enough light — it’s finding light that doesn’t fight the atmosphere you’ve already created with a chandelier. Art hung on walls adjacent to a dining table needs to be lit at a color temperature that complements rather than clashes with the room’s primary fixture. If your chandelier is at 2700K (which most residential chandeliers are), using a 4000K picture light on the adjacent wall will create a jarring visual disconnect that nobody can consciously identify but everyone subconsciously feels.
Keep art lighting in dining rooms in the 2200K–2700K range. The slightly romantic quality of that temperature suits the room, and it won’t compromise most art mediums badly enough to matter at social light levels.
Hallways and Staircases
Hallways are where picture lights actually earn their reputation as the most practical fixture category. Recessed fixtures in a narrow corridor soffit often can’t be angled correctly to hit artwork on the wall below — the geometry simply doesn’t work with ceiling widths under 4 feet. A hardwired or plug-in picture light mounted directly to the frame solves this cleanly without any ceiling penetration.
Staircase walls require special attention because art is often viewed from multiple eye levels simultaneously. Aim to position light sources so the beam center hits the visual midpoint of each piece, which on a staircase wall often means adjusting each fixture independently rather than mounting them at a uniform height.
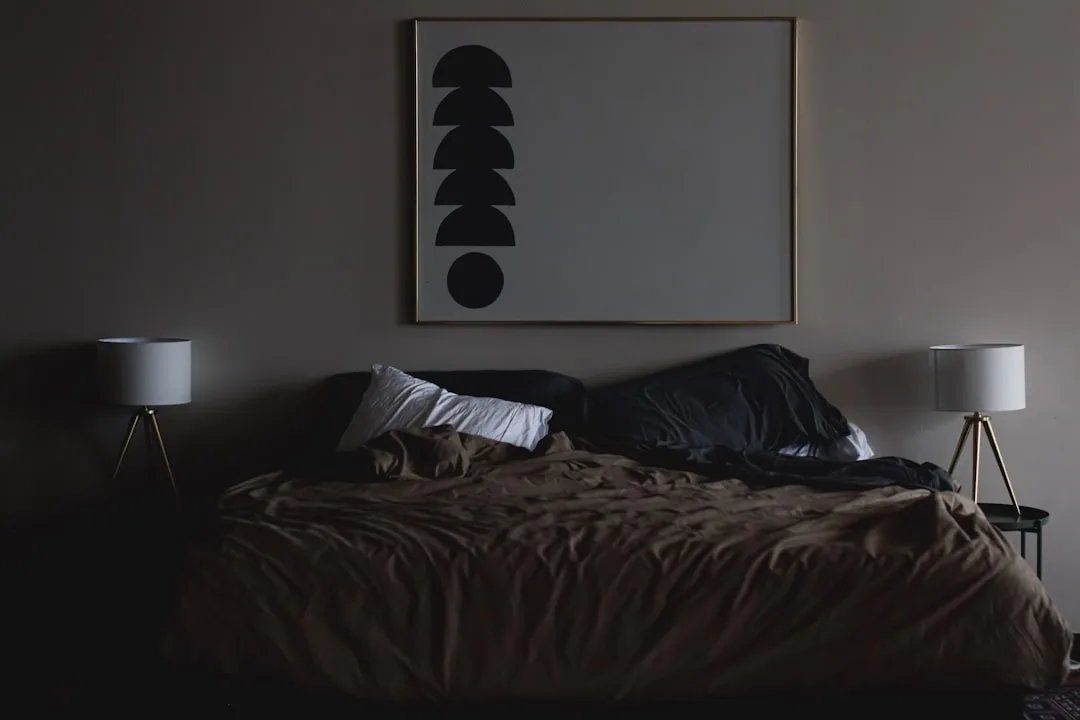
Bedrooms
Bedroom artwork lighting should operate at low lux levels — somewhere between 50 and 150 lux at the canvas surface is right for a space designed for rest. UV radiation from direct sunlight can fade artwork pigments within 3 to 5 years, and the same risk applies to non-UV-filtered incandescent and halogen fixtures in low-ambient rooms where the bulb runs for hours. Use only LED sources with confirmed UV-filtering in bedrooms, and install a dimmer as the final step, full stop.
A warm 2700K adjustable gimbal recessed fixture on a dedicated dimmer circuit — separate from the overhead bedroom light — is the cleanest solution in an owned home.
Home Offices
Task lighting creates directional spill that falls across adjacent walls and flattens anything hanging there. If your desk lamp is hitting your wall art with 500 lux of cool white task light, no accent fixture is going to counteract that effectively. The fix is a separate art lighting circuit on adjustable recessed gimbals, ideally mounted on the opposite side of the room from your task area so the two light sources don’t compete spatially.
Actionable takeaway: Treat each room as its own lighting ecosystem. Solve the competing light problem first, then select the fixture type and color temperature that fits the room’s primary function.
How to Position Artwork Lights Without the 30-Degree Cliché
The 30-degree angle rule is everywhere. It’s also frequently wrong — not because it’s bad physics, but because it was designed for a very specific scenario: a standard framed canvas on a flat wall, lit from a ceiling-mounted source at a predictable distance. Change any variable significantly and the rule breaks down.
For large canvases over 36 inches tall, a 30-degree angle from a standard 8-foot ceiling often creates a bright band across the upper third of the painting and leaves the lower portion noticeably dimmer. The math works out that way because the beam diverges across the canvas height and the source-to-surface distance increases toward the bottom of the piece. For large format work, a shallower angle of 40–45 degrees from vertical spreads illumination more evenly across the full canvas height.
Deeply recessed frames — anything with a frame depth over 2 inches — create their own shadow problem at 30 degrees, where the frame edge casts a visible line across the upper canvas. Moving the fixture further from the wall (increasing the horizontal distance) rather than changing the angle is the correct fix.
Texture-forward art tells a completely different story. Impasto oil paintings, woven fiber art, bas relief sculpture, and heavily textured mixed media pieces actually benefit from shallower angles of 15–20 degrees from horizontal because they create pronounced shadows that dramatize surface texture. This is the opposite of what you’d do for a flat photograph or print.
Before committing to fixture placement — and certainly before drilling anything — use your phone flashlight to simulate the beam. Hold it at the proposed fixture location, angle it toward the artwork, and walk it through different positions. This takes three minutes and tells you immediately whether a shadow is going to be a problem.
For recessed fixture placement specifically: the ideal mounting distance from the wall is typically 24–36 inches for standard 8-foot ceilings, increasing to 36–48 inches for 10-foot ceilings to maintain a comparable beam footprint on the artwork surface. Move a recessed fixture closer to the wall and you’re forced into steep angles that create more shadow problems than they solve.
Actionable takeaway: Skip the 30-degree rule and instead define three variables before positioning any fixture: artwork height, frame depth, and surface texture. Each one changes the correct angle independently.
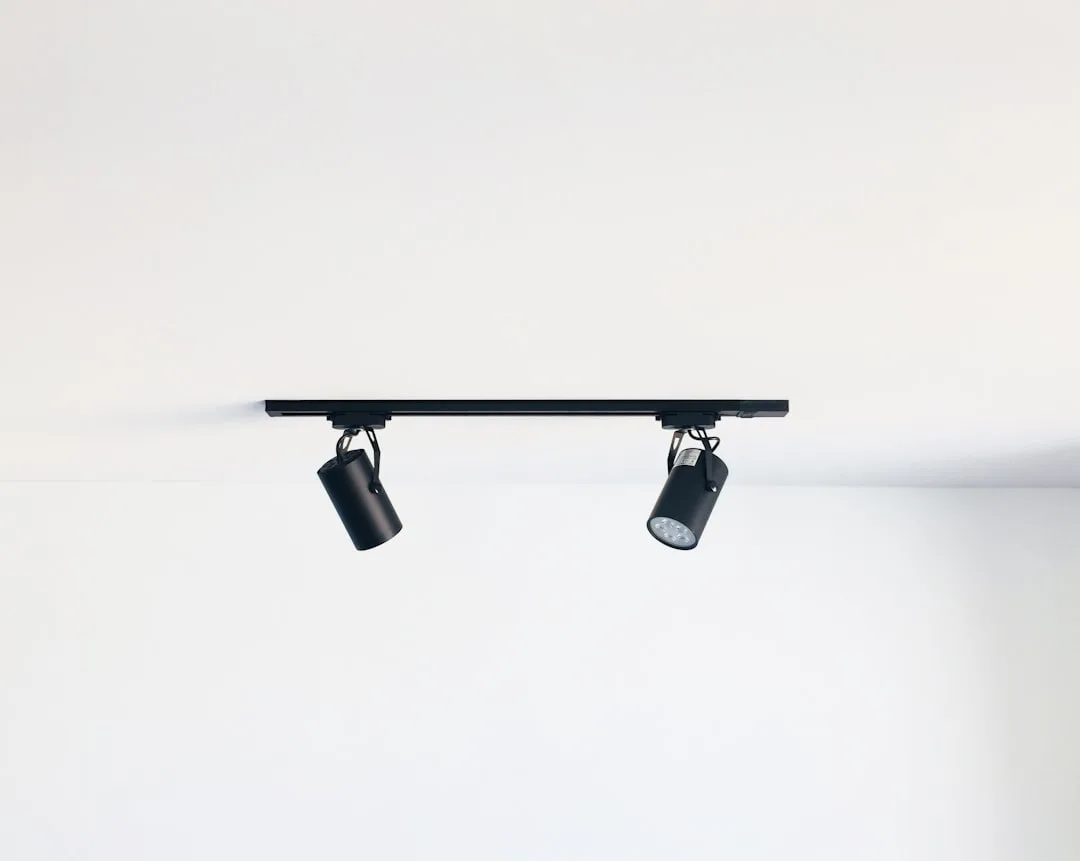
Picture Lights, Track Lighting, and Recessed Fixtures: Which One Actually Works for Your Wall

This is a decision most guides avoid making for you. They list the options and leave you to figure it out. Here’s the actual framework.
Picture lights are the right choice when:
- You’re renting and can’t modify the ceiling
- You’re in a historic home with plaster ceilings where drilling for recessed fixtures is genuinely problematic
- You’re lighting a single statement piece and rotating art infrequently
- The wall is on a floor where the ceiling above can’t be accessed for wiring
When you’re shopping for a picture light, arm length matters more than most buyers realize. The arm length should equal approximately one-third to one-half of the artwork’s width for even light distribution across the full surface. A 6-inch arm on a 48-inch canvas is going to create a bright center and dark edges — you need a 16–24-inch arm or a double-arm fixture for anything over 30 inches wide. Brands worth looking at: Possini Euro Design for budget-conscious buyers, House of Antique Hardware for traditional spaces, and Circa Lighting for higher-end hardwired options.
Adjustable recessed lighting — specifically gimbal or eyeball trim styles — is the gold standard for permanent installations in owned homes. Standard fixed recessed cans are a disaster for artwork. They throw light straight down, which is useless for wall art unless you’ve mounted your painting on the ceiling. A gimbal like the Elco Lighting ET508 or the Halo ML4 series allows up to 35 degrees of horizontal adjustment, so you can precisely direct the beam at the artwork rather than the baseboard.
Track and monorail systems win when you have a gallery wall, rotate art seasonally, or have an asymmetric arrangement that would require multiple separate circuits to handle with individual recessed fixtures. A single track run can serve 4–8 adjustable heads, each repositionable without any new wiring. WAC Lighting’s H-Track and Juno Lighting’s Trac-Master are both solid, widely available options with good bulb compatibility.
Actionable takeaway: Renters go with picture lights. Owners with a single art wall go with adjustable recessed gimbals. Collectors or anyone with a gallery wall should seriously consider track before committing to individual recessed fixtures.
Protecting Your Art While Lighting It: UV, Heat, and the Mistakes That Cause Damage
Here’s something most lighting guides skip entirely: the fixture you choose isn’t just an aesthetic decision. It’s a conservation decision.
Not all LEDs are UV-free. Standard LED packaging will often say “low UV” without specifying what that means quantitatively. What you’re looking for is LEDs with confirmed UV output below 75 microwatts per lumen — some manufacturers now print this on the packaging or provide spec sheets. For artwork you care about, it’s worth the extra step to confirm. Soraa LEDs and WAC Lighting’s museum-grade options are both verified low-UV products designed specifically for conservation-sensitive applications.
Heat proximity matters even with LEDs, which run significantly cooler than halogens. The rule of thumb: any fixture over 7 watts should maintain at least 12 inches of clearance from a canvas surface. Track heads and directional spots mounted inside a deep recess can accumulate heat that affects canvas tension over time, particularly in rooms that aren’t climate-controlled.
The Illuminating Engineering Society recommends keeping light levels below 50 lux for light-sensitive works on paper, textiles, and watercolors to minimize long-term photochemical degradation. Oil paintings on canvas are more resilient and can tolerate 150–200 lux without significant long-term risk. If you’re lighting a watercolor or works on paper collection, put a lux meter app on your phone (Lux Light Meter Pro works reasonably well as a rough guide) and actually check the surface level.
Glazed artwork — anything behind standard glass or acrylic — creates a separate problem because it introduces reflection before conservation even enters the conversation. Anti-reflective museum glass (Tru Vue Museum Glass or Denglas) virtually eliminates surface reflection and provides 99% UV filtering. For pieces you’re going to keep and light for years, the $80–$200 reframing cost for museum glass is the highest-ROI investment in this entire guide.
Actionable takeaway: If a piece matters to you, spend five minutes confirming your LED’s UV output spec and measure the lux at the canvas surface. Preservation isn’t complicated — it just requires paying attention to numbers most people ignore.
Budget Breakdown: What Good Artwork Lighting Actually Costs at Home
Honest numbers. No vague ranges. Here’s what you’re actually going to spend.
Entry tier: $30–$80 per piece
Plug-in picture lights with integrated LED strips or replaceable candelabra bases. You’re looking at options like the Meriville LED Picture Light (~$45 on Amazon) or the Leonlite LED Art Light (~$60). At this price point, specifically look for CRI 90+ and color temperatures in the 3000K range — both are available at entry pricing if you filter for them. Plug-in cord is a constraint, but in most rooms it’s manageable with a cord cover kit ($12–$18 from any hardware store).
Mid tier: $150–$400 per fixture
This is where hardwired picture lights and adjustable recessed gimbal retrofit kits live. A hardwired picture light from Possini Euro or Kichler runs $150–$220 installed with basic electrician time. A retrofit recessed gimbal kit — the Halo RL4 or equivalent, plus an electrician to cut, wire, and patch — runs $200–$350 per fixture depending on your market and ceiling access. Add a Lutron Caseta smart dimmer at $65 per switch for full dimming capability.
Full installation tier: $800–$2,500+
Electrician-installed track or recessed systems for dedicated art walls. A 6-head WAC Lighting track system with professional installation in a standard room runs $900–$1,400. A four-fixture recessed gimbal array with a dedicated dimmer-controlled circuit runs $800–$1,600 depending on panel access and ceiling construction. Installing a dedicated dimmer-controlled circuit for art lighting adds approximately $200–$500 to an electrical project, but the payoff is real: dimmers extend LED bulb lifespan by up to 20% when operated consistently below 80% output, reducing long-term bulb replacement costs across a multi-fixture installation.
Actionable takeaway: Start with plug-in picture lights if you’re testing a space or renting. Move to hardwired gimbals when you’ve confirmed a permanent art wall in an owned home. Don’t overbuy at the full installation tier until you know your art arrangement is stable.
Quick-Start Checklist: How to Light Artwork at Home This Weekend
Bookmark this. Use it before you buy anything.
Step 1: Audit your ambient light
- Turn off all overhead lights and note how the art looks with only natural light
- Identify every light source that competes with your intended art lighting — ceiling fixtures, floor lamps, TV glow, windows
- Determine the ambient lux level using a phone app (rough accuracy is fine for planning purposes)
Step 2: Measure everything
- Artwork width, height, and frame depth
- Distance from the artwork’s horizontal center to the nearest ceiling point directly above
- Wall material (drywall, plaster, brick) and ceiling height
- Note whether ceiling above is accessible for wiring if you’re considering recessed fixtures
Step 3: Select bulbs and fixtures by the numbers
- CRI 90+ minimum, CRI 95+ for paintings where color fidelity is critical
- Color temperature: 2700K–3000K for traditional/warm-medium art, 3500K–4000K for photography and contemporary work
- Beam angle: 15–25° for pieces under 20 inches wide, 40–60° for anything larger
- Confirm UV output spec for any piece on paper, textile, or watercolor medium
Step 4: Test the angle before committing
- Use a phone flashlight at the proposed fixture location
- Check for frame shadow, hot spots, and edge falloff
- For textured pieces, try 15–20° from horizontal before defaulting to steeper angles
Step 5: Install the dimmer before you call the job done
- Every art lighting circuit gets a dimmer — no exceptions
- Lutron Caseta or Leviton Decora Smart are both reliable, widely compatible options
- Dimmers extend LED bulb lifespan by up to 20% at consistent sub-80% operation
Step 6: Do a final lux check
- For oils and acrylics: 150–200 lux at the canvas surface is the target range
- For watercolors, works on paper, and textiles: stay below 50 lux per IES recommendations
- Adjust dimmer output to hit the right number — this is why the dimmer is non-negotiable
Frequently Asked Questions
What type of light bulb is best for lighting artwork at home?
The best bulb for lighting artwork isn’t defined by type — it’s defined by three specifications. You want a CRI of 90 or higher (95+ for paintings where color accuracy matters most), a color temperature matched to your art medium (2700K–3000K for warm-toned traditional art, 3500K–4000K for photography and contemporary pieces), and a beam angle sized to the artwork’s dimensions. Within those specs, LED is the right format because it runs cool, lasts longest, and is available in museum-grade UV-filtered versions. Look specifically at Soraa, WAC Lighting’s museum series, or any LED labeled “high CRI” with a verified spec sheet.
How far should a light fixture be from a painting on the wall?
For recessed ceiling fixtures at standard 8-foot ceiling height, the fixture should be mounted 24–36 inches from the wall horizontally to achieve an appropriate beam angle without throwing steep shadows from the frame. At 10-foot ceilings, move that out to 36–48 inches. For picture lights mounted directly on the frame or wall above, the arm length determines coverage — use an arm that’s one-third to one-half the width of the artwork. A picture light with a 6-inch arm on a 36-inch canvas will create a hot center and fade at the edges; you need a 12–18-inch arm for that size piece.
Can regular LED lights damage artwork over time?
Most standard LED bulbs produce very low UV output compared to halogens or incandescents, but “low UV” isn’t the same as “UV-free.” Packaging that says “low UV” without a quantified spec is not a guarantee of safety for sensitive works on paper, textiles, or watercolors. For pieces you want to preserve, look for LEDs with confirmed UV output below 75 microwatts per lumen — Soraa and WAC Lighting’s museum-grade products both publish this data. The other consideration is heat: even cool-running LEDs over 7 watts should maintain at least 12 inches of clearance from canvas surfaces. And regardless of your light source, direct sunlight is the most damaging thing your art can be exposed to — UV radiation from unfiltered windows can fade pigments within 3 to 5 years.
How do I light artwork without getting glare on glass or acrylic frames?
Glare on glazed artwork is an angle problem and a glass problem simultaneously. The angle fix: position your fixture so the beam hits the artwork at roughly 30 degrees from vertical (or adjust to eliminate the reflection you see at that specific viewing distance). The more permanent fix is the glass itself. Standard glass and standard acrylic both reflect aggressively under directional light. Anti-reflective museum glass — specifically Tru Vue Museum Glass or Denglas — reduces surface reflection by 98% or more, which means you can light the piece from almost any angle without a visible glare spot. It also provides 99% UV filtering, solving two problems at once. The reframing cost runs $80–$200 depending on piece size and framer, and it’s the single highest-impact upgrade available for glazed artwork.
The most practical thing you can do right now: pull up the specs on whatever bulbs are currently in your art-adjacent fixtures and check the CRI. If you can’t find a CRI number on the packaging or the manufacturer’s website, it’s almost certainly below 90. That one number change — from a generic 80 CRI bulb to a 95 CRI equivalent — will do more for how your artwork looks than any new fixture, any repositioning, or any amount of money spent on dimmers and track systems. Start there.