If you’ve been searching for open shelving kitchen storage ideas that actually work in real kitchens — not just styled ones — you’re in the right place. The average kitchen has 15 to 20 cabinet doors, and most homeowners open fewer than six of them on a daily basis, which means the rest is dead storage waiting to become open shelf real estate. That math alone should change how you think about your kitchen walls. But open shelving has a reputation problem, and honestly, it earned that reputation — not because the idea is flawed, but because most people install it the wrong way and spend the next two years resenting it.
Quick Answer
The average kitchen has 15 to 20 cabinet doors — and most homeowners open fewer than six of them on a daily basis, which means the rest is dead storage waiting to become open shelf real estate.
This is not a photo gallery. It’s a system.
Why Open Shelving Fails Most Kitchens (And What Goes Wrong First)
In This Article
- Why Open Shelving Fails Most Kitchens (And What Goes Wrong First)
- The Zone Method: Organizing Open Shelves Like a Professional Organizer
- Choosing the Right Shelf Material for Your Storage Needs (Not Just Your Aesthetic)
- The Items That Actually Belong on Open Shelves (And the Ones That Don’t)
- How to Maintain Open Shelves Without Spending Your Life Cleaning Them
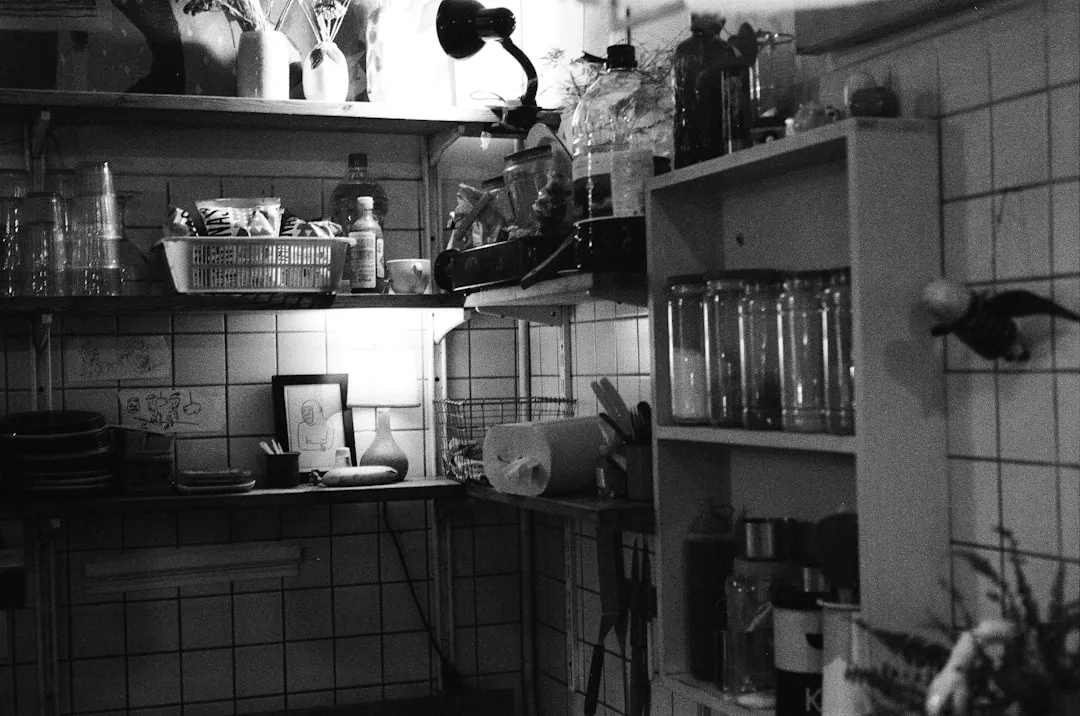
Here’s what I watched happen in apartment after apartment during my years doing residential work in Chicago: someone rips out an upper cabinet, mounts two floating shelves, stacks their everyday dishes on them, and within three weeks the whole thing looks like a yard sale. They blame the trend. But clutter on open shelves is almost never an aesthetic problem — it’s a placement problem, and it starts before anyone picks up a drill.
The single biggest error is treating open shelves as a direct replacement for closed cabinet storage. They’re not. A cabinet tolerates chaos because it hides it. An open shelf amplifies whatever you put on it, which means the organizational logic you never needed with doors suddenly becomes non-negotiable. Most people install shelves without any distinction between what they’re displaying and what they’re actually using every day — and those two categories require completely different placement logic.
Depth and height miscalculations make everything worse. I’ve seen 14-inch-deep shelves installed in a galley kitchen so narrow that pulling a plate off the shelf required turning sideways. Standard upper cabinets run 12 inches deep for a reason. Open shelves can go shallower — 8 to 10 inches is often enough for dishware stacks and glassware — and going shallower actually makes the shelves easier to manage visually because items don’t hide behind each other.
The regret data is real. Open shelving consistently ranks among the top three most-regretted kitchen decisions when installed without a storage plan — not because people hate the look in theory, but because the day-to-day reality without a system is exhausting.
Three things go wrong first, almost every time:
- No decision made about what lives on shelves permanently vs. temporarily
- Brackets and heights chosen for looks, not for the actual items being stored
- No plan for what happens to the displaced cabinet contents
There’s a fourth failure that doesn’t get talked about enough: ignoring wall structure. People locate shelves based on where they want them visually, then discover mid-installation that they’re between studs with nothing solid to anchor into. A shelf that looks fine when empty will pull away from the wall the moment you load it with cast iron or a full set of dishes. Always locate studs first. If your shelf placement doesn’t land on studs, use toggle bolts rated for the load you’re planning — but know that toggle bolts in drywall have a ceiling, and for heavy kitchen storage, hitting a stud isn’t optional, it’s structural.
Takeaway: Before mounting a single bracket, write down the 10–12 items you reach for every single day. That list is the only thing that belongs at eye level. Everything else needs a different plan.
The Zone Method: Organizing Open Shelves Like a Professional Organizer
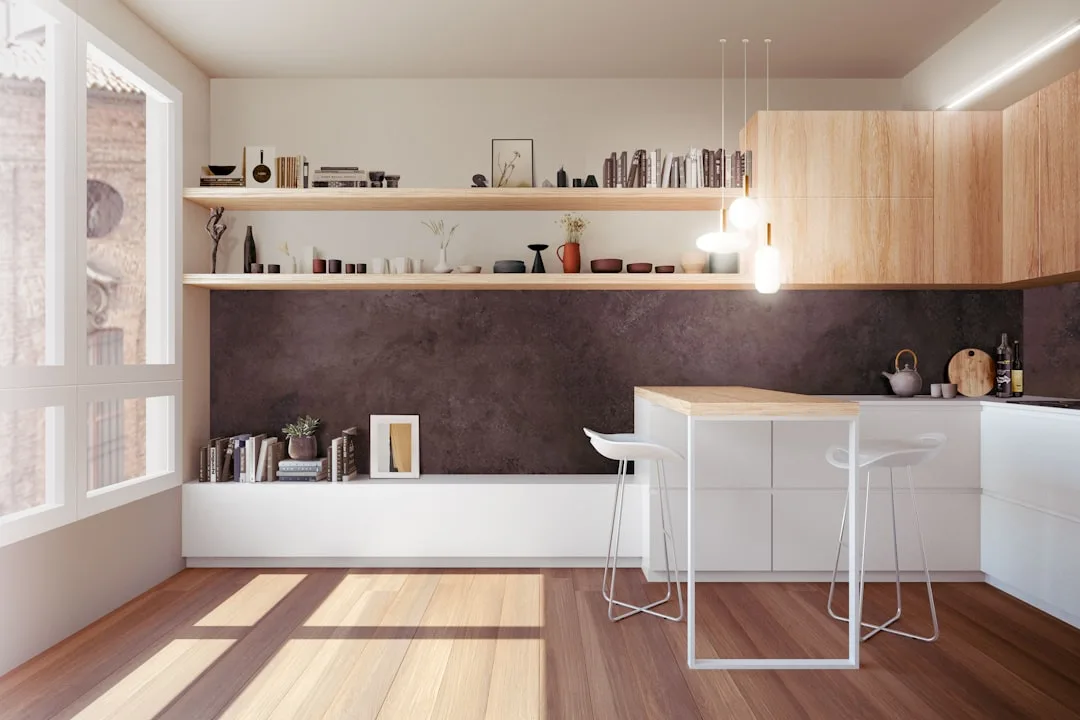
Divide your open shelving into three zones, and stop treating every shelf as interchangeable. This one reframe makes the difference between a functional open kitchen and a photogenic disaster.
Zone one is your everyday access zone — counter height to about 6 inches above eye level. This is prime real estate, and it should hold the 10 to 12 items you reach for more than three times a week: your daily mugs, the one skillet you use every morning, the olive oil, the salt cellar. Professional kitchen organizers call this the “reach zone,” and the principle is simple — anything that interrupts your cooking flow because you have to dig for it doesn’t belong here. It belongs somewhere else entirely.
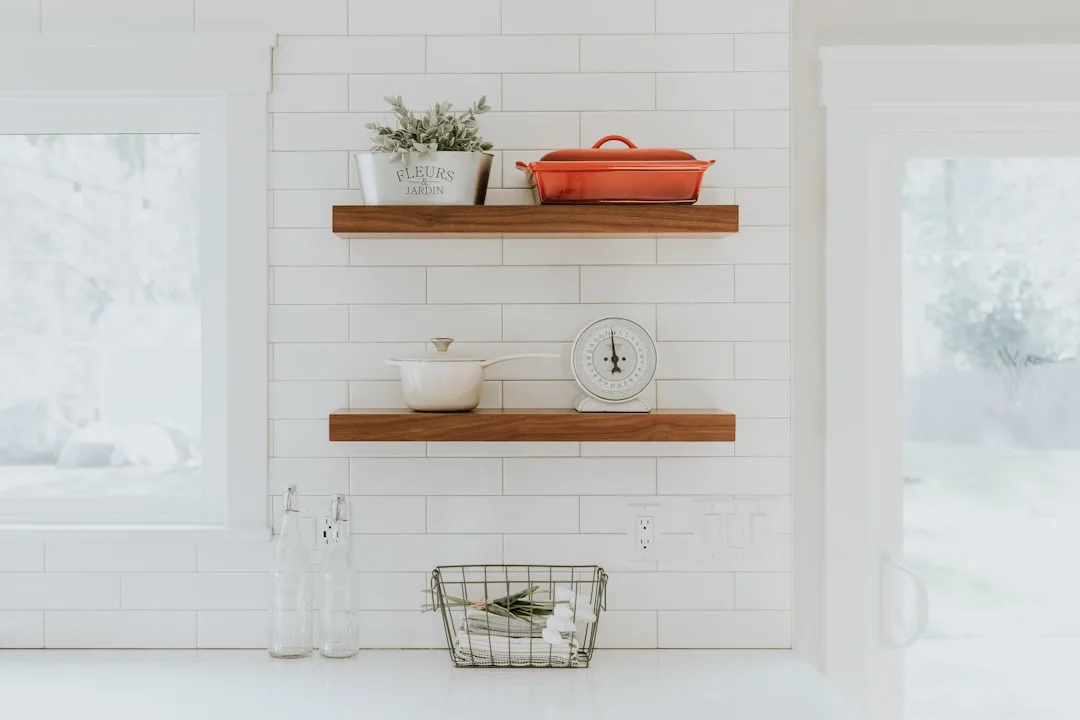
What belongs in zone one is also worth thinking about in terms of container logic. Loose items — a collection of mismatched spice jars, a tangle of utensils, a pile of folded dish towels — create visual noise even when they’re technically organized. Contain them. A small ceramic crock for wooden spoons, a tray that corrals the oils and vinegars, a matching set of spice vessels — these aren’t decorating choices, they’re functional grouping tools that make zone one actually scannable when you’re mid-recipe and need something fast. Open shelving kitchen storage ideas that work at the detail level almost always involve some form of containment within each zone.
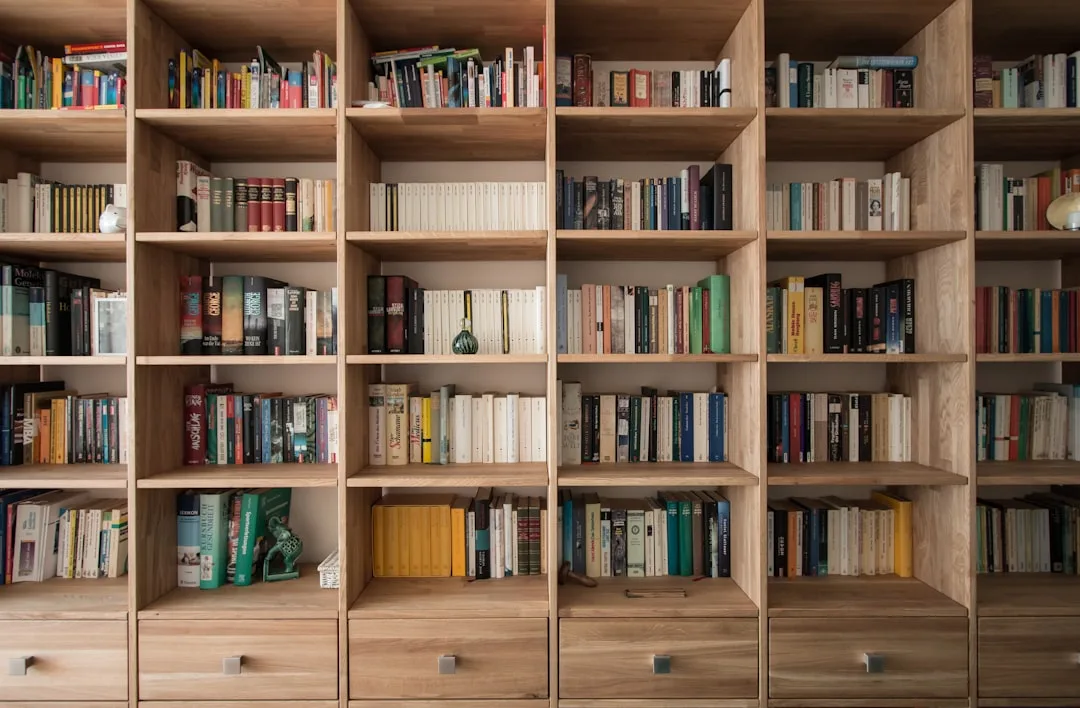
Zone two is your display zone. Upper shelves — anything you need a step stool to reach — are not practical storage. Stop pretending they are. They’re visual space, and they should be treated like a shelf in a carefully edited shop: a few objects that are genuinely nice to look at, arranged with actual breathing room between them. Cookbooks with attractive spines work here. A small collection of matching ceramic pieces works here. A random stack of mixing bowls you use twice a year does not.
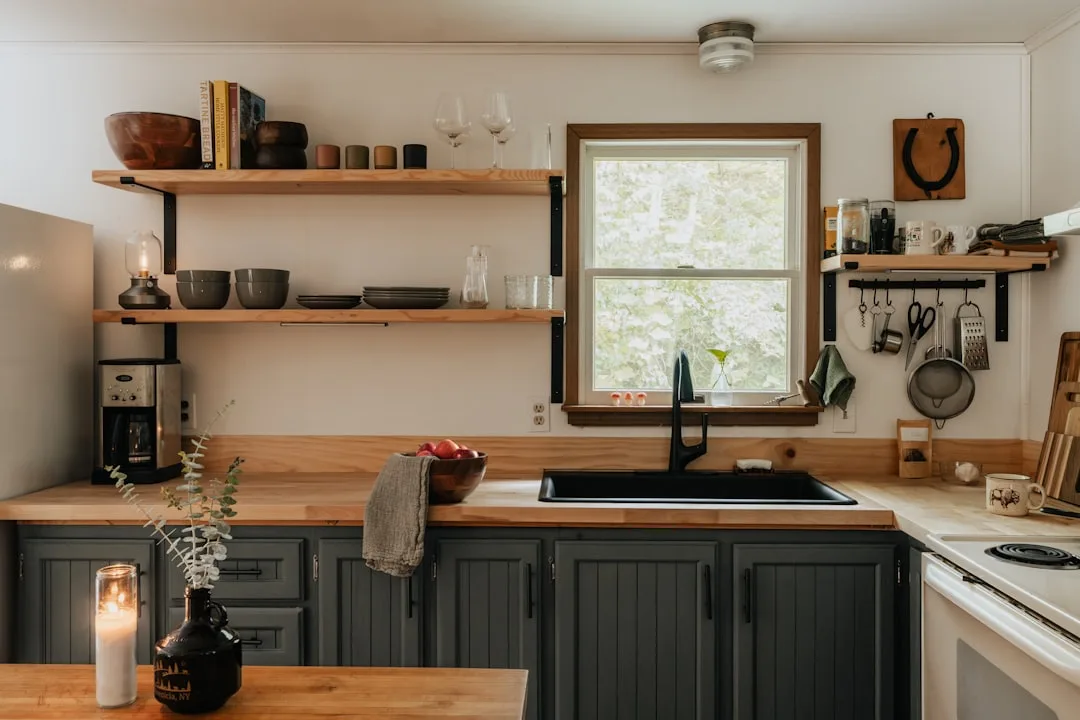
The display zone is also where lighting does real work. Under-shelf LED strips or puck lights aimed at zone two shelves make a kitchen look intentional rather than chaotic — and they do double duty at night when overhead lighting casts shadows on your workspace. If you’re planning open shelving in a kitchen renovation, rough in the electrical for shelf lighting before drywall goes up. Retrofitting it later is significantly more complicated.
Zone three absorbs the utilitarian load. Lower shelves — below counter height, if you have them — can handle bulk, weight, and the items you access less frequently: cast iron, stockpots, large serving dishes. These items are heavy and don’t benefit from visual display anyway. Stashing them low keeps the visual weight of your kitchen grounded rather than top-heavy.
The logic compounds. A kitchen organized by zone is one where you stop reaching past what you don’t need to get to what you do.
Here’s how to apply this immediately:
- Empty every existing shelf or cabinet you’re converting
- Sort items into three piles: daily, occasional, rarely touched
- Map those piles to zones before a single item goes back up
- Anything in the “rarely touched” pile that doesn’t deserve display space belongs in a cabinet, a pantry, or a donation box
Takeaway: If you can’t name the 10–12 items that belong in your reach zone before you start, you’re not ready to install open shelves yet.
Choosing the Right Shelf Material for Your Storage Needs (Not Just Your Aesthetic)
Most content about open shelf materials stops at “wood feels warm, metal feels industrial.” That’s useless if your kitchen runs humid, your shelves are going next to a steam-producing range, or you need to store cast iron without worrying about sag. Material choice is a structural and maintenance decision first, an aesthetic one second.
Solid wood — oak, walnut, pine — is genuinely excellent for heavy dishware, and it’s my default recommendation for most residential kitchens. The catch is humidity. A kitchen that runs steamy regularly — say, a household that boils pasta daily, or a poorly ventilated space — will cause unsealed wood to warp within a year. Seal it properly before installation, and reseal it annually if you’re near a steam source. A standard 36-inch open wood shelf should support between 30 and 50 pounds depending on bracket spacing — exceeding that load is the leading cause of shelf sag in the first year of installation.
Bracket spacing matters more than most people realize. For solid wood shelves in the 1.5-inch thickness range, span no more than 24 inches between supports for heavy loads — dishware, cast iron, stacked ceramics. Go to 32 inches maximum for lighter loads like glassware and spice collections. Beyond 36 inches without a center bracket, you’re asking for sag regardless of wood species. Walnut is denser than pine, but physics doesn’t care about your aesthetic preference.
Powder-coated steel and iron bracket systems handle significant weight — up to 50 lbs per shelf in many configurations — and they’re essentially immune to humidity. The tradeoff is that bare metal near food prep areas can feel cold and unforgiving, both physically and visually. Pair steel shelving with warmer elements elsewhere in the kitchen to offset this. A reclaimed wood shelf surface on steel brackets is one of the more practical combinations for a working kitchen — you get the load capacity of metal support with the visual warmth of wood.
Butcher block deserves mention here because it gets overlooked in open shelving conversations. Edge-grain butcher block shelves are dense, visually rich, and handle weight well. They’re also the most forgiving material when it comes to surface dings and wear — a light sand and re-oil restores them. The maintenance commitment is higher than sealed hardwood, but in a kitchen where oiling a cutting board is already part of the routine, it’s not a meaningful additional burden.
Laminate and MDF floating shelves are budget-friendly and look clean in contemporary kitchens, but they have real limits. These materials are best reserved for lighter loads: spice collections, glassware, small jars, cookbooks. Don’t use MDF floating shelves for heavy ceramics or cast iron — the internal dowel systems and hollow cores aren’t engineered for that weight, and failure usually isn’t gradual. It’s sudden, and it takes whatever was on the shelf with it.
One more material consideration that belongs in any honest guide to open shelving kitchen storage ideas: glass. Tempered glass shelves look architectural and read as almost invisible, which makes them useful in small kitchens where solid shelves would feel heavy. They’re also genuinely easy to clean — a quick wipe and they’re done. The limitations are real though: glass shelves are not suitable for cast iron, heavy ceramics, or anything with significant point-load weight. Keep them for glassware, bottles, and light display items, and make sure any glass shelf you install is rated tempered, not just standard glass.
The Items That Actually Belong on Open Shelves (And the Ones That Don’t)
This is the conversation that should happen before anyone looks at bracket styles or wood species, but it almost never does. Open shelving kitchen storage ideas only pay off when the right things are living on those shelves. The wrong items — even beautifully arranged — turn an open kitchen into a maintenance problem within weeks.
Put these on open shelves:
Everyday dishware that gets washed and replaced frequently. Plates, bowls, and mugs that are in constant rotation stay clean on open shelves because they don’t sit long enough to accumulate grease and dust. A stack of dinner plates used nightly is essentially self-cleaning through use. A set of “good china” used three times a year is not.
Glassware with consistent shapes. A set of matching wine glasses or everyday tumblers looks intentional on an open shelf because the repetition reads as order. Mismatched glassware — six different styles inherited from six different places — amplifies visual chaos. Either commit to matching sets or keep the mismatched collection behind closed doors.
Cooking oils, vinegars, and frequently used condiments. Anything you reach for multiple times during a cooking session benefits from being at eye level and immediately accessible. The visual presence of olive oil and a few vinegar bottles on a shelf also reads as “someone actually cooks here,” which is a legitimate design signal if that matters to you.
Cookbooks you actually use. Not your full collection — the three or four you open regularly. The ones with cracked spines and bookmarked pages. Those belong at reach level. The aspirational ones you haven’t opened in two years belong somewhere else.
Keep these off open shelves:
Anything in mismatched packaging. Pantry staples — flour, sugar, pasta, rice — look fine in a pantry cabinet and look chaotic in their original bags and boxes on an open shelf. If you want dry goods on open shelves, they need to be decanted into matching containers first. This is not optional if you care about how the shelf looks in three months rather than three days after installation.
Appliances you use infrequently. The immersion blender, the stand mixer attachment set, the waffle iron pulled out four times a year — these belong in a cabinet or appliance garage. Open shelves are not garages.
Cleaning supplies and anything that belongs under a sink. This sounds obvious but turns up more often than you’d expect when people run out of under-sink space during a kitchen conversion.
Emotional clutter. The random mug from a race you ran five years ago, the novelty salt shaker, the thing you kept because you might use it someday — these accumulate on open shelves at a rate that will surprise you. The open shelf has no door to hide the accumulation, which means the editing process that most people do annually in a cabinet needs to happen every few months on an open shelf.
How to Maintain Open Shelves Without Spending Your Life Cleaning Them
The number one practical objection to open shelving is dust and grease, and it’s legitimate. Kitchen air carries particulate — cooking grease, steam, flour, spice dust — and open shelves collect all of it. The difference between a manageable open kitchen and an exhausting one comes down to a few specific decisions made at the planning stage.
Placement relative to your range matters enormously. Shelves directly above or beside a range without a high-quality range hood above them will accumulate grease film within weeks regardless of how often you wipe them down. If your open shelving plans include the wall directly adjacent to your cooking surface, invest in the hood first. A range hood that actually captures and exhausts rather than recirculates is the difference between wiping your shelves monthly and wiping them weekly.
Surface finish determines cleaning effort. Raw wood is porous and absorbs grease. Sealed wood, painted wood, and lacquered surfaces wipe clean with a damp cloth. If you’re installing wood shelves in a kitchen that sees real daily cooking, a satin or semi-gloss sealer isn’t about aesthetics — it’s about not spending twenty minutes trying to get cooking residue out of grain. The same logic applies to the wall surface behind open shelves: tile or semi-gloss paint behind the shelf area makes cleanup infinitely easier than flat paint or unsealed plaster.
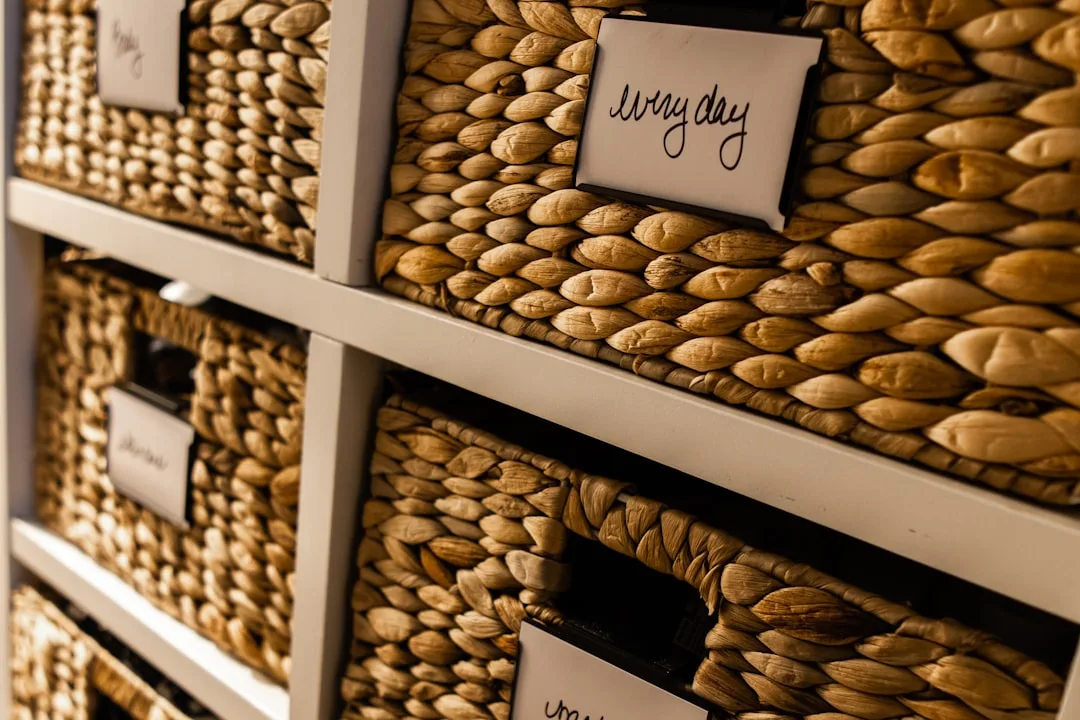
Reduce the number of items with complex surfaces. Wicker baskets, rough-textured ceramics, intricately carved wooden objects — all of these trap kitchen particulate in a way that smooth surfaces don’t. This doesn’t mean everything on your shelves needs to be glazed ceramic or stainless steel. It means the tradeoff is real, and you should account for it.
Build a two-minute weekly routine. The kitchens with open shelves that look good consistently are maintained by people who do a fast wipe-down of shelf surfaces and items during an existing kitchen routine — usually while the coffee brews, or while something is in the oven. The mistake is letting it accumulate and then facing a thirty-minute cleaning session that makes the whole system feel like too much work. Two minutes weekly beats thirty minutes monthly for maintaining both the appearance and your willingness to keep the system going.
Frequently Asked Questions About Open Shelving Kitchen Storage
Is open shelving actually practical for a family kitchen, or is it only for people who cook infrequently?
Open shelving works in high-traffic family kitchens — but it requires a higher commitment to system maintenance than a closed cabinet kitchen does. The families who make it work successfully tend to have two things in common: a clear rule about what lives where, and a realistic number of items on the shelves. A family of four that owns four sets of everything — four mugs, four everyday plates, four bowls — has a much easier time maintaining open shelves than a household with twelve mugs from various sources living in a pile. Reduce the volume, clarify the system, and open shelving becomes genuinely practical for daily family use.
How do I handle the items I’m removing from cabinets when I switch to open shelves?
This is the question most guides skip, and it’s the one that determines whether the transition succeeds. Before removing a single cabinet, audit what’s actually in it. Most kitchen cabinets contain a mix of daily-use items, occasionally-used items, and things that haven’t been touched in over a year. The daily-use items go onto the open shelves in the reach zone. The occasionally-used items need a designated home elsewhere — a lower cabinet, a pantry, a dedicated drawer. The untouched items should leave the kitchen entirely. If you try to relocate all cabinet contents onto open shelves, you’ll run out of shelf space and the whole system collapses. The transition only works with a simultaneous reduction.
What’s the best way to add open shelving kitchen storage ideas to a rental apartment without damaging walls?
Freestanding shelving units are the most damage-free option — a tall open shelving unit placed against a kitchen wall adds significant storage without touching drywall. For wall-mounted shelves in a rental, Command strips are not rated for kitchen loads. The better approach is to locate studs, use proper anchors, install the shelves, and patch and repaint the holes when you leave — which in most cases costs less than a single month of lost security deposit. Some landlords will allow permanent installation if you ask upfront and agree to restore on exit. Always get that agreement in writing.
How many open shelves is too many for a small kitchen?
The constraint in a small kitchen isn’t the number of shelves — it’s the visual density of what’s on them. A small kitchen with three shelves each holding twelve items will feel more chaotic than a small kitchen with five shelves each holding six items. The ceiling for open shelving in a small space is determined by your ability to maintain visual breathing room on each shelf, not by a specific number. As a practical starting point: install one shelf fewer than you think you need, live with it for a month, and add the second one only if you’ve identified specific items that genuinely need that space.
Do open shelves require more expensive dishes and cookware to look good?
No — but they do require consistency. Matching sets of inexpensive dishware look significantly better on open shelves than a mismatched collection of higher-quality individual pieces. The visual logic of open shelving rewards repetition and order, not price point. A uniform set of white ceramic mugs from a restaurant supply store reads as intentional and clean. Six different mugs — each individually nicer — reads as random accumulation. If replacing mismatched items with a consistent set isn’t in the budget right now, keep the mismatched items behind closed doors and put the shelf space to work with items that already have visual coherence.