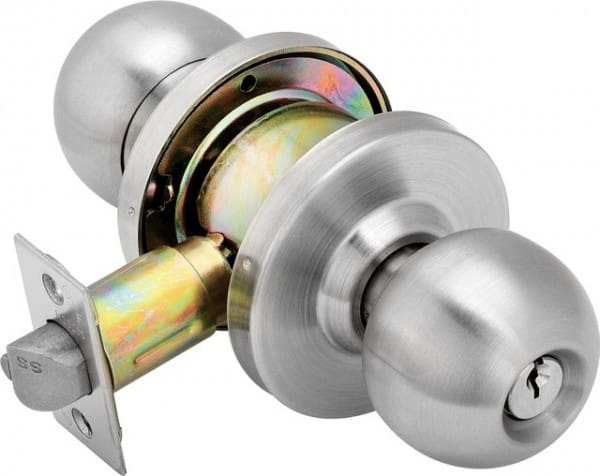
Installing a deadlock is a task that many people feel ill equipped for. But it’s actually not as difficult as you’d think. It’s all about measuring, care and patience.
We created the Six Easy Tips to Installing a Deadlock so that any home handy person can achieve this common household job.
Tip 1: Buy a good quality lockset
Sounds obvious doesn’t it! But you’d be surprised how many people make a decision based on price alone. It is worth paying a few extra dollars for a good quality lockset made by a reputable brand. You should find a diagram inside the packaging that will be important when marking up positioning and drill holes on your door.
Tip 2: Sharpen your pencil
Again – maybe not quite what you expected. But as we said, this job is all about measurement, care and patience.
Take your pencil, and a ruler and measure a line 200 mm above the door handle where you are installing the deadlock. Then use the pencil and ruler to mark a horizontal line to the edge of the door, across the edge and around the other side.
Now’s the time to get that diagram out! Put it up against the door, and make little fots with your pencil through the holes in the diagram for where you will drill your holes.
Tip 3: Get a 54 mm hole saw and a drill with a 24 mm spade bit
It’s important to drill from both sides. If you start on one side and try to drill a 54 mm hole all the way through, it is quite likely that your door will split. The drill and 24 mm spade bit is for the side edge of the door. Drill through to create the hole where the bolt will go.
.Tip 4: Mark up the face plate, chisel the wood out and fit it flush
Put the face plate up to the door and mark its position with your sharp pencil. Once you have that shape outlined you will use the chisel to dig out a recess where the face plate will sit. Start at the edge of the rectangle and work your way in. Pause now and then to test the face plate. You want it to sit perfectly flush in the door. Once you’ve got it right, then secure the face plate by drilling in the screws.
Tip 5: Secure the lock body with the screws on the inside
The lock body is now ready to be screwed into place. The side with all the screws should be on the inside of the door.
Tip 6: You’re nearly done! Now for the face plate
The face plate goes on the door jamb. Get the position right by measuring from the back of the door to the external face of the bolt. Line up the vertical position using the centre of the installed lock body to guide you. Then use your sharp pencil to mark this positioning on the door jamb, and use the strike plate itself to mark up its exact position – again using your pencil.
Go through the same chiselling process as you did for the face plate, including making sure it sits perfectly flush in the door jamb. You use the drill and 25 mm spade bit to drill the hole for the bolt and, after marking up the inner rectangle of the strike plate, again, chisel this out and square it off. Secure the strike plate manually with a screwdriver so you do a little bit at a time (top then bottom then top then bottom etc) so it is secure and flush.
The deadlock is now installed and all you have to do is test it to make sure everything fits and turns the way it should.
There you have it! Six Easy Tips for Installing a Deadlock
Author Bio:
Sara works as a content strategist at Five Star Locksmiths (Melbourne). Five Star Locksmiths provides 24-hour locksmith services in Melbourne’s CBD and its suburbs.


Leave a Comment