Whenever the seasons start to change and the temperatures rise or fall, it’s time to do some maintenance on your air conditioning unit. Regular maintenance will ensure that your air conditioner continues to work properly even when it’s working its hardest. One of the easiest ways of keeping the unit in check is by changing the filters every three months – here’s a step by step guide to changing the filters.
Before you attempt any work on your air conditioning unit, make sure you check the user manual for your specific model, so you know which kind of filters you need to buy. There are several shapes and sizes of filters available so choosing the correct one for your particular model is important.
Step One
Before you start any work, turn off the air conditioning unit before carrying out the maintenance as you don’t want it to start while you’re taking off the panels or changing the filter.
Step Two
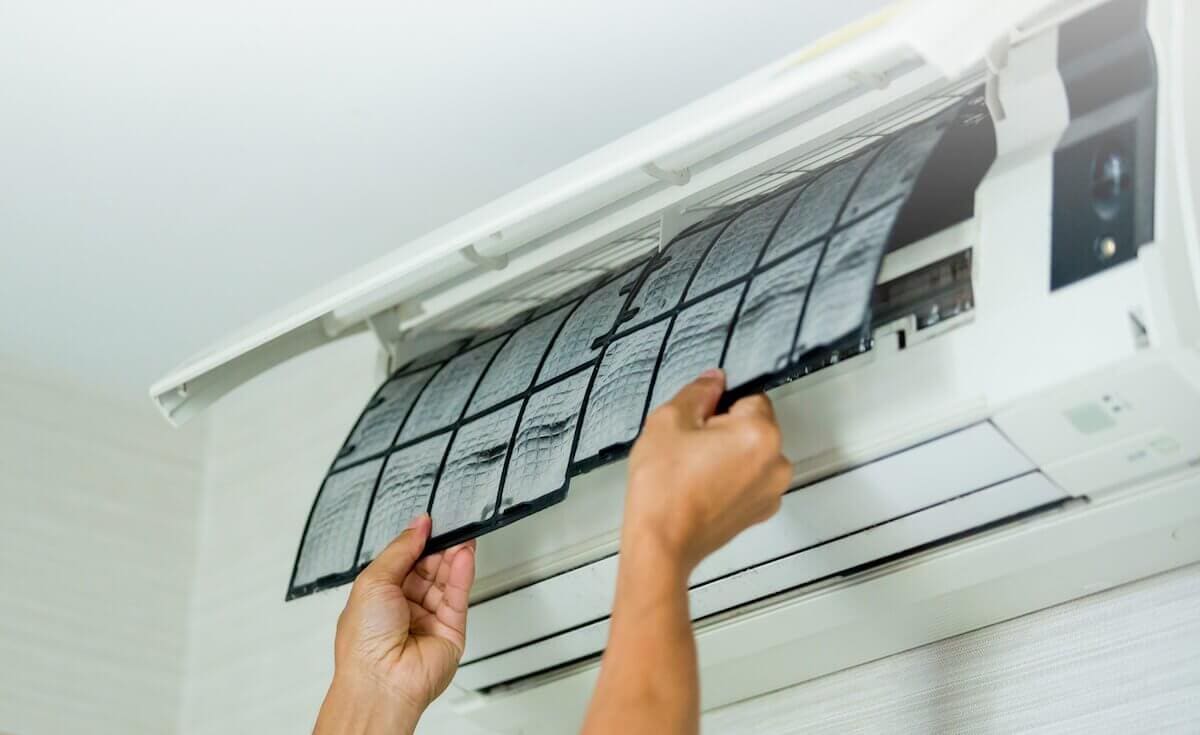
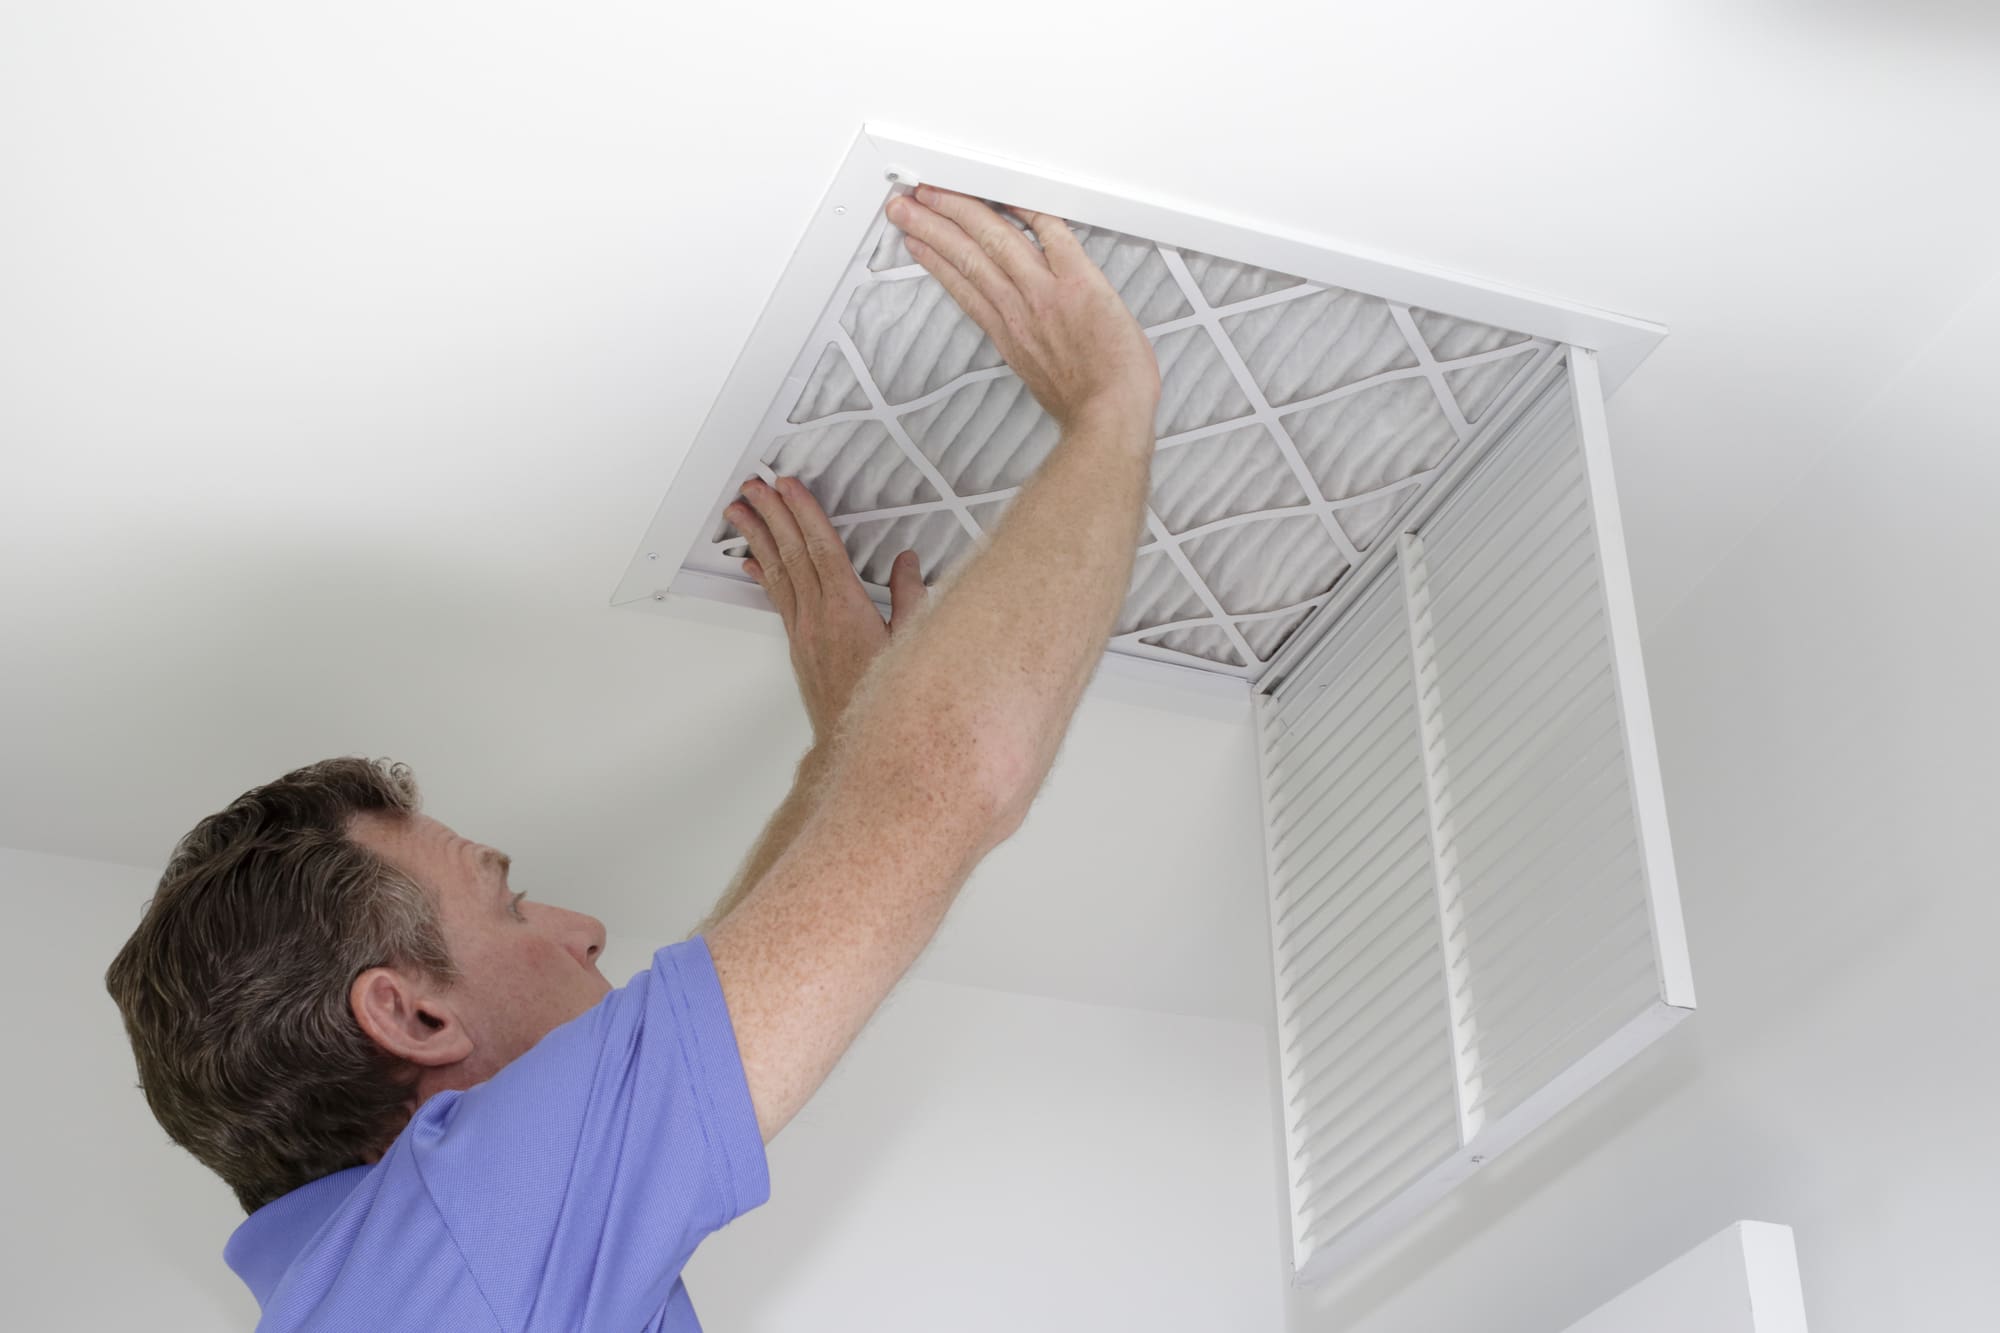
Check where the filter is by looking at the ductwork – you’ll be able to see the ductwork coming into the internal unit, which brings the air in, and then coming out of the unit where the air is blown out into your home. The filter should be situated between the ductwork, although some systems have small panels which lift off to reveal the filter.
Step Three
Once you’ve identified where the filter is, look to see what kind it has installed – most filters have the dimensions on the side to ensure the ones you purchase are the right fit. Purchasing a filter that’s too large or small can result in gaps which will let dirt and particles of dust or debris through, which can cause your air conditioning system to burn out, so make sure that if you have a 30x30x1 air filter, that you make sure you buy a new one that is also 30x30x1 inches.
Step Four
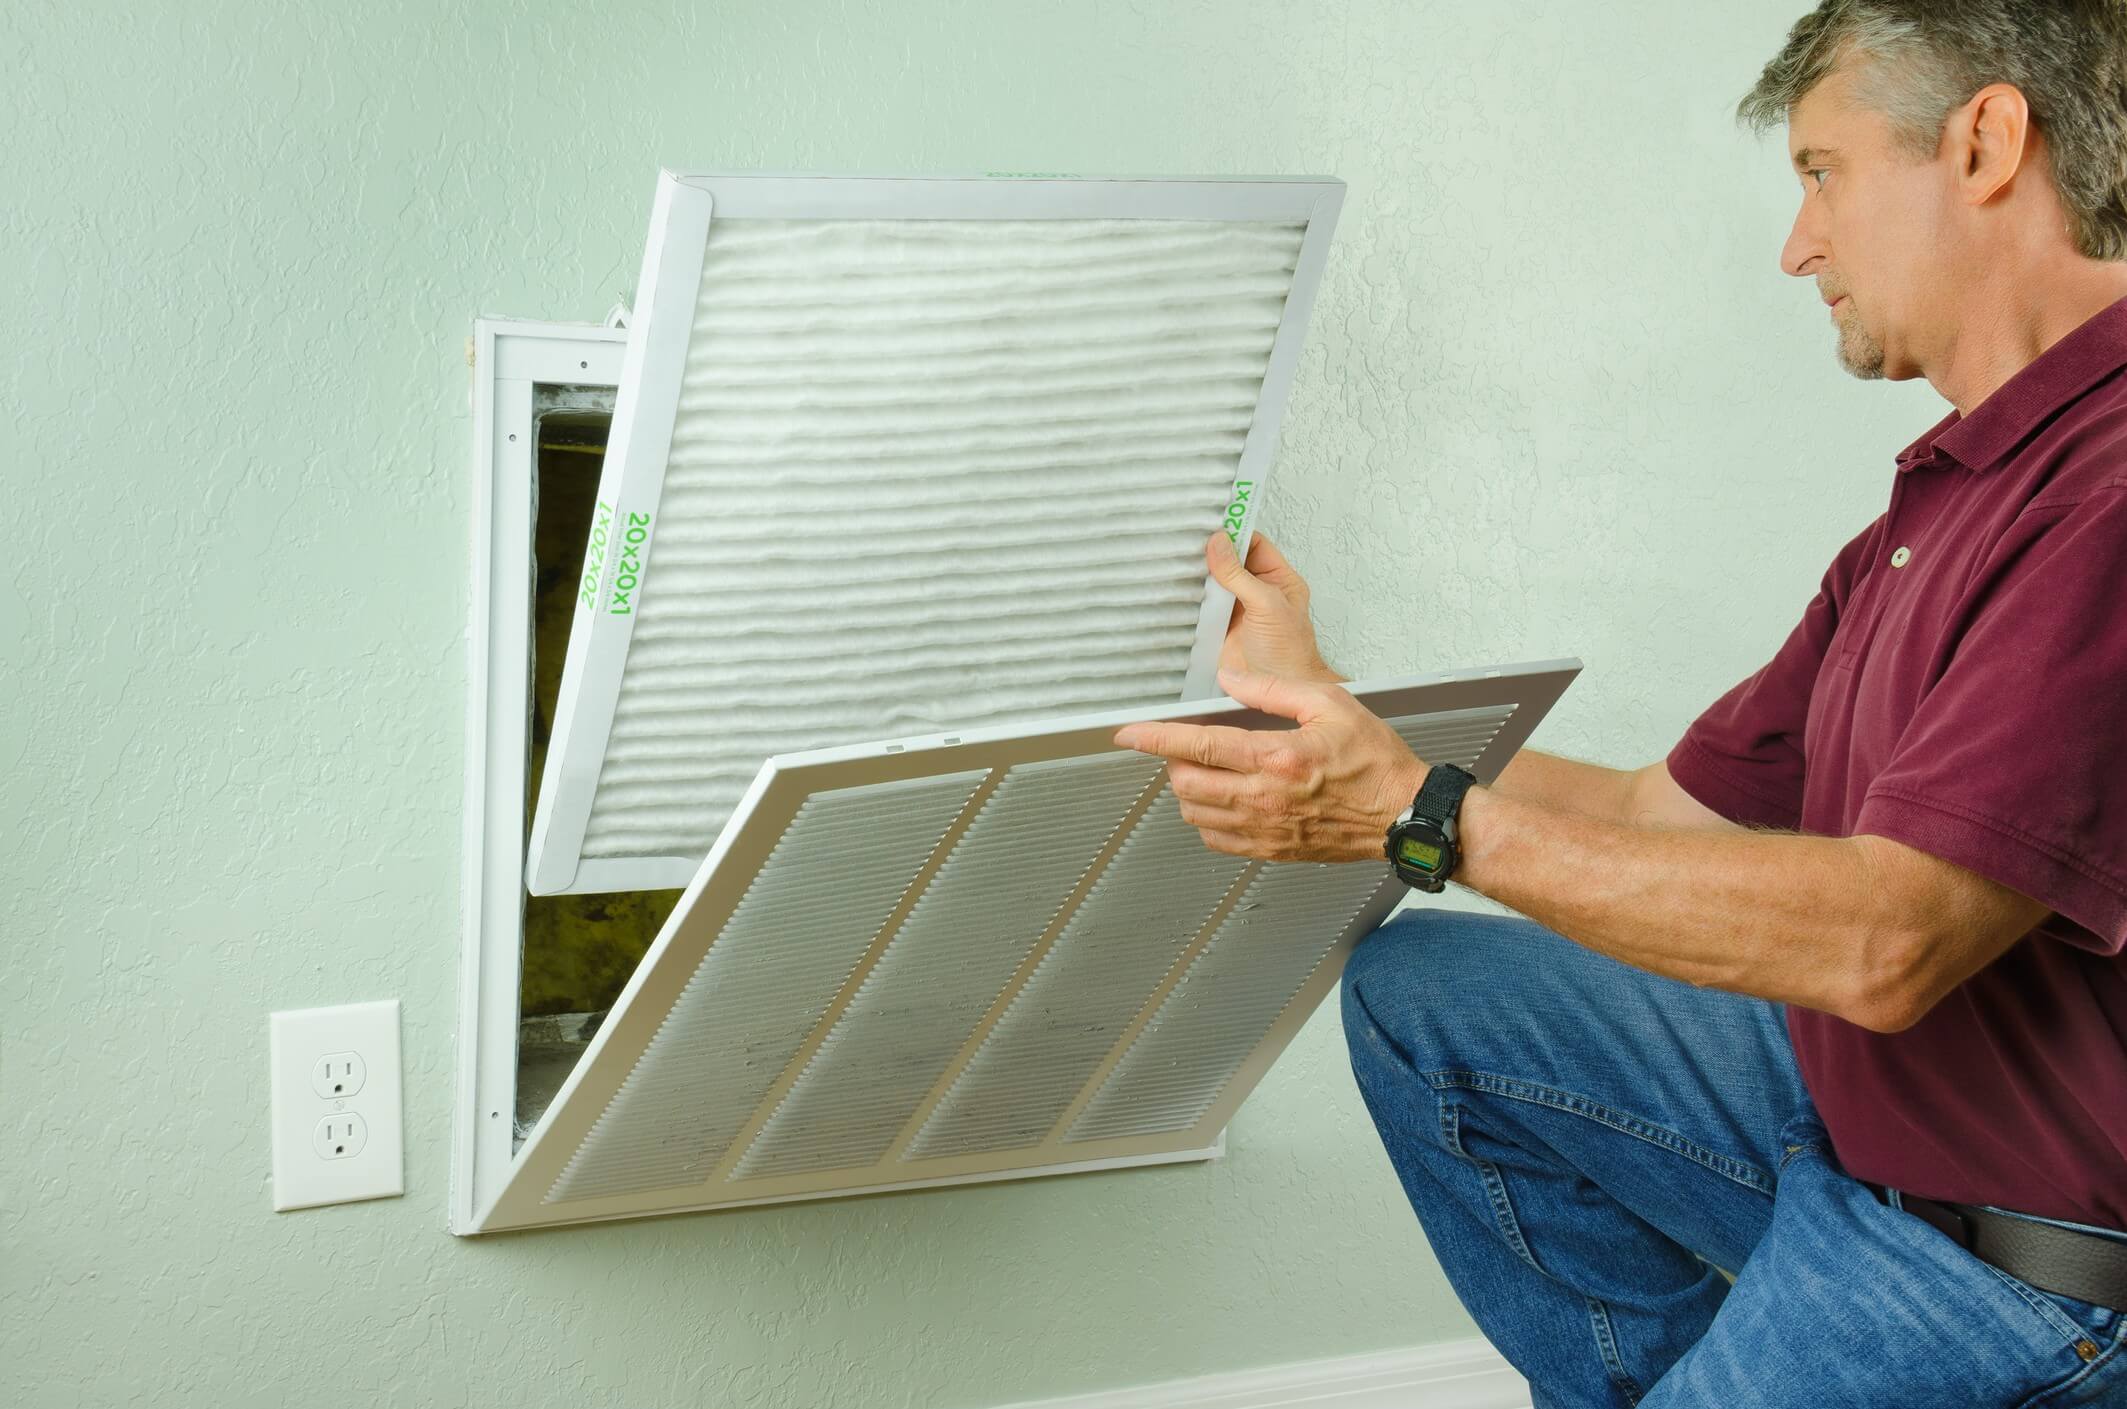
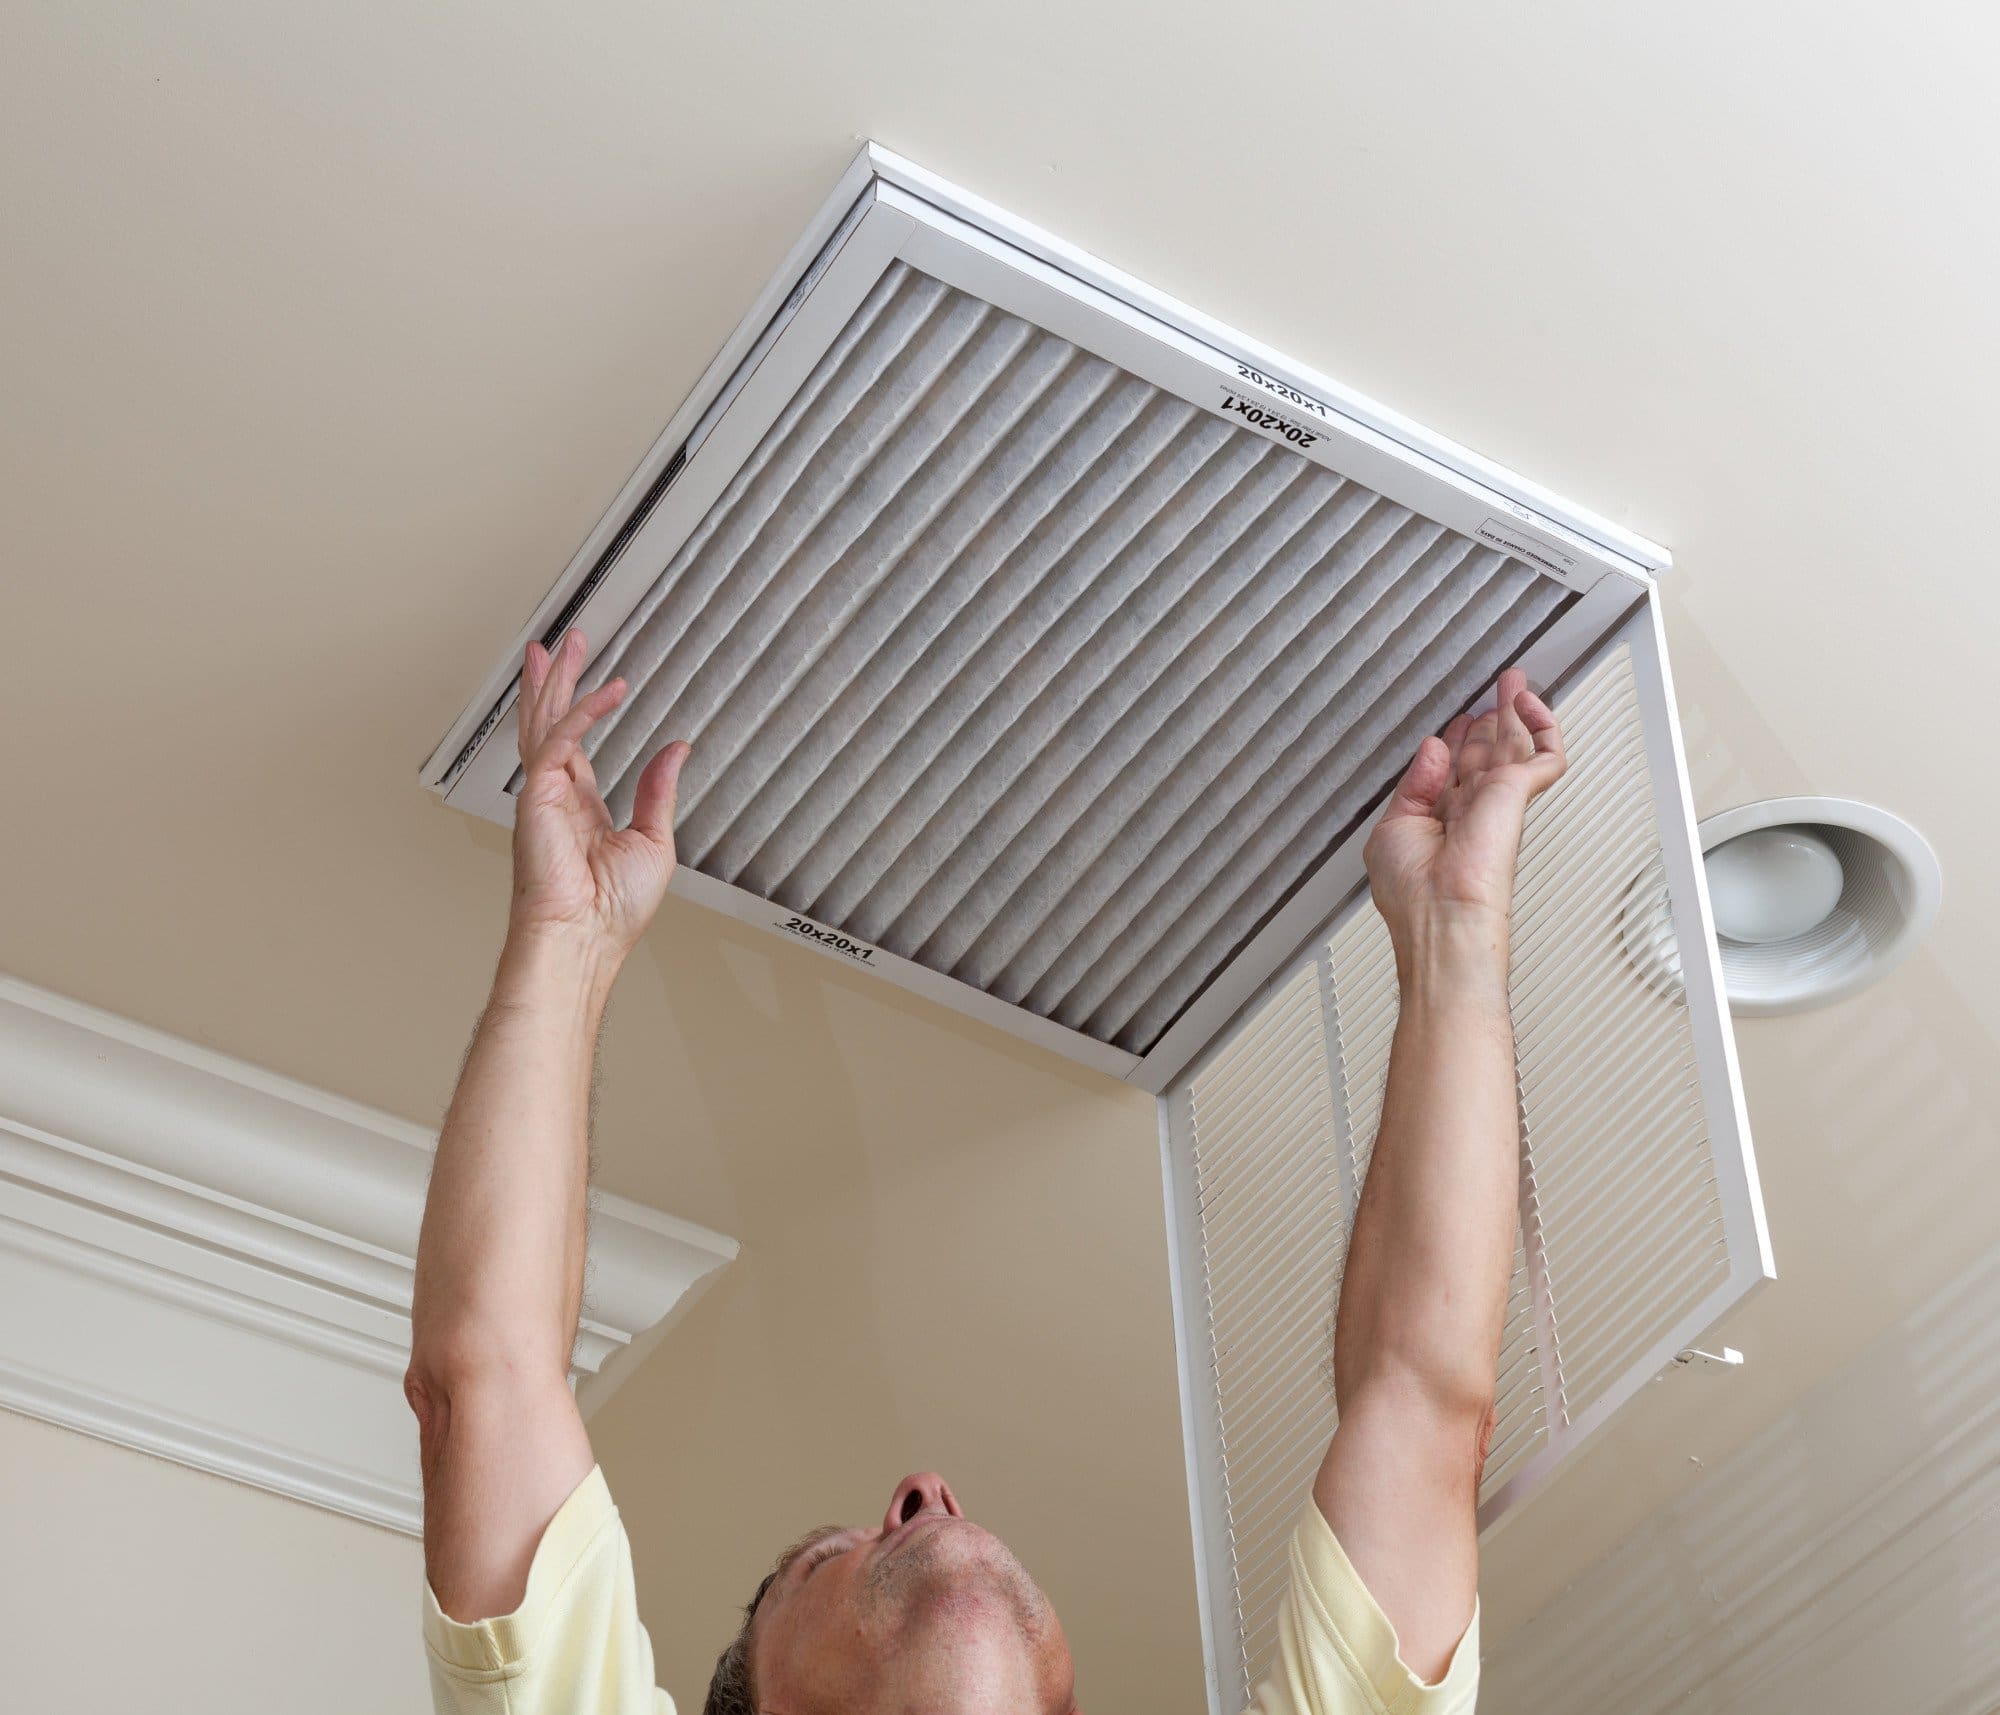
Remove the old filter and put the new one in, paying close attention to the arrows on the sides of the filter. These point in the direction where the air is flowing. If the ductwork which brings air into the unit is on the right, ensure the arrow on the filter also points right. You can then return the panel and switch the unit back on to check it’s working correctly.
Alternatively, if you open the panels and find that the filter is washable, then you don’t need to replace it but rather you can take it out to clean it and then replace the filter you have. Washable filters are more vulnerable to error in terms of installing them so it may be more convenient to replace them with regular filters if you’d rather not deal with cleaning them. However, these types of filter are easy to clean just by washing them outside using a hose or putting them in the shower to spray clean with the shower head. Make sure you spray in the opposite direction of where the air enters the system to remove the particles instead of pushing them further into the filter.