If you are planning to undertake a roofing project, calculating the roof measurements is key in the roofing process. The measurements are ideal to give you an exact estimate of all the construction materials required during the roofing. However getting an accurate measurement of your roof can be challenging especially if the roof is a bit complex. You therefore need to find some more simple and accurate ways to easily get the exact roof measurements. You need to be careful however to ensure that your calculations result in accurate measurements of the roof to avoid material shortages and avoid unnecessary expenditures as well.

You can easily get the roof measurement by simply sketching a simple diagram based on the roof structure. After getting a rough diagram of the roof, you can go ahead and make subdivisions and make smaller sections of the roof. Getting the exact measurements of each smaller section and adding them all will yield to the total measurement of the roof. You may consider getting to the roof to get an accurate size of the roof.
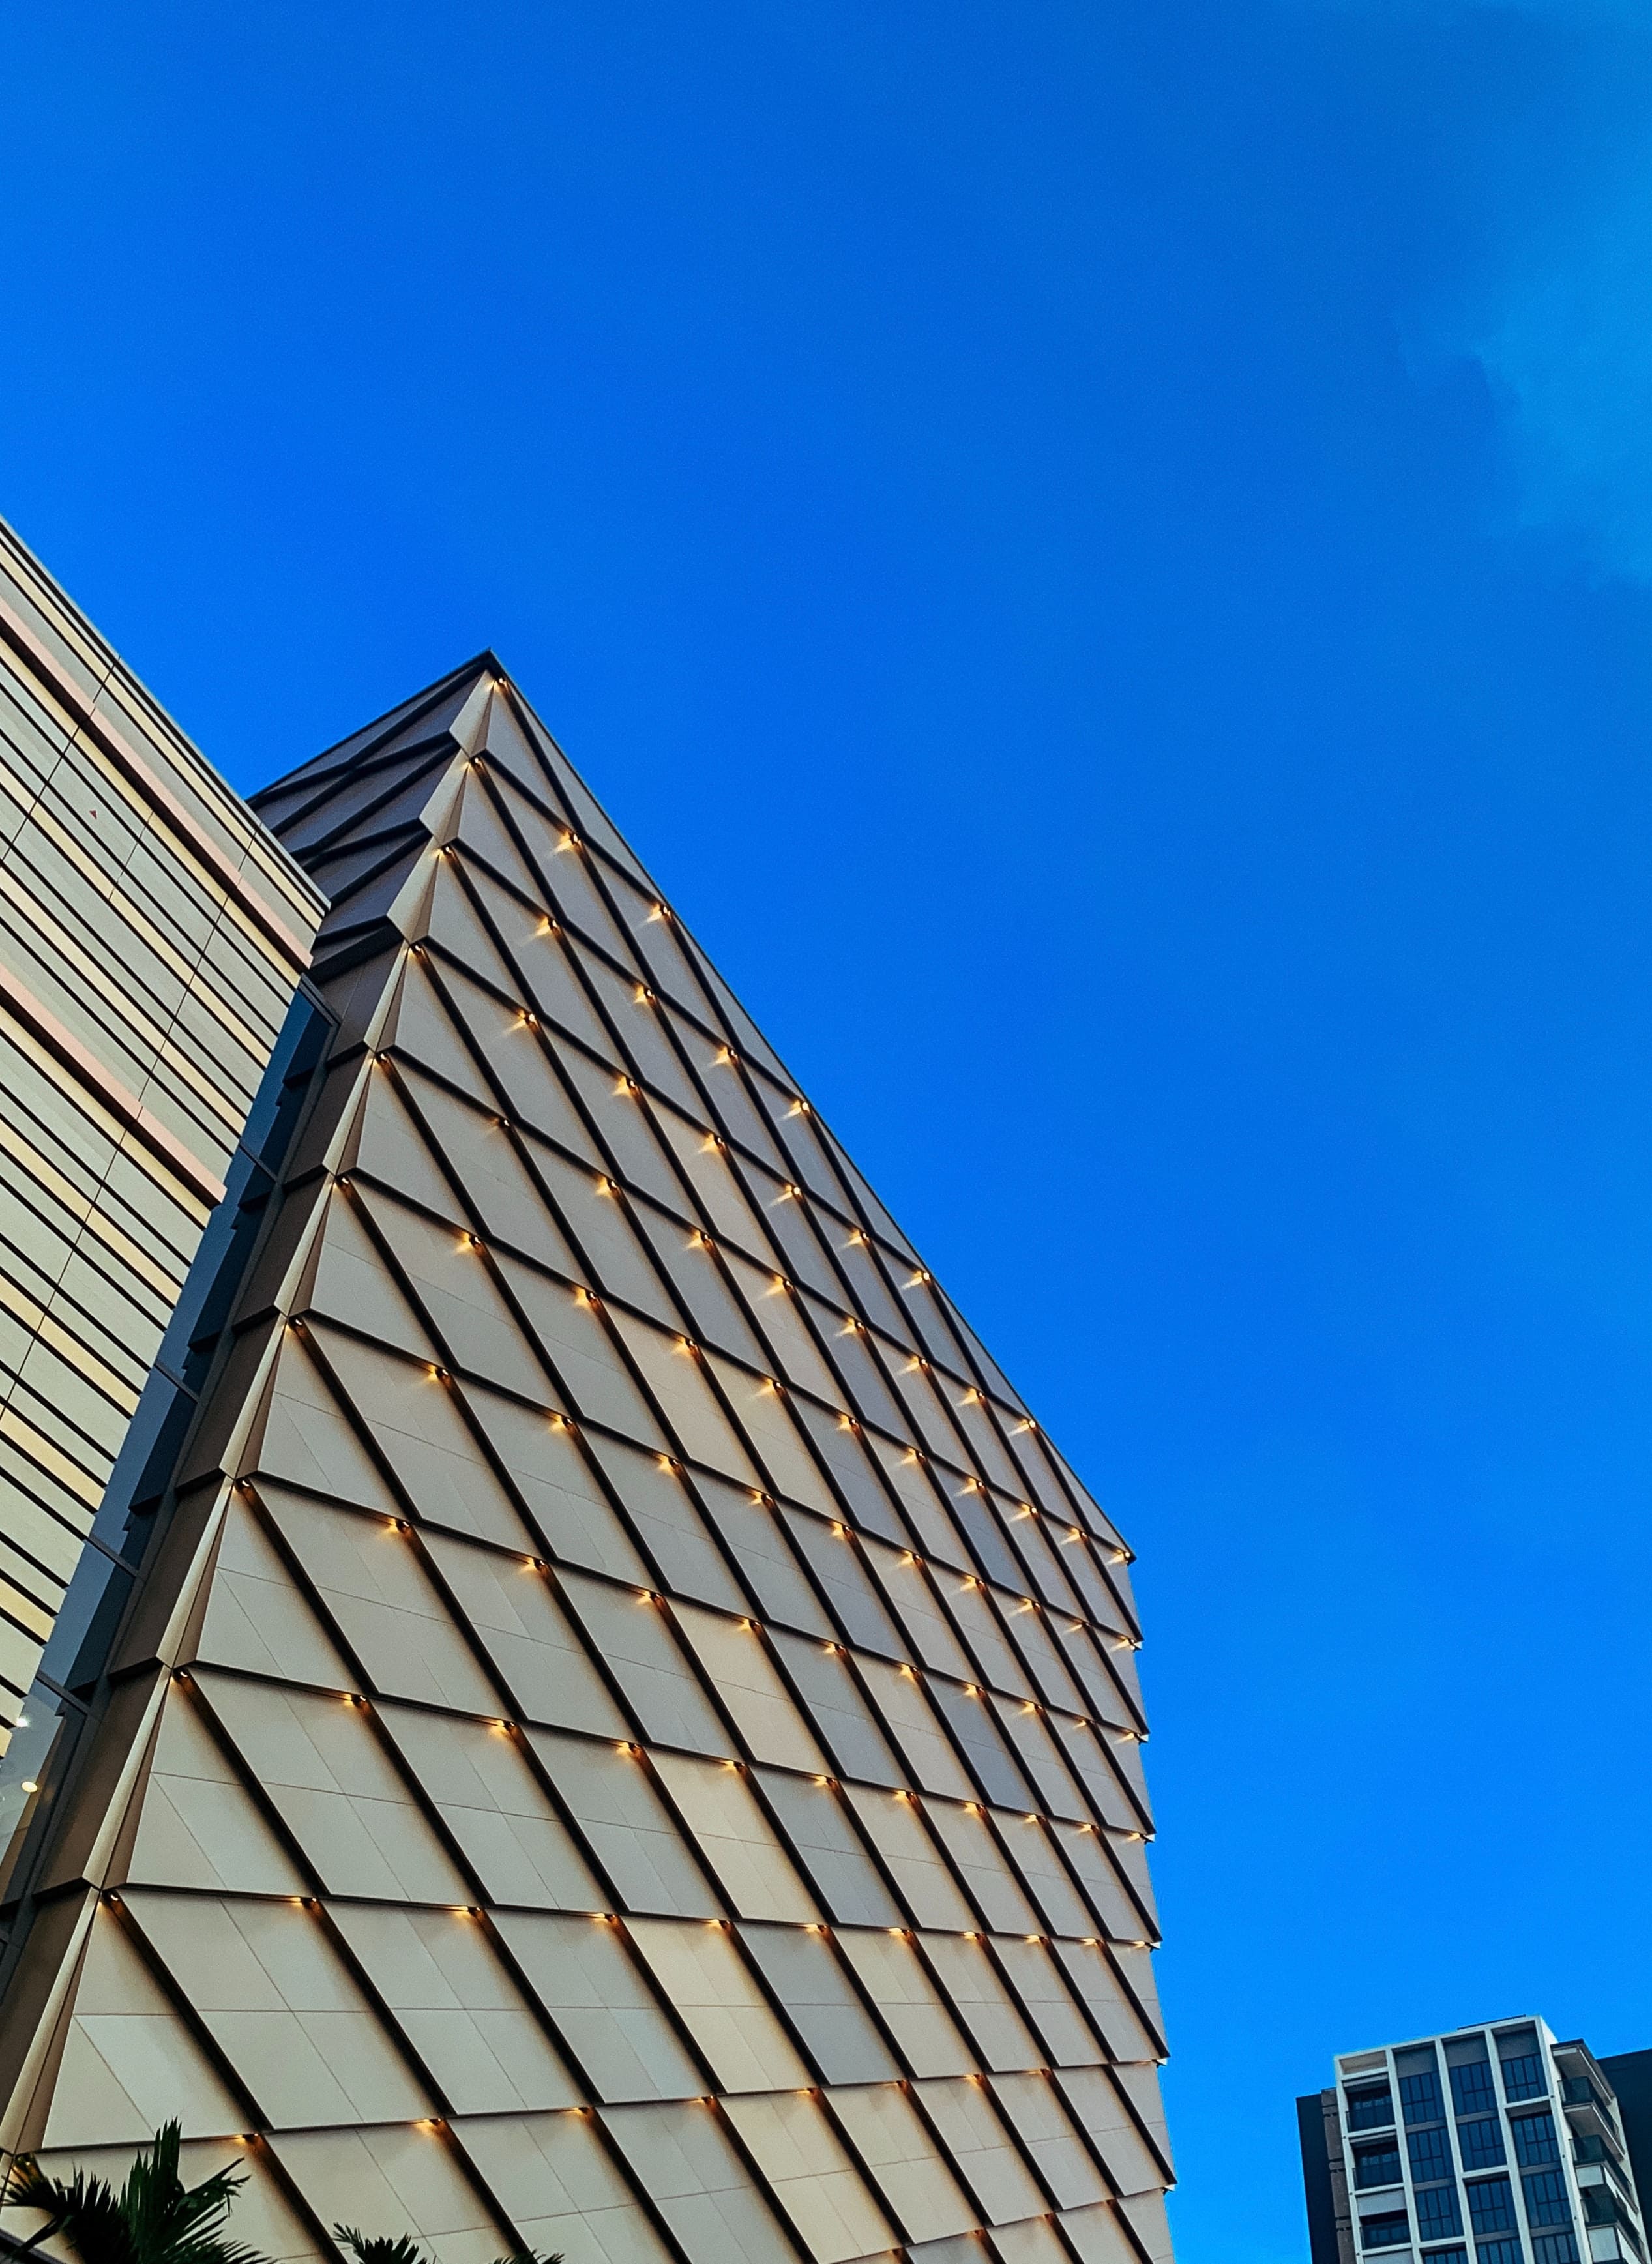
Measuring A Complex Roof
1. Get on the roof
The most accurate way to get the roof measurements is actually getting on the roof and therefore you have to find some safe way onto the roof. You could use your interior windows to access the roof or use a ladder to climb up to the roof. If you have to use the ladder ensure that it is firm on the ground to give you enough stability as you take the roof measurements. You may get someone to help you stabilize it as you climb up to the roof. Remember to bring with you a tape measure, a writing pad and a pen to record the measurements.
2. Take all the measurements on the main section of the roof
Use the tape measure to get the length and the width of the roof. If the roof has a sloped dimension then you need to record all the measurements of each plane. Be careful to ensure that you capture all the measurements in one sloped plane before moving to the other section.

3. Take measurements of any other structures on the roof
If there are any other structures on the roof, you also need to take their measurements as well. This includes other architectural elements including valleys, ridges and dormers. Find the length and width of all these structures as well. They are key into the roof measurements since they determine the amount of materials required during the roofing process. You however don’t need to take measurements on the chimneys and pipes connected to the roof.
4. Accurately record the roof measurements
You may not be able to remember all the roof sizes after taking the measurements and therefore it is recommended that you write them down in your notebook as you take the measurements. Write all the measurements taken from the different roof sections separately. You will use these measurements to calculate the total square footage of the entire roof once you are done taking the measurements. Avoid rounding off the roof measurements as this may result in inaccurate measurements. Consider writing the measurements exactly as they were obtained on the tape measure to nearest 0.5 measurements.
5. Sketch the roof diagram on a plain paper
Simply sketch the roof using a pencil on a plain paper. Remember to include all other additional structures including valleys and ridges on the sketch to ensure that you get a true representation of your roof layout.

6. Label the sketched diagram with the roof measurements
Put down all the roof measurements on the diagram in correspondence with each roof section. Begin with the length and the width of the main section of the roof as you include other dimensional measurements on the sketch. The measurements on the sketched diagram is a simple way to help you calculate the total square footage of the roof.
7. Sub divide the roof sketch into smaller geometrical sections
You may notice that some of the roof shapes are a bit complex and dividing them into smaller regular shapes can be a simpler way to compute the roof area. The subsections will help compute for the final measurements of the roof.
8. Find the area of the rectangular dimensions
This is a simple computation since you only need to multiply the length and the width measurements. Make sure to get all the total area of all the rectangular sections of the roof and add them altogether. Remember to compute the area of the rectangular additional structures on the roof.
9.Compute the area on the triangular dimensions
If you have successfully completed the previous step, then this is not a difficult procedure either. To get the area of each triangular section, use the formula ½ the triangle base times the height of the triangle. The height of the triangle is simply the distance from the roof peak to the base line. At times the measurements of the triangular roof sections tend to differ and therefore it is important that you are careful at this stage.
10. Get the sum of all the computed sections
Get the sum of all the computed areas from the various roof dimensions to get the total square footage of the roof. You may need to repeat the procedure to get the correct figure.
11. Estimate the roofing materials
Once you have computed the exact roof measurement, divide the resulting area by 100 to estimate the materials required for the roofing process. Usually the roofing materials are packed in square meters and therefore dividing the square footage by 100 gives you an accurate estimate of the roofing materials required in 100 square feet measurements. It is advisable to however add about 10% of the estimated roofing materials just in case of any shortages.
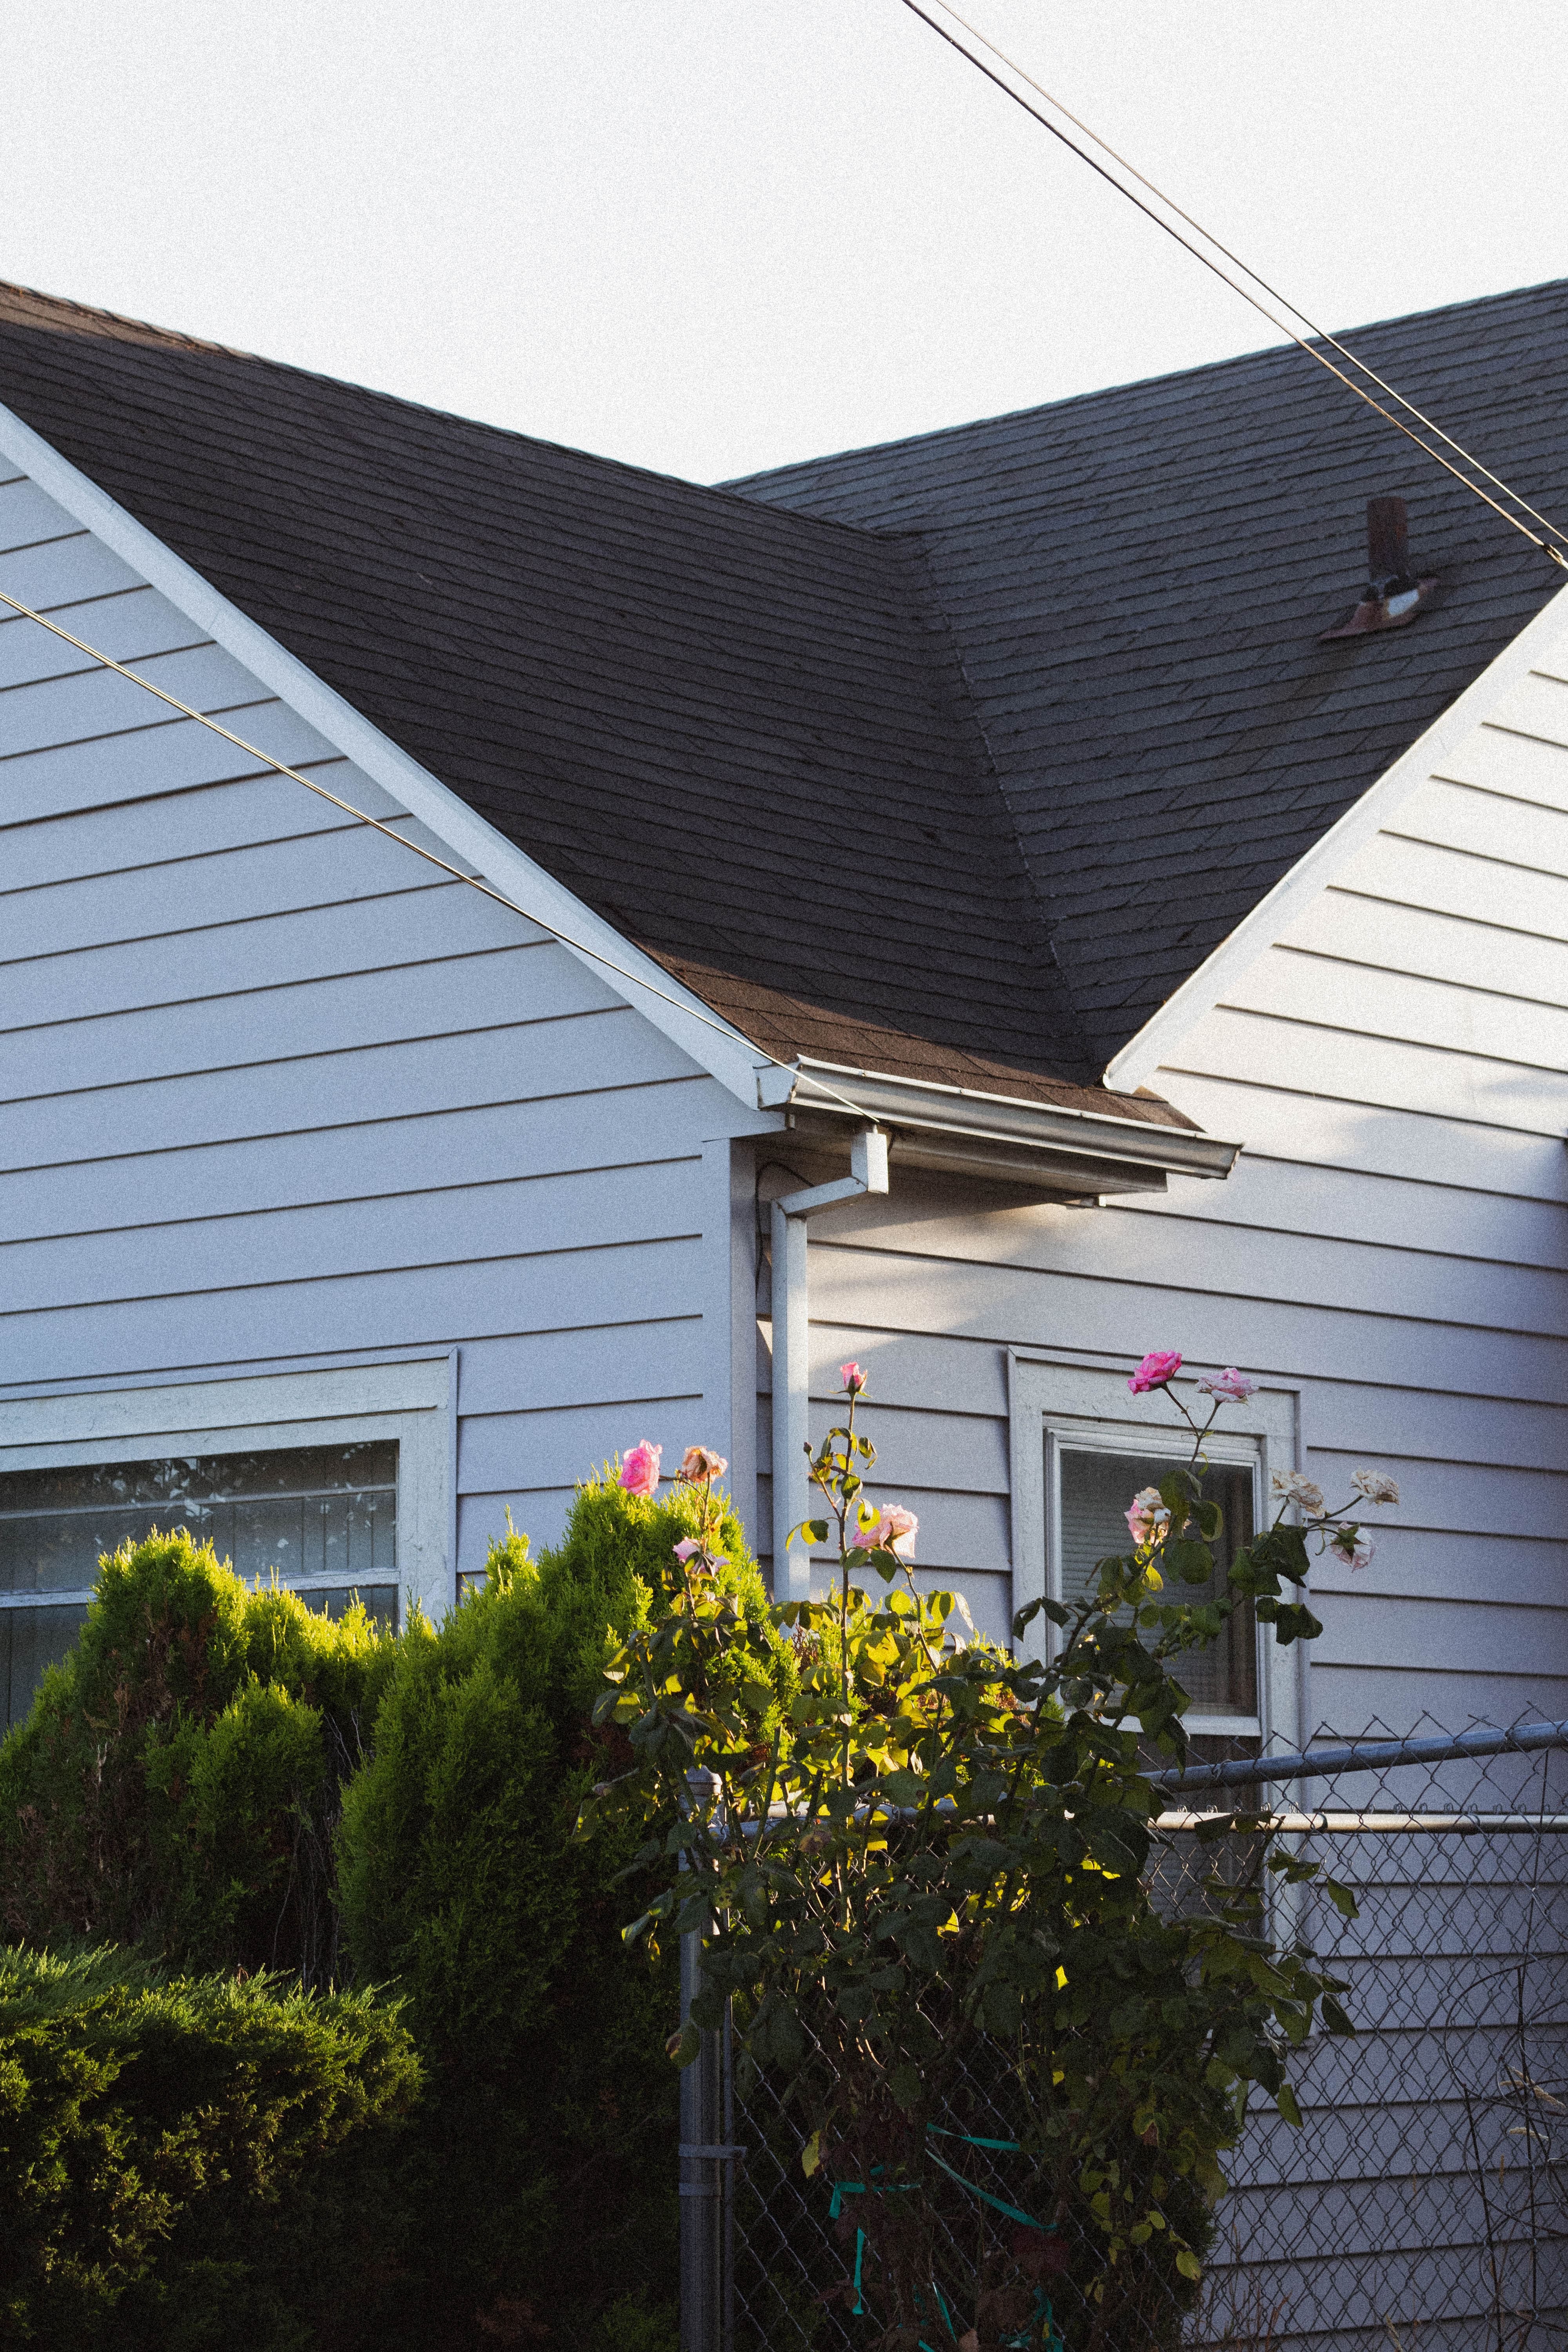
Taking The Roof Measurements From The Ground
This is also a simple way to find the size of your roof. If you do not prefer climbing the roof, then this is a more appropriate method to consider to get an accurate measurement of the roof.
1.Get the length and width of the exterior walls of the building
Get your notepad and jot down the measurements on the length and width of the exterior walls as they appear on the tope measure.
2.Calculate the steepness of the roof
At this point, you may need a ladder to find the pitch of the roof. Precisely get the distance from the tip level to roof surface.
3.Estimate the square footage of the roof using a pitch multiplier
The multiplier will indicate the figure to use in your roof area computations. Simply find your roof pitch measurements on the multiplier table. Note the corresponding measurements on the table to use in your final computations.
4.Get the square footage by multiplying the resulting area with the pitch multiplier
Multiply the pitch multiplier value by the area obtained after multiplying the roof length and width. The resulting value is the total square footage on your roof. To get an estimate of the required materials, divide the roof area by 100.

Satellite Roof Measuring
The satellite roof measuring technique gives you a complete report on the aerial estimation of the roof including additional elements such as valleys and ridges on the roof. it is a more accurate technique but however more expensive as compared to other methods.
Adding about 10% of the estimated roofing materials is always advisable to avoid shortages in case you encountered some wastage during the roofing process.