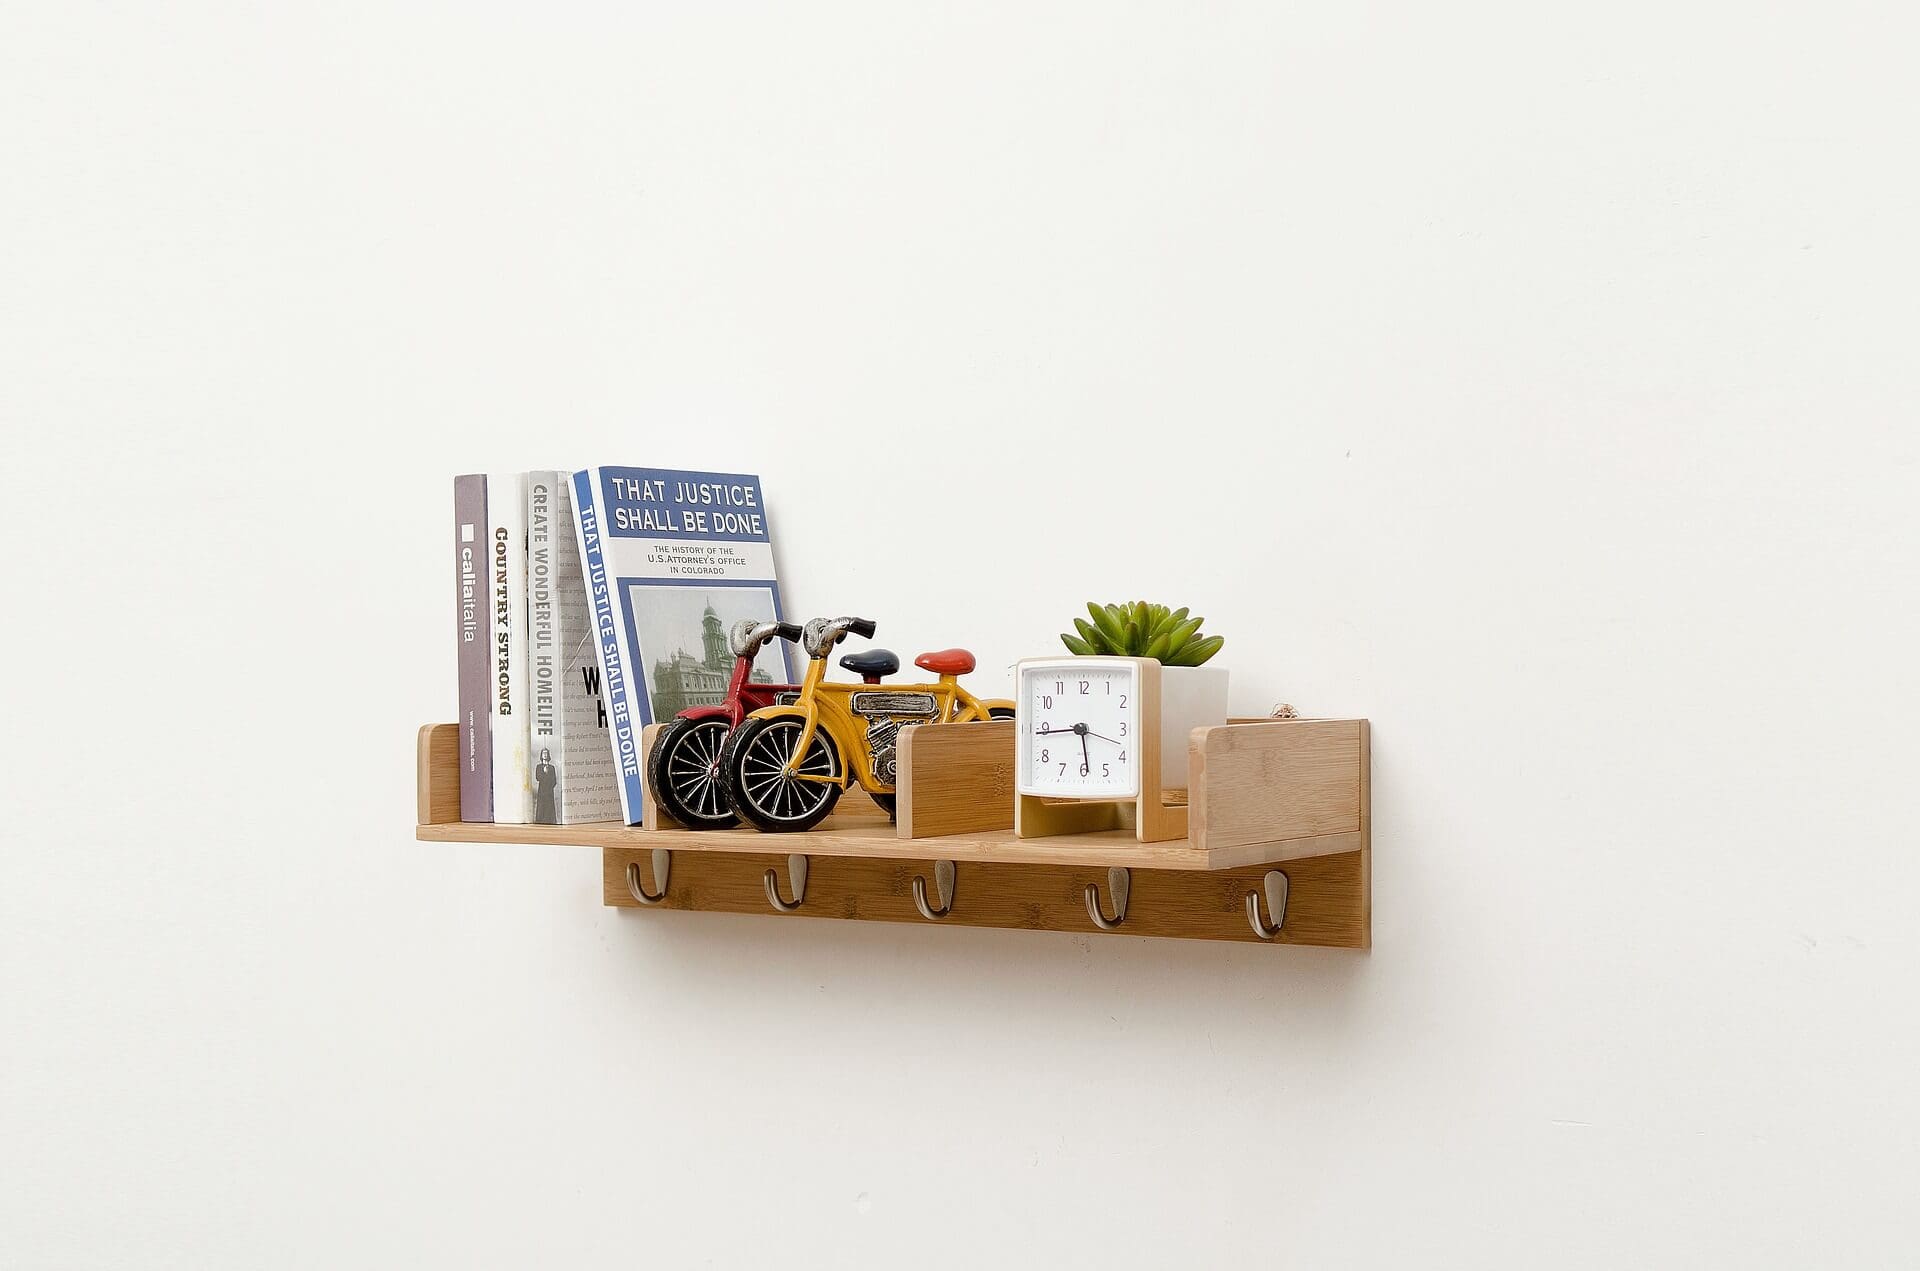
The art of hanging something on the wall requires mastering. This is because so many things are involved, and there’s the right way to do it. There’s a saying that whatever is worth doing is worth doing well. If you really want to hang something on your wall, then you should do it the right way.
Also, what you are trying to hang will determine how to hang it without creating havoc. We’ve compiled some steps that will make the task easy for you.
First of all, you need to know how to drill into the wall you intend to hang something on safely. Let’s go into the step by step process of drilling a hole on a wall.
Step 1: Check the Surface
Check the wall to determine the type of surface. The method of drilling drywall is different from that used in drilling walls made of plaster. The wall of your house should be dry unless it was built in the 1940s when plaster and lath walls were the norm. If you live in a modern home, then a pushpin should go through the wall. Walls made of plaster are tough to penetrate according to Top Wall Mounted Review.
Step 2: Find the Studs
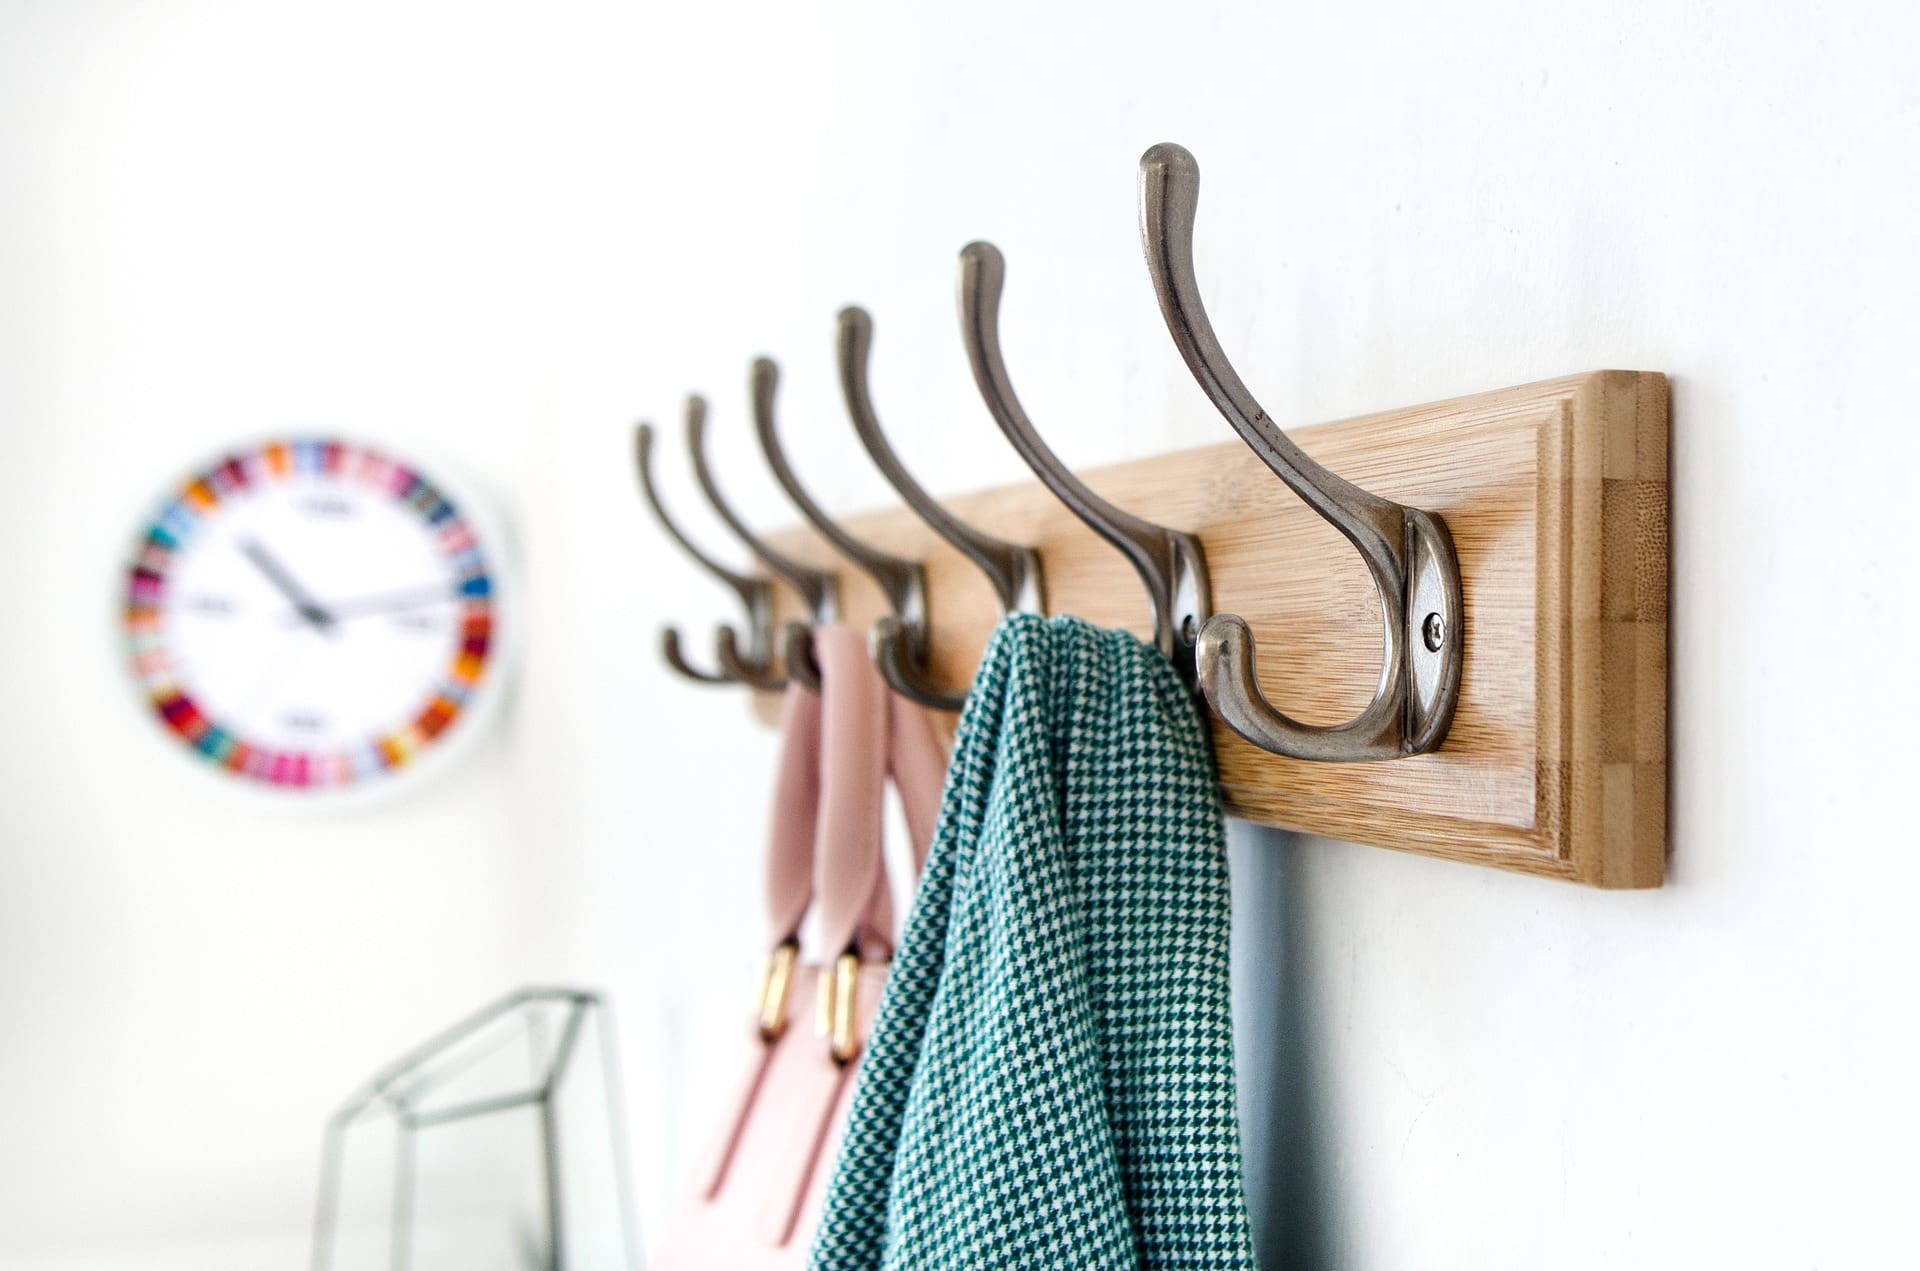
It’s advisable to always use stud when hanging things. It doesn’t matter what you’re hanging, be it a cloth hanger or something as big as the kitchen cabinet. You can easily do this on drywall but not on a plastered wall. All you need to do is get a stud finder, which will detect the centre of the stud or use a powerful magnet to scan above the surface, you will know when it finds a stud as it will stick to the exact place.
When working on a wall with plaster, find a light switch, and remove the switch plate. Locate the screws and start drilling. You need to drill past the plaster until you reach the frame. The next step is to attach your stud, and you’re good to go.
Step 3: Check for Pipes and Wires
You need to be sure about this for your safety; it’s very important. To avoid drilling into wires and pipes, it’s advisable to use a stud sensor. Get a professional-duty sensor and use it to locate all the wires and pipes before making any attempt to work on the surface.
In a situation where there are lots of wires running through, stop, and switch off the power, then start with the drilling. Another way to see where wires run through is to check from the basement, or the attic as the case may be. You will be able to see where the wires go, and which pipe holds what.
To make your work easier, you can get an inspection camera to check the wall cavities properly. It gives an accurate result with an option to remove the screen for proper visibility.
Step 4: Fasten the Stud
You should choose screw instead of nails as fasteners; it is easier to remove in case you need to. Although nails can penetrate a surface faster, it is hard to remove if you made a mistake. You can damage the surface in an attempt to get the nail to come out. Screws, on the other hand, are hard to get in but provide room for correction when you get it wrong.
When choosing screws, chose the one that is self-drilling with washer head. These types have coarse threads, and they hold firmly to woods. They are different from the drywall screws with bugle heads as they work perfectly with any surface.
Always use short screws, as long as they can go far to where you want them to reach. Avoid using longer screws that have the tendency to poke through pipes and wires. The recommended size for drywall is 1 ¼ inch. Apart from being short enough, they are also stronger.
Step 5: You Hit Something?
If you happen to hit a pipe or any other thing when drilling, stop immediately. You may have hit a metal protector or ductwork, to save yourself from any further damage, you need to stop drilling that particular place. Find another spot and try it out after patching the already drilled spot.
Best Wall Anchors
The following are a few of the leading anchors that can help make the process of hanging items on the wall easier.
They include:
Kennjin Drywall Anchors
This is an anchor to be used on drywall. It can hold medium-weight objects that are not more than 100lbs. It comes in different types based on the brand and size. You can use this anchor to hang things like pictures, mirrors, racks, and flower baskets on the ceiling.
Picturelake Toggle Anchors
This is a toggle anchor with the capacity to carry heavy items. If you want to use it to hang something of extra weight, you should opt for the ones with bolts as they are more durable than the regular anchor. These anchors can withstand loads of up to 235 lbs without stress.
Jan Stromme Picture Hangers
This hanger is made explicitly for pictures, pictures, frames, and mirrors that are light in weight. It comes in a pack of seventeen hangers that you can use anywhere in the house. Also, it has included hooks to make adds to its efficiency. You can hang items that are not heavier than 100 pounds, and you can reuse them anytime.
Silvia Bragagnolo / Eyeem Mirror Clips
These clips are to be used for mirrors. They include hooks that hold firmly to mirrors securing them in place. It is easy to install and will be able to hang your mirror with the hanger clips. You can use it for all shapes, including oval-shaped mirrors.
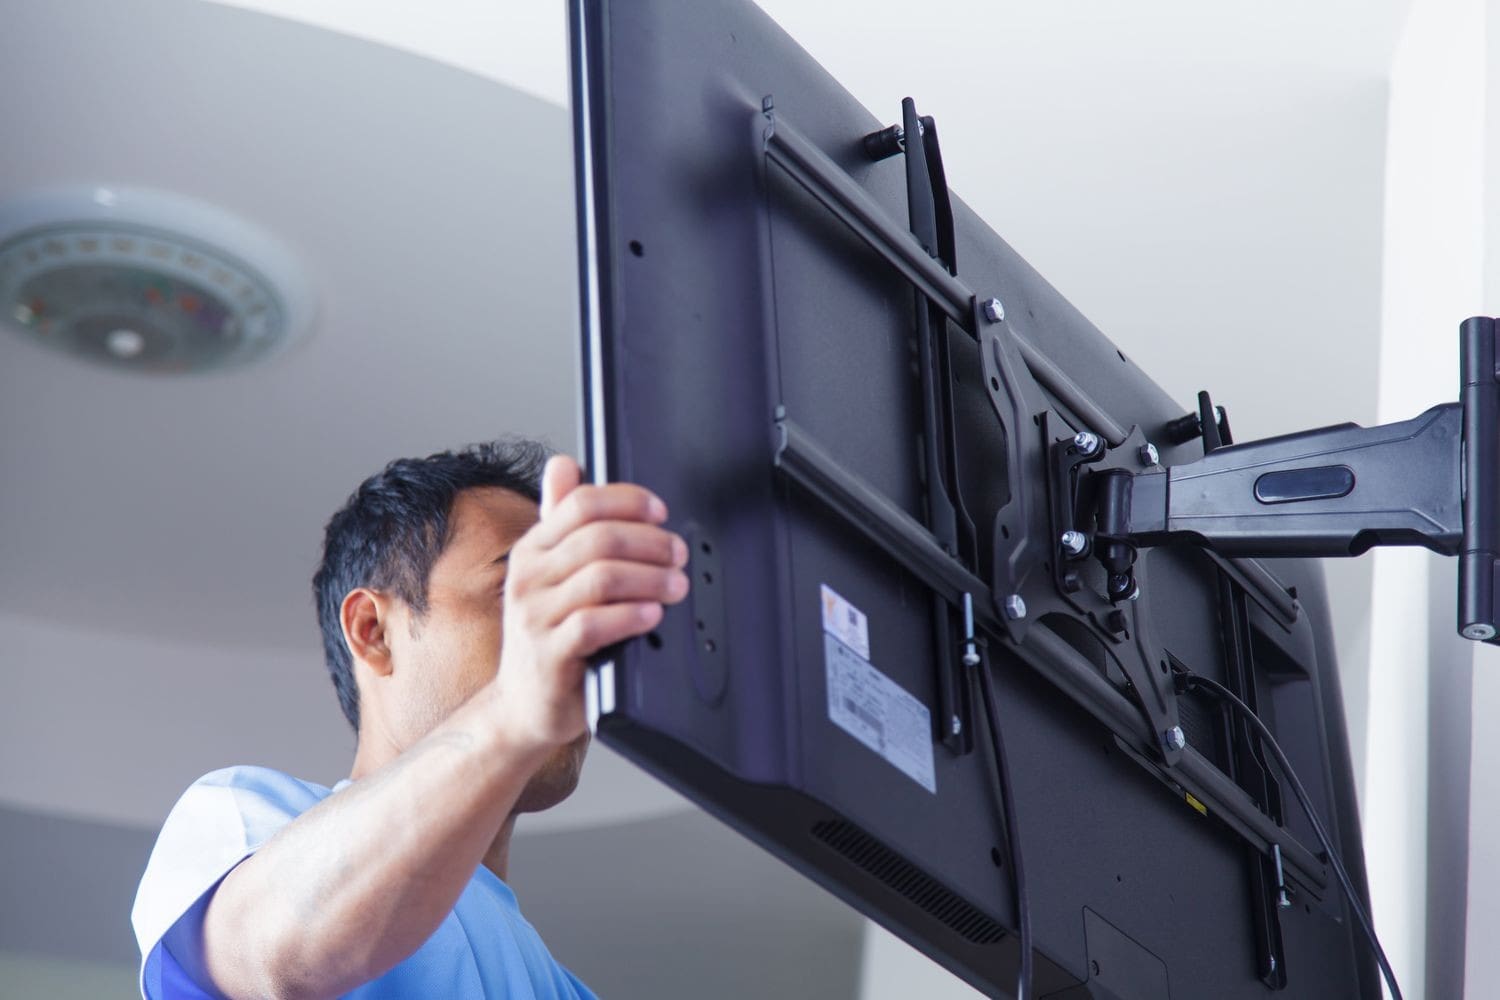
Banksphotos TVs Mounting Bracket
Modern televisions are light in weight, and they can be hanged on the wall using brackets. It’s easy to hang a TV on the wall, but you still need to follow some instructions to do it the right way.
The first thing is to make sure you buy the right bracket. You can choose to get the one that lets you rotate your TV from side to side or opt for the stationary one. Always put the cords in mind and make space for them to make things easier for you.