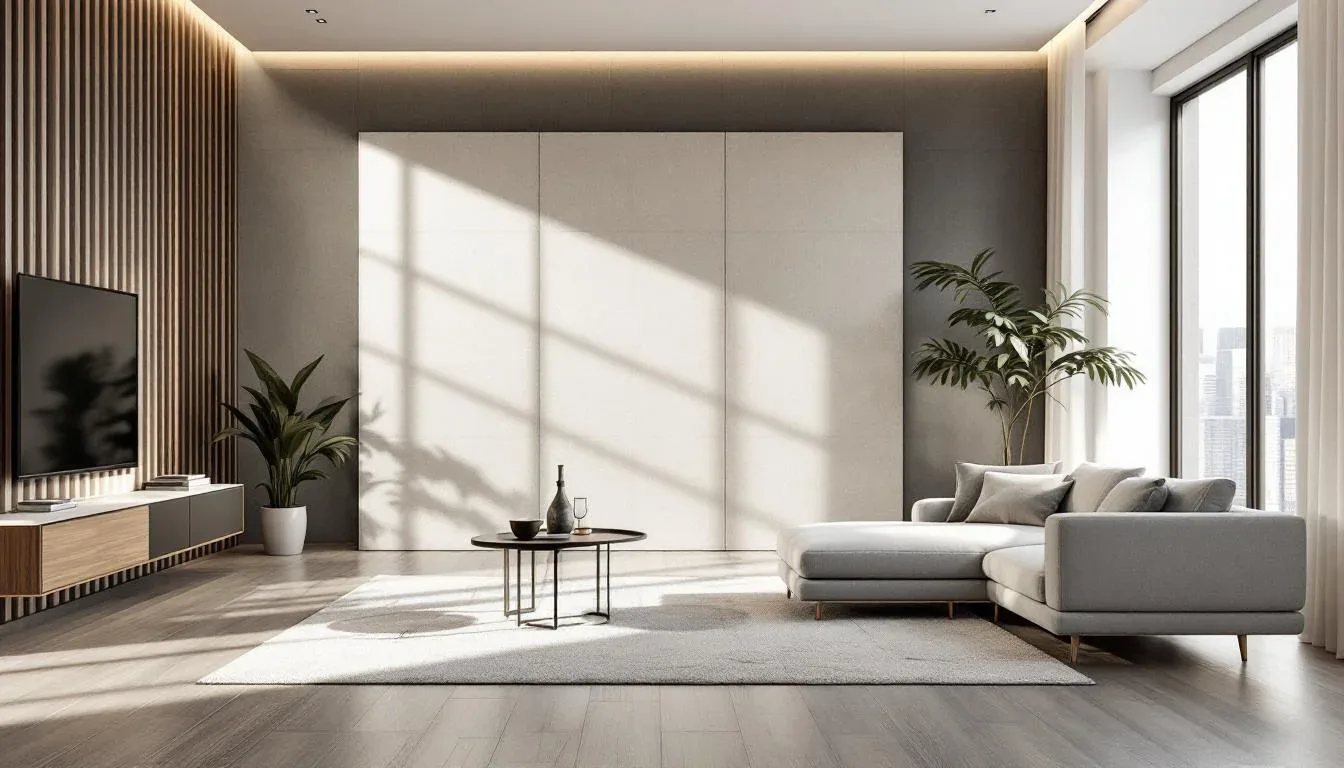
The moment you install wood paneling in a second connected room, you’re no longer making a single design decision — you’re managing a visual system. Getting wood paneling adjacent rooms flow right is what separates a home that feels deliberately designed from one that feels like a series of disconnected experiments, and most homeowners only realize this after the panels are already on the wall.
That’s the trap. You fall in love with a white oak shiplap sample at the lumber yard, it looks stunning in your living room, and then you try to extend it into the dining area or hallway and something feels wrong. The grain reads differently. The finish looks slightly off. The proportions seem heavy where they didn’t before. Nothing is technically incorrect, but the whole thing feels unresolved.
What you’re experiencing isn’t bad taste. It’s a predictable consequence of treating connected rooms as separate design problems. This article will show you exactly why that happens and, more importantly, how to prevent it from the planning stage forward.
Why Wood Paneling Flow Between Adjacent Rooms Falls Apart
Most paneling guides talk about a single room. They show you a gorgeous accent wall, walk you through installation steps, and leave you there. The problem starts the moment you open a doorway.
The core failure is treating each room as an isolated design decision. When rooms share sightlines — whether through open doorways, archways, or fully open-plan layouts — the eye doesn’t stop at the threshold. It scans continuously. Any inconsistency between rooms registers as visual noise, even when the viewer can’t articulate exactly what’s wrong.
Open-plan layouts have made this problem nearly universal. According to the National Association of Realtors, open-concept floor plans remain the most requested layout feature in new home purchases — meaning cross-room design continuity is a practical issue for the majority of modern homeowners, not an edge case.
Here’s what specifically goes wrong in connected spaces:
- Grain direction mismatch: Vertical panels in one room running perpendicular to horizontal panels in the next create a jarring collision at the threshold
- Finish sheen inconsistency: A matte finish in the living room next to a satin finish in the hallway — even in the same stain color — creates a visual texture shift the eye reads as an error
- Panel scale disparity: Wide-plank boards that feel proportional in a 14 × 18-foot living room can feel overbearing in a 7-foot hallway, or toy-like compared to narrow battens in an adjacent nook
- Horizontal line misalignment: Chair-rail-height paneling that sits at 48 inches in one room and 54 inches in the adjacent room creates a slanted visual “fault line” visible from across both spaces
The third bullet above is where a lot of DIY projects fail silently. You don’t notice it during installation because you’re inside one room. You only feel it when you step back into the connecting space and something looks crooked — even when the panels themselves are perfectly level.
Actionable takeaway: Before you order a single panel, photograph the sightline from the furthest point in your home where both rooms are visible simultaneously. That’s the view your design needs to pass.
The Design Theory Behind Visual Continuity in Connected Spaces
Understanding the mechanics behind why rooms feel cohesive — or don’t — will make every decision that follows feel logical rather than arbitrary.
The relevant principle is Gestalt continuity: the human brain is hardwired to complete visual lines across gaps in material. Interior design research on Gestalt principles confirms that the eye will follow an implied line across a break in material, meaning your panel’s horizontal lines are visually connecting to the adjacent room whether you plan for it or not. The brain finishes the sentence, even when the material stops.
This is both the problem and the tool. Once you understand it, you can use it intentionally.
The three concepts that matter most across connected rooms are:
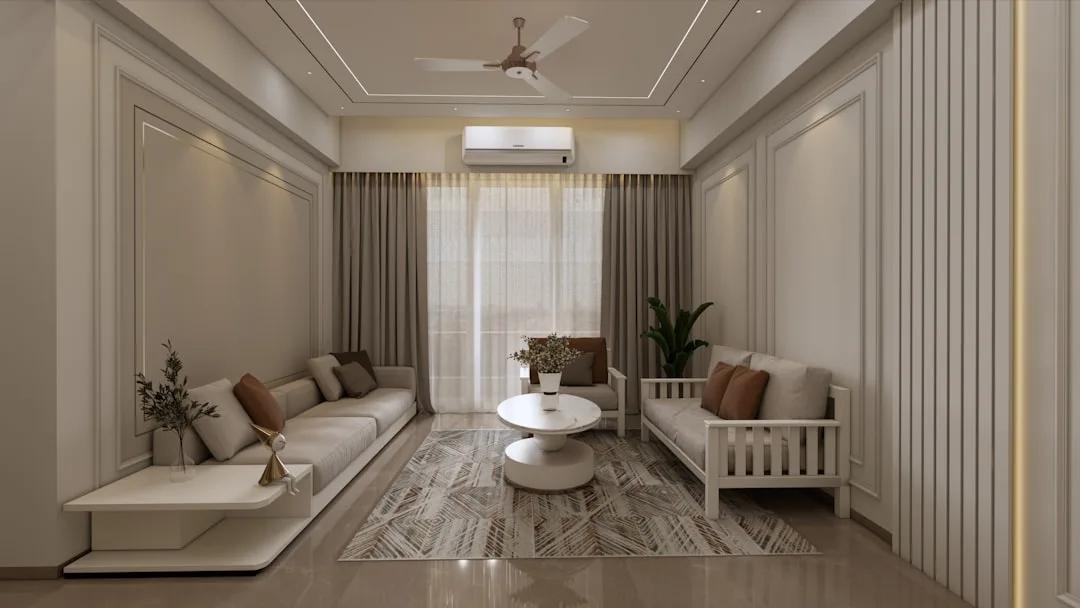
- Visual weight: Darker panels, wider planks, and heavily textured surfaces carry more visual weight. When a heavy panel treatment in one room meets a lighter one in the adjacent space, the heavier room pulls attention and creates imbalance — like one side of a scale dropping suddenly.
- Rhythm versus repetition: Repeating the identical panel in every connected room produces monotony. Rhythm — which means variation within a recognizable system — maintains flow without creating chaos. Think of a piece of music: it changes, but you still recognize the theme. Your paneling should do the same thing. A consistent batten spacing used at different heights across two rooms is rhythm. Identical shiplap everywhere, same height, same finish, is just repetition.
- Visual anchoring: Every room needs one dominant element that anchors the paneling scheme. In connected rooms, those anchors need to communicate with each other. A fireplace surround in one room and a built-in bookcase in the adjacent room, both paneled in the same species, create a visual dialogue that holds the two spaces together even when the panels on the walls between them are different.
The practical implication of Gestalt continuity is that you need to design your paneling scheme by standing at the threshold and working outward in both directions simultaneously — not by completing one room and then starting the next.
Actionable takeaway: Sketch your connected rooms as a single floor plan, draw in every horizontal panel line, and check whether those lines align, step deliberately, or collide at the threshold.
Grain Direction: The Silent Rule That Makes or Breaks Room-to-Room Flow
Grain direction gets the least attention in most paneling guides and has the most impact in connected spaces. It’s the decision that shapes how each room feels individually and how the rooms relate to each other — and it’s the first thing to lock in when you’re planning wood paneling adjacent rooms flow across your home.
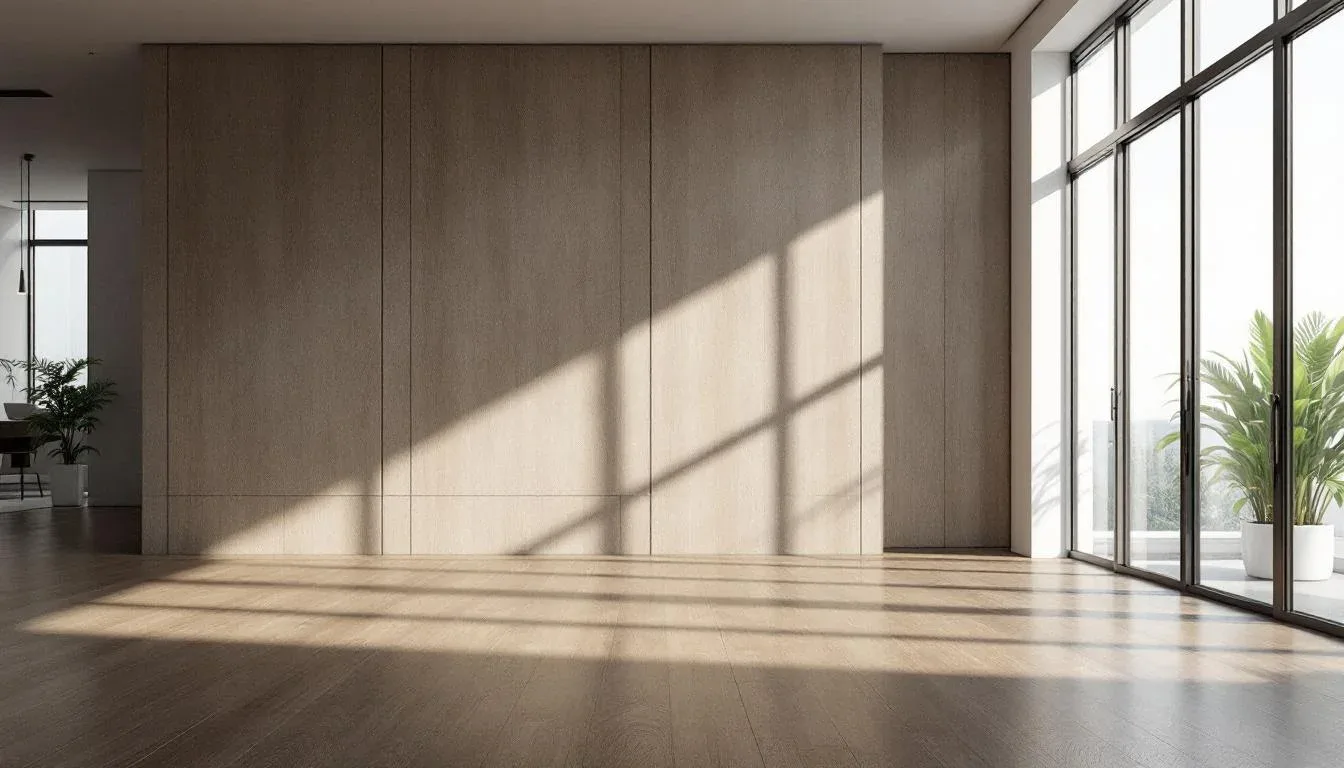
Vertical grain draws the eye upward, creating a contained, defined feeling in a room. It emphasizes ceiling height and works beautifully in spaces where you want the room to feel like its own world — a study, a bedroom, a formal dining room. It doesn’t actively push your eye toward what’s next.
Horizontal grain does the opposite. It pushes the eye sideways, actively encouraging visual flow between spaces. According to architectural proportion studies, horizontal panel orientation can make a room appear up to 30 percent wider — an effect that becomes amplified when the implied line extends visually into a neighboring space. In an open-plan living and dining area, horizontal panels accelerate the sense of connected space in a way vertical panels never will.
This creates a useful strategic framework:
| Goal | Grain Direction | Best For |
|—|—|—|
| Encourage flow between rooms | Horizontal | Open-plan living, kitchen-to-dining |
| Define distinct zones | Vertical | Study, primary bedroom, formal dining |
| Signal a deliberate transition | Diagonal or herringbone | Entryway-to-living, stairwell walls |
| Create visual pause between spaces | Mixed with defined casing | Hallways connecting dissimilar rooms |
The diagonal and herringbone entries in that table are worth pausing on. A herringbone or 45-degree diagonal panel pattern in an entryway or transitional hallway doesn’t read as mismatched — it reads as intentional punctuation. The eye registers it as a designed pause between two spaces rather than a planning failure. This technique works precisely because the brain already expects transition at an entryway; the unusual grain direction confirms that expectation rather than fighting it.
The practical rule for connected rooms: if two rooms share an open sightline with no door to close between them, their grain directions should either match or run deliberately parallel — both horizontal, or both vertical. If the rooms have a door between them, you have more latitude to shift grain direction because the door itself acts as a visual reset.
Actionable takeaway: Map your grain directions on your floor plan sketch before anything else. Mark every threshold. Rooms without a door between them share a grain decision, not two separate ones.
The Species and Finish System: How to Vary Without Fragmenting
One of the most common misconceptions about wood paneling adjacent rooms flow is that consistency requires using the same species and finish everywhere. It doesn’t. What it requires is a system — a set of internal rules your materials follow, even when the materials themselves change.
Species selection across connected rooms should follow a warm-cool logic. White oak, walnut, and maple read as cooler-toned species; pine, cedar, and cherry read warmer. Mixing a cool species in one room with a warm species in an adjacent room without a visual bridge — a shared trim color, a connecting element in the same species — creates a temperature clash that reads as inconsistency even when both rooms individually look beautiful.
The fix is to designate one species as your primary and one as your accent, then carry the accent into the primary room in a small but deliberate way. A walnut primary room with white oak floating shelves, next to a white oak primary hallway with walnut door casing — that’s a system. The two species are talking to each other rather than competing.
Finish sheen is the detail most people get wrong. Sheen level affects how light bounces off a surface, which affects how the color reads across a threshold. A 3-degree sheen difference between adjacent rooms registers as a color inconsistency even when the stain is identical from the same can. The rule: pick one sheen level for all wood paneling across connected rooms, and vary it only when you have a deliberate reason and a physical threshold — a door, a cased opening — to contain the shift.
Stain consistency requires more care than most people expect. Wood species absorb stain at different rates even when the same product is applied. White oak and pine take the same gray stain and produce noticeably different results. If you’re mixing species and want tonal consistency across connected rooms, test both species with your chosen stain on large samples — at least 12 × 24 inches — viewed simultaneously in the actual light conditions of your rooms, not in a lumber yard under fluorescent lighting.
Actionable takeaway: Write down your species-finish system before purchasing any material. Primary species, accent species, sheen level, stain product and number. That document is your cross-room design contract. Every purchasing decision gets checked against it.
Managing Panel Scale Across Different Room Proportions
The same panel that looks perfectly proportioned in one room can look wrong in the next — not because the panel changed, but because the room changed around it. Managing wood paneling adjacent rooms flow means accounting for how scale shifts as the architecture shifts.
The proportion rule for panel width: a panel’s visual width should be roughly 1/12 to 1/16 of the room’s longest wall. In a 16-foot living room, that means panels between 12 and 16 inches wide read as properly scaled. In a 7-foot hallway, the same calculation yields panels between 5 and 7 inches wide. Running 14-inch planks from your living room directly into that hallway without adjustment produces the overbearing effect that confuses DIY installers.
The solution isn’t always to change the panel width. Sometimes it’s to change the coverage area. Wide planks on a single accent wall in a narrow hallway can work where wide planks on all four walls would overwhelm. The panel itself stays consistent with the adjacent room; the application area adjusts to the proportions of the new space.
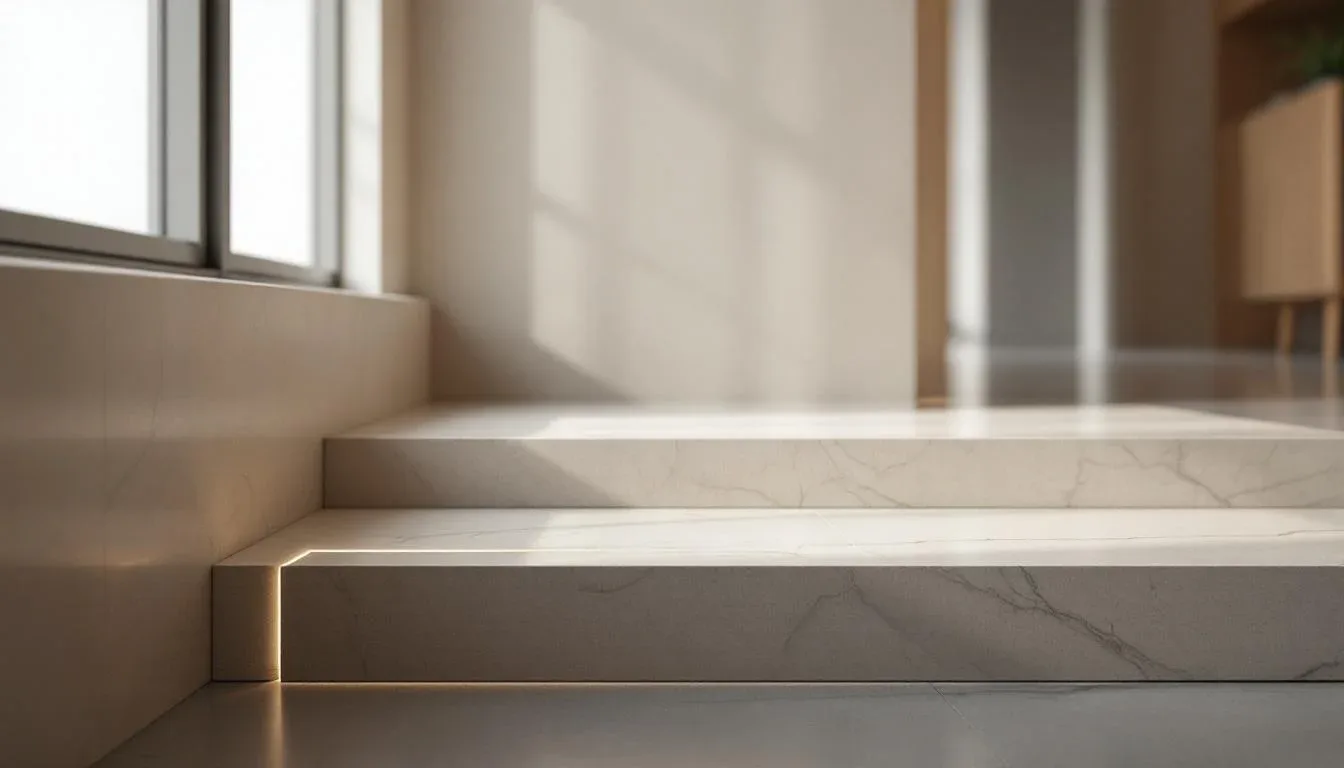
Ceiling height affects panel height decisions as much as floor area. Chair rail and wainscoting height should be recalculated for each room based on that room’s ceiling height, not carried over as a fixed measurement. The standard proportion is wainscoting at roughly one-third of ceiling height. In a room with 9-foot ceilings, that’s 36 inches. In a room with 8-foot ceilings, that’s 32 inches. Carrying 36-inch wainscoting from the 9-foot room into the 8-foot room makes the adjacent room feel stunted.
When rooms with different ceiling heights share an open threshold, the transition requires a deliberate decision: step the wainscoting height at the threshold with a defined vertical element — a pilaster, a piece of casing, a return — or gradually adjust it using a raking cap that angles between the two heights along the connecting wall. Both approaches work. Leaving the misalignment unaddressed doesn’t.
Actionable takeaway: Calculate panel width and wainscoting height independently for each room, then compare. If the numbers differ, decide explicitly how you’ll handle the transition at the threshold — not after installation, before it.
Threshold Transitions: The Detail That Holds Everything Together
Everything covered so far converges at the threshold — the physical point where two rooms meet. How you handle that two- to four-inch zone determines whether your cross-room paneling reads as a considered design or a construction accident.
The four standard threshold treatments for wood paneling are:
- Flush continuation: The panel runs through the threshold without interruption, treating both rooms as a single continuous space. This works only when the panel species, direction, scale, and finish are identical across both rooms. Any variation gets exposed under the scrutiny of that uninterrupted line.
- Cased transition: A door casing or simple applied molding frames the threshold and provides a visual break between two different paneling treatments. This is the most forgiving approach because the casing functions as a designed pause — the eye registers it as an intentional boundary rather than an inconsistency. The casing material should appear in both rooms in some form, even if only as base molding.
- Species change at threshold: The threshold itself becomes the material transition point — walnut paneling on one side, white oak on the other, with the threshold casing in a neutral painted finish that bridges both. This works when the species are in the same tonal family and the casing color ties to elements in both rooms.
- Panel direction change at threshold: Horizontal panels on one side of a door, vertical on the other, with the door casing containing the visual collision. The casing does the work of separating two distinct approaches so the brain reads the change as architectural punctuation rather than error.
The rule of thumb: the more dissimilar the paneling on either side of a threshold, the more substantial the threshold treatment needs to be. A minor variation — same species, different sheen — can be handled with a simple 2.5-inch casing. A major variation — different species, different direction, different scale — needs a more prominent architectural element: a wider casing, a built-in column, a change in flooring material that reinforces the boundary.
Actionable takeaway: For each threshold in your project, write down what’s changing across it and rate the degree of change as minor, moderate, or major. Then match your threshold treatment to that rating before you finalize your material list.
Grain Direction: The Silent Rule That Makes or Breaks Room-to-Room Flow
(See full section above — this content is covered in the Grain Direction section.)
A Practical Planning Sequence for Multi-Room Paneling Projects

The planning sequence matters as much as the design decisions themselves. Most installation problems trace back to decisions made in the wrong order.
Step 1: Map your sightlines before making any material decisions. Stand at every point in your home where two paneled rooms are simultaneously visible. Photograph each sightline. These photographs are your design constraints — every decision you make gets evaluated against them, not against how each room looks in isolation.
Step 2: Establish your species-finish system in writing. Primary species, accent species, sheen level, stain product. This comes before any purchasing.
Step 3: Calculate panel scale for each room independently. Width relative to longest wall, wainscoting height relative to ceiling height. Record the numbers for each room side by side so transitions are visible at the planning stage.
Step 4: Assign grain directions based on your open-threshold map. Rooms without a closeable door between them share a grain decision. Rooms with a door get more latitude but still need a deliberate choice, not a default.
Step 5: Specify every threshold treatment before ordering material. Rate each threshold as minor, moderate, or major change, and assign the corresponding treatment. This step catches conflicts between rooms that looked fine in isolation but collide at the boundary.
Step 6: Build large samples and view them at the actual threshold. At least 12 × 24 inches of each paneling treatment, placed on either side of the threshold simultaneously, viewed in your home’s actual lighting conditions at different times of day. Lumber yard lighting and phone-screen photos both lie.
This sequence keeps wood paneling adjacent rooms flow as the central organizing principle from the first decision rather than a retrofit consideration after problems appear.
FAQ
Q: Do I have to use the same wood species in every connected room for the design to work?
No — but you need a system that governs how the species relate to each other. Designating one species as your primary and a second as your accent, then carrying both into connected spaces in different proportions, creates coherence without requiring identical materials everywhere. The key is that the relationship between the species is consistent, not that the species themselves are.
Q: My living room has 10-foot ceilings and the adjacent dining room has 8-foot ceilings. How do I handle wainscoting height across that threshold?
Calculate the wainscoting height as a proportion of each room’s ceiling height rather than as a fixed measurement. At roughly one-third of ceiling height, you’re looking at approximately 40 inches in the 10-foot room and 32 inches in the 8-foot room. Handle the transition at the threshold with a deliberate vertical element — a pilaster, a return, or a raking cap on the connecting wall — so the step reads as architectural detail rather than inconsistency.
Q: I’ve already installed paneling in one room. Can I still achieve good flow when adding paneling to the adjacent room?
Yes, but your options narrow. Start by auditing your existing installation: document the species, finish sheen, stain product, panel width, grain direction, and any horizontal line heights. Then design the adjacent room to either continue those parameters exactly or diverge from them in a controlled way at a defined threshold. The threshold treatment becomes more important when you’re working backward from an existing installation.
Q: How do I handle a hallway connecting two paneled rooms when the hallway itself is too narrow for the same panel scale?
Adjust coverage rather than panel width if you want to maintain visual consistency. Use the same panel on a single accent wall — typically the long wall — rather than all four walls. Alternatively, treat the hallway as an intentional transition zone with a different but related panel treatment, and use substantial threshold casings at both ends to frame the shift as deliberate. A herringbone or diagonal pattern in a narrow hallway also reads as purposeful punctuation rather than mismatch.
Q: What’s the most common mistake when extending wood paneling from a main living area into a secondary space like a home office or powder room?
Carrying the main room’s panel scale into a smaller space without recalculating proportions. Wide planks that read correctly in a large living room become overpowering in a powder room or small office, not because the panel is wrong but because the room is smaller. Recalculate panel width relative to the new room’s wall length, and consider reducing coverage to an accent wall or ceiling application rather than running panels on all four walls of a tight space.