Author: ION

  • How School Interior Design Affects Your Mood

    How School Interior Design Affects Your Mood

    It’s no secret that the environment surrounding us has a direct impact on our mood, our energy levels and even our productivity. This is particularly important when it comes to a school’s interior design, which, according to Sport Photo Gallery (a sucessful company that has a school interior design service) can dramatically affect pupils’ performance.

    Interior design in an educational environment is about more than creating a visually attractive and impressive space. It’s about providing pupils with a space in which they feel comfortable, relaxed, organised and motivated. All of which are known to directly influence our capacity to learn, grow and evolve.

    Worldwide, educators and interior designers are working together to create inspiring spaces for pupils of all ages. Far more than simply choosing the right colours for the right environments, it’s about making every effort to set the right mood for learners. Extensive studies have drawn direct links between classroom contentment and improved assimilation of information.

    As to how school interior design can influence both the mood and the learning experience of pupils, it’s all about focusing on the comfort and quality of the educational environment.

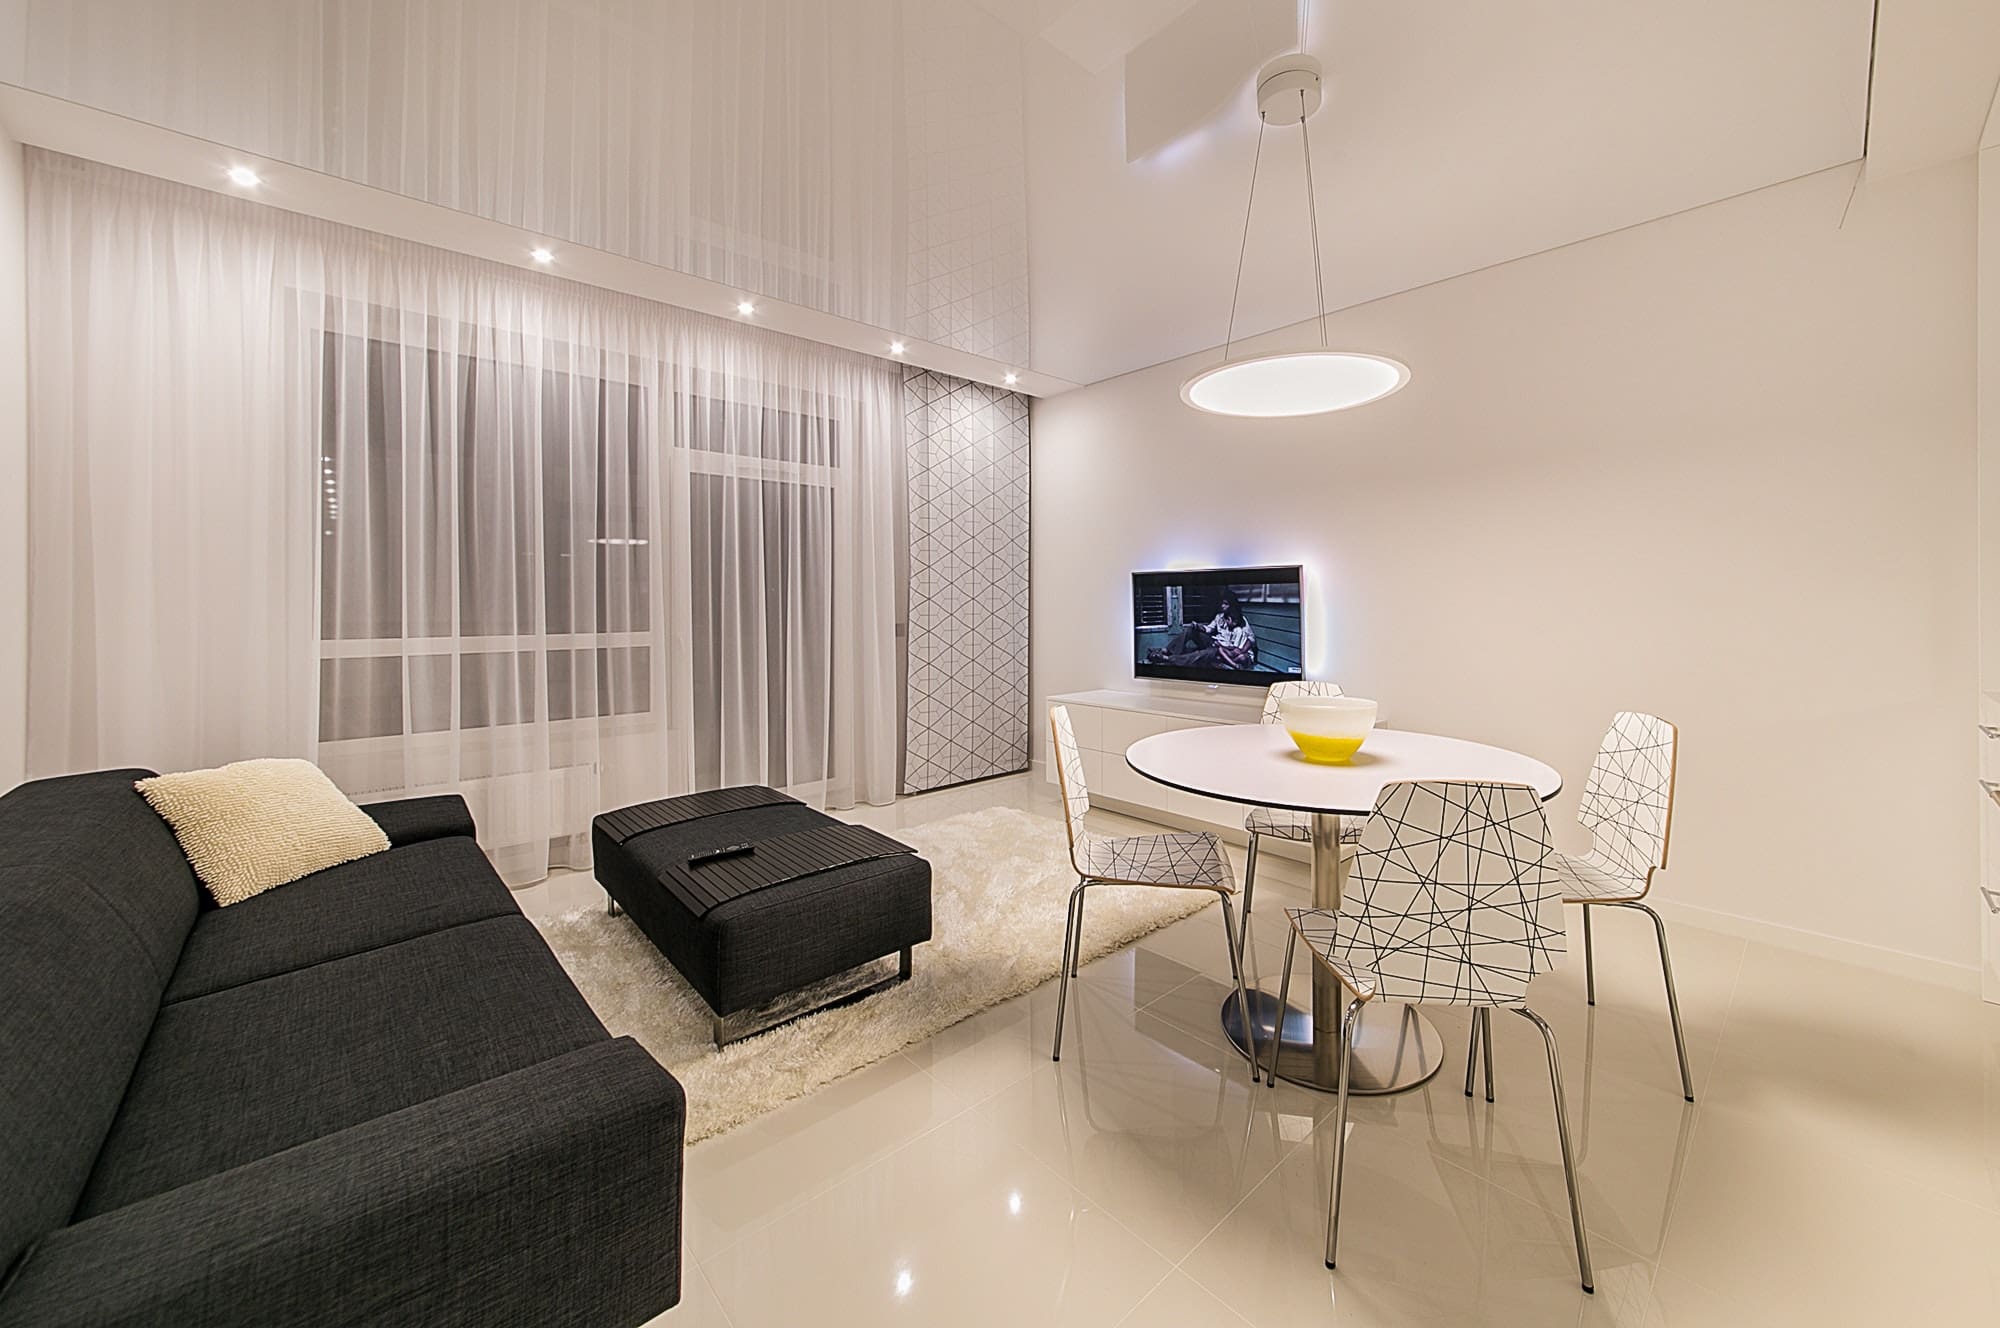
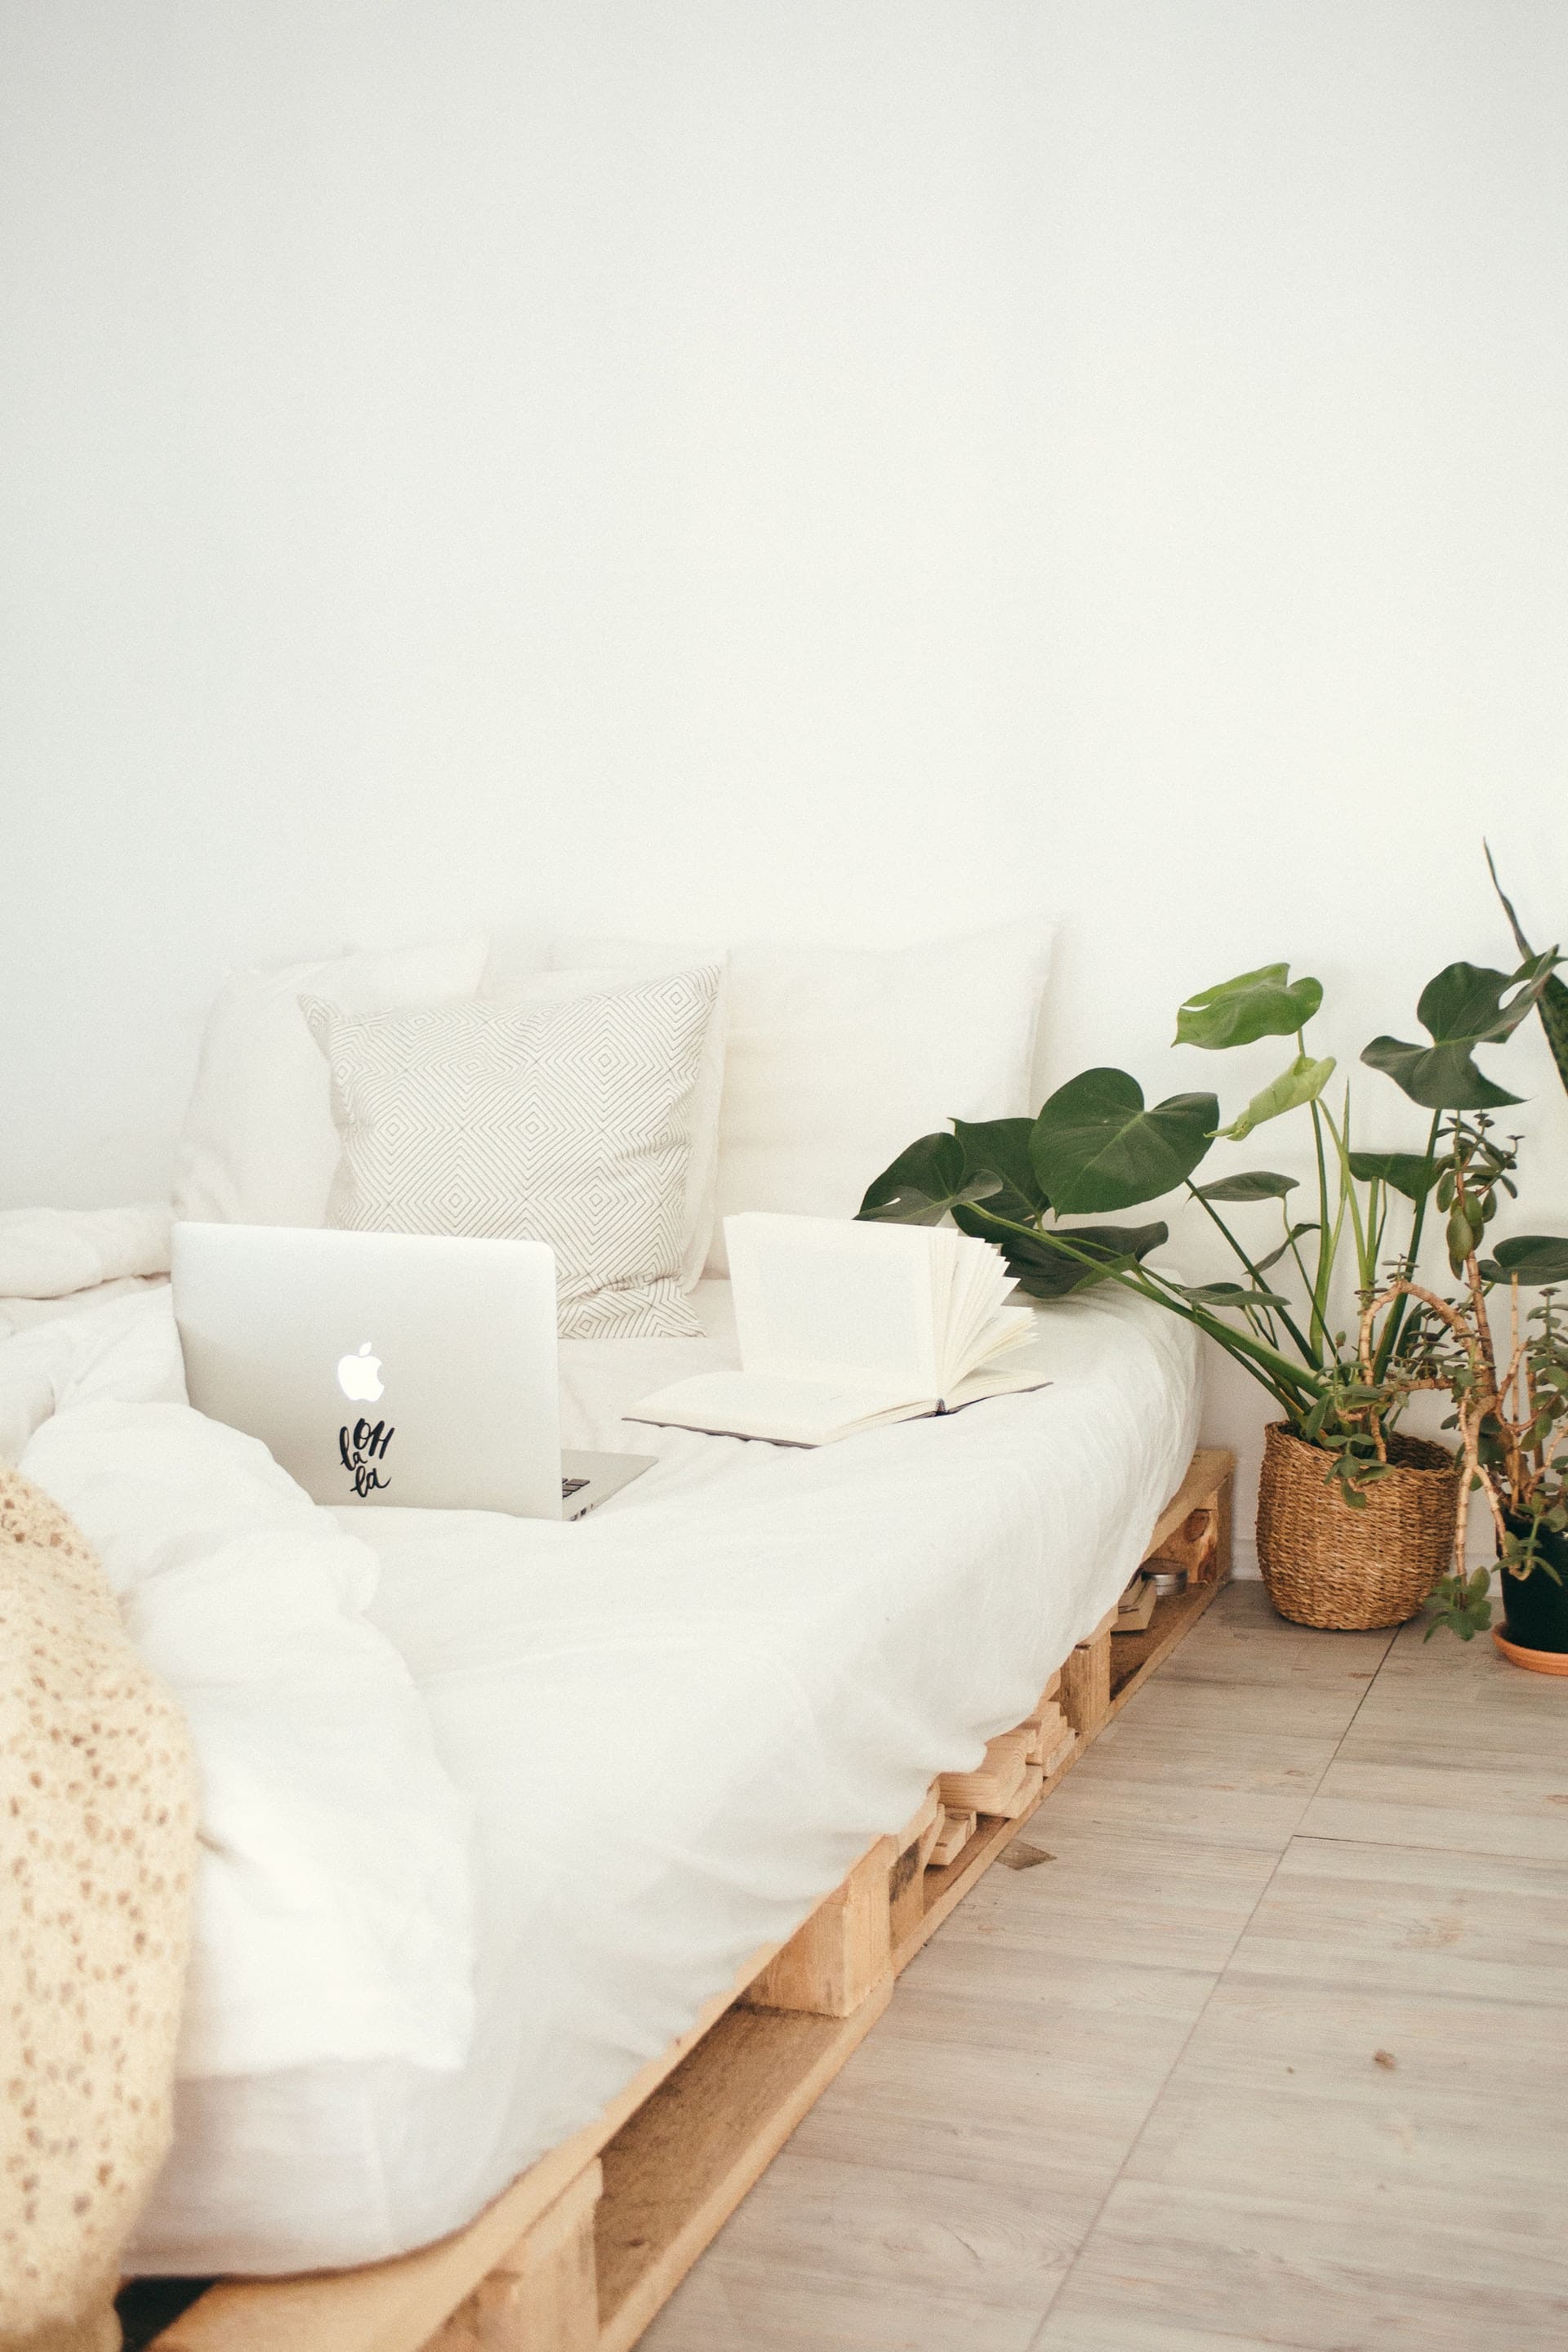
    Creating a relaxing environment

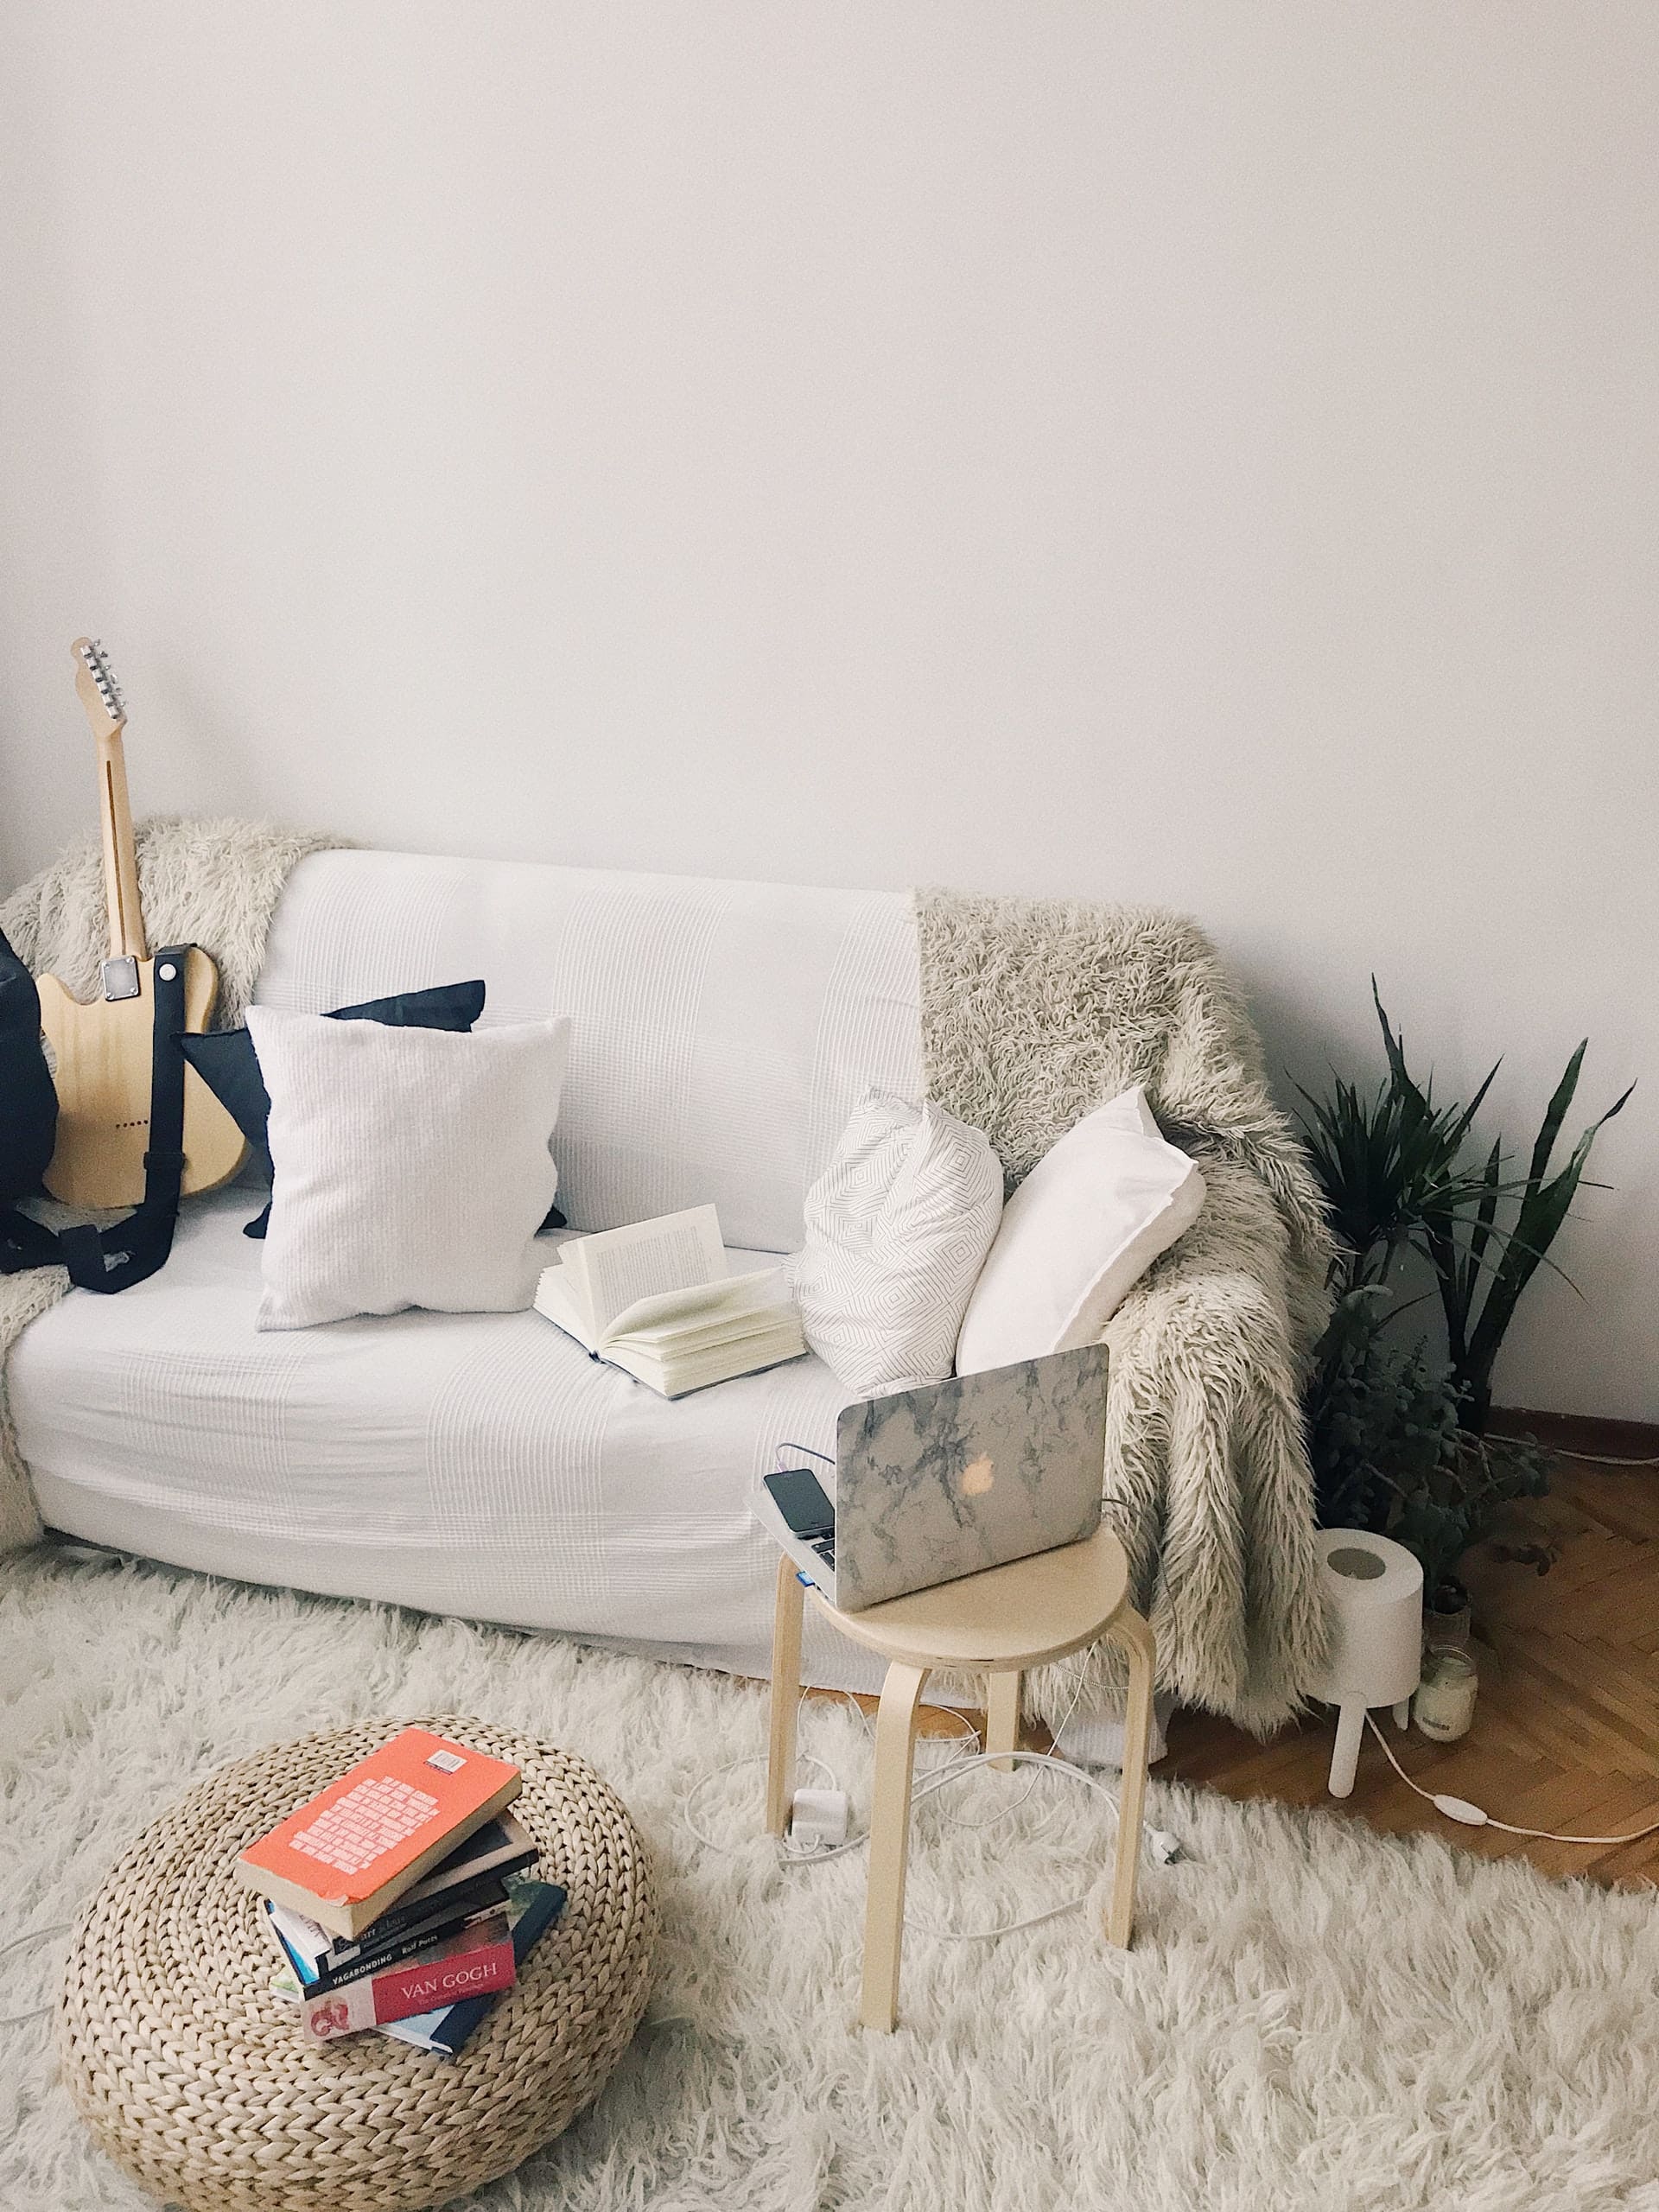
    Irrespective of age, it is impossible to learn effectively in an uncomfortable or intimidating environment. By contrast, human beings in general always achieve bigger and better things when they are comfortable and relaxed. Therefore, this should be the primary focus of any interior designer working with educators.  Creating a relaxed and comfortable environment means considering all furniture, fixtures and decorative touches across the respective space.

    Inspiring imagery

    Kids of all ages adorn their walls with posters of individuals they aspire to emulate in the future. Hence, it simply makes sense to bring the same inspiring imagery into the classroom. It’s one thing to brighten up a classroom with a few random stock photographs – it’s something else entirely to surround pupils with truly inspiring imagery. Something as simple as a few strategically selected sport posters really could make a big difference.

    Improving organisation 

    Effective organisation is essential for bringing order to the chaos that is the traditional classroom environment. This means ensuring not only that everything has its place, but that intelligent storage solutions are used to keep distractions out of sight and out of mind. In educational and business environments alike, it’s a proven fact that chaos and clutter have a detrimental impact on our performance, our efficiency and our capacity to learn. Our moods are directly affected by our surroundings – chaotic surroundings making it difficult to perform in a controlled and effective manner.

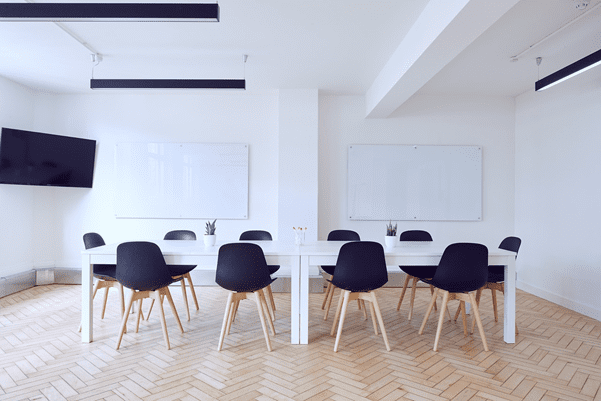
    Making the space functional 

    It’s not uncommon for interior design projects to fall short of the mark by failing to focus enough attention on functionality. It’s one thing for an educational space to look the part – it’s something else entirely for it to do its job properly.  Functionality and practicality go hand in hand, concerning the ease with which pupils and teaching staff can go about their daily business. True functionality can be particularly difficult to achieve where space is at a premium, but must nonetheless be prioritised.

    Creating a healthy and safe space 

    Health and safety in the classroom is once again related to the comfort and confidence of each and every pupil. An educational environment that is clearly safe naturally inspires confidence and productivity. For obvious reasons, health and safety should be the number one priority for educators at all levels. The safer we feel, the more likely we are to gain maximum value from the information and experiences we’re exposed to.

    The personal touch

    Last but not least, it is particularly important for pupils to feel as if they have had at least some influence over the environment in which they learn. This is why interior design projects for schools should always incorporate the element of interactivity. Typical examples of which could include chalkboard paint on specific areas around the classroom, magnet/pinboards for mounting work and so on. It’s all about bringing in the personal touch into the classroom and making pupils feel at home. Just as we adorn our homes with personal trinkets to elevate our mood, it’s exactly the same in an educational setting.

    The Takeaway…

    Every classroom is different, but can nonetheless benefit enormously from a proactive approach to interior design. All too often, educational environments prioritise form over function, or vice-versa. 

    However, it’s only when presentation and practicality are brought together in perfect harmony that the stage is set for effective learning.

  • 5 Tips for Preventing Mould in Your Home

    5 Tips for Preventing Mould in Your Home

    Here’s how to prevent mould in your home 

    As a homeowner, preventative maintenance is the key to maintaining your home’s value over time. It’s especially important to be proactive about mould prevention.

    Mould isn’t only damaging to your house; it has detrimental health impacts as well. Here are five tips for preventing mould in your home to protect your investment and your well-being.

    Find the Problem Areas

    Above all else, mould loves moisture. Take some time to audit your home and determine where the potential problem spots are. Focusing on these areas is a smart starting point when considering mould prevention. Common offenders include spaces near the windows, the basement, and bathrooms.

    If you’re concerned about mould, consider having a mould inspector come to take a look around. They will be able to tell you which areas need to be addressed, as well as outline the most efficient way to remove mould for your situation.

    Prioritize Ventilation 

    Ensuring that your home is well-ventilated is essential for preventing moisture and mould growth. If you don’t have a fan in your bathroom, it’s worth the investment to have one installed. Additionally, use fans when cooking on the stove and ensure that your dryer vent is clear.

    Having an air exchanger in place can assist with ventilation as well. You should also consider having a dehumidifier installed in your basement if you live in a wet area.

    Don’t Forget Landscaping

    While your primary battle against mould growth will take place inside the home, there’s plenty you can do outside for further protection. Use various drainage and landscaping techniques to redirect water away from your home. Not only will this help prevent moisture, but it will also limit your chances of a flood.

    Ideally, your yard will be graded away from your house with the ground near your foundation a few feet higher than the “bottom” of your yard. If you live on a slope or at the bottom of a hill, consider installing a French drain and plants that will help absorb water as it runs past.

    Gutter maintenance also goes a long way to prevent mould growth and moisture in the home. Be sure to clean your gutters seasonally. Keep an eye on your downspouts to ensure that water is exiting where it should instead of overflowing in your eavestrough. Installing longer downspouts that empty water at least three feet away from your home is also beneficial. Finally, practicing rainwater harvesting can prevent moisture while making for cost-efficient and eco-friendly landscaping.

    Upgrade with Resistant Materials

    There’s no need to rip out your walls and replace them if mould hasn’t taken hold. However, if you’re doing renovations, use newer, mould-resistant materials. For example, there are mould-resistant brands of drywall that use fiberglass rather than paper. 

    Rather than purchasing paint on sale, invest in high-quality paint that’s suitable for the area you’re renovating. Paint that’s labeled specifically for bathrooms and kitchens often has added moisture inhibitors. Be sure to add extra moisture barriers when working on external walls as well.

    Dry Your Spills Immediately

    It’s hard to believe that something so small could make a difference in the quality and longevity of your home. Yet, spilling a glass of water and failing to mop it up effectively can cause mould growth over time. The moisture seeps into the flooring and often pools underneath or gets into an area that’s hard to dry.

    When there’s a spill, dry it as soon as possible. For added insurance, use a hairdryer after towel drying. Finally, it’s worth running a dehumidifier in that area for the day following the spill. 

    Mould Prevention Matters

    By following these simple tips, you can prevent mould growth in your home and protect your investment and your family.

  • Small Ways to Save Your Business Money

    Small Ways to Save Your Business Money

    Image by Goumbik from Pixabay

    It is important for every business owner big or small to look for ways to save money. During the last recession, many employees lost their jobs, credit dried up for small businesses and many businesses were forced to close. It’s always smart to utilize different ways to save money and save it for your business during a time of hardship.

    The following are some ideas that will save your small business money. Since energy costs are a large portion of small business expenses, we will begin with those.

    Ideas to Save Energy –

    Image by Methawee Krasaeden from Pixabay

    If you have a commercial building, one of the best ways to save money is to install fiberglass insulation. That will keep your conditioned space cool in summer and warm in winter. Fiberglass insulation is economical.

    Seal all seams in your building with silicone caulk. Important spots to seal have openings that allow outside air and include around window and door frames and at the corners of the building.

    You can buy small foam pieces that insulate behind your light switches and electrical plugs.

    Image by TheDigitalWay from Pixabay

    Ensure that all windows and doors stay closed as much as possible when the air conditioning or heating systems are in use.

    If you are in a cold climate, you may need storm windows and doors to help save energy in the winter.

    All of these ideas keep the conditioned air in and do not allow the outside air entry, saving money on energy bills.

    Ideas to Be Energy Efficient –

    Image by Rudy and Peter Skitterians from Pixabay

    Set the temperature to 68 degrees Fahrenheit in the winter and 72 degrees in the summer. Our bodies adapt to cooler temperatures in the winter and warmer in the summer. This little difference in temperature setting will save money but keep everyone comfortable. There is nothing wrong with wearing a sweater at the office.

    Turn off or reduce the air conditioning or heating when there is no-one working in the office. You will have to think about sensitive machinery, electronics or your water pipes as to how little heating you can get away with in the winter. An automatic thermostat can set the office to be just the right temperature when everyone arrives in the morning.

    The same goes for computers and other electronics that do not need to be on when no-one is working. Many businesses leave unneeded computers powered on when no-one is there.

    Image by Steve Buissinne from Pixabay

    If you have cheaper electricity costs in your area, consider if it is more economical to lower the furnace just a bit more and allow employees to use individual space heaters in their cubicles or work areas.

    Consider a Switch Away from Traditional Advertising –

    If in your industry customers find suppliers mostly on the internet these days, then it may not be cost effective any longer to pay for traditional advertising, like television, radio or print. Consider a strong website presence, a blog and other SEO techniques to drive your company to the first page of the Google search.

    Consider Bartering –

    Symbiotic bartering can help the bottom line of two cash-strapped companies at the same time.

    Consider Telecommuting –

    You can save space and even more energy outlay if you allow employees to telecommute, where appropriate and reasonable.

    Reduce Maintenance Costs –

    Foto de Kuncheek en Pexels

    One school district reduced maintenance costs by having each staff member, despite their rank, throw out their own trash can and wipe their own desk at the end of the work day. Then, maybe the cleaning crew only needs to visit you once a week.

    Purchase Used Equipment

    Downsize Space –

    Do you really need a full-sized retail location or would a kiosk do?

    Save on Insurance –

    Besides getting more bids, another cost-cutting idea for insurance expenses is to simply increase your deductibles.

    Find a Better Interest Rate on Business Credit Cards –

    Image by Shutterbug75 from Pixabay

    The average business credit card rate is now around 15 percent. See if you can use a zero-interest, balance transfer card and pay off any balance within the 12 to 18 month trial period. Click here to learn about invoice templates

    Pay Employees to Provide Cost-Saving Ideas –

    Your employees likely have great ways to eliminate waste and extra expense. Why not pay them a portion of the cost savings for the first year of use of their best ideas?

    All of these cost-saving ideas are far better options than having to resort to letting great employees go.

  • How to Renovate Your Home on a Budget

    How to Renovate Your Home on a Budget

    Want to upgrade your home but feeling a bit hesitant rolling out the paintbrush (or other tools) due to the high costs of such renovations? Well, it is brilliant that you are evaluating your decisions and considering the expenses at stake. This shows you are a smart cookie! You will want to document and plan what of changes to make, what materials you will require, how long it will take and whether you will need to recruit additional expertise to incorporate the renovations. By organising yourself in advance, you will be able to not only manage your home renovation budget but will also be able to monitor where your precious pennies are being spent. This way you will be encouraged to remain within your fiscal scope and not be tempted to go beyond it.

    Now that you have done your research and planning, let’s get ready on how you can give your beautiful property an uplift whilst not breaking the bank:

    • Paint it up

    Nothing breathes new life into a home like a fresh coat of paint! Now if the purpose of your upgrade is to add value to your property as you wish to put it on the market, then try to stick to neutral, even shades to create an impression of space and light. The paint you choose should ideally cater to steamy, hot weather conditions. If it does not, then after the passage of time, mould or mildew could form. 

    Want to know the best part of why painting is an awesome way to upgrade your home on a budget? It is super low cost as you can do it yourself! All you have to do is go out and buy the paint. Okay, you also need to roll up your sleeves and get cracking on the actual painting itself. Get the family or some friends involved and have a bit of fun!

    • Change your kitchen cabinets

    Who does not desire their kitchen to have as much storage space as possible? Take a look at flat pack cabinets. Not only are these easy to assemble but are easy on the pocket as well. A lot of DIY chains near you should have the option of planning your project online via its website. Ideally, there should be a facility at the store that will allow you to book an appointment with their in-store interior decorator. What we recommend is to use a store that offers this service and will also help you take measurements at your home. It is possible that the DIY store may charge you an additional price for this- but will be worth the effort as it will make your life easier in implementing these renovations. 

    • Brighten up your front door

    You can jazz up your home by giving your front door a new paint job. Make sure the paint is weather friendly and will protect the door from the forces of nature. If you are trying to show your house to prospective buyers, then it will be the first thing they see when entering your home and will create a positive first impression. Make sure the colour choice you go for is complimentary to the architectural style and tone of your home. Go the extra mile and insert a letterbox and a fancy door locker to complete the aesthetic. You can never go wrong by adding potted plants to your entrance to create a homely, welcoming feel. 

    • Refresh your cupboard facades

    Yes, we are a big fan of painting your existing furniture as it transforms its appearance completely. How can you begin? Simple. Just start of this DIY project by detaching the door handles and knobs. Soak them in some soap and sugar so they glisten once all the grime and dirt is washed off. Take a fine sandpaper and rub down the wooden and painted cupboard doors. Depending on the nature of the surface, put a melamine or wood primer. Just a quick heads up mate – not every paint job may require a prime beforehand. So just take a look and review the instructions before you begin your work. Once this is done, you can go ahead and start your paint job. 

    • Put some mirrors

    Sticking to your economic budget should be your priority. If stretching it does not allow you to purchase pretty chandeliers or skylights, no worries. Mirrors can serve the same purpose to beautify your home and optimise natural sun light trickling into it. Give this a try: take a decorative mirror and hang it in front of a window. What will this do? It will capture the light and bounce it around the living area. If you put a mirror next to the window, a similar light impact will occur. Magical, is it not?

    If your area is a bit on the cosier side, add in some mirrors to create the illusion of a large vicinity. Placing a floor to ceiling mirror behind your sofa will create the impression that a whole room is present behind it. 

    • Change your bathroom sinks or taps

    Okay, replacing the entire sink maybe just be a bit costlier than you may have originally planned- so perhaps just consider upgrading your taps. Stretch your budget as much as possible to invest in good quality taps as their endurance is longer. Cheaper taps may fade away in colour and require replacement faster. You can check out guides and videos online on how to replace taps if you are doing this for the first time. 
    Showering your house with a bit of love will drastically increase its sales value on the real estate market. If that is not the reason behind your efforts, then shower your home with some love and put in some energy in leaving your decorative footprint behind. You never know how many years you are living there. You deserve to enjoy each and every day that you are there. Whilst you are in the process of upgrading your home, another thing you may want to think about is upgrading your home insurance. All these new changes deserve to be protected! Did your boiler cover just expire? No problem, take a look at Corgi Home Plan and get that. Best of luck in your project!

  • 10 Signs Your House Needs New Siding –  Answers from Delaware Siding Installers

    10 Signs Your House Needs New Siding – Answers from Delaware Siding Installers

    Top 10 Reasons Your Siding Needs To Be Replaced

    Some people think that maintaining the siding of your house isn’t all that important. Well, we interviewed siding installers from Delaware about most common siding issues and signs that you have to replace your siding immediately.

    Unfortunately, many people do neglect their sidings. But paying attention to your siding is necessary, and the best time to do this should be before you spot problems. With our list, we’ll help you keep your siding in its best shape.

    What makes the siding so important anyway?

    The siding of your house is meant to protect it. This is true for all types of siding. To keep your house protected, you need to keep it in tip-top shape. This also helps avoid costly repairs as much as possible. 

    Here are the signs that your siding needs repairing or replacing from the best Delaware siding installation companies.

    There is severe fading already

    Sidings are designed to maintain their color for as long as they stand. If you notice it fading drastically, this may be a sign that your siding is no longer waterproof, and may need replacing.

    There are soft and warped spots around

    Be sure to check out every part of your siding frequently. If you find warped areas in your siding, insert a screwdriver or narrow tool under your siding to confirm that behind it is still solid. If the siding inside is no longer solid or is soft, it may be a sign of rot. A rotting siding should be replaced – Richard A. Garcia, a siding specialist from New Castle County, Delaware. 

    Fungi are dry rotting the siding

    Certain signs are not immediately visible to us, and dry rot is one of them. This is because dry rot is caused by fungi which eat at the siding body as well as its inside. It starts under the surface and often does not affect the outermost layer, making it hard to notice from afar. It is very possible that the siding looks to be in good condition from outside, but has rotted away on the inside.

    Dry rot can be detected by using a rubber tool handle to tap against your siding. If you notice any decay the parts affected are best replaced immediately to avoid further spreading. If the dry rot has spread too far, your best option is to re-side your whole house – AlbertWoodSiding Company, Delaware

    There are bubbling spots 

    If you spot bubbling in your siding, there almost definitely water trapped beneath it. This is a symptom of a much bigger problem since sidings are designed to prevent moisture from entering your interiors.

    The siding has holes

    If you spot holes of any size, especially small ones, inspect your siding carefully. These sorts of holes could be caused by insects. Insects may have gotten into your siding, but these holes also damage it. Damaged sidings also risk moisture entering – Legacy Service USA, siding installation in Wilmington, Delaware

    The energy bill is getting more expensive

    If you’ve noticed that your electricity or energy bills are suddenly getting higher due to needing more internal heating or cooling, you should check out your attic or roof for any problems. If neither of these is the culprit, then the problem may be with your siding. 

    House sidings are meant to have excellent insulation. If your energy bills are escalating, it could be that your insulation is weak, or your siding is underperforming. Check the edges and seams of your siding if they are allowing drastic temperature changes in your house.

    You end up repainting the siding too often

    It can be a concern if you have to repaint your siding as often as every 5 years. If your siding is good quality, repainting should not be a problem; it should maintain its coat and shape for around 8 to 10 years. If the paint ends up chipping, peeling, or cracking sooner than that, you might want to replace your siding with something of better quality.

    There is significant peeling paint or bubbling wallpaper

    If you notice any paint peeling or wallpaper bubbling or loosening inside, the problem may be with your siding. Sidings are meant to keep moisture out, but peeling paint or loose wallpaper are caused by moisture entering your siding. Inspect the quality of your siding if this happens – Jeff H. Smith, Siding master from Montchanin, Delaware.

    The fungus is growing on the siding

    Check around the seams of your siding for any sort of growth. If found, there could be water trapped on the inside of the wall. Trapped water can cause mold, mildew, or even fungus to grow on your siding. This in itself is not very urgent, but it may cause further problems such as rot.

    The siding boards are damaged

    It is normal for a couple of boards to crack or loosen after a storm. In this case, simply replace these boards before they cause further problems. When doing this, make sure that everything under the siding is intact as well.

    Any more than that, though, it is best that you inspect how far the damage is. If you have large sections of siding that are coming loose or showing cracks, you may need to hire a professional contractor to get this fixed.

    Nevertheless, replace whatever damaged or lose boards you have. This ensures that moisture and water will be kept out of your house.

  • Comparing Junk Removal and Dumpster Rentals

    Comparing Junk Removal and Dumpster Rentals

    Everyone’s home has an attic, basement, or storage room that seems to become the catching place for old stuff. Maybe it’s broken appliances, maybe it’s outgrown clothes, maybe it’s furniture that no longer fits your aesthetic. In some cases, you may even have old construction debris, old carpeting, or some DIY project leftovers. 

    What happens when that space gets filled up? Sure, you could haul it all away to the dump, but few people have the time or the vehicle to tackle this job. So then you’re left with comparing whether to hire a junk removal service or to rent a dumpster. Both will effectively empty your storage space, but these hauling services work in very different ways. 

    What Is Junk Removal?

    Junk removal means hiring a hauling service to come to your home and carry away your old junk. The companies that do this frequently bill themselves as the solution to all your problems, but there are a few things you need to know about this service before you start.

    First, they don’t take everything. 

    Did you have a flood and now you have some moldy carpet to dispose of? They won’t take it. 

    Oversized items? They may take it, but they’ll charge you more. 

    Have some old furnishings that have splintered or that have nails sticking out? They may not take those either, or they may require you to clean things up before they do. 

    They do take dirty carpet rolls, old furniture, some types of construction debris. They just won’t handle anything hazardous, and you need to know up front how much you’re disposing of. If you think it’s just going to be some old carpeting and a few shelves, but when they arrive you decide to also pitch some old appliances or lumber, you may need to schedule a second pick up, which means extra fees. 

    They also often won’t touch environmental hazards, so if you have any E-waste, they often won’t take that either.

    The plus side is that they will often haul the junk for you, so if they do take it, you won’t necessarily have to carry it out of the house. This can be a bonus for some elderly or disabled individuals who want debris removal, but can’t do it themselves. Unfortunately, those same people may be left with things that the removal service just won’t take. 

    What Is a Dumpster Rental?

    Dumpster rentals work differently. In this case, a company will bring a dumpster to your home and set it on your property for a specified amount of time. You fill the dumpster, and then either call for a pick up, or at the prearranged time the company will return and take it away for you. Like junk hauling services, they do the actual removal of the waste from your property. The difference is that you are in control of what’s going into the dumpster. 

    Dumpsters are filled by you, so if you’re comfortable picking up E-waste, moldy carpets, or some splintered wood, you can simply toss it in. And because dumpster rental pricing constitutes you have the bin on your driveway for a set period, you can take your time in the clean out. You don’t need to have things ready to go the minute it arrives; you can do things on your time table. And if you uncover some things that need to go that you didn’t catch the first time around, you can always toss them into the dumpster as long as there’s room. 

    This gives you a greater flexibility in how you get the junk removed from your home than a removal service. You can go slow, take breaks, clean things out over the course of several days, or get friends and family to come help on their schedule, rather than the schedule of the removal driver. 

    You also don’t have to worry about strangers coming into your home and looking through your stuff or potentially damaging things as they remove something else. The downside is that you do have to get the junk and debris out of your house and into the dumpster yourself, but with the added time, many people find that it’s an easier process, particularly if you have a significant amount of debris to remove. 

    Get Junk Removal That Works for You

    Removal services are designed to help get unwanted trash and debris out of your home. Whether you’ve just finished a remodel or you’ve just got an attic that’s been collecting junk for years, when you’ve decided to make a clean slate, you need a way to transport this debris. 

    Both debris removal service types will get your home cleared out, your decision will come down to your preferences, schedule and capabilities. At the end of the day, either option won’t chew up your weekend like running back and forth to the landfill would.  

  • Step by Step: How to Change Your Air Cons Air Filter

    Step by Step: How to Change Your Air Cons Air Filter

    Whenever the seasons start to change and the temperatures rise or fall, it’s time to do some maintenance on your air conditioning unit. Regular maintenance will ensure that your air conditioner continues to work properly even when it’s working its hardest. One of the easiest ways of keeping the unit in check is by changing the filters every three months – here’s a step by step guide to changing the filters.

    Male pushing a clean air filter into place in the ceiling with both hands. One fresh furnace air filter being secured in the intake grid of the white home ceiling.

    Before you attempt any work on your air conditioning unit, make sure you check the user manual for your specific model, so you know which kind of filters you need to buy. There are several shapes and sizes of filters available so choosing the correct one for your particular model is important. 

    Step One

    Before you start any work, turn off the air conditioning unit before carrying out the maintenance as you don’t want it to start while you’re taking off the panels or changing the filter. 

    Step Two

    Check where the filter is by looking at the ductwork – you’ll be able to see the ductwork coming into the internal unit, which brings the air in, and then coming out of the unit where the air is blown out into your home. The filter should be situated between the ductwork, although some systems have small panels which lift off to reveal the filter. 

    Step Three

    Once you’ve identified where the filter is, look to see what kind it has installed – most filters have the dimensions on the side to ensure the ones you purchase are the right fit. Purchasing a filter that’s too large or small can result in gaps which will let dirt and particles of dust or debris through, which can cause your air conditioning system to burn out, so make sure that if you have a 30x30x1 air filter, that you make sure you buy a new one that is also 30x30x1 inches.

    Step Four

    Remove the old filter and put the new one in, paying close attention to the arrows on the sides of the filter. These point in the direction where the air is flowing. If the ductwork which brings air into the unit is on the right, ensure the arrow on the filter also points right. You can then return the panel and switch the unit back on to check it’s working correctly. 

    Alternatively, if you open the panels and find that the filter is washable, then you don’t need to replace it but rather you can take it out to clean it and then replace the filter you have. Washable filters are more vulnerable to error in terms of installing them so it may be more convenient to replace them with regular filters if you’d rather not deal with cleaning them. However, these types of filter are easy to clean just by washing them outside using a hose or putting them in the shower to spray clean with the shower head. Make sure you spray in the opposite direction of where the air enters the system to remove the particles instead of pushing them further into the filter. 

  • 5 reasons why you will do more if you write down your plans

    5 reasons why you will do more if you write down your plans

    One of the most popular sayings among motivational speakers now, especially those in academics is, “The faintest pen is sharper than the brightest brain,” and this could be said to be relatively true in virtually all situations where it can be applied. This famous quote implies that it is best for everyone to note points or ideas down in written form than store them in their brains, hoping to remember when the need for these ideas arises. 

    When it comes to essays in particular, especially for college or high school students, writing is especially considered a tedious activity. This is why you have a lot of them asking their friends, “Please help me write my essay”. More often than not, they go online to search for essay writing agencies like PapersOwl, which would write their essay for them.

    While this post might seem little directed at essays and college students, it actually isn’t. It actually looks to highlight some benefits of writing down your goals. This is an integral factor if one is to achieve the goals that have been set out, and this process should begin right from the conception of the idea in the mind all the way to its actualization.

    A very good instance of this would take us back to academics and particularly a college student that has been given an essay or paper to write. The average student that is familiar with the reason why should you write your goals down and knows that the most important step of any essay writing is to find out how to write an essay outline, either by going online or by getting help from someone familiar with the process.

    To buttress the few explained reasons as to why individuals should write down goals, explained below are 5 cogent points:

    • You derive clarity: Writing down points, processes, ideas or goals affords you the opportunity to take a second and critical look at your intended deliverables. At the point of writing, the goal begins to crystallize before your eyes. This, for sure, is the first benefit you get for writing down your goals. Achieving a goal is similar to taking a trip. Writing down this goal is similar to concluding on the travel destination. Knowing your travel destination definitely sets the path straight for how to pack, time of departure, possible expenses to be incurred, and it is exactly the same for goals. Writing them down gives you a skeletal idea of the other components that need to come in place for the goal to be achieved.
    • Helps you gather resources: After you write down goals, the next thing that comes to mind are things that are needed to be done in order to achieve them. Since no man is an island and resources aren’t always at one’s disposal, it is usually pertinent for anyone looking to achieve their goals to get the resources needed to achieve the objectives set out before the final goal is achieved. At this moment, the points written down help display where your strengths and weaknesses lie, how you can harness the strengths and get help where they are needed – especially in areas where you might be lacking resources.
    • Drives you to action: At this instance, every benefit of writing down your goals is simply a chain reaction of the first step taken in this regard. The writing was only the beginning of the process, articulating the plans aren’t even enough until actual actions are taken. Reviewing the first and second steps of writing the plans down, determining the necessary resources and workforce needed to execute the plans all lead to the part that actually matters, and that is the execution. As we very well know, “talk is cheap” – it is the actions taken to actualize the talks and all the plans that really matter.
    • Gives you enough reasons to finish: If you have been able to go through the first three steps successfully, then one of the benefits of writing down your plans has been achieved at this point – a reason to finish. Hardly would anyone have gone through those and start developing a reason to procrastinate. Asides that, the moment you begin documenting your ideas when new ones come, you can always append them to the pending ones and make them all work together in order to achieve your desired goal.
    • You will definitely finish what you have started: As they say, “Little drops of water make an ocean.” A cumulative of all the steps taken point to particularly the first and most important step, which constitutes the entirety of this article – writing down your ideas. This is meant to motivate every individual to complete the journey they have set out to embark upon which is to achieve the desired goal.

    In conclusion, it has been noted that a larger percentage of people who write down their plans actually go on to achieve them because psychologically, the mind gets to work out deriving methods as to how a written idea can be executed. So make it a point of duty to write down your ideas when they come so you can get the best out of them.