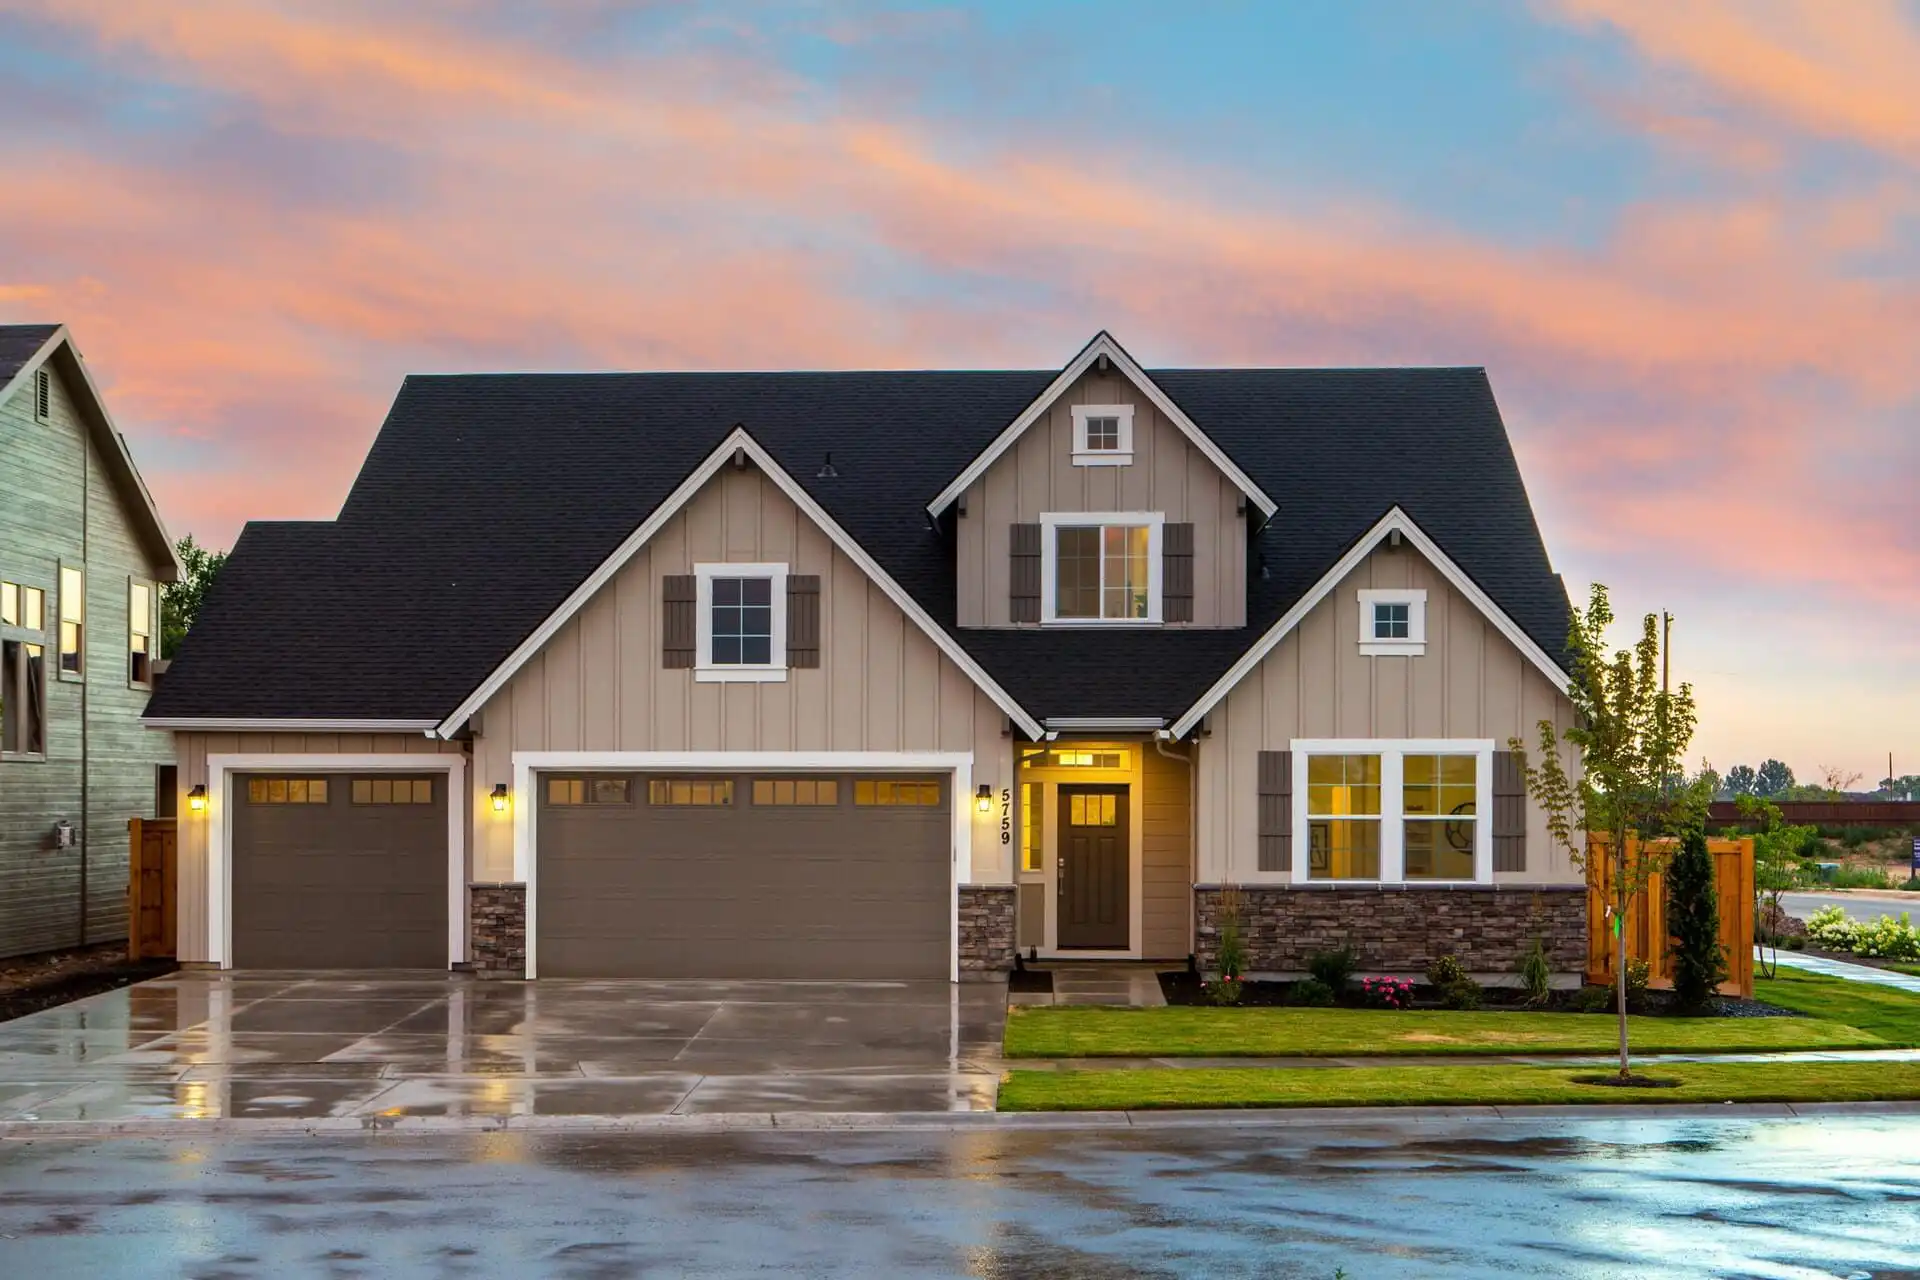
Walls alone can never make a complete house without a sound roof over them. So, roof is the most important part of the structure which converts the walls into a house. It infers that the roof of a house must be strong and solid enough to last for at least fifty years to come.
Yet, it happens at times that roofs do suffer from damages like leakage and breakage due to certain factors regarding the severity and extremity of weather and climate. The leakage can spoil a roof years before the actual time the entire roof should be replaced. The reasons behind the leakage may be localized damage such as missing shingles or shakes, cracked shingles or a blistered or cracked area if the roof is flat. You may repair a damaged roof yourself or may consult with some professionals like roofers downriver mi, etc. for an up-to-the-mark work.
We have worked out the following route to give you the top five tips to get your damaged roof properly repaired by yourself.
- Check your roof above the water marks on the ceiling.
The hardest problem regarding the repair work is to trace out the actual spot of leakage on the roof. Once the leakage is traced, it is quite easy to repair the roof by following the tips given below. In order to trace the leakage-spot on your roof, follow the water marks on the ceiling and then try to trace down the real spot of leakage inside the house. In case you have an attic, take your flashlight over there and look for water spots or mold. If you find the location of any evidence, inspect the corresponding spot on the exterior of your house.
In case of a slanting roof, always inspect the areas a bit higher than where there is an interior evidence of the leakage. Owing to the gravity, water travels down the point of leakage on the roof.
Further still, if you are unable to locate a leakage, run a hose for a couple of minutes along various areas of the roof. Appoint a person inside to inform you the moment the water spots itself out.
- Inspect the widespread wear and tear
You must evaluate the overall condition of your roof by looking for the curled or missing shingles at the leakage-site. You must be very much vigilant about the missing shingles, wide gaps, huge vents and other signs of widespread wear and tear.
Easy fixes include repairing one or two broken shingles and resealing minor gaps if any. However, a widespread rot or mold on your roof boards or trusses may require a professional roofer to fix the major structural issues.
- Straighten the curled shingles or reattach them
Usually, the corners of asphalt shingles begin to curl over the years. You should smooth out the curled edges of the damaged shingles and apply a dab of roof sealant under the raised corners with the help of a caulking gun. Then you should press the shingle down and cover the shingle’s edges with the roof cement by using a trowel.
Here, you must be careful to soften a curled shingle with a blow dryer instead of using a heat torch or any other heat source. Otherwise, you will destroy the shingle altogether.
- Get a clean crack repaired with a roof sealant

A shingle with a clean tear never needs be replaced. Instead, you may repair it by applying a thick bead of roof sealant over the crack with the help of a caulking gun. After you press the shingle down, another bead of the sealant over the crack will do the magic. Spread the top bead over both the edges of the crack by using a putty knife.
Sprinkle a small amount of asphalt granules, scattered around, over the sealant to disguise your repair. It will readily match its color with that of the shingle.
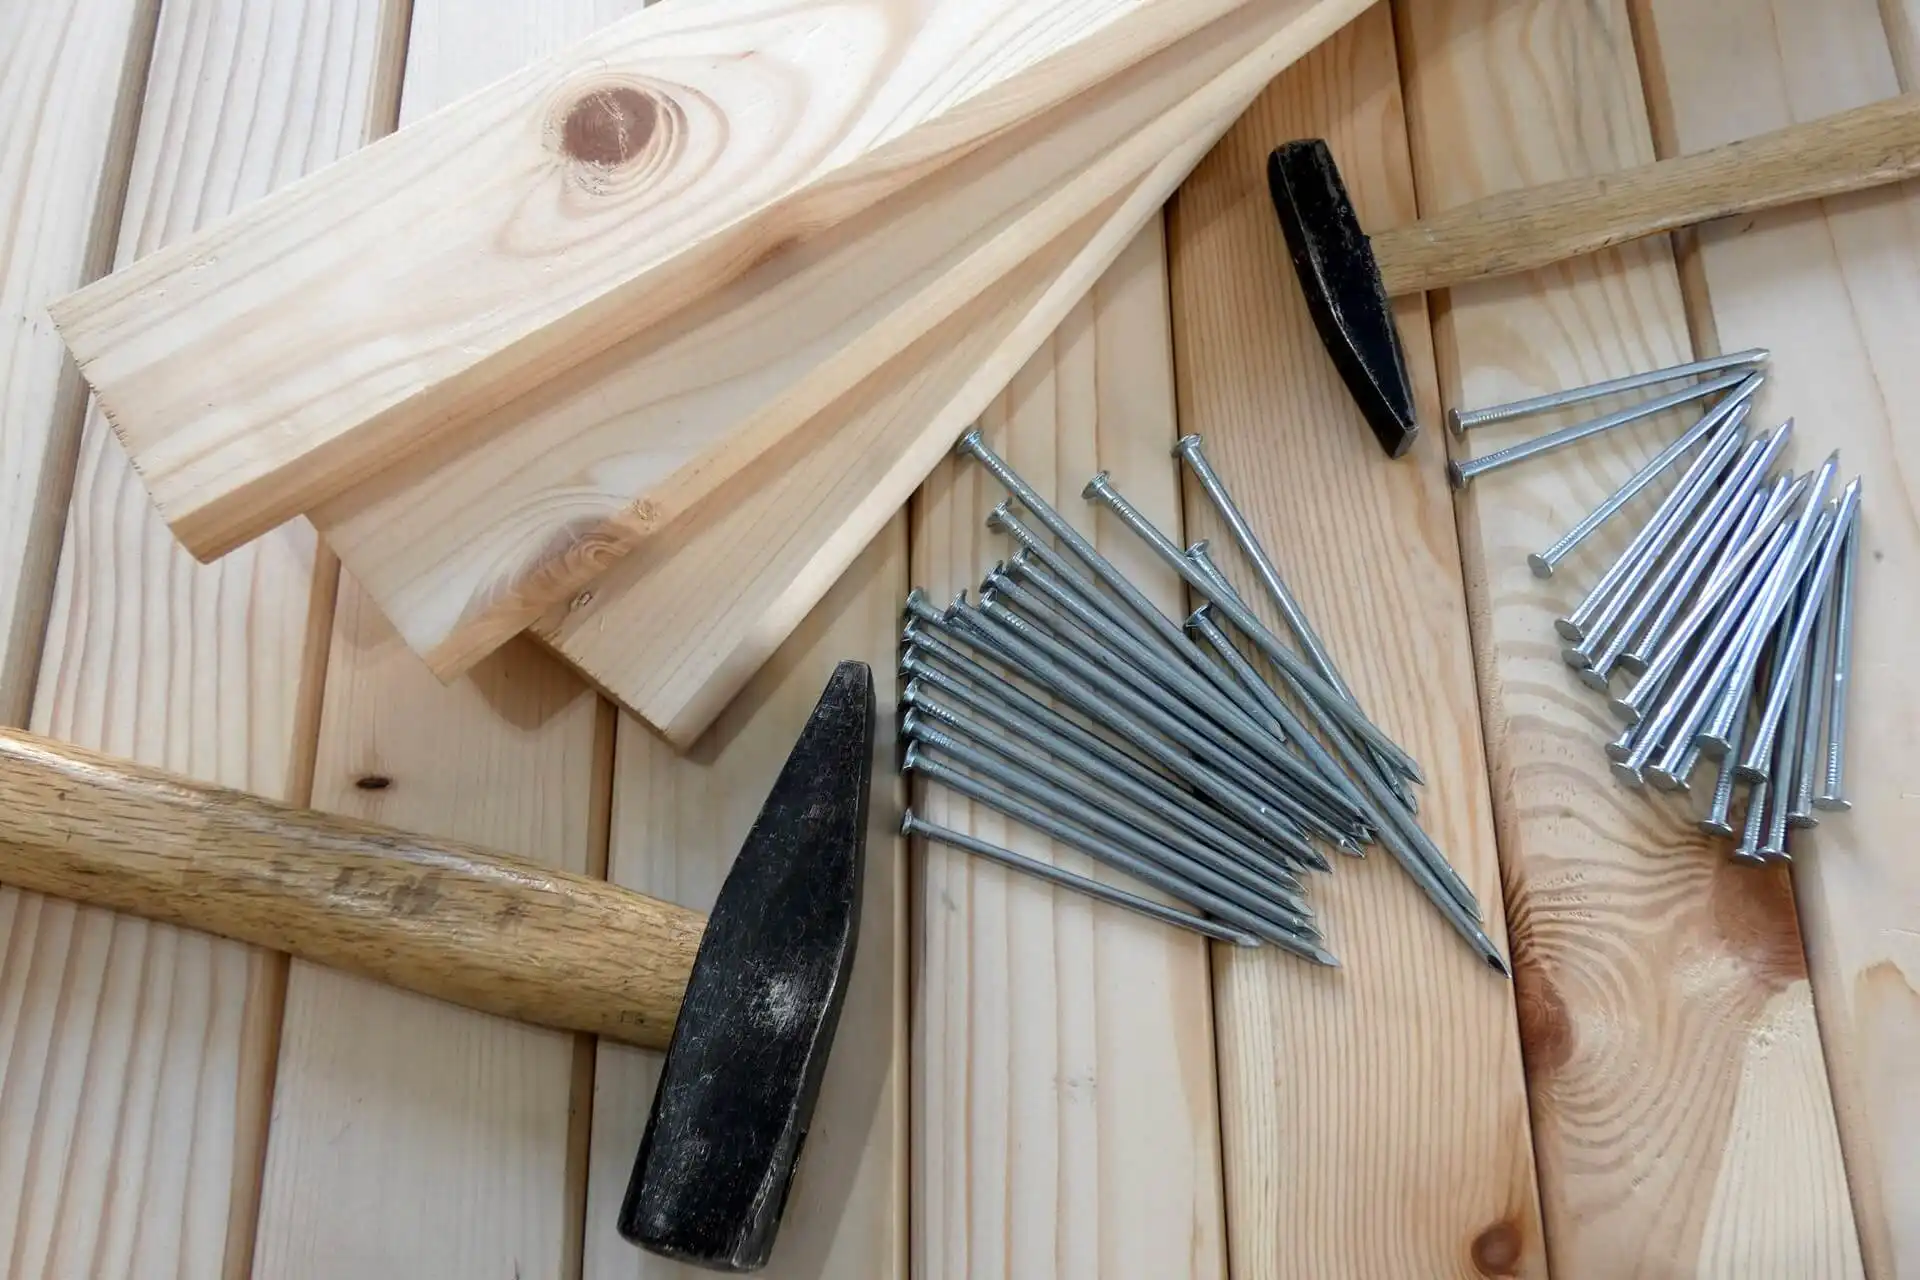
- Replace the totally broken or missing shingle
Immediately manage a matching replacement if you find any of your shingles badly broken or missing. Use a pry bar to lift the edges of the shingle above the broken one very carefully. You may remove the nails at the four corners of the broken shingle by using a hammer. Slide the broken shingle out and remove any leftover cement by scraping the area beneath. The back corners of the new shingle should be rounded with the help of a sharp utility knife to make it easier to install. Also, drive carefully 3.2 cm galvanized roofing nails into the new shingle’s corners after sliding it into the right place.
In the end you should use a trowel to apply the roof cement over the edges of the new shingle and the nail heads.