Category: HOME

  • What Should You Check When Buying Soundproof Products for Your Home

    What Should You Check When Buying Soundproof Products for Your Home

    Although not all soundproofing solutions are made equal, selecting appropriate soundproofing for your home is critical. While all soundproofing systems provide an aural barrier between the source of sound and the receiver, there are many variables to consider when determining the best noise control option for your business.

    Image by Dieter_G from Pixabay

    To know about all the advancements in soundproofing technology, check out quiet products guides online.

    What Are the Safest Options?

    Sound curtain absorber material affixed to a concrete wall absorption, transmission loss materials, vibration isolation, and dampening are the four types of soundproofing materials. The first two are for a sound that travels through the air, while the final two are for a sound that travels through solid matter.

    Image by Kikky Xiong from Pixabay

    You require lightweight, fibrous, and porous absorbers, in particular. Glass fibers, foamed elastomers, and acoustical ceiling tiles are examples of materials that meet this criterion. These may be utilized as wall linings, ceiling linings, muffler linings, and enclosure linings.

    Due to their limited capacity to regulate sound transmission, absorbers are not appropriate as full-fledged barriers or walls. Transmission loss materials are preferable for this, but you would need the help of experts to install them correctly.

    Factors in the Environment

    Some types of soundproofing are more suited to particular settings than others. A dusty construction site, for example, will require a different soundproofing material than a professional private office. Examine the following aspects in your facilities before deciding on a soundproofing option:

    • Moisture levels or water immersion
    • Dirt, oil, and grease content
    • Vibration intensity
    • Temperature
    • Erosion owing to fluid flow is a possibility.

    Regulatory Constraints:

    Soundproofing materials are regulated in certain towns and districts. Consult an expert acquainted with the laws in your region before installing any sound control. A few rules to think about for your application are listed below.

    • Limits on the pace at which flames propagate over sound-absorbing materials
    • Limitations on the fire resistance of sound-absorbing materials
    • Shafts, ducts, and pipe run all have firebreak requirements.
    • Material requirements to prevent disinfection damage
    • Limitations on the amount of sound-absorbing material that may come into contact with processed foods
    • What materials are permitted or prohibited in your kind of facility?
    • Limits on how many airborne fibers sound-absorbent materials can shed

    Location:

    The kind of soundproofing required is also determined by the space to be soundproofed. Is the sound coming from within or outside the room?

    If the noise is coming from within, the soundproofing system must function to keep it contained. If the sound is coming from the outside, soundproofing must prevent it from passing through walls, ceilings, floors, and other physical obstacles.

    OLYMPUS DIGITAL CAMERA

    Desired Sound Level:

    The last consideration is establishing the desired noise level once the soundproofing system has been installed.

    • Do you want the noise to be minimized, contained, or eliminated?
    • Which choice is the most effective in terms of achieving your goal?
    • Is soundproofing going to be temporary or permanent?

    Types of Soundproofing Materials

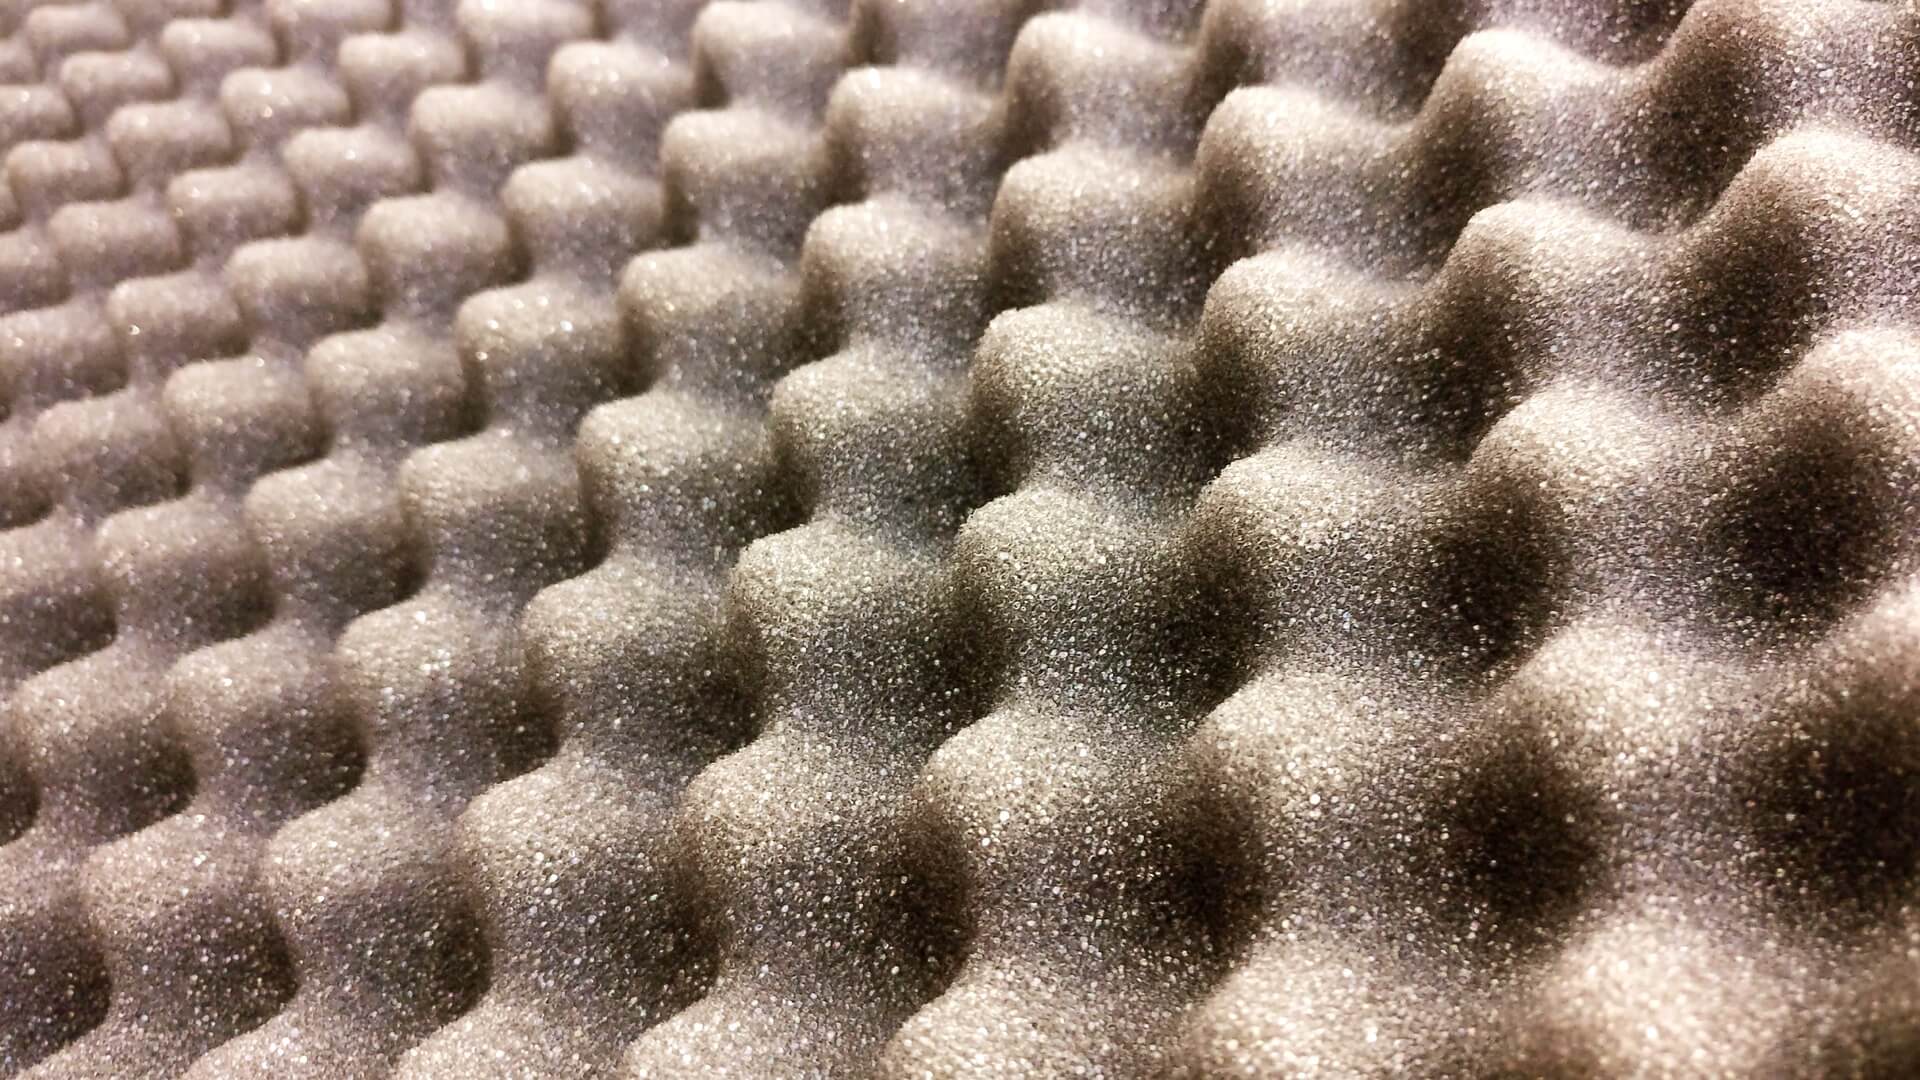
    Acoustic Foam – Also known as Studio Foam, this material has a unique pyramid form that is extremely efficient in sound absorption. They may be mounted on the wall as panels, suspended from the roof as baffles, or placed in the corner.

    Acoustic Panels- These are ornamental sound-canceling panels and sound absorption foam alternatives. You can get them in a variety of attractive colors, designs, and materials and can be used both at home and at work.

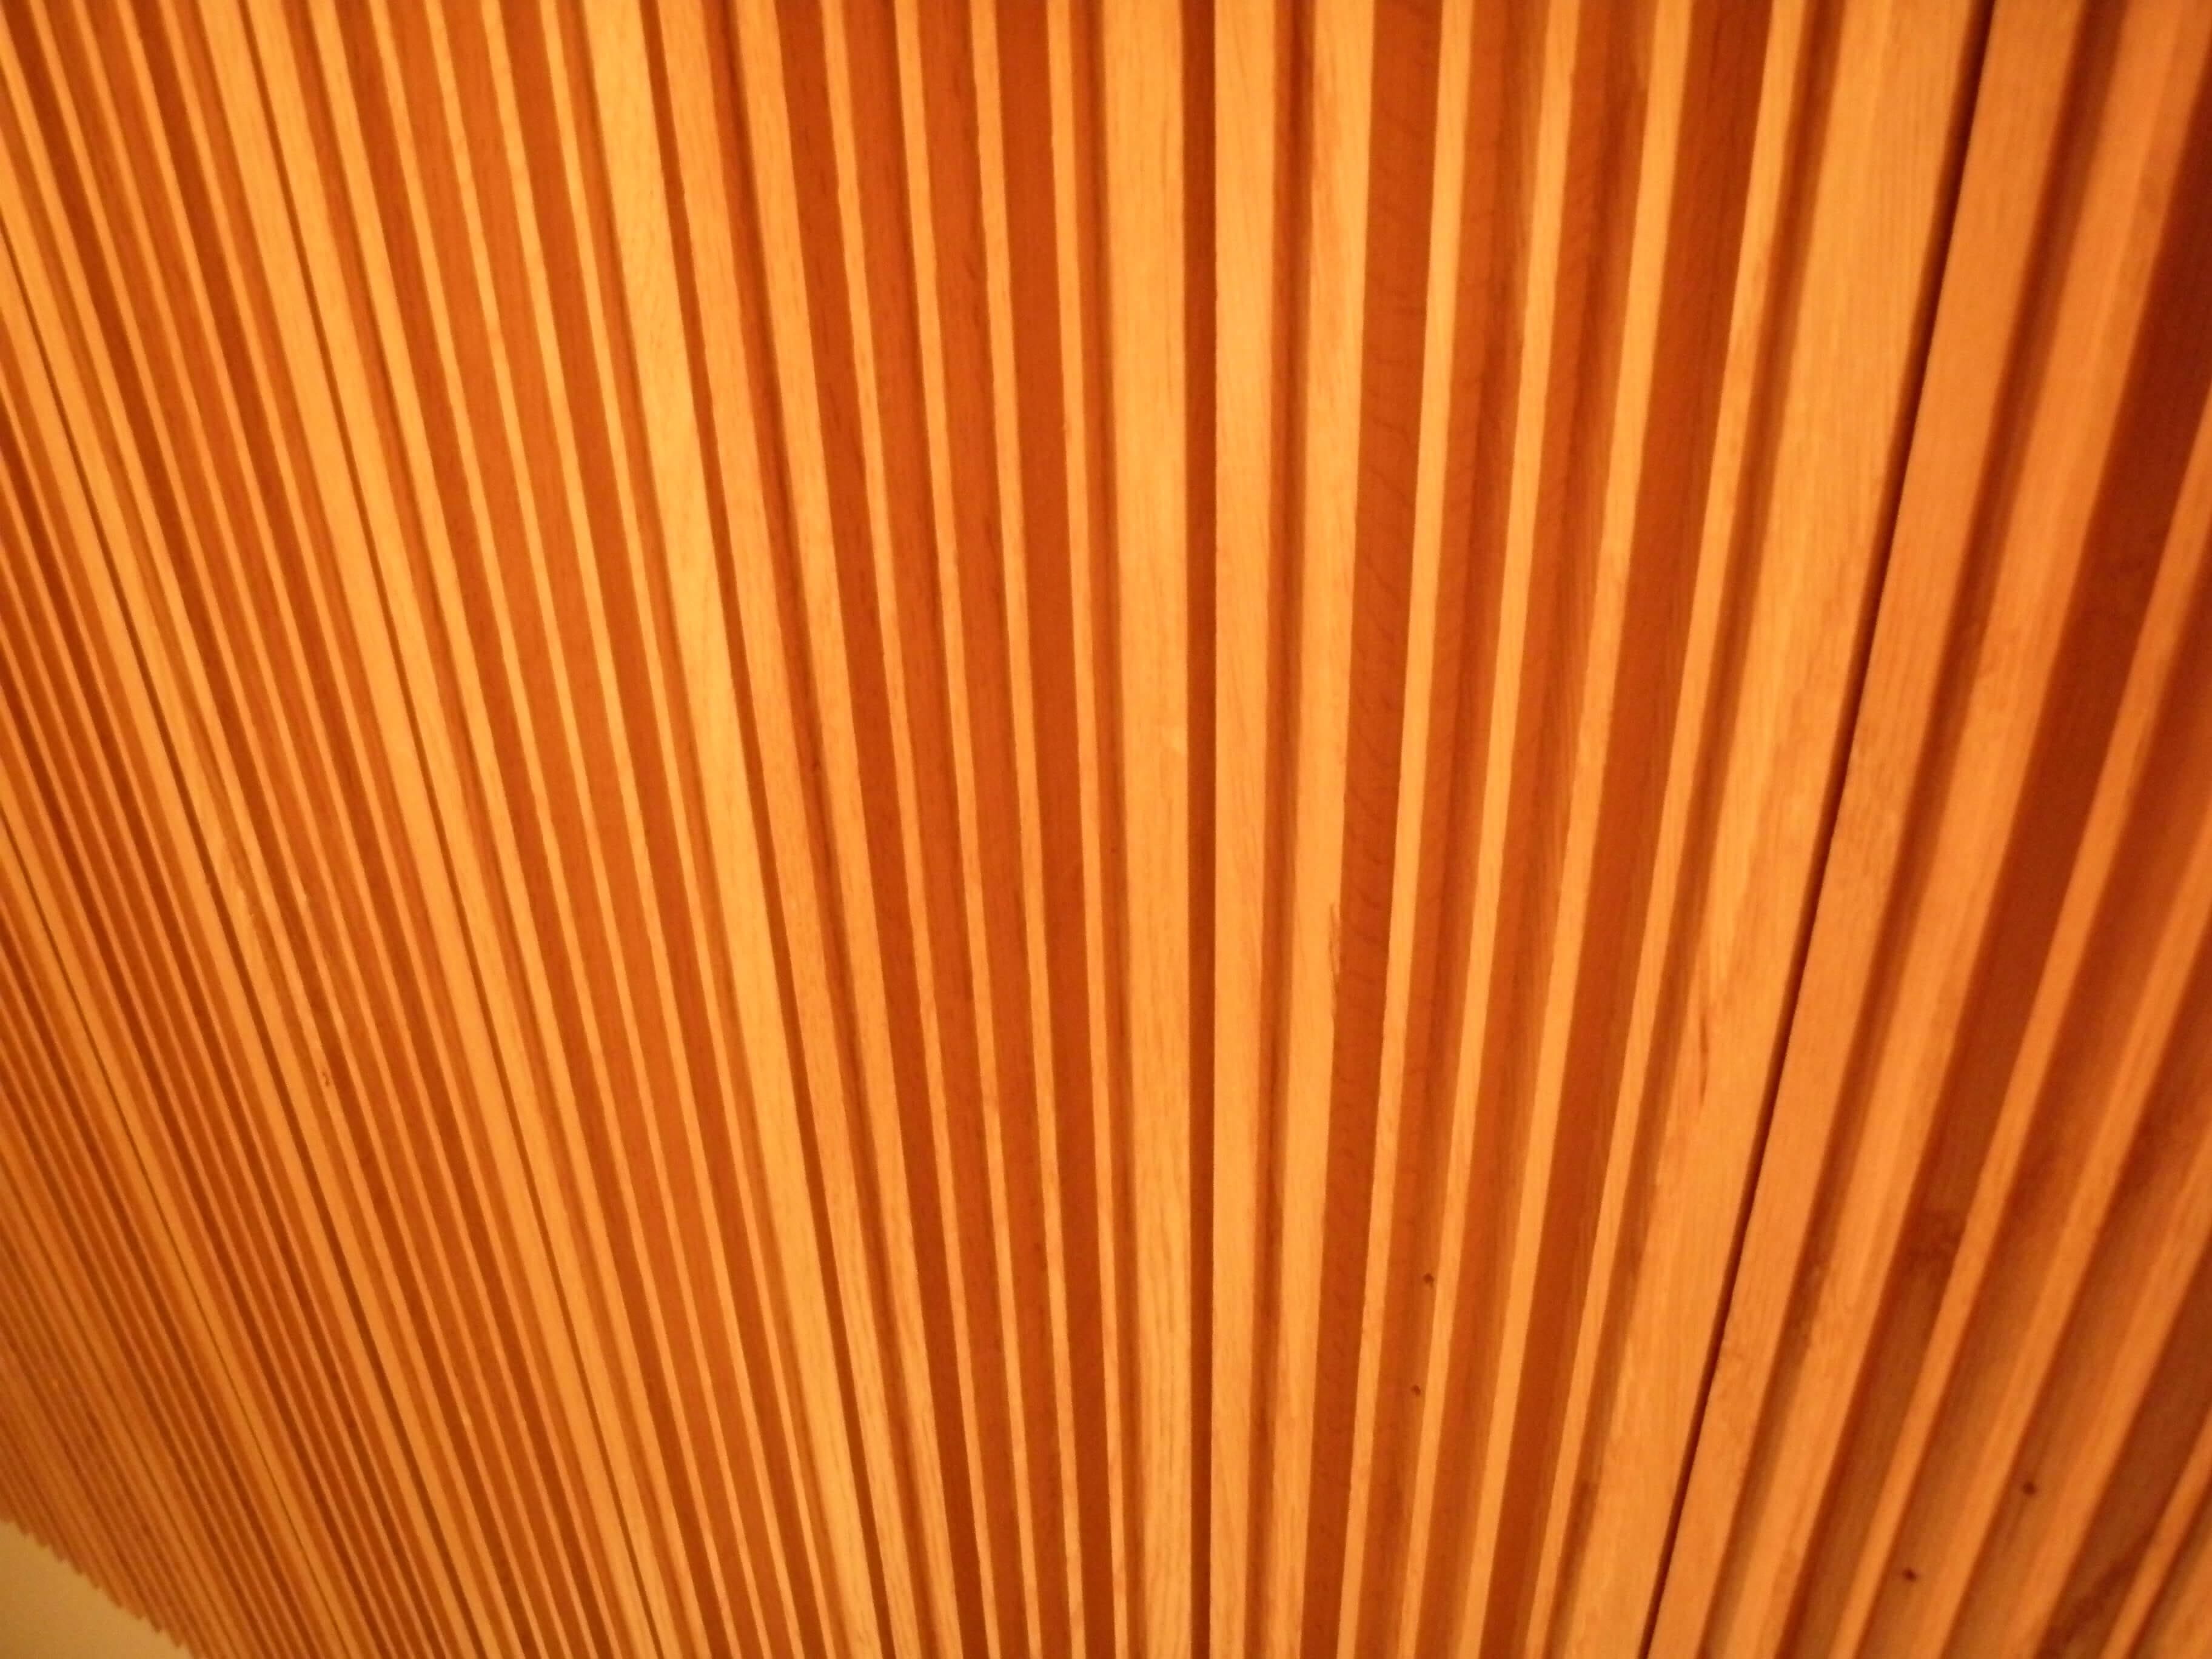
    Acoustic Textiles – Used in theatre curtains, noise-absorbing curtains, rugs, and blankets, acoustic fabrics are thicker and heavier than conventional fabrics.

    Acoustic Coatings – Mass Loaded Vinyl (MLV) is a thick rubber-like substance utilized in various applications, including vehicle soundproofing, equipment, and as a sublayer. The material’s bulk serves as a sound-blocking wall.

    Image by joaovinagre from Pixabay

    Architectural soundproofing: Architectural soundproofing refers to everything utilized in a building’s construction, such as soundproof windows and doors that help keep the sound in or out of the building or a particular room in the building.

    When selecting soundproofing for your building, there are many important things to consider. It may initially be difficult to figure out which ones are appropriate for you, but by beginning with quiet product guides, you’ll be on the right track.

  • Commercial Landscaping Maintenance Tips

    Commercial Landscaping Maintenance Tips

    Commercial landscaping maintenance is a broad field but it can be broken down into three main areas: design, construction and maintenance.

    Photo by form PxHere

    You need to choose the location for your garden carefully. A lot of commercial landscape designs include environmentally friendly plants which are able to survive in harsh conditions.  In the event that you opt to go with naturally occurring trees then it’s better to plant them closer together. If you’ve got space then consider planting some different species of umbrella trees or pagoda trees near one another. This will enable more rain water to be recycled through the leaves where as if they were planted separately then most moisture would easily evaporate before reaching other plants beneath.

    Photo by form PxHere

    Create a Blueprint

    You do not need to design an intricate blueprint for your garden as designs can be modified during the construction and maintenance stages of your commercial landscape. However, if you want something more permanent then it’s a good idea to have a sketch ready in order to help your contractors understand what you’re trying to achieve.

    The location of watering systems should be given special consideration when designing your commercial landscape as they are usually the most expensive element. You will also want to plan out where appliances such as pumps, filtration systems or other in-ground features will be placed beforehand even if you use drip irrigation which doesn’t require any power source beyond the pressure supplied by water from a nearby well, stream or river. It’s also important that all fixtures are installed in a way that can easily accommodate expansions should you decide to alter the design of your commercial landscape in the future.

    Photo by form PxHere

    Construction

    Once you have chosen plants it is time to begin construction. The first step is removing any weeds and weed seeds which might damage new growing roots. Then, start placing down an underlay (or some sort of barrier) consisting of crushed granite or fine gravel. This will keep plants from getting lost in mud while also allowing water to seep through instead of forming puddles. After this has been done then your next step is to create drainage channels at the outer edge of your landscaping project followed by filling them with small river pebbles or sand. These features will collect excess rainwater whereas drain tiles will allow it to drain away.

    Spacing out plants properly is important so that they can still grow when larger. In most cases, the best spacing for commercial landscaping is approximately twice as wide as the height of each tree or shrub. This is also a good distance between trees in order to avoid them becoming overcrowded. Once you have finished laying down your pattern then it’s time to add holes for planting seeds or bulbs before covering them with more soil and making sure they are evenly spaced apart from each other.

    Turf Watering Plant

    Turf watering plants need a well-designed irrigation system in order to thrive. This is because the roots of these types of foliage tend to be shallow and will dehydrate easily if left without moisture for long periods.  Commercial landscape maintenance companies can help you plan a flexible system which is capable of recycling water while also ensuring that the ground remains moist enough to ensure healthy growth.

    Photo by laura sorrensen form PxHere

    Mowing

    It’s important for most commercial landscapes to remain as low-maintenance as possible. And no feature requires more attention than lawns so it’s crucial that you keep them cut close enough in order to preserve their appearance but not so close that grass blades are damaged severely. A good rule of thumb is that when leave are more than two inches tall then it’s time for a trim.

    Watering

    One of the most important aspects of creating a commercial landscape design is ensuring that you have sufficient water in order to keep your plants growing well. You may need an irrigation specialist or be able to attain this knowledge on your own by studying online how-to guides. However, for larger more complex projects you can hire someone who will come and check up on your garden every week or two (depending on weather patterns) and make sure everything is properly hydrated. Good watering habits are crucial in commercial landscaping because they ensure fast growth while also conserving water as much as possible. 

    Fertilization

    Depending on the type of commercial plants you have chosen for your project then it may be important to provide them with organic or chemical fertilizers. These substances are usually applied in a series of small doses rather than one large one. Most professional landscaping companies will know what fertilizer schedule is best suited for the types of plants they are working with. If you want to keep an eye out for diseases and pests then visit Roseburg’s top-rated garden care experts who offer inspections and other treatments which can help eliminate these causes of plant death or damage.

    Mulching

    Last but not least, mulching is crucial in order to preserve moisture while also providing protection to the roots of plants. A good mulching material is wood chips that have been treated with fire, wood preservative and certain herbicides to prevent weed growth where the mulch is placed. This will not only protect your plants but it also prevents erosion while retaining moisture as well.

    Photo by zeclab form PxHere

    Location

    When choosing a location for a commercial landscape design then one must be aware of how the environment affects plant growth in addition to what types of soil are present at the site. Some possible locations include land adjacent to ponds or streams which can be used for recreation, land near busy streets which can make use of planters and other types of greenery in order to beautify neighborhoods and land on private property which can make use of fences made from vines or shrubs.

    Plant Selection

    The first thing that you’ll need to do when creating a new commercial landscape design is choose plants that complement your vision while also adhering to regional guidelines as far as climate suitability goes. Commercial projects benefit by using more hardy plant species in order to ensure survival.

    Soil Preparation

    The next step is preparing your commercial project’s soil for new plants by adding organic material in order to make it rich with nutrients. This should be done before you buy any plants because you will want to know whether or not the soil quality has what it takes to support healthy plant life. Some of these materials include compost, mulch and manure.

    Cultivating commercial landscaping requires patience since the results are not immediate but rather take several months or years before a project can be considered complete and successful. Landscapers must have experience and knowledge about how each type of plant grows based on climate conditions such as sunlight, moisture levels and season length. Having this information in mind can help you create the perfect commercial landscape design for your property.

    Photo by form PxHere

    Irrigation System

    Commercial landscaping requires an irrigation system because of how many plants are involved and how often they require attention. An irrigation system will water plants on a regular basis while also keeping them healthy as well.

    A dedicated team of experts can bring a commercial project to life by turning empty spaces into colorful landscapes which make it easy for customers to enjoy what your property has to offer. When planning out this type of project then remember that the cost is worth it since you will be helping to increase the value of your business and its income stream.

    An experienced landscaping company will help ensure that this information has been carefully considered. Although there are a lot of plants which can survive in humid conditions being careful about how these have been laid out will help you reduce your water consumption greatly. One way to do this is by placing an overhead sprinkler system but then keeping it on for very short periods of time only, say thirty minutes at the most.

    Photo by form PxHere

    Cut Down Weed Growth

    Try not to cut down any dense weed growth unless you’re sure it’s safe to do so. You may want to cover up forest floor weeds with mulch if they’re too dense but first be sure to spray weed killer on them since this will be a lot more effective than using mulch. It’s often better to stay away from any nonnative plants for commercial landscaping designs. Unless you are able to take care of the entire environment in which they will grow, it is always best to avoid these kinds of plants for your garden if possible.

    If you happen upon some already established trees then keep an eye on their health levels and try not to damage any parts of their trunks or roots. This should help you maintain a healthier tree in the long run as well as ensure that you don’t have too many weeds growing around the base of the trunk.

    Lastly, make sure that your professional landscape designer has a lot of experience in the field especially in relation to both maintenance and construction. Their level of expertise is only going to make your property all that more impressive so be sure to do some research first before choosing them.

  • Roof Inspection Tips That You Should Must Consider

    Roof Inspection Tips That You Should Must Consider

    1. Check for visible signs of water penetration, such as staining, blisters or missing shingles. Be sure to check the area around vents and skylights; they are often sources of leaks.

    Photo by form PxHere

    If there is any question about whether a leak exists at an attic vent, leave it opened during a rainfall to see if moisture collects inside the house (when it rains), or outside the house (when it doesn’t).

    2. Make sure that high points are inspected thoroughly. Inspectors should look up under metal flashings of chimneys and roof penetrations (such as pipes, skylights and vents), paying special attention to seams were flashing material changes direction.

    Photo by form PxHere

    3. If you see obvious signs of areas that have gotten wet, such as blisters, or missing shingles where moisture has entered the roof framing, you should make a visual inspection of the roof deck for decay and damage.

    4. If there are areas in your roof that appear to have been repaired previously with asphalt-based or modified bitumen [a rubberized asphalt] products (also called “tar paper,” “tar and gravel” or simply “asphalt”), it’s important to know the type of material used. This is because existing problems like delamination may be aggravated by exposure to high heat from an infrared camera inspection device. In addition, many types of modified bitumen materials do not adhere well over time and can peel off easily when dry under normal conditions, allowing wind-driven rain to penetrate the roof deck.

    5. If you suspect that an infestation of wood-destroying insects exists, it’s important to make sure there are no large areas of deteriorated or missing wood before treatment is initiated. This is because insect activity can make openings larger than they would be otherwise.

    6. Be on the lookout for signs of water penetration at flashing joints and more importantly where flashings transition from one type [metal] material to another [concrete]. These areas are often overlooked during a typical inspection and they are prone to chronic water leakage onto the drywall or insulation below. In addition, if your house was built before 1978, you should look carefully at all metal flashings for signs of lead-based paint.

    Photo by form PxHere

    7. Inspect the area around attic penetrations to make sure they were properly flashed and sealed at installation. For example, you should look for missing or cracked sealant on chimney flashing where it passes from a shingle roof into your house; ideally, there should be no cracks at all in this joint. Also, look for sealant defects around pipe chases that penetrate the roof deck.

    8. If your house has a flat roof, inspect and test all flashings to make sure they are well-sealed and intact. Inspect skylights, in particular, because they are especially prone to damaging leaks after 10 or 15 years of exposure to sunlight.

    9. Inspect the edge of shingles that stick out over a roof valley to make sure flashing is in place and intact.

    10. Check for damage at all metal flashings, especially where they pass through wood framing members (such as rafters or headers).

    11. Remove any snow or ice from the exterior surface of your roof to make sure that it is free from ice dams.

    12. Check for missing or damaged shingles on a steep roof where heavy icicles are hanging over the edge, especially in areas with frequent thaw cycles and poor drainage away from the structure.

    13. If your house has vents (such as for an attic fan) located at the base of a television or satellite dish, inspect the area around them to make sure they were properly installed during construction and have not been damaged by lawn equipment [or fallen trees]. Electrical power should be turned off before you approach any electrical equipment near these vents. The same holds true if you have skylights — their flashing should be checked carefully around each one for signs of damage or deterioration.

    Photo by form PxHere

    14. Look for signs of water penetration or missing sealant around chimneys, air conditioning vents, soffit vents and other roof penetrations. Make sure that each one is properly flashed and sealed at installation.

    15. Check vent pipe flashings to make sure they are completely bonded to the shingles above them — ideally, this joint should be a continuous line of sealant from bottom to top where the flashing transitions from metal to asphalt shingles or vice versa.

    16. Inspect ridge beams carefully for signs of damage from high winds; if your house has aluminum ridge caps [which usually have three protruding bolts], look for holes in the material where wind-driven rain can reach the plywood sheathing on the roof deck.

    17. If your house has an attic ventilation system, make sure that the inlet and outlet vents are not blocked by insulation or roofing debris. You should also check to be sure that the boot flashing is intact around each vent — it’s a telltale sign that water may be leaking into the space between the top of the foundation wall and the underside of rafters above.

    18. Check for any signs of roof penetrations from plumbing vents or chimneys; these areas often suffer water intrusion due to faulty flashings or sealant defects from improper installation during construction. Look for cracked caulk around pipes entering through roofs as well as worn-out boot flashings at chimney junctions with roofs or walls (and especially at a chimney/soffit or soffit vent junction).

    19. Look for missing or damaged shingles, especially in areas with frequent winds; for example, if your roof is under a tree where branches are blowing all the time, look along the edges of these trees to be sure that large branches aren’t striking and damaging your roof near its edge. If you find damage to the upper 4 inches of an asphalt shingle [where wind-driven rain typically enters], tear out and replace this section of shingle before it rusts further.

    20. Check for cracks in mortar joints if your house has block walls built on top of concrete footings — signs of water leakage from a cracked wall can also mean that water is leaking into the wall framing or adjacent roof framing, as well.

    Photo by form PxHere

    21. Inspect your roof deck carefully for signs of water leakage and rot; look at all joints along rafters and where a ledger board sits on top of the foundation wall to see if there are any cracks or gaps large enough for water to penetrate into the house [or attic]. Signs include discolored wood fibers, rotted wood, or signs of mold/fungus growth on the underside of shingles near leaky areas. Roof sheathing that is heavily compressed with standing water may have developed mold inside it — this type of damage will not be visible from looking at the outside surface of your roof unless you take down one or more sections of shingle covering the sheathing.

    22. Repair any signs of rusty nails or screws in roof framing before they turn into major leaks; once a shingle has been punctured by a rusty nail, the water can seep underneath this shingle and cause rot to develop faster than you may think. If you see rust on your nails/screws when you remove them, coat them with a little rust preventer spray paint to keep moisture from reaching the steel underneath. Alternatively, replace suspect nails/screws altogether if they are badly rusted — it’s better to have holes filled with new fasteners than try to repair damaged threads around those fasteners.

  • The Ultimate Guide to Selling Your Home

    The Ultimate Guide to Selling Your Home

    Starting over is rarely easy. Yet, many people are choosing to sell their homes and try something new this year.

    Photo by form PxHere

    If that sounds familiar to you, then you’ve come to the right place. Selling a home –– even in an active market –– can still be difficult. And it’s important to maximize the value of your property before you list it for sale. With all that in mind, today we’ll explain how you can sell your home with confidence. Consider this your ultimate guide to the process: 

    Find Your New Place

    Photo by form PxHere

    This might sound obvious, but you can’t sell your home without first finding a new place to live! Don’t start the process of selling your house until you can find suitable accommodations elsewhere. Note, there are many things to consider when you decide to move. Some are conspicuous, like the price and size of a home, but others are more subtle. For instance, if you suffer from foot pain, then it’s probably a good idea to look for a home near a podiatry clinic like Northwest Surgery Center. At the end of the day, only you know your priorities –– so make sure your new place is a good fit before you sell your current home. 

    Upgrade & Update

    It may seem counterintuitive to remodel or decorate a home that you plan on selling in the near future. Yet, the reality is that even small renovations can add significant value to your home. Improving your home office, purchasing new kitchen appliances, or simply adding a fresh coat of paint to the walls can all enhance the look and feel of your home. It’s also not a bad idea to speak with prospective buyers to see what they value most in a home. 

    Photo by form PxHere

    Set Goals & Priorities

    No two sellers have the same goals or priorities. Some need to close a sale quickly. Others may be adamant about getting the best deal possible. Before you begin negotiating, though, make sure you set your own priorities. Knowing how much you want for your home is a great place to start. You may also benefit from setting deadlines for yourself. That way, you can drop your price if you have trouble selling at first. 

    Photo by form PxHere

    Talk to a Professional

    Ultimately, speaking to a real estate agent can massively facilitate the selling process and save you a ton of time and stress. Plus, savvy real estate professionals can help you sell your home quickly while also ensuring you get a fair price for it. When in doubt, it never hurts to contact a professional who can provide you with guidance and support!

  • 4 Smart Purchases for New Homeowners

    4 Smart Purchases for New Homeowners

    Buying a new house is a massive undertaking.

    Image by Tumisu from Pixabay

    However, it’s nothing compared to actually making a house feel like home. Indeed, it can take new homeowners weeks, months, or even years to truly get settled in and establish a home environment that they love. The good news is that today we’ll highlight several key purchases that will make your life as a new homeowner much easier. Check out our top four picks here: 

    Photo by form PxHere

    New Furniture

    New furniture is essential to changing the look and feel of a home. While buying new furniture might seem obvious, it can be much more difficult to pick out pieces that will work for you and your family for years to come. Remember, you’re likely to spend a lot of time on the couch or in your bed while you’re home. So don’t purchase inferior furniture and upgrade as often as you need to. Buying quality furniture can even improve your posture, sleep habits, and overall wellness!

    Basic Tools

    Do you currently own a screwdriver, a hammer, a set of pliers, a drill, and other basic tools you may need to use on a day-to-day basis? If your answer to any of the above was “no,” then now is a good time to head to the hardware store to pick up some essentials. Note, you don’t have to be a handyman or an expert in DIY projects to make a few small, but meaningful, repairs around your home. At the end of the day, simply having some basic tools at your disposal can help you tackle small issues around the house, which, in turn, will save you lots of time and money over the long haul!

    Photo by form PxHere

    First-Aid Kit

    Hopefully, new homeowners will never have to use a first-aid kit in an emergency. Stll, it’s vital to have some common medical supplies at your home just in case. You should always have bandages, gauze, aspirin, and other medical supplies stored in an easy-to-access place in your house. Of course, a first-aid kit won’t help you address every problem. If you have bunion pain, you’ll still need to visit a clinic like Northwest Surgery Center for assistance. But having a first-aid kit at home can help you deal with minor issues like cuts or bruises. 

    Photo by form PxHere

    Insurance

    Your home is the most important investment you will ever make. That’s why it’s crucial to purchase quality homeowner’s insurance that will protect your most valuable asset for years to come. Natural disasters like floods, fires, and severe weather can seriously damage your home –– so make sure you have excellent insurance coverage to protect you and your family moving forward!

  • 8 Terrific Benefits of Solar Panels for Your House

    8 Terrific Benefits of Solar Panels for Your House

    Solar energy is the earth’s most abundant resource. As the demand for electricity rises, people are on the lookout for alternative energy sources like solar. 

    Photo by form PxHere

    Solar panel science has evolved over the years but how solar panels work is by converting sunlight into electricity. The best solar panels are designed to produce as much electricity as possible. 

    Installing solar panels is a great way to go green at home. Keep reading to learn the eight different benefits of solar panels.

    Photo by form PxHere

    1. Lower Utility Bills 

    Lower utility bills are an obvious plus when it comes to solar panel benefits. When the system is installed on your home in the proper location with the proper size solar cells, the amount of electricity produced is huge. It is quite easy to create enough energy to power your entire home. 

    2. Increase in Property Value 

    Investing in a home solar system will increase the value of your home. Many homebuyers are looking for energy-efficient homes, so upgrading yours will prepare your home for the market should you need or want to sell. 

    3. Tax Credits and Rebates

    What kinds of tax credits and rebates is your state offering? When you consult a solar professional, they’ll be able to tell you. In some areas of the country, the cost of installing a home solar system may be cut in half. 

    The federal government is pushing solar energy, so look into those financial incentives as well. 

    Photo by form PxHere

    4. Less Impact on the Environment

    Solar power is clean, pure energy from the sun. It guarantees a cleaner environment because it doesn’t produce air pollution, water pollution, or greenhouse gas effects.

    5. Reliable Source of Energy

    We’re never going to run out of sunshine. Solar is a very reliable source of energy for that reason but it does rely on the grid unless you get a battery backup system as well. 

    6. Low Cost Maintenance 

    Maintenance includes washing the dirt and dust off the panels a few times a year. The panels are very durable and won’t need maintenance for a number of years after initial installation. 

    7. Ready for the Future

    Solar may be our main source of energy for the future. You’ll be ahead of the curve if your home is already equipped with a solar panel system. 

    8. Easy Installation 

    Installation is easy and solar systems can be installed almost anywhere. 

    Looking for a solar installation company? Get information on home solar panels for a solar panel system customized for your home, budget, and lifestyle. 

    Photo by form PxHere

    Benefits of Solar Panels 

    Now that you know the benefits of solar panels, are you planning to get some quotes on installing them on your home? Remember to look for a reliable and trustworthy solar company to ensure you’ll get a high-quality home solar system installed right. Read reviews and get recommendations from people in the community. 

    Be sure to bookmark our site for easy access to the latest new trends in design and architecture. Learn how to beautify and personalize your environment and increase your quality of life. 

  • Opening the Door to Your Dream Kitchen: 7 Types of Fridges for Every Homeowner

    Opening the Door to Your Dream Kitchen: 7 Types of Fridges for Every Homeowner

    As the long-standing heart of the home, your kitchen plays an integral role in morning routines and milestone celebrations alike. 

    Photo by form PxHere

    It’s a space that brings the whole family together, whether for a quick breakfast before school or a late-night snack. As an essential room in the house, homeowners spend considerable time, energy, and money to make the kitchen both beautiful and functional.  From custom cabinetry to flashy countertops, kitchens can be designed to fit any taste. One of the most critical components of a functional cooking space is the fridge. Not only does the appliance store and organize food, but it also serves as a stylish piece that anchors the room. 

    Sifting through the wide range of fridges available on the market is daunting. Not to worry, here are seven models for every type of homeowner. 

    Image by Arek Socha from Pixabay

    Built-in refrigerators

    For those homeowners working with limited square footage, a built-in refrigerator saves valuable floor space. The stylish models are customizable to match existing cabinetry, so designing your dream kitchen is even more streamlined. Additionally, built-in refrigerators made after 2002 are environmentally friendly because they require less energy to function efficiently. 

    The side-by-side refrigerator

    A two-door model designates one side for fresh food storage and the other for frozen items. Large families benefit the most from the broadened storage opportunities, and the double doors make accessing various ingredients a breeze. Side-by-side models are also surprisingly sleek and are placed in narrow kitchen aisles without taking up too much space. 

    Image by Barry D from Pixabay

    French door refrigerator

    For large kitchens in need of an all-encompassing fridge, the french door model is ideal. With two upper-level doors, complete with multiple drawers and shelves, you can store any number of fresh produce and condiments. If space constraints are still an issue, unveil the large freezer drawer with the pull of a handle. Whether you choose to store fresh fruit or convenient TV dinners, french door fridges have more capacity to house your family’s go-to snacking options and are perfect for home chefs and large families alike. 

    Top freezer refrigerator

    Also known as a top-mount, top freezer fridges are standard in apartments and single-family homes. The freezer compartment opens at eye level, while the level below holds fresh produce.  The refrigerator storage tends to be larger than the freezer section, although both are easy to access. As the most common model, top freezer fridges are affordable for any homeowner, although advanced features are available for some models. 

    Under-counter refrigerators

    Smaller than most models, under-counter fridges are a type of built-in appliance ideal for a home bar or butler’s pantry. Most under-counter fridges don’t include a freezer section, but they offer several shelves for beverage storage. For fans of adult beverages, some models have specialized temperature zones to store wine and beer. 

    Bottom freezer fridges 

    Photo by form PxHere

    A bottom freezer model fits homeowners who tend to access the freezer more often than the fridge compartments. With a fridge section at eye level, you will also have easier access to fresh products without straining your back to bend over. Bottom freezers also come with customizable drawers that make organizing and cleaning a breeze. 

    Wine cooler 

    For those homeowners that are constantly hosting large dinner parties and late-night gatherings, a wine cooler is a perfect addition to your kitchen. A wine cooler preserves your favorite blends with humidity and temperature controls and slows down the aging process. The sleek appliance is also a stylish way to display your impressive wine collection. 

    Photo by form PxHere

    Final thoughts 

    Finding a fridge that meets your needs and design desires is essential for perfecting your kitchen. Whether you choose a compatible built-in model or a storage-packed french door appliance, you are bound to find your match made in culinary heaven. 

  • The Top Reasons to Choose the Correct Contractor for Your Home Project

    The Top Reasons to Choose the Correct Contractor for Your Home Project

    Choosing the right contractor for your home project is one of the most important decisions you can make. It’s hard to know where to start, what questions to ask, and how to compare contractors .

    Photo by icon0com form PxHere

    If you’re feeling overwhelmed or confused about which company will be best for you, this blog post is here to help! We’ll walk through the top reasons why it is very important to choose the correct contractor for home projects.

    1) Quality

    2) Time

    3) Money

    4) Peace of mind

    Quality:

    Photo by form PxHere

    Choosing a contractor with experience in your type of project means you should be able to get contact information of other people they’ve worked with in the past. Ask for three references to call – that way, it’s easier to find out more about how their work compares to other contractors in terms of quality. A contractor who takes pride in their work is a sign of a company that is reliable and trustworthy as they will ensure the job is done right to your specifications, and won’t cut corners or do sloppy work.

    Look for:

    • Their team members will be qualified tradespeople who provide quality work
    • They will be able to help with design, materials, colors, and textures
    • There is a lot of detail when it comes to the construction of one’s home, and you need someone who knows what they are doing. A qualified contractor will be able to offer design assistance so you can plan accordingly for your space. They will also have access to quality materials that they know how to work with and color options that are suitable for your space.
    Photo by form PxHere

    Time:

    You’ll get a job done in the timeline you desire

    • The timeline is an important factor when it comes to any home project. Whether it’s due to deadlines or budgets, everyone has a different idea of how much time they want the job to take and what they’re willing to spend. Choosing the right contractor for your home project means choosing one who you can trust will meet your timeline needs. They’ll be able to complete the task in the amount of time you need and won’t cost more than anticipated.
    • They’ll do top-quality work that will last longer
    • A contractor who knows what they are doing should be able to provide quality work that lasts for many years if not decades. Professionals understand the key factors like making sure surfaces are sealed properly and have enough

    Price:

    One of the main reasons to hire a professional contractor for your home project is to avoid DIY disasters. Hiring a professional company can help you avoid wasting money on something that doesn’t turn out right.

    • When negotiating price: A contractor who has experience estimating the cost of a project and staying within timelines is someone you want to hire. They know how to do the job right without costing more than anticipated or going over-time (which would cause additional hidden fees).
    • Fewer problems with warranties and guarantees
    • A guaranteed warranty will help protect your financial investment
    Photo by icon0com form PxHere

    Peace of mind

    You get peace of mind with warranties and guarantees

    • One of the best things about using a quality contractor is that they’ll have warranties and guarantees in place. This means that if something goes wrong, you’re confident your contractor will stand behind what they installed and fix it for free – or replace it even if it’s out of warranty – so you don’t have to worry about unexpected costs.
    • They are committed to meeting your timeline and stay within your budget
    • A professional company will also make sure everything is finished on time and in a safe manner.

    Now what?

    Choosing the correct contractor for your home project is an important step to take if you want quality work that will last. From design assistance, materials and color options, time frames, warranties and guarantees; it’s never a bad idea to hire someone who knows what they’re doing when it comes to building or renovating one’s property. If you need help finding the right company for your needs in any of these areas, be sure to reach out to our team today!