The most beautifully decorated rooms in any design magazine were not built with big budgets — they were built with a specific understanding of how the human eye moves through a space, and that knowledge costs nothing. Easy DIY room decor, done with intention rather than impulse, is how most of those rooms actually got built.
Quick Answer
The most beautifully decorated rooms in any design magazine were not built with big budgets — they were built with a specific understanding of how the human eye moves through a space, and that knowledge costs nothing.
I spent eleven years walking into people’s apartments carrying a clipboard and an opinion, and the rooms that stopped me in the doorway were almost never the ones with the most expensive furniture. They were the ones where someone had clearly thought about the space — where a wall wasn’t just covered but considered, where objects weren’t gathered but edited. What I discovered, across hundreds of rooms in Chicago walk-ups and Manhattan studios, is that easy DIY room decor only looks cheap when it’s random. When it’s intentional, it looks like something a designer did on purpose.
That distinction is what this article is actually about.
How Can I Decorate My Room Cheaply Without It Looking Cheap?
In This Article
Cheap decor looks cheap when it’s trying to imitate expensive decor and failing. That’s the trap. The path out of it isn’t spending more money — it’s abandoning the imitation entirely and making something that couldn’t have come from a store.
The psychology here is real. When visitors see a framed print, they assume you bought it. When they see something they can’t immediately categorize — a piece of driftwood mounted with intention, a cluster of bottles wrapped in twine and grouped by height — their brain registers curation, not cost. Handmade decor triggers a different perceptual response than manufactured decor, and that response is almost always more positive, because the viewer reads it as evidence of taste and attention rather than purchasing power.
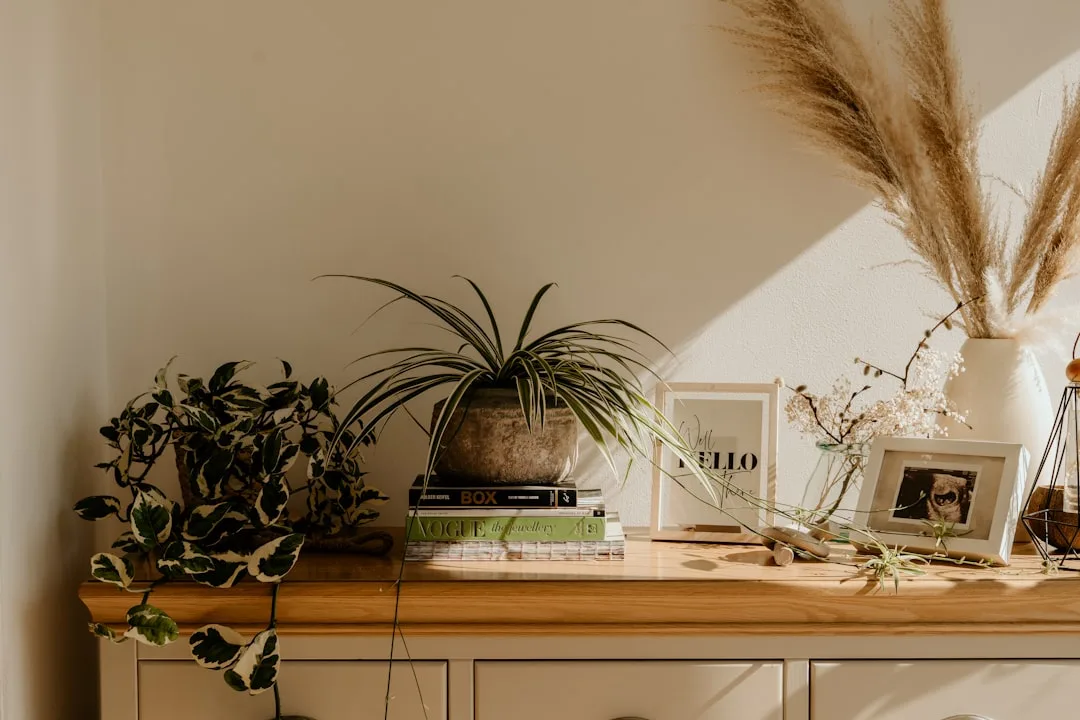
I’ve watched this play out in client spaces more times than I can count. A woman I worked with in Wicker Park had a gallery wall made entirely of pages torn from a vintage botanical calendar — no frames, just washi tape borders she painted with a gold paint pen. Every person who came into her apartment asked where she bought it. She spent $4.
On raw materials, here’s what delivers the most visual weight per dollar spent:
- Fabric — a half-yard of linen or velvet changes a surface completely and costs $3–$6 at any fabric remnant bin
- Paint — sample-size paint cans run $4–$6 and cover an accent wall section, a piece of furniture, or three different small objects
- Paper — kraft paper, newsprint, and rice paper have a warmth that plastic or synthetic materials never achieve, and they cost almost nothing
- Twine and rope — these read as artisanal without trying, and $2 worth covers a vase, a hanging planter, and a mirror frame
- Glass bottles and jars — collected rather than purchased, grouped in odd numbers and placed near a light source, they read as deliberate styling rather than clutter
- Air-dry clay — a $3 package yields several small sculptural objects, pinch pots, or textured wall tiles that look genuinely handcrafted because they are
- Brown paper bags and packaging paper — unfolded, smoothed, and used as wrapping paper for books or as abstract wall art panels, these cost nothing and photograph remarkably well
The anchor piece strategy is the thing I wish every first-time DIY decorator knew before they started: pick one focal element in the room — one wall, one piece of furniture, one corner — and allow yourself a small investment there, even if it’s just $10 in better materials. Let everything else be improvised, foraged, repositioned, or free. The anchor earns attention. Everything else earns its place by supporting the anchor rather than competing with it.
One piece of data worth sitting with: rather than citing a survey of questionable provenance, I’ll tell you what I’ve observed directly. The people I’ve worked with who built their own decor — even badly, even imperfectly — almost universally felt more attached to their spaces than clients who purchased complete looks from a retailer. Personal investment changes how a room feels to the person living in it. That’s not a design trick. That’s just human nature.
Takeaway: Before you buy a single thing, identify your anchor surface and build your material list around it. Everything else can be free.
The 5 Psychological Principles Behind Rooms That Feel Designed (Not Decorated)
There’s a difference between a room that looks like someone added things and a room that looks like someone made decisions. The first kind exhausts the eye. The second kind rests it. After more than a decade of walking into both types, I can tell within thirty seconds which one I’m standing in — and it almost never comes down to budget.
Here are the five principles that separate them.
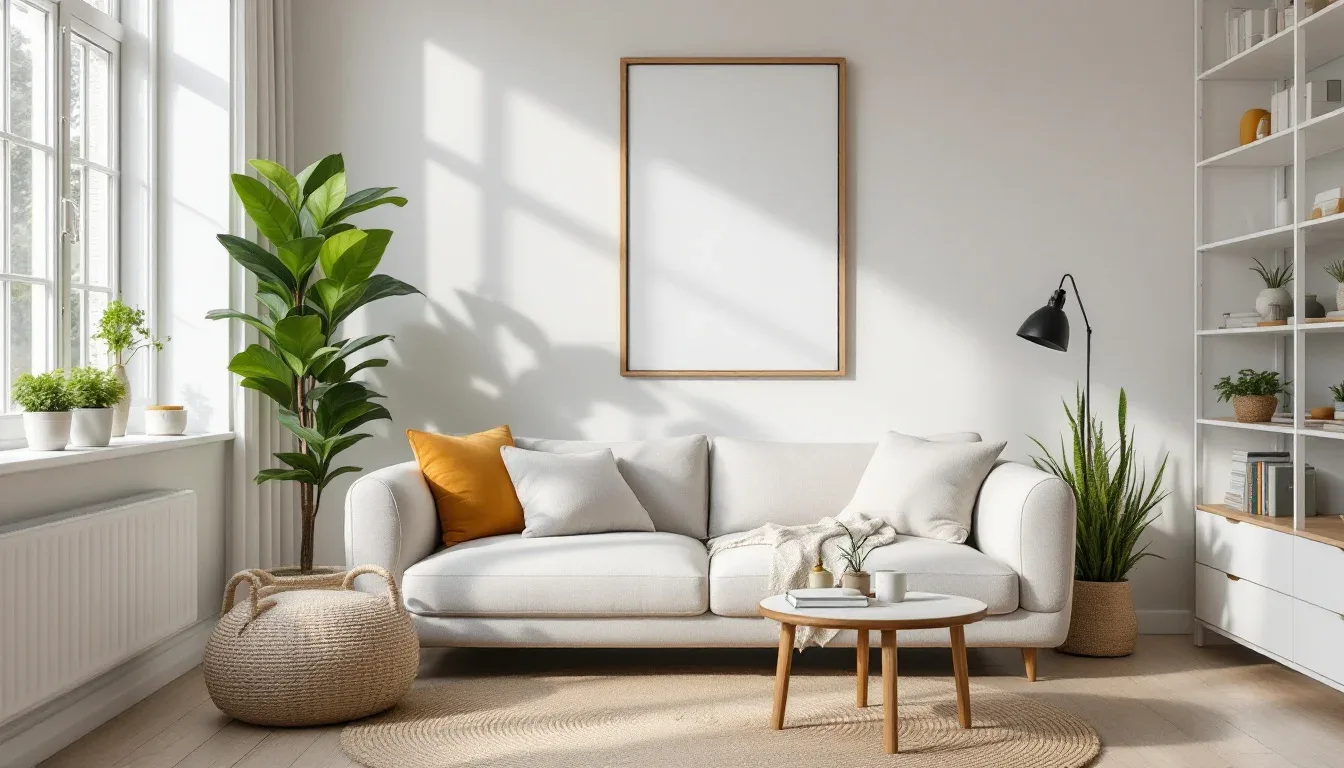
Repetition and visual rhythm. Use the same material, color, or shape three times in a room — not clustered together, but spread across different zones — and the brain reads it as intentional pattern rather than accident. One terracotta pot looks random. Three of them, placed at different heights across the room, look like a design choice. This is the single cheapest thing you can do and the most consistently underused.
Negative space is not empty space. It is doing work. Every designer knows this. Most people redecorating their own homes don’t, which is why they keep adding things when the room feels off — when the real problem is that nothing has room to breathe. I once talked a client out of buying a new bookshelf and instead helped her remove fourteen objects from the existing one. The room looked twice as expensive afterward. Nothing new purchased.
Color temperature ruins more rooms than bad furniture. A $4 can of paint in the wrong tone — specifically one that fights with the color temperature of your lighting — will defeat every other effort in the room. Warm-toned rooms need paint with yellow, red, or brown undertones. Cool-toned rooms need blue-gray, soft white, or green. Mixing these is the design equivalent of wearing a navy blazer with black pants: technically close, viscerally wrong.
Scale contrast is a designer move most people skip. One oversized element — a large mirror, an overscale piece of wall art, even a single enormous plant — paired with smaller surrounding accents creates depth that a roomful of medium-sized things never achieves. Research published in the Journal of Environmental Psychology has consistently documented that visual hierarchy — rooms where the eye has a clear path from dominant to secondary to tertiary elements — reduces the psychological load of a space. Rooms where every surface carries equal visual weight feel chaotic even when they’re technically clean.
The eye-travel test is non-negotiable. Stand in your doorway and watch where your gaze goes. Does it get stuck? Does it land somewhere awkward — the corner with the pile, the wall with nothing on it, the lamp that’s at the wrong height? Your DIY projects should guide the eye in a continuous path around the room, not stop it.
Takeaway: Before any project, do the eye-travel test. Fix what the eye gets stuck on first.
How Can I Decorate My Bedroom with Simple Things Already in My Home?
This is the section most decor articles skip because there’s nothing to sell here. No affiliate links. No product recommendations. Just the uncomfortable truth that most rooms already contain everything they need — it’s just arranged wrong.
Start with a full removal. Take everything off every surface, pull artwork off walls, strip the shelves. Put it all in a pile on the floor. This is not a metaphor — do it literally. What you’re doing is breaking your visual habituation to the room. You’ve stopped seeing it because you’ve seen it too many times. The removal forces you to see it again.
Now look at what you have. Before any of it goes back up, ask these questions about each object:
- Does this have a reason to be in this room, or did it end up here by default?
- Is there a better version of this already somewhere else in my home?
- Does this object have a pair or a natural group it belongs with?
The last question is the most useful one. Isolated objects look random. The same objects grouped by material, color, or height look intentional. A ceramic mug, a small succulent, and a smooth stone from your windowsill — separately, they’re clutter; arranged together on a small tray with a consistent color story, they’re a vignette. Nothing new purchased.
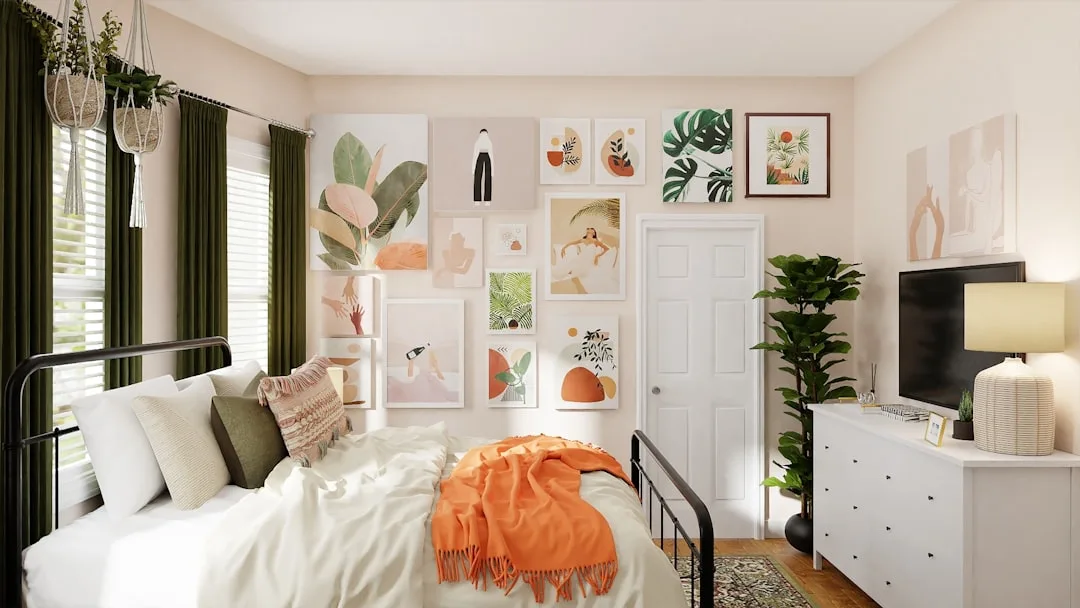
Textiles are your highest-return repositioning tool. A throw blanket folded over a chair reads as staging. The same blanket draped over a curtain rod as a valance, or folded into thirds and hung from a wooden dowel as wall art, reads as easy DIY room decor that someone actually thought about. A pillowcase you’ve had for years, turned inside out if the pattern is busy, can become a simple envelope-style cover for a throw pillow you’ve stopped noticing.
Books are furniture when you treat them that way. Stack them horizontally rather than vertically and they become risers, pedestals, and architectural elements. A stack of three hardcovers with a candle on top is a nightstand styling moment. The same books vertical on a shelf are invisible.
Mirrors you already own are doing less work than they could. Move them lower than you think makes sense — closer to seated eye level than standing eye level — and they’ll reflect light instead of ceiling. Lean them instead of hanging them and the room reads as more relaxed and considered simultaneously.
Takeaway: Do the full removal first. You’ll find you already own most of what the room needs — it just needs to be in different relationships with itself.
8 Easy DIY Room Decor Projects That Actually Work in Real Homes
These are not craft projects. They’re design interventions. The distinction matters because a craft project has a finished object as its goal, and a design intervention has a specific visual problem as its target. Start with the problem, not the project.
1. The textured wall panel
Cut a piece of cardboard or thin foam board to 18″ x 24″. Cover it in a fabric remnant — linen works best, but any woven material with visible texture reads well. Pull the fabric taut, fold the edges to the back, tape or glue. Hang with two strips of removable mounting tape. From three feet away, this reads as a framed textile piece. Cost: $0–$6 depending on whether you have fabric already.
2. The rope mirror
Take any plain mirror — thrift store, dollar store, or one you already own. Hot glue natural rope or thick twine around the frame in tight, continuous rows from the outside edge inward, or wind it in a single thick layer. The texture immediately reads as intentional. Cost: $2–$4 for the rope.
3. The bottle grouping
Collect glass bottles in varying heights — wine bottles, olive oil bottles, sauce bottles. Remove labels with warm water and baking soda. Arrange on a windowsill or shelf in an odd-numbered group, tallest at the back. If the glass colors don’t coordinate, spray them all with the same matte paint. The light passes through them differently at different times of day. Cost: $0, or $4 for spray paint if needed.
4. The paper bag wall treatment
Tear brown paper grocery bags into rough-edged pieces, approximately hand-sized. Brush each piece with a 50/50 mix of water and white craft glue, overlap them slightly on a wall section, and smooth flat. Once dry, the result is a warm, textured surface that resembles grasscloth wallpaper. Paint over it if you want color. Remove with water. Cost: $2 for the craft glue.
5. The floating branch shelf
Find a straight-ish branch, ideally 18–24″ long and 1–2″ in diameter. Sand it lightly if needed. Mount it to the wall using two small shelf brackets — the kind meant for pipe shelving work perfectly. The branch becomes a shelf for lightweight items, a hanging rod for small plants in test tube vases, or a display rail for folded textiles. Cost: $0 for the branch, $6–$8 for brackets.
6. The dipped furniture update
Take any wooden furniture piece — a stool, a side table, a small ladder shelf — and paint just the bottom third of each leg in a contrasting color. This is called the dipped look, and it instantly makes basic furniture appear considered and current. Use leftover paint or a $4 sample can. Tape off the line precisely for a graphic effect, or go slightly uneven for something more organic. Cost: $0–$4.
7. The oversized wall grid
Stretch two pieces of thin rope or twine in a grid pattern across a blank wall section, fixing each strand with small nails or removable hooks. Clip photos, cards, fabric swatches, dried botanicals, or anything flat using clothespins or binder clips. This isn’t a mood board — it’s a living element of the room that changes over time. The key is scale: make it larger than feels comfortable. It should take up at least a third of the wall. Cost: $2–$5.
8. The concrete-look planter
Take any plastic pot or container. Mix gray craft paint with a small amount of white and a touch of black. Apply with a crumpled piece of plastic bag rather than a brush — the texture this creates looks convincingly like concrete. Let dry, apply a second layer with slightly more black mixed in around the top edge for depth. Cost: $3 for the paint.
Takeaway: Pick the project that solves a specific visual problem in your room, not the one that sounds most interesting in the abstract.
Frequently Asked Questions About Easy DIY Room Decor
How do I make my DIY decor look professional rather than homemade?
The difference between professional-looking and homemade-looking usually comes down to three things: clean lines, material quality, and editing. Clean lines mean you measured and taped before you painted, aligned before you hung, and finished edges instead of leaving them raw. Material quality doesn’t mean expensive — it means natural over synthetic wherever possible, because natural materials have inherent texture variation that reads as sophisticated. Editing means you made ten things and displayed four. The restraint is the professionalism.
What’s the easiest easy DIY room decor project for someone with no craft skills at all?
The bottle grouping described above, or any arrangement-based project, requires zero craft skill. What it requires is an eye for proportion and color — and that eye develops with practice, not talent. If you’ve never made anything before, start with curation rather than construction: collect objects you already have, group them intentionally, and change the height relationships between them. That alone, done thoughtfully, is legitimate interior design.
How many DIY projects should a single room have before it starts feeling chaotic?
The number isn’t what matters — the visual weight is. A room can have twelve DIY elements if they share a material language and don’t compete for attention simultaneously. A room can feel chaotic with three DIY elements if they’re fighting each other. Before adding anything new, look at what’s already there and ask whether the new piece speaks the same visual language. If it doesn’t, it either needs to be modified until it does, or saved for a different room.
Can easy DIY room decor work in a rental where I can’t paint or put holes in the wall?
More of it works than most people realize. Removable mounting strips hold more weight than their packaging suggests — read the weight limits carefully, use more strips than you think you need, and they’ll support framed art, mirrors, and lightweight shelving reliably. Leaning is underused: mirrors, large art panels, and even small shelves propped against walls look intentional when they’re large enough. The paper bag wall treatment described above is fully water-removable. Textiles hung over curtain rods change a room dramatically without any wall contact at all.
How do I pick a color palette for DIY projects when I’m not confident about color?
Start with the one color already in the room that you can’t change — the floor, the sofa, the largest piece of furniture. Pull two colors from it: the dominant tone and the secondary tone most visible in its grain, weave, or texture. Build every DIY project’s color choice from those two tones, adding only neutrals (white, black, natural wood, raw linen) as support. This isn’t a formula that produces exciting rooms — it produces coherent ones. Exciting comes later, once coherence is established.
What’s the biggest mistake people make with DIY room decor?
Starting with the project instead of the problem. Someone sees a macramé wall hanging on a design blog, makes one, and hangs it in their room — and the room doesn’t improve because the room’s actual issue was too many small objects on every surface, not a lack of wall coverage. Easy DIY room decor works when it’s responding to something the room genuinely needs. The eye-travel test is the most reliable way to identify what that something is before you commit an afternoon to solving the wrong problem.