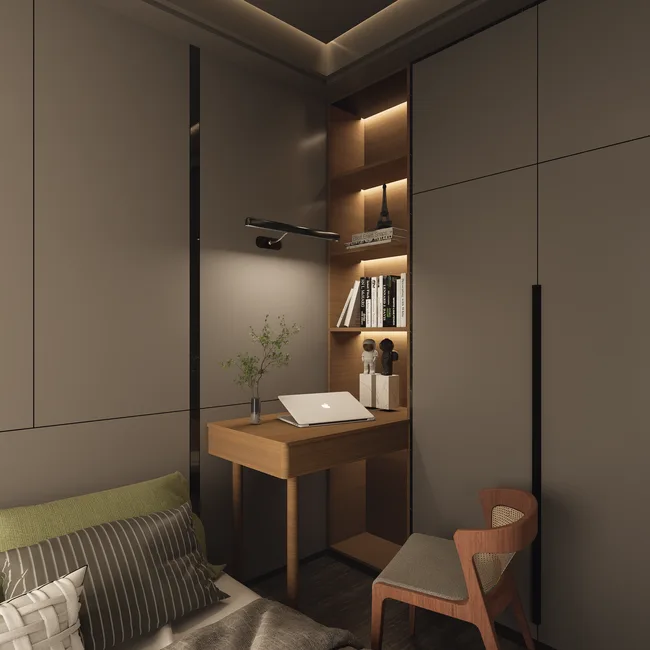
The average home has between 80 and 200 square feet of space that nobody has officially named — and that unnamed space is where your best home office nook has been hiding.
Quick Answer
The average home has between 80 and 200 square feet of space that nobody has officially named — and that unnamed space is where your best home office nook has been hiding.
Most people looking for home office nook ideas in small spaces make the same mistake I watched clients make for over a decade: they start with a mood board. They find a photograph of a beautiful, whitewashed alcove with a linen curtain and a single succulent, and they try to reverse-engineer their apartment into that image. What they end up with is a desk jammed into a corner they hate, three extension cords running along a baseboard, and a chair that’s slowly destroying their lower back. The photograph was never the problem. The sequence was.
This guide doesn’t start with aesthetics. It starts with how you actually work, where the light already falls, and what your specific unnamed spaces can structurally support. Then we get to what it looks like.
Why Most Small-Space Office Nooks Fail Before You Buy Anything
In This Article
- Why Most Small-Space Office Nooks Fail Before You Buy Anything
- 1. The Dead-Corner Diagonal Desk Conversion
- 2. The Bedroom Alcove Office That Disappears at Night
- 3. The Hallway Office That Doesn’t Block Traffic
- 4. The Closet Conversion Done Right (Not the Way Every Article Shows It)
- 5. Under-Stair Offices Built for Actual Use, Not Instagram
- 6. The Bay Window Desk That Works With Light, Not Against It
- 7. The Murphy Desk System for Shared Living Rooms
- 8. The Breakfast Nook Desk Conversion for Morning Workers
- 9. The Open-Plan Partition Office That Creates Separation Without Walls
- The Non-Negotiable Tech Checklist for Any Small-Space Nook
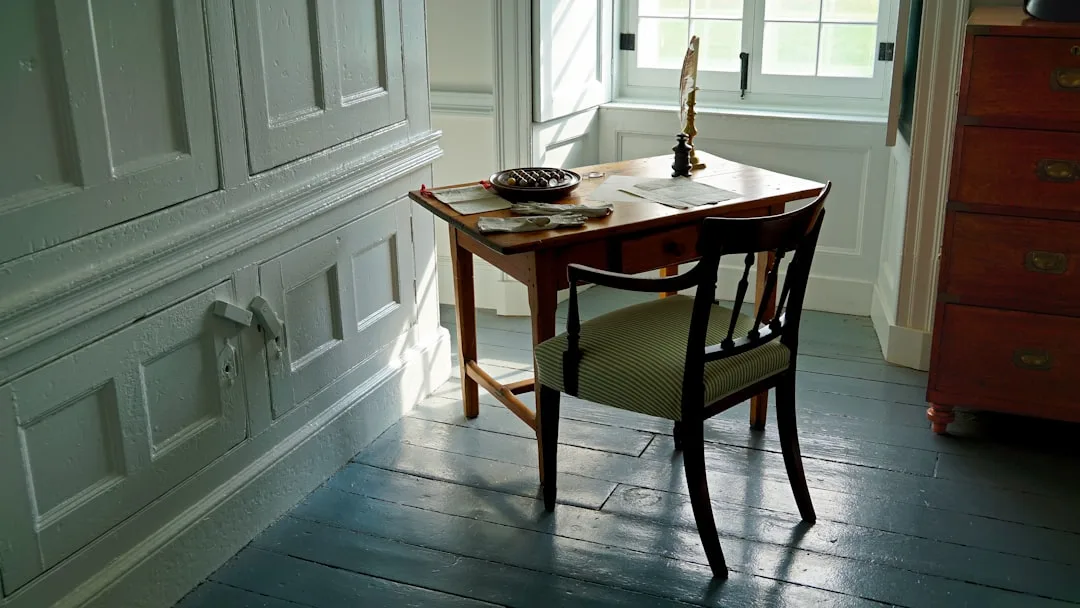
Before a single piece of furniture enters the conversation, you need to audit your workflow. Not in a vague, journaling-prompt way — in a specific, list-on-paper way. What tasks do you actually do? How many screens do you need simultaneously? Do you take video calls, and if so, how often? Do you handle physical paper, files, or equipment? I cannot count how many clients skipped this step and ended up with a beautiful nook that had nowhere to put a second monitor or a printer they used daily.
The single biggest planning mistake is choosing a location before understanding workflow needs. A person who takes six video calls a day has completely different acoustic and lighting requirements than someone who writes alone for four hours. Same square footage, entirely different setup.
Here’s what your audit should produce before you look at a single nook location:
- Task type (deep focus, communication, creation, admin)
- Screen count and size
- Video call frequency (daily, weekly, rarely)
- Physical storage needs (files, equipment, reference materials)
- Hours per day at the desk
Acoustics and lighting are not problems you solve with decor — they are determined the moment you pick a spot. A nook beside a window that faces west will be unusable on afternoon calls. A corner between two walls will echo. These aren’t fixable with a throw pillow or a plant.
There’s also a distinction worth making that most small-space content ignores entirely: a nook versus a zone. A nook has some degree of architectural containment — a wall on two or three sides, a ceiling drop, an alcove edge. A zone is a designated area within open space. They look different in photographs, but more importantly, they function differently and require completely different strategies. Knowing which you actually have changes every decision that follows.
One more thing worth understanding before we get into setups: Stanford research found that remote workers in dedicated workspaces — even small ones — reported 20% higher productivity than those working from shared living areas. The separation cue matters more than square footage. Your brain needs to know it’s at work. The setups below are all built around creating that cue, regardless of how many walls you have to work with.
Actionable takeaway: Before looking at a single nook setup, write down your five workflow answers above. They determine which of the nine setups below actually applies to you.
1. The Dead-Corner Diagonal Desk Conversion
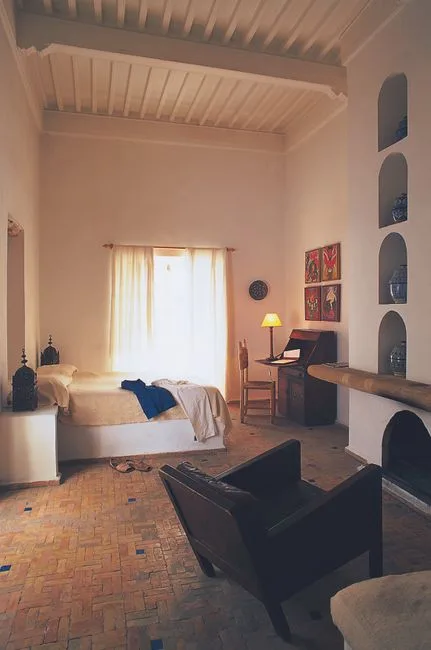
Most people look at the diagonal corner of a room and see nothing. I see eight to twelve square feet that someone gave up on. That corner — the one behind the armchair, the one where the lamp got shoved — is often the most structurally sound location for a compact work setup, because it has two walls and a sense of enclosure that doesn’t require any construction.
The mistake I made early in my career was recommending corner desk units to clients for these spaces. They look logical on paper. In reality, they’re massive, they force an L-shape that often blocks natural movement through the room, and they cost three times what a wall-mounted solution costs for a fraction of the actual usable surface. One client spent $680 on a corner desk from a big-box store that made her studio feel like a furniture showroom, not a home.
Diagonal placement — positioning the desk at a 45-degree angle into the corner rather than flush against one wall — does something counterintuitive: it opens the room. You’re creating a triangular negative space behind the desk that your eye reads as breathing room, and you’re positioning yourself to face slightly outward rather than staring into a wall junction.
Here’s how to execute it without buying a corner desk unit:
- Mount a wall-bracket desktop system (IKEA’s Karlby countertop cut to size, or a custom-cut butcher block from a lumber yard) using heavy-duty floating brackets on one wall
- Add a floating return shelf on the adjacent wall at the same height for a second surface — this is your paper/equipment zone
- Run a cable spine along the diagonal wall where cords would otherwise hang visibly
- Leave the floor space behind the desk empty — that triangle becomes visual relief
Wall-mounted desktop bracket systems cost 60–80% less than corner desk furniture when you’re sourcing the components separately. A standard unused room corner holds approximately 9–12 usable square feet when converted diagonally — enough for a 48-inch work surface, which meets ergonomic standards for a single or dual-monitor setup without feeling cramped.
The cable spine is not optional. It’s what separates a setup that looks intentional from one that looks like a college dorm. Run it along the diagonal wall from the outlet to the desk, and suddenly the whole thing reads as architectural rather than improvised.
Actionable takeaway: Measure your dead corner diagonally from wall to wall. If it’s 10 feet or more across, you have room for a full 48-inch floating surface — go find a bracket system before you buy another piece of furniture.
2. The Bedroom Alcove Office That Disappears at Night
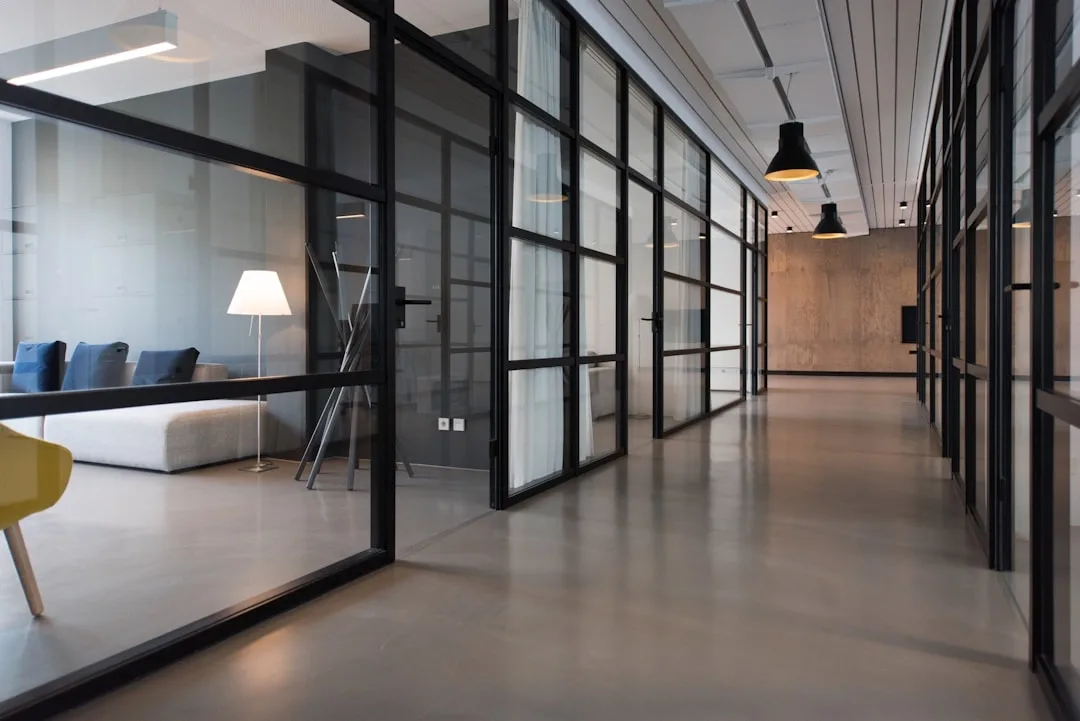
Working where you sleep is a compromise most people make out of necessity, not preference. I understand that. What I can’t accept is the version where there’s absolutely no visual separation between the open laptop and the pillow — because that version will eventually wreck both your work and your sleep, and the research on this isn’t subtle.
The American Academy of Sleep Medicine recommends that work equipment be visually concealed in bedrooms to preserve sleep association — the brain’s learned connection between the bedroom environment and rest. A curtain achieves this without renovation. Not a room divider, not a bookshelf partition — a ceiling-hung curtain track that mounts flush to the ceiling and pulls closed in seconds.
A ceiling-mounted curtain track for this purpose runs under $80 for most standard bedroom widths. It folds completely flat when open during work hours, creates zero floor footprint, and — this is what most articles miss — it signals the start and end of the workday in a way that an open desk never does. The physical act of closing the curtain becomes a ritual. That ritual matters more than the curtain itself.
Desk surface height is an underrated variable in bedroom offices. A standard 28–30 inch desk reads visually as furniture — it blends with nightstands and dressers and doesn’t announce itself as an intrusion. A counter-height surface at 36 inches reads as a distinct work zone, which is psychologically useful if you want separation but visually disruptive in a bedroom context. I almost always recommend the lower height here.
The lighting setup in this nook type is non-negotiable:
- Use a desk lamp with adjustable color temperature (warm to cool)
- Set it to cool white (5000–6500K) during work hours to signal alertness
- Switch to warm white (2700–3000K) when you close the curtain for the evening
- Do not rely on overhead room lighting during work — it flattens the visual separation between work and rest space
Actionable takeaway: Install a ceiling curtain track before you do anything else in a bedroom office setup. Everything else is adjustable. The sleep-work boundary isn’t.
3. The Hallway Office That Doesn’t Block Traffic
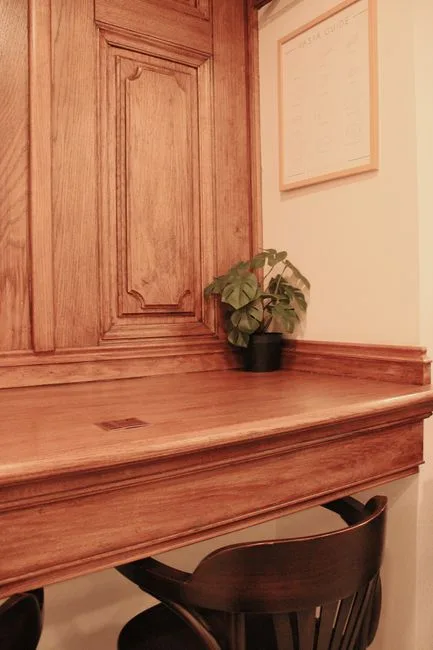
Every time I mention hallways as office candidates, someone looks at me like I’ve suggested setting up a desk in an elevator. Hallways are narrow, they’re transitional, they’re — yes — technically corridors. They’re also frequently the quietest space in the home, naturally lit from both ends, and already outfitted with at least one electrical outlet in most residential builds.
The functional configuration that makes hallway offices viable is a 24-inch-deep floating desk — not a standard 30-inch desk, not a console table, but a true floating shelf-style surface mounted at desk height, leaving the floor completely clear below it. ADA corridor clearance requires 36 inches of passable width minimum. In a standard 60-inch hallway, a 24-inch floating desk leaves exactly 36 inches of passage — code-compliant, and in practice, plenty of room to walk through without turning sideways.
What hallways offer that no other nook location does:
- Natural through-light from two directions, which reduces the moody, cave-like quality of enclosed nooks
- Acoustic separation from living area noise (you’re literally in a different section of the floor plan)
- An existing electrical outlet — I’ve never worked in a home where the hallway had no outlet within 15 feet
The seated-forward position at a desk means you’re functionally only using 18 inches of desk depth anyway. Building in a 24-inch surface and using the back 6 inches for passive storage — a pen cup, a small plant, a stack of notebooks — means zero wasted depth.
Hallways account for 8–12% of a home’s square footage on average but are rarely counted in livable space calculations, which means they’re almost never evaluated as candidates for anything. That oversight is your opportunity. I’ve watched clients transform a 42-inch-wide hallway into a perfectly functional two-hour-per-day workspace by doing nothing more complicated than mounting a floating surface and adding a simple sconce above it.
Actionable takeaway: Measure your hallway width and the distance to the nearest outlet. If the hallway is 48 inches or wider, you have a viable nook — go find your stud finder.
4. The Closet Conversion Done Right (Not the Way Every Article Shows It)
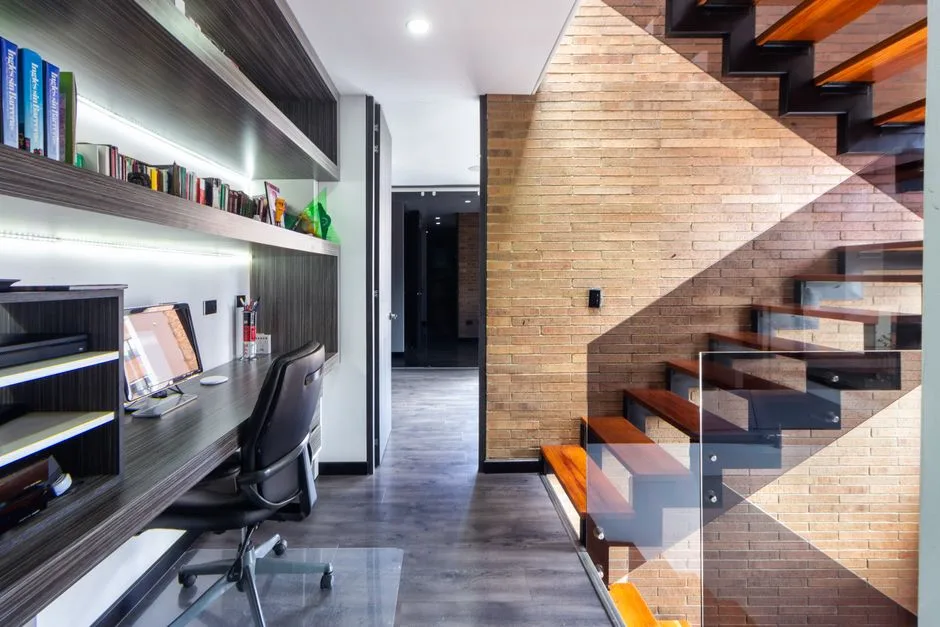
The “cloffice” — the portmanteau that launched a thousand Pinterest boards — has been photographed to death and executed badly approximately ninety percent of the time. Every version I see online has the same problems: standard wire shelving that wobbles under the weight of a monitor, sliding doors that slam into the person sitting at the desk, and no dedicated lighting, which means whoever works there is squinting under ambient room light within the hour.
A standard reach-in closet is 24 inches deep and 36–48 inches wide. That’s 6–8 square feet of footprint — the minimum recommended for a single-monitor setup by workspace ergonomists. It’s a tight fit, but it works, if you solve the three problems that every glossy cloffice photograph ignores.
Problem one: heat. Electronics generate heat. A closet is a box. Standard wire shelving inside a closet conversion traps that heat, which shortens equipment lifespan and makes the space uncomfortable within an hour of use. The fix is a solid shelf with a 2-inch gap between the back of the shelf and the wall — this creates a passive air channel that pulls warm air upward and out. Simple, costs nothing extra, and I have never seen it mentioned in competitor articles.
Problem two: doors. Sliding closet doors cause user injury in compact setups — you pull the door, it swings into your knee, your chair, your arm. Bi-fold doors are significantly better because they fold back flush with the opening. Better still: remove the doors entirely and hang a curtain from a tension rod inside the frame. Curtains can be closed in thirty seconds and have zero clearance requirements.
Problem three: lighting. A dedicated overhead fixture inside the closet conversion is not optional — it’s the difference between a functional workspace and an eye-strain experiment. A plug-in puck light or a battery-powered LED bar mounted to the underside of the shelf above the monitor works in most closets without any electrical work.
Actionable takeaway: Before you buy anything for a closet conversion, check whether your closet has sliding doors and wire shelving. If both are present, fix both before you put a single piece of equipment inside.
5. Under-Stair Offices Built for Actual Use, Not Instagram

The under-stair nook is the most-photographed small-space office concept on the internet and — I will say this plainly — the most frequently unusable one in real life. The photographs always show the tall end of the stair cavity, where there’s often six feet of clearance and beautiful natural light filtering in from a side window. What the photographs never show is the rest of the space, where the ceiling drops to four feet or less.
Seated clearance under the stairs needs 48 inches minimum at the exact position of the desk chair — not at the tallest point of the cavity, not at the entrance, but directly above where your head will be when you’re sitting. Measure this before you buy a single piece of furniture. I’ve seen clients invest $400 in custom shelving for an under-stair setup, install it, sit down, and immediately notice they couldn’t comfortably raise their arms without their elbows hitting the riser above.
The structural reality of under-stair setups that most content ignores:
- Stair risers protrude into usable horizontal depth — a rectangular desk wastes 4–6 inches of space where it bumps into the riser profile
- A flush-mounted or custom-cut desk that wraps the riser recaptures that depth
- Under-stair cavities in a standard residential staircase span 35–50 square feet of floor area — more than double a closet conversion — but only 30–40% is usable at seated working height
- The ceiling varies across the entire footprint, so the usable zone is always smaller than it looks
The complaint I heard most often from clients with under-stair offices: noise from foot traffic above. Every step someone takes on the staircase transfers directly through the treads into the nook below. Acoustic foam panels applied to the underside of those treads — accessible from inside the nook — reduce impact noise by 40–60%. You’re treating the surface that creates the noise, not the walls around you, which is why standard room soundproofing products don’t solve this particular problem.
Actionable takeaway: Bring a tape measure inside the under-stair cavity and measure ceiling height at the exact point where your chair would sit. If it’s below 48 inches, this nook is not your setup — move to the next one.
6. The Bay Window Desk That Works With Light, Not Against It
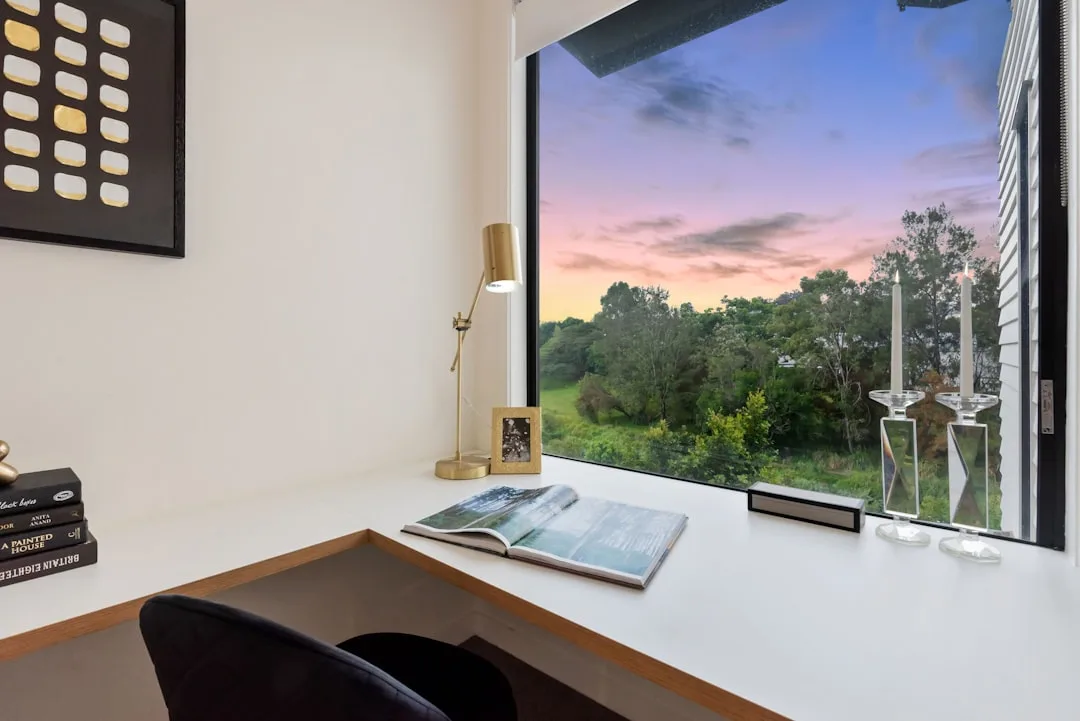
Bay windows get misused as office locations constantly. The instinct is to push a desk up to face the view, sit down, and realize immediately that the light is blasting directly into the monitor or directly behind the monitor, creating a halo effect that makes everything unreadable. I’ve watched clients rearrange this setup three times before giving up and pulling the desk away from the window entirely — at which point they’ve abandoned the best natural light source in their home.
The fix is positioning, and it’s not complicated. A monitor placed perpendicular to the window — facing neither toward it nor away from it, but at a 90-degree angle to the glass — eliminates 90% of glare without blackout curtains. Bay window geometry makes this easier than a flat wall because the three-panel angle gives you perpendicular wall space on either side of the center panel.
Bay window sill depths typically run 16–24 inches, which is a meaningful structural opportunity. A floating desktop mounted at sill height — flush with the existing sill or slightly above it — creates a built-in desk surface without purchasing any desk furniture at all. The bay becomes the desk. The three walls of glass become the office surround. It reads as intentional and custom even when it cost less than $100 in floating brackets.
Below the sill is where most people put cushions for a reading nook and stop thinking. Here’s what that space can actually do:
- Hinged bench seat below the sill with hollow interior becomes lateral file storage
- The dual-function eliminates the need for a separate filing cabinet in a small space
- Seat cushion can be removed and bench used as additional surface when needed
OSHA lighting guidelines for computer workstations recommend that windows be positioned to the side of the monitor — not in front of it, not behind it. Bay windows are architecturally built for this when used correctly. The design intent is already there. Most people just need to rotate ninety degrees.
Actionable takeaway: Before you buy anything for a bay window setup, sit in the bay with your laptop and turn it 90 degrees from the window. If the screen is readable and the light is neutral, you have your desk placement.
7. The Murphy Desk System for Shared Living Rooms
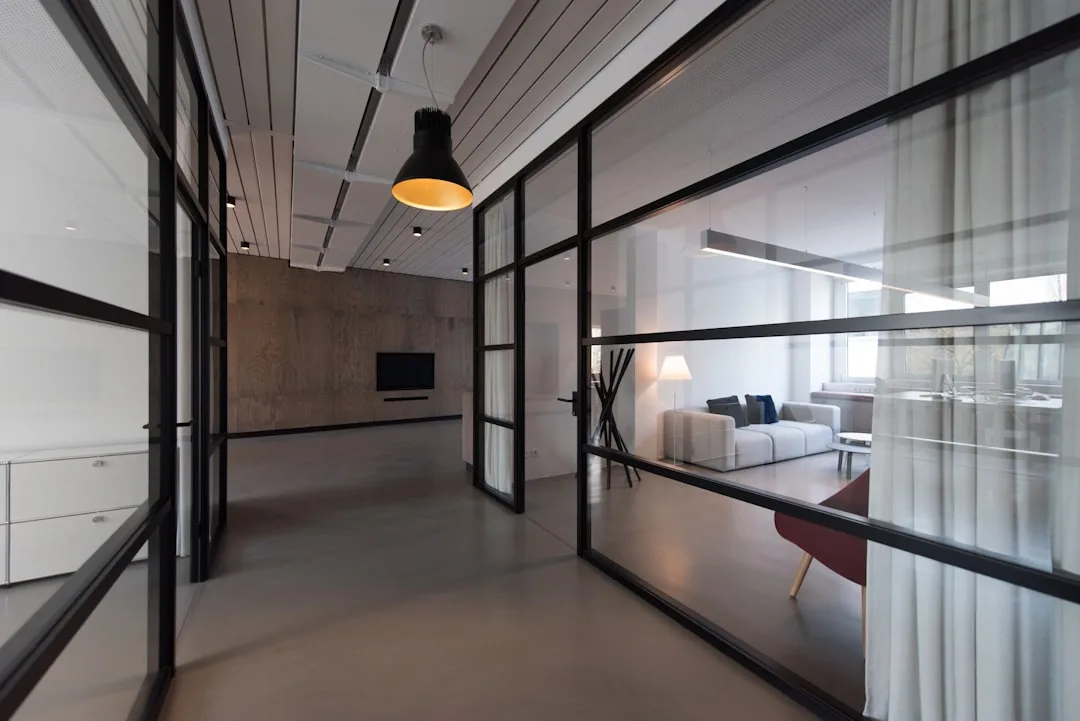
Murphy desks have had a moment — a long, extended moment since roughly 2020 — and the market has responded by flooding the category with products ranging from genuinely excellent to structurally dangerous. The Murphy desk market grew 34% between 2020 and 2023 according to furniture industry reports, driven by apartment dwellers seeking dual-use furniture. Return rates in this category are notably high, and the reason is almost always the same: improper wall mounting.
A Murphy desk system mounted into drywall alone — without hitting wall studs — will fail. It won’t fail immediately, which is the dangerous part. It’ll hold your laptop for six months and then slowly pull away from the wall under the cumulative weight and leverage of daily use. The non-negotiable installation requirement is stud location, 3-inch lag screws, and a level. This is not something to eyeball.
What competitors consistently fail to mention about Murphy desk selection and installation:
- The fold-down surface must land at exactly 28–30 inches off the floor when fully open — bracket angle determines this, and not all products let you adjust it
- Measure from your floor to the desired desk height and work backward from the bracket placement before you mount anything
- A dedicated electrical outlet at desk-open height is what separates a functional living room Murphy setup from an extension cord disaster
That last point deserves its own emphasis. If your Murphy desk folds down to 29 inches and your nearest outlet is at floor level, you have a cord running up the wall and across the desk surface every single day. The solution is either a recessed outlet box installed at desk height during mounting — which requires an electrician but costs under $200 — or a surface-mount raceway that channels the cord cleanly from the floor outlet up to desk level.
The living room Murphy desk works best when the wall it’s on is treated as a designed feature, not a hack. Frame it. Add small sconces or a mounted light bar above it. Use the closed-panel surface for art or a mirror. When it’s closed, it should look like a wall detail. When it’s open, it should look like a desk.
Actionable takeaway: Before purchasing a Murphy desk system, locate your wall studs with a stud finder and identify whether there’s an outlet within 36 inches of your intended installation height. Both answers determine what you buy.
8. The Breakfast Nook Desk Conversion for Morning Workers
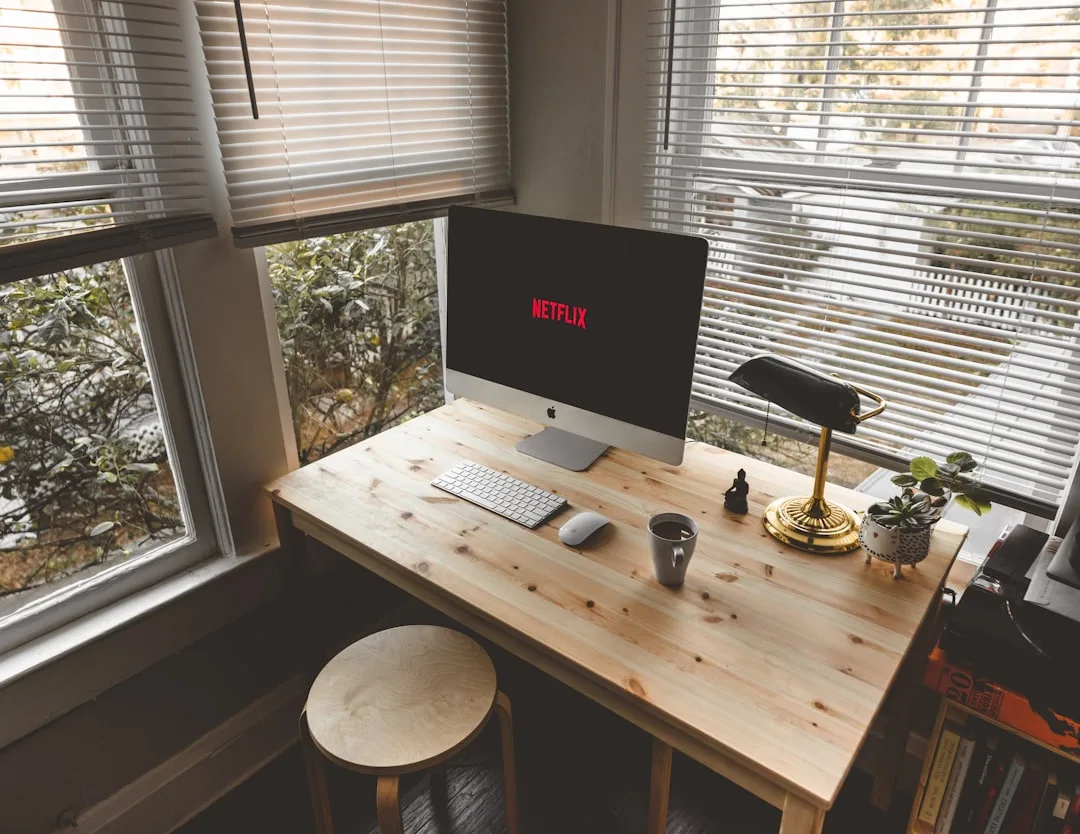
Breakfast nooks average 25–35 square feet and sit empty for most of the day in households that eat at the kitchen island or dining table. This is not speculation — it’s a pattern I saw in nearly every apartment I worked in across Chicago and New York. The built-in bench, the corner windows, the morning light — all of it unused by 8:30 AM and untouched until nobody uses it for dinner either.
That space is genuinely well-suited for morning work hours, and not just because of its size. Kitchen circuits typically carry more outlets per linear foot than bedroom or living room walls — meaning electrical access is rarely an obstacle. East-facing breakfast nooks receive naturally diffused morning light, which is ideal for screen work without any additional window treatment.
The key to making a breakfast nook conversion dual-purpose — work during the day, dining when needed — is a removable desktop riser rather than a permanent desk surface. Here’s the specific configuration that I’ve seen work:
- Use the existing banquette bench as seating (it sits at approximately 18 inches, correct for a 28-inch desk surface)
- Add a desktop riser that sits on the existing table surface, raising a laptop or monitor to eye level
- Store the riser flat under the bench cushion when the nook reverts to dining use
- Keep a slim power strip tucked under the table edge — visible when working, irrelevant when dining
The bench cushion itself is a storage opportunity that most people miss entirely. A hinged bench cushion with 8–10 inches of interior depth holds office supplies, a keyboard, a mousepad — everything that would otherwise cover the table surface.
Morning light from east-facing windows diffuses naturally as it travels across a room, meaning it softens by the time it reaches a monitor on the opposite or adjacent wall. This is a lighting condition that artificial setups spend considerable money trying to replicate. It’s already happening in your breakfast nook at 7 AM.
Actionable takeaway: Sit in your breakfast nook right now with a laptop. Check the light, the outlet proximity, and whether the bench height puts your arms at a comfortable angle. If all three work, you have a morning office that costs nothing to set up.
9. The Open-Plan Partition Office That Creates Separation Without Walls
Open-plan apartments and lofts offer no alcoves, no closets to convert, no hallways deep enough to absorb a desk. This is the hardest nook scenario to solve, and most small-space content either ignores it or offers “add a pretty rug” — which is advice I have a visceral impatience with, because I’ve watched people take it and change nothing about how their space functions.
Open-plan apartments represent 52% of new multifamily construction in urban markets according to the National Multifamily Housing Council, which means this is the most statistically common scenario for apartment dwellers. The solution isn’t a single piece of furniture — it’s a furniture geometry strategy.
A bookshelf placed perpendicular to the wall — not flush against it — creates a room-within-a-room effect that costs nothing beyond the bookshelf itself. The bookshelf needs to be at least 60 inches tall to signal genuine spatial separation. Below that height, the brain reads it as a storage object. At 60 inches and above, it reads as a boundary. This distinction is subtle in photographs and substantial in real life.
The complete partition office strategy:
- Bookshelf perpendicular to wall (60 inches+ tall, at least 12 inches deep so it’s stable) — this is your primary boundary
- Acoustic panels behind and beside the monitor — not on the ceiling, which is where most people put them; the relevant sound frequencies for voice calls come from the sides and behind you
- Dedicated area rug under the desk zone — pattern or color differentiation from the main living area rug signals territorial separation that your brain processes as genuine even without walls
- Desk lamp that’s distinct from your living room lighting — a directional desk lamp in a different temperature than your main overhead lights reinforces that this is a different functional zone
The acoustic panel placement is the detail that matters most for open-plan workers who take frequent video calls. Sound reflects off the walls behind and beside you — treating those surfaces reduces echo on calls in ways that are immediately noticeable to the people on the other end.
Actionable takeaway: Identify where a 60-inch bookshelf could stand perpendicular to a wall in your open plan space. That single piece, positioned correctly, is the entire foundation of this setup.
The Non-Negotiable Tech Checklist for Any Small-Space Nook
Every one of the nine setups above eventually runs into the same set of technical constraints — outlet proximity, internet signal strength, and basic ergonomics. These aren’t interesting problems. They’re also the problems that kill a setup after two weeks, when the cord stretched across the doorway becomes a daily irritant and the neck pain from a low monitor becomes something you’ve just decided to live with.
NIOSH ergonomics research links improper monitor height to a 40% increase in neck and shoulder strain reports among remote workers. Monitor arms cost $25–$60 and reclaim 30–40% of desk surface area. In a small nook, that reclaimed surface isn’t a luxury — it’s the difference between a desk you can work on and a desk where your keyboard is competing with a lamp and a coffee cup for space.
The outlet proximity rule is this: your primary device should plug in within 6 feet of a wall outlet without an extension cord crossing any foot-traffic path. If you can’t achieve this, you need either a different nook location or a licensed electrician to add an outlet. An extension cord running across a doorway or under a rug is a fire hazard and a tripping hazard — not a permanent solution.
Before committing to any nook location:
- Run a Wi-Fi speed test at the actual nook location with your phone or laptop (not in the center of the room) — dead zones discovered after furniture is installed require a mesh network node or powerline adapter, both of which should be budgeted before setup begins
- Confirm outlet locations and count available sockets within 6 feet
- Sit in the nook location in a chair close to your intended desk chair height and assess natural light, noise bleed from the rest of the home, and whether you can hear yourself think
Ergonomic non-negotiables that do not scale down with the size of the space:
- Monitor at eye level — use a monitor arm or a stack of books temporarily, then a proper arm permanently
- Chair with lumbar support — no stools, no dining chairs without back support, no “I’ll get a real chair eventually”
- Feet flat on the floor or on a footrest — if the desk height forces you to raise your chair until your feet dangle, you need a footrest, full stop
The nook doesn’t need to be large. It needs to be set up in a way that doesn’t slowly damage your body while you’re using it.
Actionable takeaway: Run a speed test at your nook location before you move a single piece of furniture. If it drops below 25 Mbps, order a mesh node now and factor it into your setup budget.
Frequently Asked Questions
What is the minimum space needed for a functional home office nook?
The ergonomic minimum for a single-monitor desk setup is approximately 48 inches wide and 24 inches deep — that’s a 6–8 square foot footprint. A closet conversion or a diagonal corner setup can meet this. What matters more than raw square footage is whether you can achieve the correct monitor distance (20–28 inches from your eyes), a chair with back support, and enough overhead or task lighting to illuminate the work surface without eye strain. Spaces smaller than 48 inches wide force compromises on monitor size and keyboard placement that add up over hours of daily use.
How do I create a home office nook in a studio apartment with no separate rooms?
The partition strategy in Setup 9 applies directly here: a perpendicular bookshelf (60 inches tall minimum) creates a functional office boundary without any construction. Pair it with a distinct area rug under the desk zone and acoustic panels on the two surfaces that face you during calls. The breakfast nook conversion in Setup 8 is also well-suited to studio apartments, since the kitchen/dining area is usually the one zone that already has some architectural definition. The core principle is that your brain needs a spatial signal that separates work from rest — even in a single room, furniture geometry can create that signal.
What is the best lighting setup for a home office nook with no natural light?
Use two light sources, not one. A primary task light — a desk lamp with adjustable color temperature, positioned to the side of the monitor so it doesn’t create a reflection on the screen — handles work surface illumination. A secondary ambient light source behind or beside the desk (a floor lamp, a plug-in sconce, an LED strip along the back of a shelf) fills in the shadows that make a dark nook feel claustrophobic on video calls. Set both to cool white (5000K) during peak work hours. The two-source approach also means that if the camera on your video call is looking at you, you’re lit from the front-side rather than underneath or from behind, which is an immediately noticeable improvement in call quality.
How do I soundproof a small home office nook for video calls?
“Soundproof” is the wrong goal — acoustic treatment is the right one, and they’re different things. Soundproofing prevents sound from passing through walls. Acoustic treatment reduces the echo and reverb inside your space that makes you sound like you’re calling from a bathroom. For video calls, treat the surfaces that reflect sound toward your microphone: the wall behind your monitor, the surface to your left and right. Acoustic foam panels, fabric wall panels, or even a bookshelf full of irregularly shaped books on those surfaces will noticeably improve call quality. A curtain behind you adds additional absorption. If you’re in a hard-walled closet conversion, the parallel walls create flutter echo — treating two opposing surfaces solves it. None of this requires expensive materials.