
Most apartments with no overhead lighting aren’t actually dark — they’re lit at the wrong height, the wrong color temperature, and pointed in the wrong direction. That’s a completely different problem with a completely different fix. Buying another floor lamp won’t solve it. Neither will turning everything on at once and hoping for the best.
What actually solves it is understanding what your room needs, measuring what it currently has, and filling specific gaps with the right tools. Here’s how to do exactly that, room by room.
Why No Overhead Lighting Feels So Hard to Solve (And What’s Really Going On)

The reason most renter lighting setups fail isn’t a lack of lamps. It’s a failure of diagnosis. People treat the symptom — a dim room — instead of the actual causes: insufficient lumen output per zone, mismatched color temperatures, and fixtures aimed at the wrong surfaces.
Start with numbers. The Illuminating Engineering Society recommends 20–50 foot-candles for general living tasks. Most no-overhead apartments, running on two or three standard lamps, operate at 5–10 foot-candles. That’s a 60–80% shortfall in usable light, and no amount of “cozy” framing makes it easier to read in.
Lumen requirements by room type:
- Living rooms: 1,500–3,000 lumens total
- Bedrooms: 1,000–2,000 lumens
- Kitchens: 4,000–8,000 lumens
- Home offices: 1,000–2,000 lumens plus dedicated task light
Most people fall short by 40–60% because they’re counting fixtures, not lumens. A lamp with a 40-watt-equivalent bulb produces roughly 450 lumens. Three of those lamps totals 1,350 lumens — still below the minimum for a mid-sized living room, before accounting for any light absorbed by dark walls or furniture.
Color temperature is the second invisible problem. Mixing a 2700K warm lamp with a 4000K daylight lamp in the same room creates visual dissonance that the eye registers as discomfort without knowing why. The room doesn’t just feel inconsistent — it feels wrong. Adding more lamps to a mixed-temperature room makes it worse, not better.
Ceiling height changes everything about the strategy. Rooms under 8 feet need light aimed horizontally or downward — torchieres bounce light off low ceilings and create a flat, washed-out effect. Rooms with 9–10 foot ceilings can use upward-facing fixtures effectively because the reflected light has room to diffuse. Most apartment lighting guides ignore this variable entirely.
Actionable takeaway: Before buying anything, write down your room’s square footage, ceiling height, and the color temperature (Kelvin number) of every bulb currently in the space. That list is your starting diagnostic.
Mapping Your Apartment’s Light Zones Before You Buy a Single Lamp
The single most expensive lighting mistake renters make is shopping before mapping. You end up with four lamps clustered around the sofa and a dark kitchen, a dark entryway, and a reading chair you can’t actually read in.
Lighting designers work from a three-zone audit before selecting a single fixture:
- Task zones — areas where you do specific work: reading, cooking, writing, applying makeup. These need directed, higher-intensity light (400–800 lumens per zone, aimed at the surface).
- Ambient zones — the general background light that allows movement and relaxation. One ambient source per 40–50 square feet is the baseline calculation interior designers use before layering task and accent lighting on top.
- Accent zones — art, architectural details, plants, bookshelves. These need low-intensity directional light (150–300 lumens) that creates visual depth and prevents the flat, shadowless look that makes even bright rooms feel boring.
For measurement, download a free lux meter app — Lux Light Meter (iOS) or Lightmeter (Android) both use the phone’s ambient light sensor to give usable readings. Hold the phone face-up at desk height in each zone. Anything under 200 lux in a task zone is critically underlit. Under 50 lux in an ambient zone means you need an additional source, not a brighter bulb in an existing one.
The furniture-first rule is non-negotiable. Map your light zones only after your furniture placement is final. The sofa determines where the reading lamp goes. The desk placement determines the task light angle. Most lighting mistakes happen because someone bought a floor lamp for a corner that a sectional later occupied.
Actionable takeaway: Walk your apartment with your phone’s lux meter app tonight, room by room, and note the three lowest-reading zones. Those are your first purchases — not the zones that already feel okay.
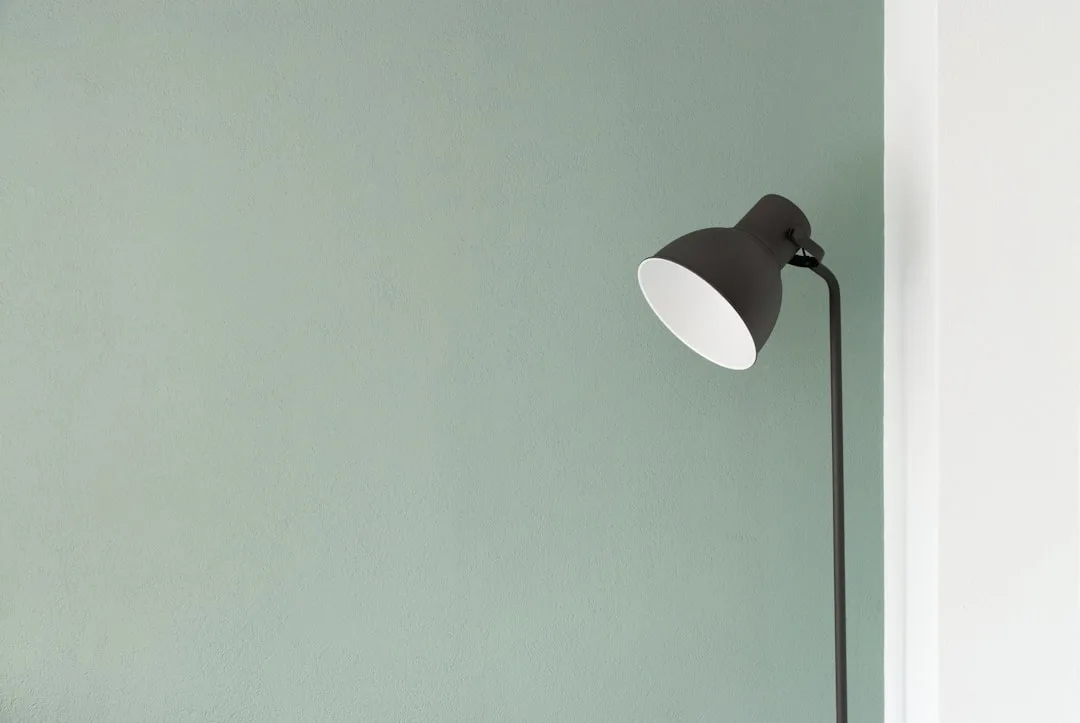
Floor Lamp Placement That Actually Works: Angles, Heights, and Wall Distance
“Put a floor lamp in the corner” is not a lighting strategy. It’s where you put things when you don’t have a better idea. Here’s what actually works.
The 18-inch wall rule: floor lamps placed closer than 18 inches to a wall create hot spots — pools of uplight that make the wall bright and leave the center of the room dark. Move the same lamp 24–36 inches out from the wall and the light diffuses across a much wider ceiling area. That’s not a subtle difference. You’ll notice it in the first minute.
Fixture type determines function, and using the wrong type is why “having three lamps” still feels dim:
- Torchieres — upward-facing bowls that bounce 300+ watts of equivalent LED light off the ceiling. Best for ambient replacement in rooms with 8.5–10 foot ceilings. A single 1,600-lumen torchiere bouncing off a white 8-foot ceiling distributes roughly 400–500 lumens of ambient light across a 150-square-foot room — approximately the output of a 40-watt overhead bulb. Not a replacement for a 100-watt overhead, but a meaningful foundation.
- Arc lamps — long-armed fixtures that extend over seating. These deliver focused task light from above and behind the shoulder, mimicking the angle of natural overhead light. Ideal for reading chairs and sofas.
- Tripod lamps — stable mid-room options that fill dead zones where neither a wall lamp nor an arc lamp reaches. Most effective with a diffused drum shade at 58–64 inches to maximize horizontal spread.
Height calibration matters more than lamp style. In a reading zone, the bottom of the shade should sit at seated eye level — roughly 42–48 inches from the floor. In ambient zones, raise the shade to 58–64 inches so light spreads across a wider ceiling angle before reflecting down.
Actionable takeaway: Measure the distance between your current floor lamps and the nearest wall. If any are closer than 20 inches, pull them out and see what changes. It costs nothing and frequently makes a visible difference.
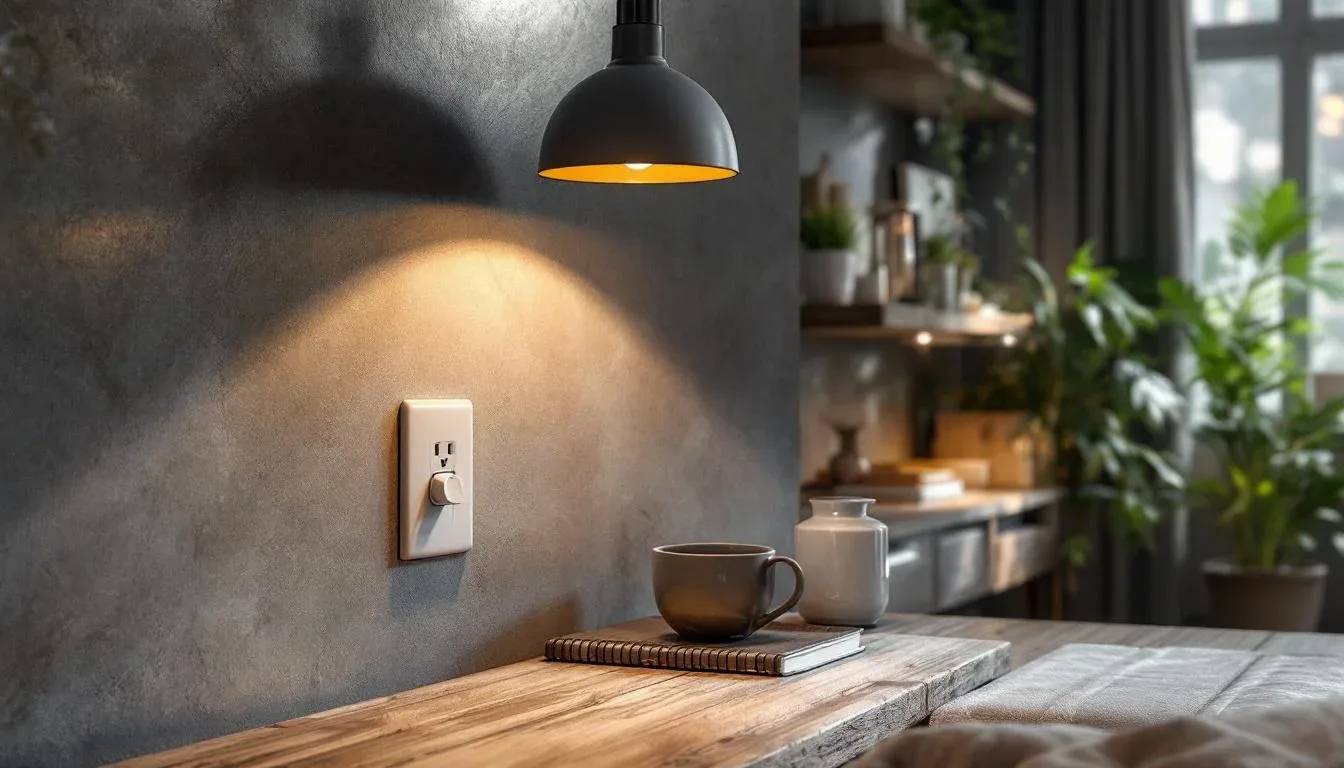
Plug-In Pendant and Sconce Solutions That Don’t Require an Electrician or Landlord Permission
Plug-in pendants have become genuinely good. The cord-management solutions that make them look intentional have caught up, too. But the ceiling hook question is where most renters make a safety error that can damage a ceiling or drop a fixture.
Weight capacity is the critical variable almost every guide skips. Standard 3M Command adhesive ceiling hooks are rated for 5 lbs — safely supporting fixtures up to approximately 4.5 lbs. Most plug-in pendants weigh between 1.5 and 4 lbs, which puts them in the genuinely renter-compatible range as long as you verify the fixture weight before buying. Heavier fixtures (anything with a ceramic or metal shade over 4 lbs) need a toggle bolt ceiling hook, rated 15–50 lbs depending on anchor size.
For swag-style installations — where the cord travels from an outlet up the wall to the ceiling and across to a pendant position — you’ll need cord covers and cable clips. The typical run is 8–12 feet from outlet to pendant position. Cord covers in paintable PVC (like those from Wiremold or D-Line) can be painted to match either the wall or ceiling, making the installation look planned rather than improvised. Match the cover to the ceiling paint rather than the wall paint if the cord runs along both surfaces — it visually disappears better that way.
Battery-operated and rechargeable sconces have crossed a functional threshold worth taking seriously. Brands like Kichler and Lutron now offer rechargeable sconces delivering 800+ lumens with 20–30 hour battery life per charge. That’s enough for a full week of evening use between charges in most bedrooms. These aren’t the dim battery candles from five years ago — they’re genuine ambient light sources that mount with two screws or removable adhesive strips.
Actionable takeaway: Check the weight label on any plug-in pendant you’re considering before ordering — most product pages list it under specifications. If it’s over 4 lbs, plan for a toggle bolt installation instead of an adhesive hook.
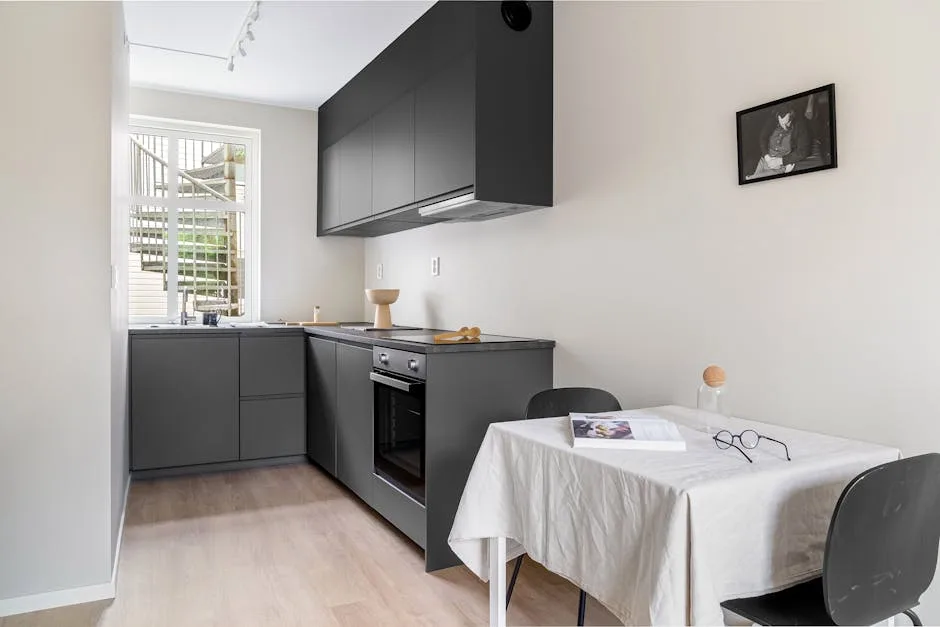
The No-Overhead Kitchen: Solving the Most Dangerous Dark Zone in the Apartment
The kitchen is where inadequate lighting stops being an aesthetic problem and becomes a safety one. Chopping vegetables or draining boiling water in a space that measures under 10 foot-candles at counter height — which is standard in no-overhead apartments without supplemental lighting — creates genuine risk. OSHA’s general industry standard recommends a minimum of 30 foot-candles for tasks involving moderate detail. Most kitchen countertops don’t come close without intervention.
Under-cabinet lighting is the highest-impact single purchase in a dark kitchen. Not a pendant over the table. Not a bright floor lamp in the corner. Under-cabinet lighting, because it delivers direct task light to the countertop surface where overhead light from across the room physically cannot reach effectively.
Your options break into two categories:
- LED strip lights (like those from Kichler’s Direct Wire series or Brilliant Evolution’s plug-in strips) mount to the underside of upper cabinets with adhesive backing or small screws and deliver 250–400 lumens per linear foot directly at the work surface. Plug-in versions install in under 10 minutes with zero tools.
- LED puck lights — individual round fixtures spaced 8–12 inches apart under cabinets. Slightly less even than strip lighting, but easier to reposition and often available as rechargeable units for renters with no outlet access under the cabinets.
For kitchens without upper cabinets, the workaround requires more creativity. A low-profile adjustable table lamp on a kitchen island (aimed at the prep surface, not the ceiling) can deliver focused countertop light if it reaches 600–800 lumens with a daylight-range bulb (4000–5000K for task accuracy). A plug-in pendant swaged directly above a kitchen table — positioned 28–34 inches above the table surface — replaces a dining pendant convincingly and provides workable light for the eating zone.
Color temperature in the kitchen should be 3000–4000K — warmer than an office, cooler than a bedroom. You want accurate food color without the harsh clinical feel of pure daylight bulbs.
Actionable takeaway: Measure your countertop depth and note whether you have upper cabinets. If you do, a plug-in LED strip light is your first kitchen purchase — before anything else.
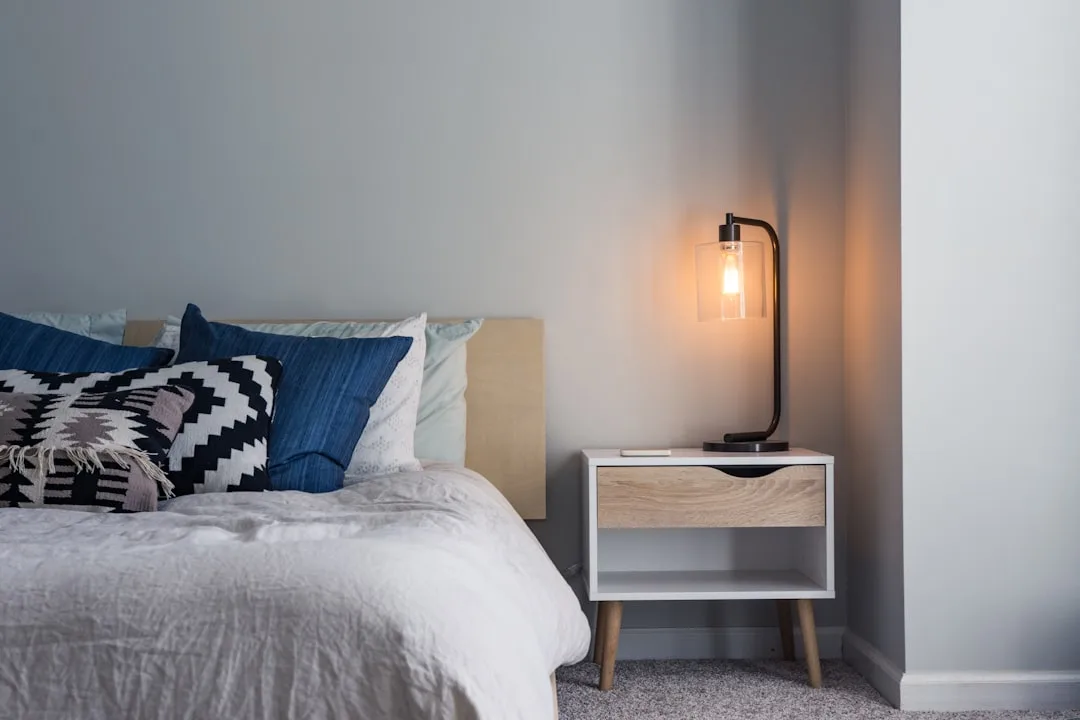
Bedroom Lighting Without a Ceiling Fixture: The Sleep Science Angle Most Decorators Miss
Bedroom lighting isn’t just about aesthetics. What you use, and when, directly affects how well you sleep — and most decorating advice ignores this entirely.
The mechanism is straightforward: blue-spectrum light (5000–6500K) suppresses melatonin production by up to 85% when used within two hours of bedtime. A 2019 study published in Current Biology found that exposure to warm incandescent-range light (2700K) in the evening caused 50% less melatonin suppression compared to standard LED white light (4000K) at equivalent lumen output. The bulb choice in your bedside lamp is a sleep intervention, not just a decor decision.
The specific color temperature target for bedroom lamps is 2200–2700K. Warm amber (under 2200K) is ideal for the hour before sleep. Nothing in a bedroom should be at 3000K or above — not the reading lamp, not the lamp on the dresser, not the closet light.
For dimming: one dimmable 800-lumen lamp with a 2700K bulb and a CRI above 90 outperforms three non-dimmable 200-lumen lamps in both function and sleep compatibility. The CRI (Color Rendering Index) above 90 matters for skin tones — it’s the difference between a bedroom that looks warm and flattering and one that looks jaundiced.
Bedside lamp placement for reading has a specific rule most cheap lamp stands violate: the bottom of the shade should sit at shoulder height when you’re sitting up in bed — typically 24–27 inches above the mattress top. Lower than that and the bulb hits you directly in the eyes. Higher than that and the light falls behind your book rather than on it.
Two matching 400-lumen dimmable bedside lamps (one per side) is the preferred configuration over a single larger lamp — it provides even light on both sides of the bed and individual control for partners on different sleep schedules.
Actionable takeaway: Tonight, check the Kelvin number on your current bedside bulb. If it’s over 2700K, swap it for a 2700K or 2200K warm white LED with a dimmer socket adapter — they run under $15 and the sleep difference is measurable within a week.
Mirrors, Paint, and Surfaces That Multiply Light Without Adding Fixtures
The most overlooked strategy in apartment lighting isn’t electrical. It’s understanding that every surface in your apartment is either reflecting or absorbing the light you’re already generating.
Light Reflectance Value (LRV) is the paint industry’s measurement of how much light a color bounces back into a room, on a scale of 0 (pure black, absorbs everything) to 100 (pure white, reflects everything). A wall painted at LRV 80+ reflects 80% of incident light back into the room. A wall at LRV 20 absorbs 80%. Benjamin Moore Chantilly Lace (OC-17) has an LRV of 92.2; Sherwin-Williams Alabaster (SW 7008) sits at 82. Paint with an LRV of 85 reflects approximately 3.5 times more light back into a room than paint with an LRV of 25 — a measurable functional difference that can reduce required lamp wattage by an estimated 30–40%.
If you’re renting and can’t repaint, the same principle applies to the surfaces you can change: light-colored furniture, white or cream-colored rugs, pale roman shades instead of dark curtains.
Mirror placement has geometry behind it that most decorating advice skips entirely. A mirror hung directly across from a window bounces natural light back toward the source — useful, but limited. A mirror positioned at a 45-degree angle to the window bounces light deeper into the room’s darker zones. The specific rule: angle the mirror’s reflective face toward the room’s darkest corner, not back toward the light source. In a narrow apartment living room, one large mirror on the long wall, angled 30–45 degrees toward the interior, can visibly reduce the cave effect that darker end walls create.
Beyond mirrors, the layering of reflective surfaces amplifies existing lamp output:
- High-gloss ceiling paint (even in a white or near-white color) increases light bounce off the ceiling plane noticeably compared to flat ceiling paint
- Glass-topped coffee and side tables act as horizontal mirrors, bouncing lamp light upward
- Lacquered or high-gloss furniture faces reflect rather than absorb
- Metallic cushion covers and throws add small distributed reflection points that prevent the dead zones flat-finish rooms create
Actionable takeaway: Pull up the LRV number for your current wall color (it’s on the paint manufacturer’s website). If it’s below 50, you now know that repainting — even to a warm off-white — will do more for your apartment’s brightness than any single lamp purchase.
Room-by-Room Lumen Targets and the Exact Products That Hit Them
Here’s where strategy becomes shopping. These aren’t vague “look for something bright” suggestions — they’re specific lumen targets organized by room, with the technical specs to filter by when you’re standing in a lighting aisle or scrolling a product page.
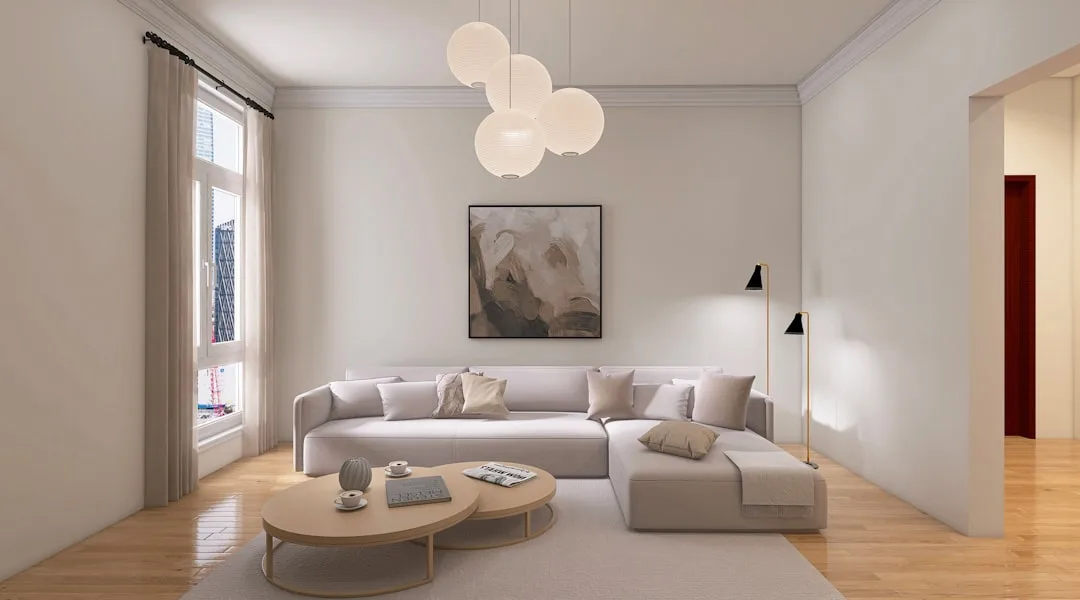
Living Room: 2,000–3,000 Total Lumens Across Minimum Three Sources
Build the living room in three layers:
- Ambient foundation — one torchiere or arc lamp at 1,200–1,600 lumens. Look for floor lamps that specify their lumen output, not just wattage equivalency. A torchiere with an LED bulb or integrated LED array in the 1,500-lumen range (Brightech Sparq, TaoTronics TT-DL22) handles the room’s base layer.
- Task light — one arc or tripod lamp at 400–800 lumens positioned over the primary seating zone. This is the lamp you actually read and work by.
- Accent source — 150–300 lumens from a small table lamp, LED shelf light, or picture light. This layer adds visual depth and prevents the flat uniformity that makes a well-lit room still look boring.
Bedroom: 800–1,200 Total Lumens at 2700K or Warmer
A single dimmable floor or table lamp at 800 lumens handles the full requirement if it dims to under 200 lumens for wind-down. The preferred setup for couples: two matching bedside lamps at 400 lumens each, both dimmable, both at 2700K, with independent switches. Products to look for: any table lamp compatible with a standard E26 bulb, paired with a Philips Warm Glow or GE Reveal LED at 800 lumens total per lamp.
Home Office Within the Apartment: Layered Temperature Strategy
The desk itself needs 450–500 foot-candles at the work surface — a 1,000-lumen adjustable desk lamp with a 4000–5000K daylight bulb positioned on your non-dominant hand side reduces both glare and shadow. BenQ, Elgato, and Luxo all make adjustable desk lamps in this range worth looking at.
The critical detail most home office guides miss: the ambient lighting in your office zone should stay at 2700K even while your task lamp runs at 4000–5000K. The task lamp is aimed at the desk. The ambient lamp fills the room behind and beside you. Matching the background to your task light’s color temperature makes the monitor look washed out. Keeping the background warm and the task zone cool is the professional setup.
ENERGY STAR-certified LED bulbs now deliver 1,600 lumens at only 15–16 watts. Running a three-lamp apartment setup for three hours daily costs approximately $0.50–$0.75 per month at the US average electricity rate of $0.16/kWh. The cost of running the lights is not the problem. The cost of buying the wrong lights is.
Actionable takeaway: Add up the lumen output of every bulb currently in your apartment. If the total is under 3,000 lumens across all rooms, you’re not dealing with a placement problem yet — you’re dealing with an output problem first.
Frequently Asked Questions
How many lumens do I actually need to replace overhead lighting in a living room?
Target 2,000–3,000 total lumens for a living room between 150–250 square feet. The important nuance is that this total needs to be distributed across at least three separate sources — not concentrated in one bright floor lamp. One 1,500-lumen torchiere provides the ambient base, but without a 400–600 lumen task lamp at the seating zone and an accent source creating depth, the room will still feel flat even when the total lumen count is technically sufficient. For living rooms over 250 square feet, increase the ambient source to 1,600–2,000 lumens and add a fourth source in any zone that extends more than 12 feet from the primary lamp.
Can I install a pendant light in an apartment without drilling into the ceiling?
Yes, and it’s more reliable than most renters assume — with one condition: you need to verify the fixture’s weight before choosing your mounting method. Most plug-in pendants weigh between 1.5 and 4 lbs, which falls within the 5 lb rating of 3M Command Large ceiling hooks. For anything heavier, a toggle bolt ceiling hook (rated 15–50 lbs depending on anchor size) creates a much more secure installation. The pendant cord can travel from the ceiling hook to a wall outlet using a swag configuration with adhesive cable clips and painted cord covers. The entire installation is reversible, leaves no permanent damage beyond small nail holes or adhesive residue, and looks intentional when the cord cover matches the ceiling color.
What color temperature bulbs should I use in a bedroom with no ceiling light?
Stay at 2700K or below for all bedroom lamps, and consider 2200K specifically for the bulb you use in the hour before sleep. The research is clear: blue-spectrum light above 3000K suppresses melatonin significantly when used within two hours of bedtime. A 2700K warm white LED with a CRI above 90 gives accurate color rendering, flattering skin tones, and minimal sleep disruption. Avoid anything marketed as “bright white” or “daylight” — those descriptors typically mean 4000K or above, which is appropriate for kitchens and offices and counterproductive in bedrooms. If you only want to buy one bulb type, a 2700K dimmable LED (Philips Warm Glow or Sylvania Ultra are both reliable) works for general bedroom use and dims to an amber-warm 2200K equivalent at low settings.
Why does my apartment still feel dark even though I have multiple lamps?
Three common causes, in order of frequency. First, lumen output is insufficient — count your actual lumens, not fixtures. If three lamps total fewer than 1,500 lumens in a 200-square-foot living room, the math simply doesn’t work regardless of placement. Second, color temperature mismatch — even one lamp at a significantly different Kelvin value than the others creates visual tension that registers as dimness and discomfort. Pull all your bulbs and check the Kelvin numbers; they should be within 200K of each other in the same room. Third, light is aimed at the wrong surfaces — lamps too close to walls create bright spots rather than room fill, and lampshades with dark interiors absorb a significant percentage of the bulb’s output before it leaves the fixture. White or light-colored interior shades, lamps pulled 24–36 inches from walls, and at least one upward-facing source all address this. Fix the output first, then the color temperature consistency, then the placement — in that order.
Here’s where to start today: pick the single darkest zone in your apartment — the one where you actually avoid sitting because the light is bad — and measure its current lux level with a free app. Then calculate the lumen gap between what you have and what that zone needs. One targeted purchase, placed correctly, will do more than the cumulative effect of everything you’ve tried so far.