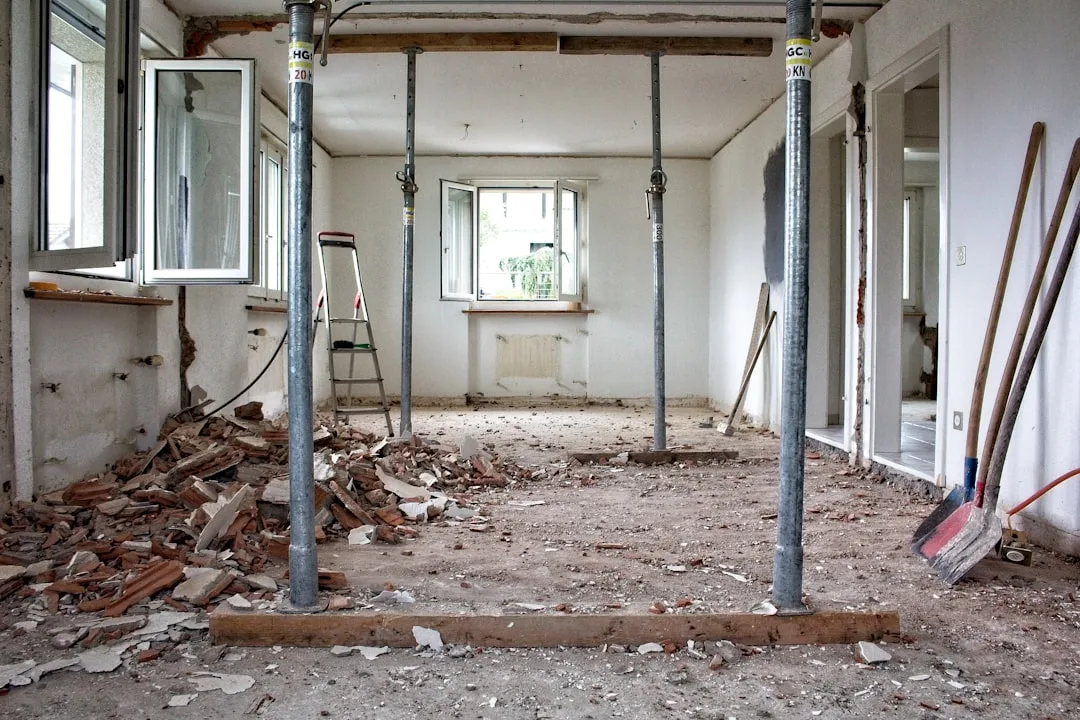
The average tiny powder room has more usable square footage than its layout is using — the problem is almost never the room’s size. What’s actually happening is a sequence of small, compounding decisions that nobody made deliberately: a door that swings the wrong way, a toilet shoved against the wall at an awkward angle, a vanity that’s two inches too wide. Each one alone is survivable. Together, they create a room that makes people want to leave as fast as possible — which, for a guest bath, is a particular kind of design failure.
Quick Answer
The average tiny powder room has more usable square footage than its layout is using — the problem is almost never the room’s size.
I’ve been in hundreds of powder rooms over eleven years of working with clients, and the ones that felt miserable almost never suffered from actual square footage problems. They suffered from geometry problems that got locked in during rough framing and never questioned again.
The Real Reason Tiny Powder Room Layouts Feel Wrong
In This Article
- The Real Reason Tiny Powder Room Layouts Feel Wrong
- How to Read Your Powder Room Footprint Before Touching a Fixture
- The Four Powder Room Layout Configurations That Actually Fit Tight Footprints
- Door Placement Is the Layout Decision Nobody Talks About
- Fixture Sizing and Positioning: What the Spec Sheets Don’t Warn You About
- Vertical Space: The Layout Dimension Most Tiny Powder Rooms Completely Waste
- How to Test Your Layout Before Demolition Starts
- Layout Decisions That Affect Resale and Long-Term Livability
Most people blame the size. They walk into a cramped half bath, feel the walls close in, and immediately start fantasizing about knocking something down. But the difference between a cramped layout and a merely compact one is circulation clearance — specifically, whether the space gives your body room to move through it without angling sideways or holding your breath.
Here’s what most guides skip entirely: the door swing eats into usable floor space before a single fixture is placed. A standard 24-inch door, opening inward, carves an arc through the room that nobody draws on the floor plan because it’s not a permanent object. But your body responds to it as if it were. Every time you open that door and step back to avoid it, you’re experiencing a layout failure, not a size limitation.
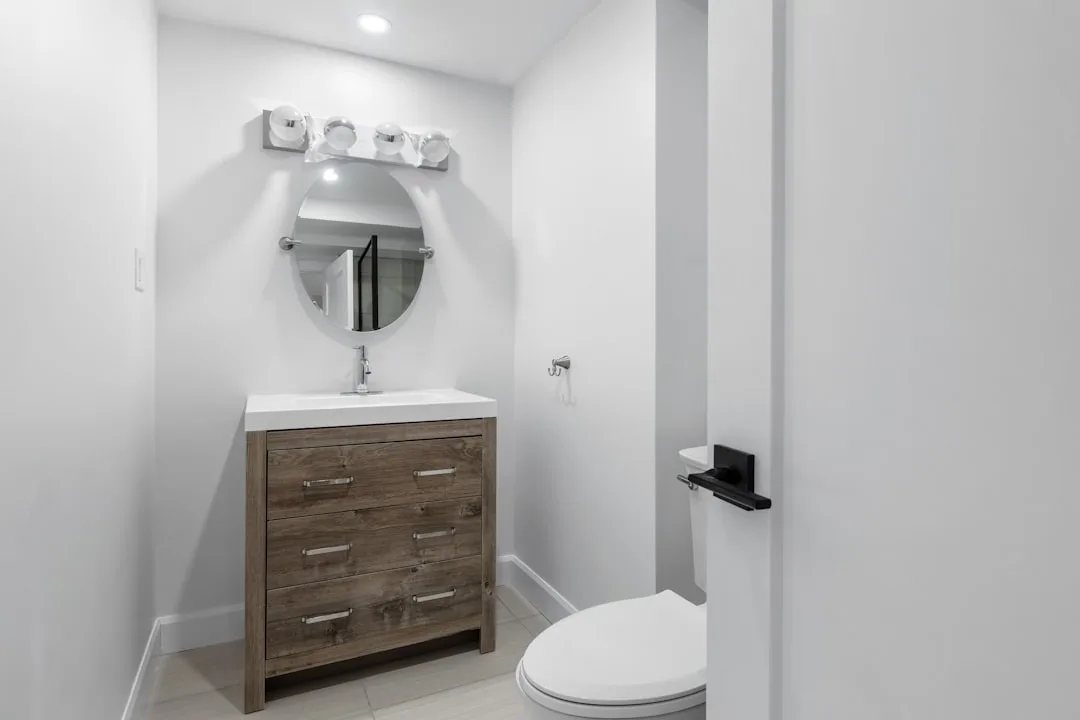
Sightlines matter more than most people realize. When a guest approaches your powder room from the hallway, their brain forms an instant spatial impression before they step inside — and that impression is built almost entirely on what they can see through the opening. A toilet visible dead-center from the entry reads as smaller and less considered than the same room where the toilet is recessed to the side. Same square footage. Completely different perception.
The single most consistently mishandled spatial decision I’ve seen is the toilet-to-vanity relationship. Designers and homeowners focus on each fixture in isolation — will the toilet fit? does the vanity clear the door? — without thinking about the clearance zone between them. The National Kitchen and Bath Association recommends a minimum 21-inch clearance in front of all fixtures, and most tiny powder rooms I’ve encountered violate this for at least one fixture. Usually the toilet. Usually because the vanity got placed first.
The fix isn’t always moving the toilet. Sometimes it’s replacing a 24-inch vanity with a 20-inch one. Sometimes it’s flipping the door swing. The diagnosis has to come before the solution.
Actionable takeaway: Stand in your powder room, extend your arms slightly to each side, and walk from the door to each fixture. Anywhere you hesitate or adjust your body position — that’s a clearance failure worth solving before anything else.
How to Read Your Powder Room Footprint Before Touching a Fixture
Before you order anything, before you call a plumber, before you fall in love with a particular vanity on a design website — map the room. Not from memory. Actually map it.
Identify the plumbing wet wall first. This is the single most budget-critical piece of information in your entire renovation. The wet wall is where your supply and drain lines live, and in most homes it runs through one or two specific walls — usually an interior wall shared with a kitchen or another bathroom. Relocating plumbing is the fastest way to blow a renovation budget; I’ve watched clients absorb $1,800 in unexpected costs because they ordered a sink that required moving the drain six inches. Six inches.
A standard powder room can range from 11 to 20 square feet, and at the lower end, every inch of fixture clearance must be deliberately assigned — not assumed. At 11 square feet, you are working with roughly the footprint of a large dining room table. Every fixture, every clearance zone, every square inch of door swing arc has to be accounted for in advance.
Here’s how to actually read your footprint:
- Map the door swing arc first — this is a non-negotiable zone. Draw it on your floor sketch before you place a single fixture. In tight rooms, the swing arc is often the single largest “object” in the space.
- Find the natural dead corner — usually the space diagonally opposite the entry point. This corner is psychologically invisible from the entry and physically clear of traffic. It is your highest-value placement zone for a vanity, a corner sink, or storage.
- Sketch a movement trace — draw the path a body actually travels from the door to the toilet, from the toilet to the sink, from the sink back to the door. Where those paths overlap is your active floor zone. Everything else is technically available for fixtures.
- Measure rough-in locations — note where your drain stub-out and supply lines currently terminate. These points anchor what’s possible without plumbing relocation.
The movement trace is something I started doing with clients after a particularly frustrating project where a beautifully designed powder room turned out to be functionally impossible — two people couldn’t exist in the space simultaneously without one of them standing on a toilet lid. The floor plan looked fine. The trace revealed the problem immediately.
Actionable takeaway: Sketch your footprint to scale on graph paper, draw the door arc first, then mark the wet wall. Don’t place a single fixture until those two constraints are visible.
The Four Powder Room Layout Configurations That Actually Fit Tight Footprints

Not every layout works in every footprint. There are four geometry-based configurations worth understanding, and the right one for your space depends on your room’s proportions, door position, and wet wall location — not on what looked good on Pinterest.
Linear layout places the toilet and sink on the same wall. It works best in narrow, deep footprints — think 3×7 feet or similar — and keeps plumbing runs short, which controls costs. The tradeoff is visual monotony and the fact that both fixtures compete for the same wall real estate. If your wet wall runs the length of the room, this is often the lowest-cost configuration.
Opposing wall layout puts the toilet on one wall and the sink directly across from it. This creates the most comfortable clearance experience — you’re not crowding past one fixture to reach the other — and it allows for a genuine design moment on the vanity wall. The catch is width: an opposing wall layout requires a minimum 60-inch room width to meet NKBA clearance guidelines. Verify your rough framing before committing to this configuration. I’ve seen clients discover mid-demo that they had 56 inches, not 60, and the whole plan collapsed.
Corner-entry layout is underutilized and genuinely underrated. When a door enters at a corner rather than centered on a short wall, it opens up diagonal sightlines through the space — and diagonal views always read as larger than straight-on views. This configuration is particularly well-suited to awkward alcove spaces or under-stair powder rooms, where the geometry is already irregular.
L-shaped layout places fixtures on two adjacent walls rather than opposing or parallel ones. It’s the most flexible option for irregular footprints — oddly shaped rooms, rooms with bump-outs, rooms where the door falls in an inconvenient spot. The demand it places on careful planning is door positioning: getting the traffic flow wrong in an L-shaped layout creates a room where you have to step around fixtures to reach other fixtures, which defeats the entire purpose.
Layout comparison at a glance:
| Configuration | Best For | Minimum Width | Key Risk |
|---|---|---|---|
| Linear | Narrow, deep rooms | 3 ft | Visual monotony |
| Opposing wall | Wider footprints | 5 ft (60 in) | Width requirement |
| Corner-entry | Alcoves, awkward entries | Varies | Diagonal framing |
| L-shaped | Irregular footprints | 4 ft | Door conflict |
Actionable takeaway: Measure your room width before choosing a configuration — the opposing wall layout sounds ideal until you’re two inches short of the minimum clearance.
Door Placement Is the Layout Decision Nobody Talks About
Every single guide about tiny powder rooms will tell you to use a pedestal sink and add a mirror. Almost none of them will talk seriously about the door — which is genuinely strange, because the door is often the largest spatial problem in the room.
A standard 24-inch inswing door occupies roughly 4.5 square feet of floor arc. In an 11-square-foot powder room, that arc is nearly half the usable floor space — consumed by an object that isn’t even there most of the time. The door is a ghost fixture that most layouts pretend doesn’t exist.
Here are five door strategies worth considering, in roughly ascending order of intervention required:
- Flip the swing direction — sometimes an outswing (door opens into the hallway) solves the clearance problem at zero cost. Requires clear hallway space; confirm you won’t hit anything in the adjacent traffic path.
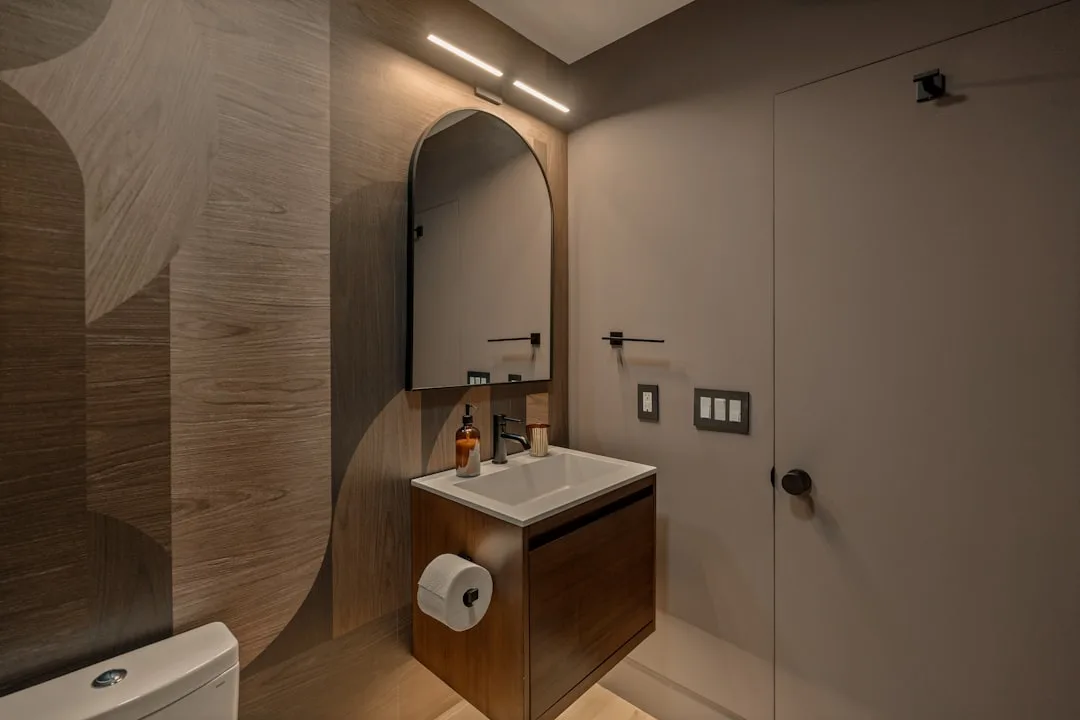
- Pocket door — eliminates the swing arc entirely by sliding the door into the wall cavity. Retrofittable in most interior walls; modern soft-close track systems can be installed in a standard 2×4 stud wall without requiring a full wall rebuild in most cases. This is the change I’ve recommended most consistently for cramped powder rooms, and it’s almost always worth the cost.
- Barn door — visually appealing, and they photograph beautifully, which is why they appear in so much renovation content. But they require 30-plus inches of clear wall space beside the opening. If you don’t have it, a barn door creates a different spatial problem than the one you were trying to solve.
- 180-degree outswing — less common, but functional when the hallway can absorb it and the room genuinely cannot spare any floor arc.
- Remove the door entirely — bold, and genuinely functional in specific configurations. An angled entry wall or a privacy screen can provide adequate separation without a hinged door. I’ve seen this done well exactly once, in a powder room that opened onto a wide entryway foyer. It worked. I wouldn’t recommend it casually.
The pocket door conversation comes up constantly in renovation planning, and the objection I hear most often is “I don’t want to open up the whole wall.” Modern soft-close track hardware has made this significantly less invasive than it used to be — a good carpenter can retrofit a pocket door into a standard interior wall in a day.
Actionable takeaway: Before you address a single fixture, walk to your powder room door and sweep it open. Time how long it takes before it clears the floor space you need. That arc is your first problem to solve.
Fixture Sizing and Positioning: What the Spec Sheets Don’t Warn You About
Spec sheets tell you the dimensions of a fixture. They don’t tell you how it will interact with the three other fixtures in a six-foot room, or what happens when the rough-in doesn’t match what you ordered, or why that vessel sink looks stunning online and creates a splashing disaster in a 14-inch-wide vanity.
Start with the toilet rough-in. This is the distance from the center of the drain to the finished wall behind the toilet, and it is typically 12 inches — but it can be 10 or 14 inches in older homes and certain regional construction conventions. Always verify your rough-in distance before ordering a toilet. I’ve watched a client return a toilet because they assumed 12 inches and had 10. The exchange was straightforward; the scheduling delay was not.
Wall-hung toilets deserve a more honest conversation than they usually get. They appear to save floor space, and they do — the visual footprint is smaller and the floor underneath is fully cleanable. But they require a steel carrier frame embedded inside the wall, which adds four to six inches of wall depth to the installation. In a room where every inch matters, that depth cost has to be factored into your layout math before you fall in love with the concept.
Corner sinks are a smart solution for genuinely tight spaces — some models measure as small as 14×14 inches — but they require plumbing rough-in at the corner, and many existing homes don’t have it there. The fix is workable but not free.
On vanities and mirrors:
- A vessel sink raises the effective counter height, which can make a narrow vanity feel more generous and proportional. The coordination requirement is faucet height — too short, and you’re washing your hands at an awkward angle; too tall, and water hits the rim of the vessel and sprays everywhere in a small space.
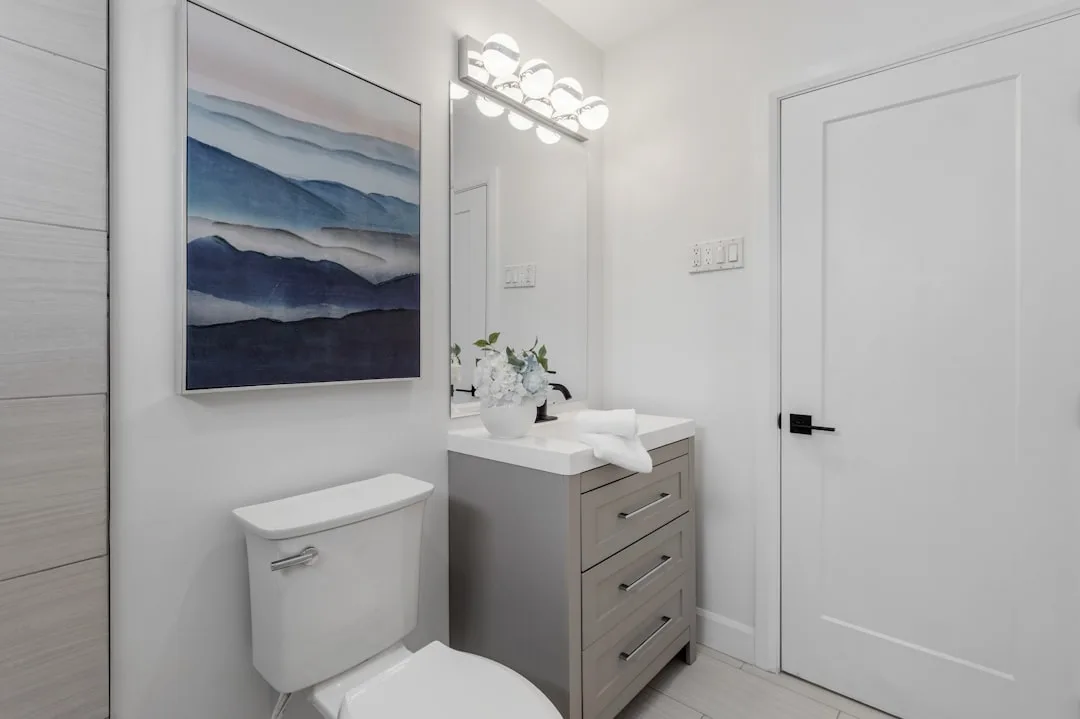
- The vanity mirror affects spatial perception as much as the vanity itself. A floor-to-ceiling mirror on the sink wall visually doubles the room’s apparent depth. I watched a client spend $400 on a small framed mirror when a $180 full-length panel mirror would have transformed the room — she was optimizing for aesthetics, not spatial experience.
ADA guidelines call for a 17-19 inch seat height and a 60-inch turning diameter — not required in private powder rooms, but the clearance principles embedded in those numbers translate directly into usability for everyone. A powder room that meets ADA clearances simply feels more comfortable to use.
Actionable takeaway: Before ordering any fixture, write down your rough-in measurements and the exact dimensions of the clearance zone around each fixture — not just the fixture footprint itself.
Vertical Space: The Layout Dimension Most Tiny Powder Rooms Completely Waste
Here is the thing about powder room planning that almost no one addresses: everyone obsesses over the floor plan — a two-dimensional drawing — while completely ignoring the fact that the room has walls and a ceiling. A standard powder room with 8-foot ceilings has roughly 64 square feet of wall surface. That’s more usable area than the floor in most tiny configurations, and most of it is blank.
Treating layout as a 3D problem rather than a floor plan exercise changes what’s possible significantly. Storage that comes off the floor doesn’t subtract from clearance zones. Visual elements positioned at eye level and above reframe how the eye reads the room’s scale.
A recessed wall niche — cut between standard 16-inch on-center studs — yields roughly 14 inches of width and can run 24 to 36 inches tall. That’s enough depth for toilet paper, hand towels, and a small plant or candle, and it adds zero room depth because it lives inside the wall cavity. This is one of the highest-return investments in a tiny powder room, and it costs almost nothing to add during a renovation when the walls are already open.
Vertical strategies that actually work:
- Floating shelves above the toilet tank — or in place of a tank on wall-hung models — provide storage without consuming any floor zone whatsoever. Keep them narrow (8-10 inches) so they don’t feel imposing from eye level.
- Vertical tile orientation makes walls read taller. So does floor-to-ceiling wallpaper in a vertical pattern. So does a tall, narrow mirror. All three achieve the same perceptual effect through different materials.
- Pendant lighting or a small chandelier draws the eye upward and signals ceiling height more effectively than recessed cans, which actively flatten a room by drawing attention to the ceiling plane rather than away from it.
I once watched a client spend two weekends painting her powder room a lighter color to make it feel bigger — it helped modestly. Then she added a recessed niche and swapped a flush-mount ceiling fixture for a small pendant. The room looked like it had been renovated. Nothing structural changed.
Actionable takeaway: Before your renovation closes the walls, ask your contractor to cut at least one recessed niche — between the studs above the toilet or beside the sink — while access is free.
How to Test Your Layout Before Demolition Starts
Demolition is not a design decision. It’s a commitment. And the number of times I’ve seen clients commit to a layout based on a drawing — or worse, based on a vague mental picture — and then discover a fundamental flaw three weeks into demo is genuinely uncomfortable to recount.
The cardboard mockup method is not glamorous. It is, however, almost embarrassingly effective.
Professional designers typically charge $150–$400 for a powder room layout consultation. The cardboard mockup method replicates about 80% of what that session reveals at zero cost — the remaining 20% being access to trade resources and code knowledge that’s useful but not critical for basic layout validation.
Here’s the process:
- Tape the footprint on your floor. Use painter’s tape to outline each fixture at its actual dimensions — not the dimensions of your current fixtures, but the dimensions of the fixtures you’re considering. Don’t estimate. Measure the spec sheet.
- Cut cardboard boxes to the height and width of your toilet and vanity. Stand them in the taped zones. Then physically walk through the clearances. Bend down as if washing your hands. Pivot as if reaching for a towel. Your body will register spatial problems that your eyes, looking at a floor plan, will not.
- Test the door swing with a piece of string tied to the hinge point, swept through its full arc. Confirm it clears all cardboard fixture positions. This takes four minutes and has saved clients thousands.
- Run free browser tools like Roomstyler or Planner 5D after the cardboard test, not instead of it. These tools allow 3D walkthroughs at actual scale and are genuinely useful for understanding how the visual experience of the space will change with different fixtures. Worth 30 minutes of your time before finalizing.
- Have another person stand in the space while you open and close the door. This one sounds obvious. Nobody does it. It reveals conflicts — door hitting a body, two people unable to pass — that no app or drawing will catch.
The cardboard test is the step most people skip because it feels low-tech relative to the renovation they’re planning. Those same people are the ones who call a contractor six weeks later to ask if the door can be reframed.
Actionable takeaway: Do the cardboard test this weekend. Order nothing until you’ve physically walked the clearances at actual fixture dimensions.
Layout Decisions That Affect Resale and Long-Term Livability
Layout isn’t just about how the space feels to use now — it’s about what the space communicates to the next buyer, and whether what you build today becomes a liability in ten years.
Powder room placement within the home is a resale variable most people don’t think about until they’re selling. A powder room positioned near the main entry or entertaining areas — easily accessible to guests without directing them through private bedroom hallways — adds meaningfully more perceived value than one tucked in an inconvenient corner of the floor plan. This isn’t theoretical; it’s a consistent complaint in real estate listings and a consistent selling point in the ones that move fast.
According to Remodeling Magazine’s Cost vs. Value data, a mid-range bathroom addition recoups approximately 54% of its cost at resale. A well-executed powder room in a high-traffic location — near the front door, adjacent to the main living space — outperforms that benchmark, particularly in homes where guest access to a bathroom currently requires navigating through private areas.
Long-term livability considerations that belong in the layout conversation:
- Grab bar blocking costs under $50 to add during renovation when walls are already open. It’s reinforced backing — a piece of plywood or blocking lumber behind the drywall — that supports future grab bar installation without requiring wall demolition later. The current aesthetics don’t change at all.
- Layouts that require plumbing relocation can add $500–$2,000 to project costs with minimal functional benefit. Before moving any pipe, ask whether the same outcome is achievable by repositioning the fixture within its current plumbing reach.
- Check whether adjacent walls are load-bearing or could be borrowed from a neighboring closet. The layout you choose now determines whether future expansion is structurally possible at all.
A poorly positioned powder room — one that guests must traverse private space to access — is a recurring complaint I’ve seen in actual listing feedback. It’s the kind of layout flaw that felt manageable when the family moved in and feels like a significant inconvenience seven years later.
Actionable takeaway: Add grab bar blocking to your scope of work right now, before walls close. The cost is minimal; the future value is real.
Frequently Asked Questions
What is the minimum size for a powder room layout to feel functional?
The technical minimum is typically cited around 11 square feet — roughly a 3×3.5-foot footprint — which can fit a compact toilet and wall-hung sink with extremely careful layout planning. That said, 11 square feet at the lower bound of the range is a room where every decision has to be deliberate. A pocket door is essentially required, a wall-hung or corner sink is necessary, and toilet selection needs to account for a compact elongated bowl (roughly 26-27 inches deep) rather than a standard one. What I’ve found in practice is that the functional quality of an 11-square-foot powder room depends almost entirely on whether the door swing is solved — rooms this size become deeply uncomfortable when 4 square feet of that floor space is consumed by an inswing door arc.
Should the toilet or the sink go against the plumbing wet wall in a tiny powder room?
The toilet almost always benefits more from being on the wet wall, because toilet drain rough-in is the most expensive and disruptive thing to relocate. Sink plumbing — supply lines and a smaller drain — is somewhat more flexible and runs at a shallower wall depth, which means running supply to a sink on a non-wet wall is a manageable plumbing task. Toilets need a 3-inch drain pipe; relocating that pipe means cutting into a floor or ceiling below, which is a different order of cost and disruption. So the practical answer is: put the toilet on the wet wall, run the sink to wherever your layout works best, and price the supply-line extension before committing.
Can a pocket door really fit in an existing powder room wall without rebuilding it?
In most cases — yes, with caveats. The wall needs to be a non-load-bearing interior wall (this is the most critical check), and the wall cavity needs to be clear of electrical runs, pipes, or blocking that would obstruct the sliding mechanism. Modern soft-close pocket door hardware, including systems from companies like Johnson Hardware, is designed to retrofit into a standard 2×4 stud wall cavity. A carpenter or skilled contractor can typically complete the retrofit in a day, opening the wall on one side, installing the track and frame hardware, and patching drywall. It’s not a zero-cost project — expect $500–$1,200 depending on labor rates in your market — but it is a legitimate renovation, not a structural undertaking. The “full wall rebuild” fear comes from older hardware systems and doesn’t apply to most modern retrofits.
What fixture changes make the biggest difference in a tight powder room layout without moving plumbing?
Three changes consistently deliver the highest impact with no plumbing relocation:
First, swapping a vanity with cabinet base for a wall-mounted or pedestal sink. This clears floor space visually and physically, making the room feel more open even when the actual square footage hasn’t changed.
Second, replacing an inswing door with a pocket door. This is not a fixture, but it’s the highest-impact single change possible in a tight powder room — eliminating the door arc reclaims floor space that no fixture swap can replicate.
Third, replacing a small or poorly positioned mirror with a floor-to-ceiling mirror on the vanity wall. The spatial perception shift from a correctly scaled mirror is substantial and costs almost nothing relative to structural changes. I’ve had clients insist the room “looked larger” after a mirror swap — it doesn’t actually change size, but the eye reads it differently, and in a guest bath, perception is most of the experience.
Start today. Get a tape measure, a pencil, and a piece of graph paper. Draw your powder room to scale — door swing arc included — and put your wet wall on the drawing before you place a single fixture. That twenty-minute exercise will clarify more than three hours of scrolling through bathroom renovation content ever will.
What is the minimum size for a powder room layout to feel functional?
The technical minimum is typically cited around 11 square feet — roughly a 3×3.5-foot footprint — which can fit a compact toilet and wall-hung sink with extremely careful layout planning. That said, 11 square feet at the lower bound of the range is a room where every decision has to be deliberate. A pocket door is essentially required, a wall-hung or corner sink is necessary, and toilet selection needs to account for a compact elongated bowl (roughly 26-27 inches deep) rather than a standard one. What I’ve found in practice is that the functional quality of an 11-square-foot powder room depends almost entirely on whether the door swing is solved — rooms this size become deeply uncomfortable when 4 square feet of that floor space is consumed by an inswing door arc.
Should the toilet or the sink go against the plumbing wet wall in a tiny powder room?
The toilet almost always benefits more from being on the wet wall, because toilet drain rough-in is the most expensive and disruptive thing to relocate. Sink plumbing — supply lines and a smaller drain — is somewhat more flexible and runs at a shallower wall depth, which means running supply to a sink on a non-wet wall is a manageable plumbing task. Toilets need a 3-inch drain pipe; relocating that pipe means cutting into a floor or ceiling below, which is a different order of cost and disruption. So the practical answer is: put the toilet on the wet wall, run the sink to wherever your layout works best, and price the supply-line extension before committing.
Can a pocket door really fit in an existing powder room wall without rebuilding it?
In most cases — yes, with caveats. The wall needs to be a non-load-bearing interior wall (this is the most critical check), and the wall cavity needs to be clear of electrical runs, pipes, or blocking that would obstruct the sliding mechanism. Modern soft-close pocket door hardware, including systems from companies like Johnson Hardware, is designed to retrofit into a standard 2×4 stud wall cavity. A carpenter or skilled contractor can typically complete the retrofit in a day, opening the wall on one side, installing the track and frame hardware, and patching drywall. It’s not a zero-cost project — expect $500–$1,200 depending on labor rates in your market — but it is a legitimate renovation, not a structural undertaking. The “full wall rebuild” fear comes from older hardware systems and doesn’t apply to most modern retrofits.
What fixture changes make the biggest difference in a tight powder room layout without moving plumbing?
Three changes consistently deliver the highest impact with no plumbing relocation: