Most living room refreshes fail not because of a lack of money, but because people spend in the wrong order — and if you’re planning a budget friendly living room makeover, that sequencing mistake is the single most expensive error you can make. Buying throw pillows before fixing the one thing that undermines everything else in the room is where most people go wrong.
You’ve probably done it. Picked up a couple of accent pillows on a Target run, maybe a candle or two, and then stood back waiting for the room to feel transformed. It doesn’t. The couch is still against the wrong wall. The overhead light still buzzes like a dentist’s office. The rug is either missing or too small. No amount of throw pillows fixes those problems.
A budget friendly living room makeover isn’t about spending less — it’s about spending in the right sequence. The rooms that look designed on a tight budget aren’t accidents. They’re the result of someone understanding which changes carry the most visual weight per dollar, and tackling them first.
Here’s how to do it.
Why Most Cheap Refresh Attempts Fail (And What to Do First)
The most expensive mistake you can make in a living room refresh is decorating before you’ve solved the room’s structural problems. Structural doesn’t mean knocking down walls. It means the things with the largest visual footprint — your wall color, your rug, your lighting, your furniture arrangement. These are the bones. If they’re off, no number of decorative accents will save the room.
The biggest budget trap is buying small before fixing large. A $200 collection of mismatched accent pieces will never compensate for a bare floor, a harsh overhead light, or furniture pushed awkwardly against every wall. Yet that’s exactly the path most people take because small purchases feel less risky.
Experienced interior designers recommend thinking in a “transformation order” — a prioritized sequence that addresses the highest-impact visual elements first:
- Layout and light — free to fix, highest return
- Walls and floors — paint, rugs, or wallpaper
- Lighting fixtures — overhead and ambient
- Large soft furnishings — curtains, slipcovers, large pillows
- Decorative accents — the throw pillows, the candles, the small vases
Before you spend a single dollar, rearrange your furniture. Pull pieces away from the walls. Create a conversation zone. This costs nothing and is the single most overlooked free upgrade in any room. Rooms where furniture floats in the center feel intentional and spacious. Rooms where every piece hugs a wall feel like a waiting room.
One thing that gets overlooked in this planning phase: the power of subtraction. Before you add a single new element to the room, remove what’s already wrong. That means the oversized entertainment unit nobody uses, the floor lamp with the yellowed shade, the basket of blankets that became a basket of junk. Empty space is not a problem to be filled. In a well-executed budget friendly living room makeover, it’s often the most powerful design choice you make. A room with five intentional pieces beats a room with twenty random ones every time.
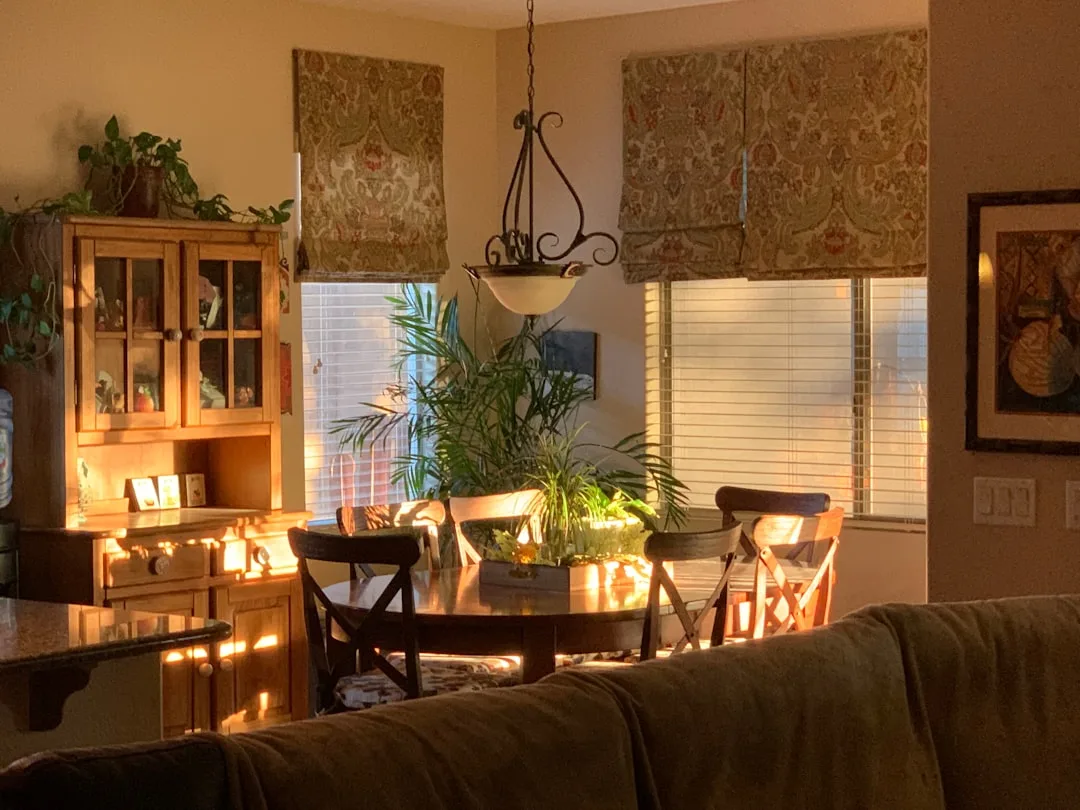
It also helps to photograph the room before you start — and to photograph it at different times of day. Morning light, afternoon light, and evening lamp light each reveal something different. You may discover that the room actually looks good in natural light but falls apart at night because the only light source is a single harsh overhead fixture. That diagnosis changes your spending priorities entirely. Solve lighting before you spend anything else.
Actionable takeaway: Before buying anything, spend 30 minutes rearranging your furniture with the focal point (TV wall, fireplace, or largest window) as the anchor. Photograph the result at different times of day. You might already have a better room than you thought — or a clearer picture of exactly what needs fixing first.
How Can I Makeover My Living Room Cheaply? Start With a Spending Hierarchy
The question isn’t really “how do I spend less?” It’s “where does each dollar do the most work?” Those are very different problems. Vague tip lists don’t answer that. A tiered spending hierarchy does.
The National Association of Realtors estimates that living room updates return up to 52% of cost in perceived home value — which means a well-executed $600 refresh isn’t just cosmetic, it’s financially rational. The key word is “well-executed,” meaning prioritized rather than scattered. Whether you’re working with $200 or $2,000, the most successful budget friendly living room makeover projects all follow the same basic logic: highest visual footprint first, decorative details last.
Here’s a framework that actually works:
Tier 1: Free to $50
- Rearrange all furniture before spending anything
- Declutter ruthlessly — empty surfaces read as luxury
- Clean and condition existing wood furniture with Howard Feed-N-Wax ($8)
- Swap items from other rooms: a lamp from the bedroom, a vase from the dining room, a throw from the guest room
- Polish metal hardware, clean light switch plates, dust ceiling fans
- Remove any piece of furniture that doesn’t serve a clear function; store it, sell it, or donate it
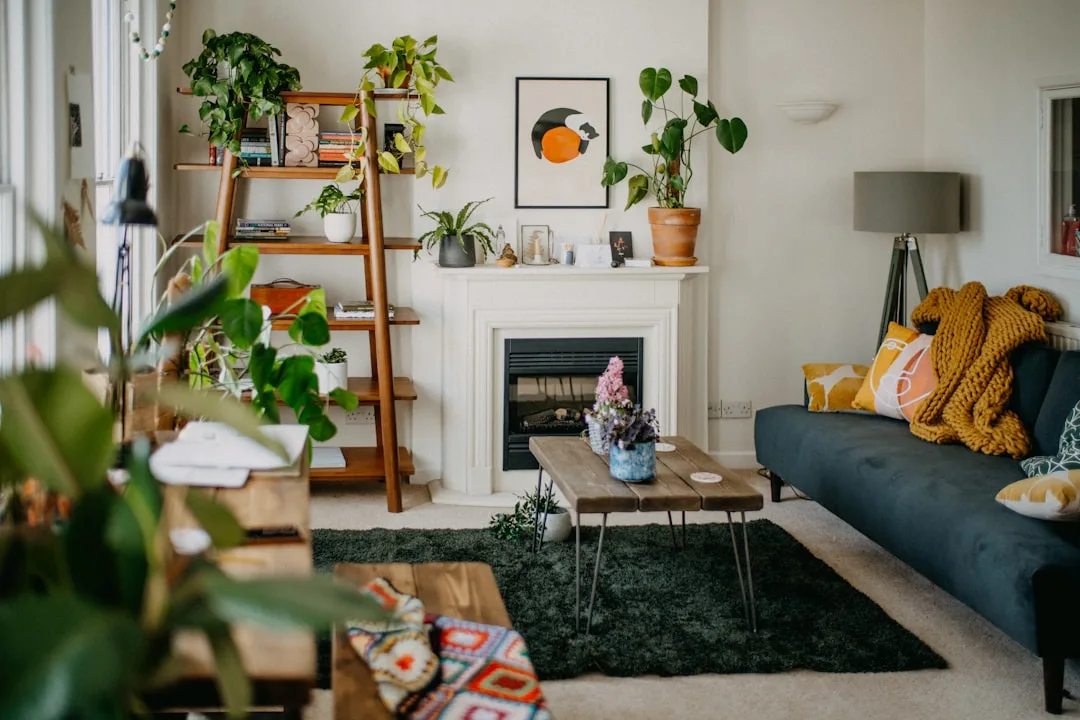
- Restyle your bookshelves using the objects you already own — mix vertical book stacks with horizontal ones, add a small plant or a candle, remove anything that doesn’t contribute to the overall color palette
Tier 2: $50 to $300
- One large area rug that’s properly sized (front legs of all seating pieces on the rug)
- New throw pillow covers in a cohesive 2–3 color palette
- One or two large-leaf plants in simple pots (a Monstera deliciosa from a local nursery runs $25–$45)
- Curtain panels hung high and wide if you don’t already have them
- A can of wall paint in a tested color — sample pots cost $4–$6 each and painting large swatches on the actual wall before committing is non-negotiable
- Peel-and-stick picture rail hooks for a gallery wall, avoiding wall damage while still anchoring art at the right height
Tier 3: $300 to $800
- A new overhead lighting fixture or floor lamp to replace builder-grade options
- A slipcover for a worn sofa, or professional reupholstery of a single accent chair
- A gallery wall using affordable frames from IKEA’s RIBBA line or thrift stores
- One quality piece of art, whether purchased or DIY-printed at a print shop
- New curtain hardware in a matte black or brushed brass finish — the rod and rings matter as much as the panels themselves, and builder-grade white plastic rods undermine even beautiful curtains
- A pair of matching table lamps on either side of the sofa, which immediately creates visual symmetry and warmth that no overhead fixture can replicate
Always spend the largest portion of your budget on the item with the largest visual footprint first. In most living rooms, that’s the rug or the wall treatment. A beautiful $200 rug does more for a room than $200 spread across twelve small decorative pieces.
One additional note on sourcing: Facebook Marketplace and Craigslist are genuinely underused tools for a budget friendly living room makeover. Solid wood coffee tables, lightly used accent chairs, vintage mirrors, and quality floor lamps all appear regularly at 70–80% below retail. The key is searching consistently rather than desperately — browse twice a week, set saved searches for specific items, and be patient. The piece you need will show up.
Actionable takeaway: Write down your total available budget, then allocate 50% to whichever single item has the largest visual footprint in your specific room. Let the math guide you, not the impulse aisle at HomeGoods.
The 60-30-10 Color Rule Explained: The Simplest Way to Make Any Room Look Designed
Color isn’t about picking shades you love. It’s about proportion. That’s why rooms with beautiful individual colors can still feel chaotic — the ratios are off. The 60-30-10 rule fixes that with a structure borrowed directly from professional interior design practice.
Color cohesion is the single most impactful non-structural change you can make to a room, according to experienced interior designers — and paint alone, averaging $200–$400 for a standard living room, delivers the highest perceived-value return of any cosmetic update. You’re not just changing color; you’re setting the proportion of the entire room.
Here’s how the breakdown works:
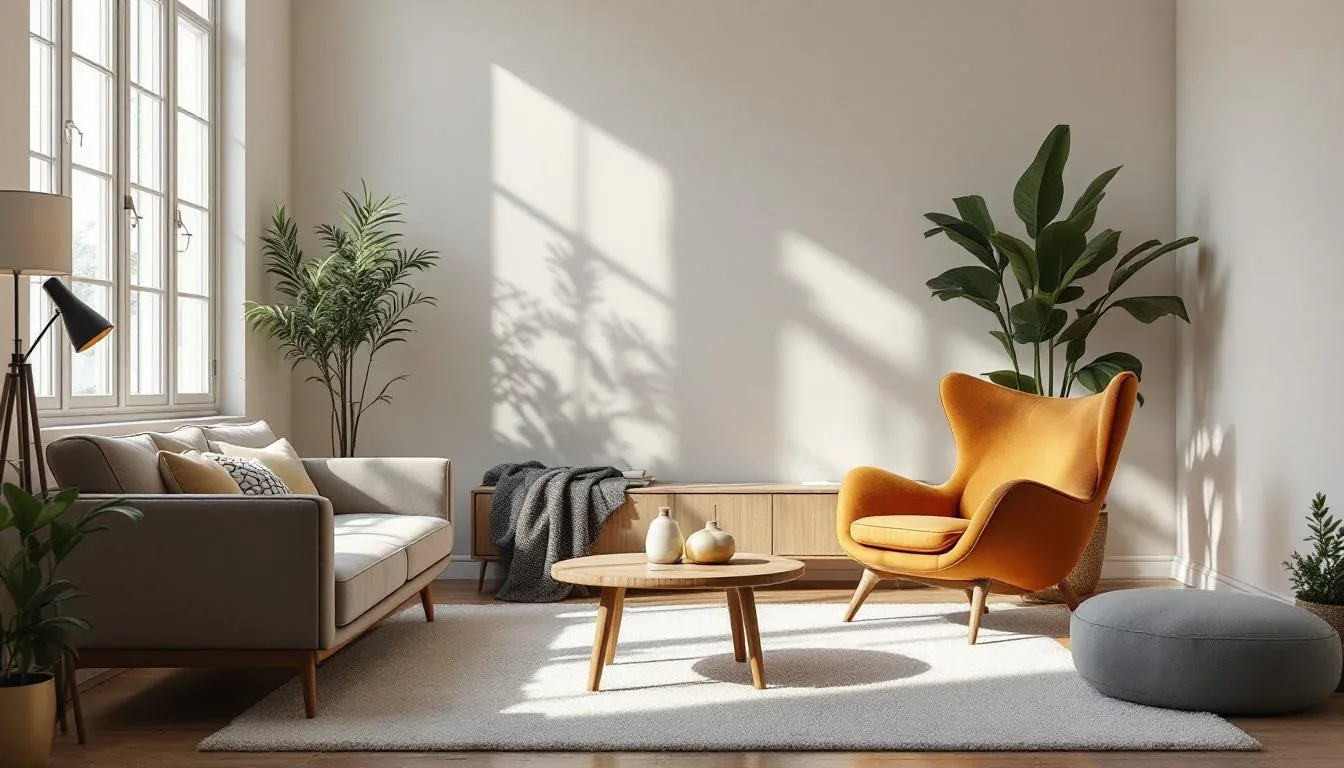
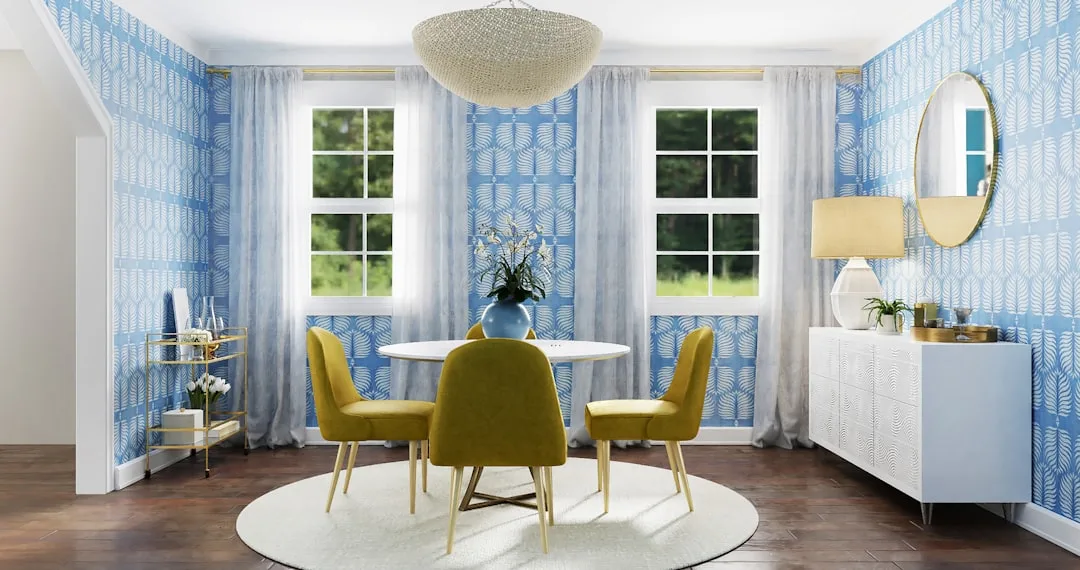
60% dominant color: Your walls, your large sofa, or your area rug. This is the visual anchor. It doesn’t have to be neutral, but it needs to be calm enough to sustain extended exposure. Warm whites, soft greiges, deep navies, and warm terracottas all work well at this scale. If you’re renting and can’t paint, your dominant color can come from a large, well-chosen area rug — an 8×10 rug in a warm, consistent tone anchors the same way a painted wall does.
30% secondary color: Your curtains, your accent chair, your bookshelf styling, or your largest throw blanket. This is where depth lives. If your 60% is warm white walls and a cream sofa, your 30% might be a dusty sage green chair and matching curtains. The secondary color should share an undertone with the dominant — warm with warm, cool with cool. Mixing undertones is the most common reason a room feels “off” even when the individual colors seem appealing on their own.
10% accent color: Throw pillows, vases, books displayed spine-out, candles, small artwork, and decorative objects. This is the sharpest color in the room — the one with the most saturation or contrast. Terracotta against sage. Cobalt against cream. Mustard against charcoal. The 10% exists to create visual energy, but its power comes entirely from being used sparingly. When the accent color starts appearing in too many places, it stops being an accent and becomes noise.
Applying the rule on a tight budget: You don’t need to replace everything to shift the proportion. If your sofa is a medium gray and your walls are white, those two elements cover your 60% without spending anything. Your job is then to introduce a consistent secondary color through one or two larger purchases — a set of curtains, a throw, an accent chair — and pull that secondary color into small objects at the 10% level. A $35 set of curtain panels in dusty blue, a $12 throw in the same family, and three small objects that echo the tone is often all it takes to make a room feel intentional.
One practical tip: before buying anything new, pull out every decorative item you currently own and group them by color. You may already have the raw material for a coherent palette — it’s just scattered across too many competing tones. Editing down to one or two accent colors costs nothing.
Actionable takeaway: Take a photo of your living room and identify which color currently covers the most surface area. That’s your de facto 60%. Build your 30% and 10% from there, using what you already own before buying anything new.
Lighting: The Budget Fix That Changes Everything

Most living rooms have a lighting problem that no amount of new furniture or fresh paint will solve. That problem is almost always the same: a single overhead fixture doing all the work, usually a flush-mount ceiling light that was installed during construction and never replaced.
Overhead-only lighting creates flat, shadowless light that makes everything in the room look the same. There’s no hierarchy, no warmth, no depth. It’s the visual equivalent of turning up a single speaker to fill a room instead of distributing sound properly. The fix is layering — and it doesn’t require an electrician or a large budget.
The three layers of functional living room lighting are:
- Ambient: The general fill light. Your overhead fixture handles this. If you can add a dimmer switch (a $15–$25 DIY project requiring no special skills), you’ll immediately gain control over the mood of the room at different times of day.
- Task: Directed light for specific activities. A floor lamp beside a reading chair, a table lamp on a side table. These don’t need to be expensive — a simple arc floor lamp from Amazon or IKEA in the $60–$100 range does the job well.
- Accent: Light that draws attention to something specific. A picture light over a piece of art, a small lamp on a bookshelf, candles on a coffee table. This is the layer most people skip, and it’s the one that makes a room feel genuinely designed.
For a budget friendly living room makeover, the highest-return lighting investment is almost always a pair of matching table lamps. Two lamps of similar height placed on either side of the sofa — on matching side tables or on surfaces of similar height — immediately creates visual symmetry and replaces the cold overhead light with warm, eye-level glow. Budget $40–$80 per lamp including shade. Thrift stores regularly stock quality lamp bases; replace only the shade if the base is solid.
Bulb temperature matters more than most people realize. Bulbs are measured in Kelvins. Bulbs in the 2700K–3000K range produce warm white light that works well in living spaces. Bulbs at 4000K and above produce cool white or daylight tones that feel clinical indoors. If your room currently feels cold and uninviting in the evenings, swap your bulbs before you buy anything else. A four-pack of warm LED bulbs costs under $12 and takes three minutes to install.
Actionable takeaway: Count your current light sources. If you have fewer than three active in the evening, add one lamp before spending money on any decorative element. Warm light at eye level transforms the perceived quality of everything else in the room.
The Rug Sizing Problem (And Why It’s the Most Common Mistake in Budget Refreshes)
The single most photographed living room mistake on design blogs isn’t bad furniture or wrong colors. It’s the wrong rug size. Specifically: a rug that’s too small.
A rug that sits only under the coffee table — with the sofa and chairs floating on bare floor around it — makes the seating area look like it was assembled from separate purchases rather than designed as a unified space. The rug becomes an island instead of an anchor. This is extremely common in budget refreshes because larger rugs cost more, and the small rug seems like a reasonable compromise.
It isn’t. A small rug in the wrong place actively makes a room look cheaper than no rug at all.
The correct sizing rule: In a living room, the area rug should be large enough that the front legs of every major seating piece sit on it. For most standard living rooms, this means an 8×10 or 9×12 rug. For smaller rooms or apartments, a 6×9 can work if the furniture is scaled accordingly. The rug defines the boundary of the conversation zone. Everything inside that boundary should feel like it belongs together.
How to get a properly sized rug on a tight budget:
- Rugs USA, Wayfair, and Overstock regularly run sales of 60–70% off, particularly around major holidays. An 8×10 rug that lists at $300 frequently sells for $90–$120 during these events. Set a price alert and wait.
- Ikea’s STOCKHOLM and LANGSTED rugs offer genuine quality at accessible price points. The LANGSTED in a 7’10” x 9’10” runs around $149 and holds up well to regular use.
- Vintage and overdyed rugs from eBay sellers or local estate sales offer unique character at prices below retail. Search for “vintage Turkish rug 8×10” and filter by price — usable rugs in the $80–$150 range appear consistently.
- If budget is extremely tight, layer a smaller rug over a large natural jute base rug. An 8×10 jute rug costs $60–$90; a smaller vintage or patterned rug layered on top adds texture and personality at low cost.
Before buying, use painter’s tape to mark the proposed rug dimensions on your floor. Live with the taped outline for a day. This simple step prevents the most common and most expensive rug mistake: buying before confirming size.
Actionable takeaway: Measure your seating area before looking at a single rug. Write down the minimum size that would put the front legs of your sofa and chairs on the rug surface. Only shop within that size range, regardless of budget.
FAQ: Budget Friendly Living Room Makeover
How much does a budget living room makeover actually cost?
A meaningful budget friendly living room makeover can be completed for as little as $200–$400 if you prioritize correctly. Most of the highest-impact changes — furniture rearrangement, decluttering, swapping items between rooms, bulb replacement — cost nothing. The $200–$400 typically covers one properly sized area rug or a can of paint plus new curtain panels. A more comprehensive refresh including new lighting, a rug, paint, and accent pieces typically runs $500–$900 when purchases are planned rather than impulsive.
What’s the single highest-impact change I can make for under $50?
Rearranging your furniture costs nothing and has the largest possible return on investment. If you’ve already done that, the next highest-impact change under $50 is replacing your light bulbs with warm-toned LEDs (2700K–3000K) and adding a dimmer switch to your overhead light. Together, these two changes transform the atmosphere of a room in a way that no decorative accessory can match.
Can I do a budget friendly living room makeover without painting?
Yes. Paint is high-impact but not mandatory. If you’re renting or simply don’t want to paint, your dominant 60% color can come from a large area rug and consistent soft furnishings. Hang curtains high and wide to draw the eye upward and frame the space. Use a large piece of art or a mirror as a focal point on the main wall. A well-chosen gallery wall using frames you already own can transform a blank wall without a drop of paint.
How do I make my living room look more expensive without spending much?
The appearance of expense in a room comes from consistency and restraint, not price tags. Edit down your existing objects to a single cohesive color palette. Replace mismatched throw pillows with two or three covers in coordinating tones. Hang curtains from ceiling height rather than just above the window frame. Add one large plant. Remove anything that doesn’t contribute. These changes cost very little and produce a more polished result than adding new purchases to a cluttered room.
In what order should I tackle a living room makeover on a budget?
Always address the largest visual footprint items first: furniture arrangement, then walls and floors, then lighting, then large soft furnishings like curtains and slipcovers, then decorative accents last. The most common and most expensive mistake is buying decorative accents before solving structural problems. Throw pillows purchased before fixing the rug, lighting, and layout rarely make any visible difference — and the budget is gone before the real problems get addressed.