Author: ION

  • How to Make a Guest Room More Attractive.

    How to Make a Guest Room More Attractive.

    Do you know that a guest room that is not in good condition is not attractive to your visitors? As a homeowner, it is good to maintain your rooms in in good shape to be appealing to your friends and other guests you are likely to receive. If you are experiencing challenges in maintaining your guest room, wary not.

    There are tons of factors that hamper your guest room agenda, such as work, household chores, and extracurricular activities. Hence, you will have very little time for the rooms. If you go to work every morning, you may hardly get time to note deterioration in the appearance of your guest rooms. Most people don’t give their guest rooms a priority during their home renovation projects.

    This part of the house should be included in any home improvement project. These rooms need a lot of attention because they are accessible to almost everybody who visits your home. If you don’t keep the guest rooms in a good look, it will become useless. It can be shameful to accommodate your boss or work colleagues in a filthy room. Even if you have the best house, in particular, one will not praise your home but lament on the condition of the room where they spent the night. That is why you should deal with these rooms with the utmost care.

    Having a guest room within your house is a paramount idea because your guests will have a convenient place if they want to spend a day or two in your house. It is incredible to realize that a guest room improvement doesn’t consume a lot of money but needs more time to keep them neat and habitable.

    Upgrading your guest room can be an exciting affair. Although one can hire a contractor to do the work, you can also do-it-yourself. A guest room improvement project can be fun for you and your family. You can use this as a bonding time for families that have little time together. A guest room in a stunning look is very functional and is also a worthwhile investment.

    The best way to start your renovation job is to organize the items within the room. Check the functionality of all installations and appliances in the house. Ensure to check the lights, switches, knobs, and doors. 

    If any of them has malfunctioned, replace them with new ones. Where possible, you can make repairs, but if you don’t have such skills, you should involve an expert.

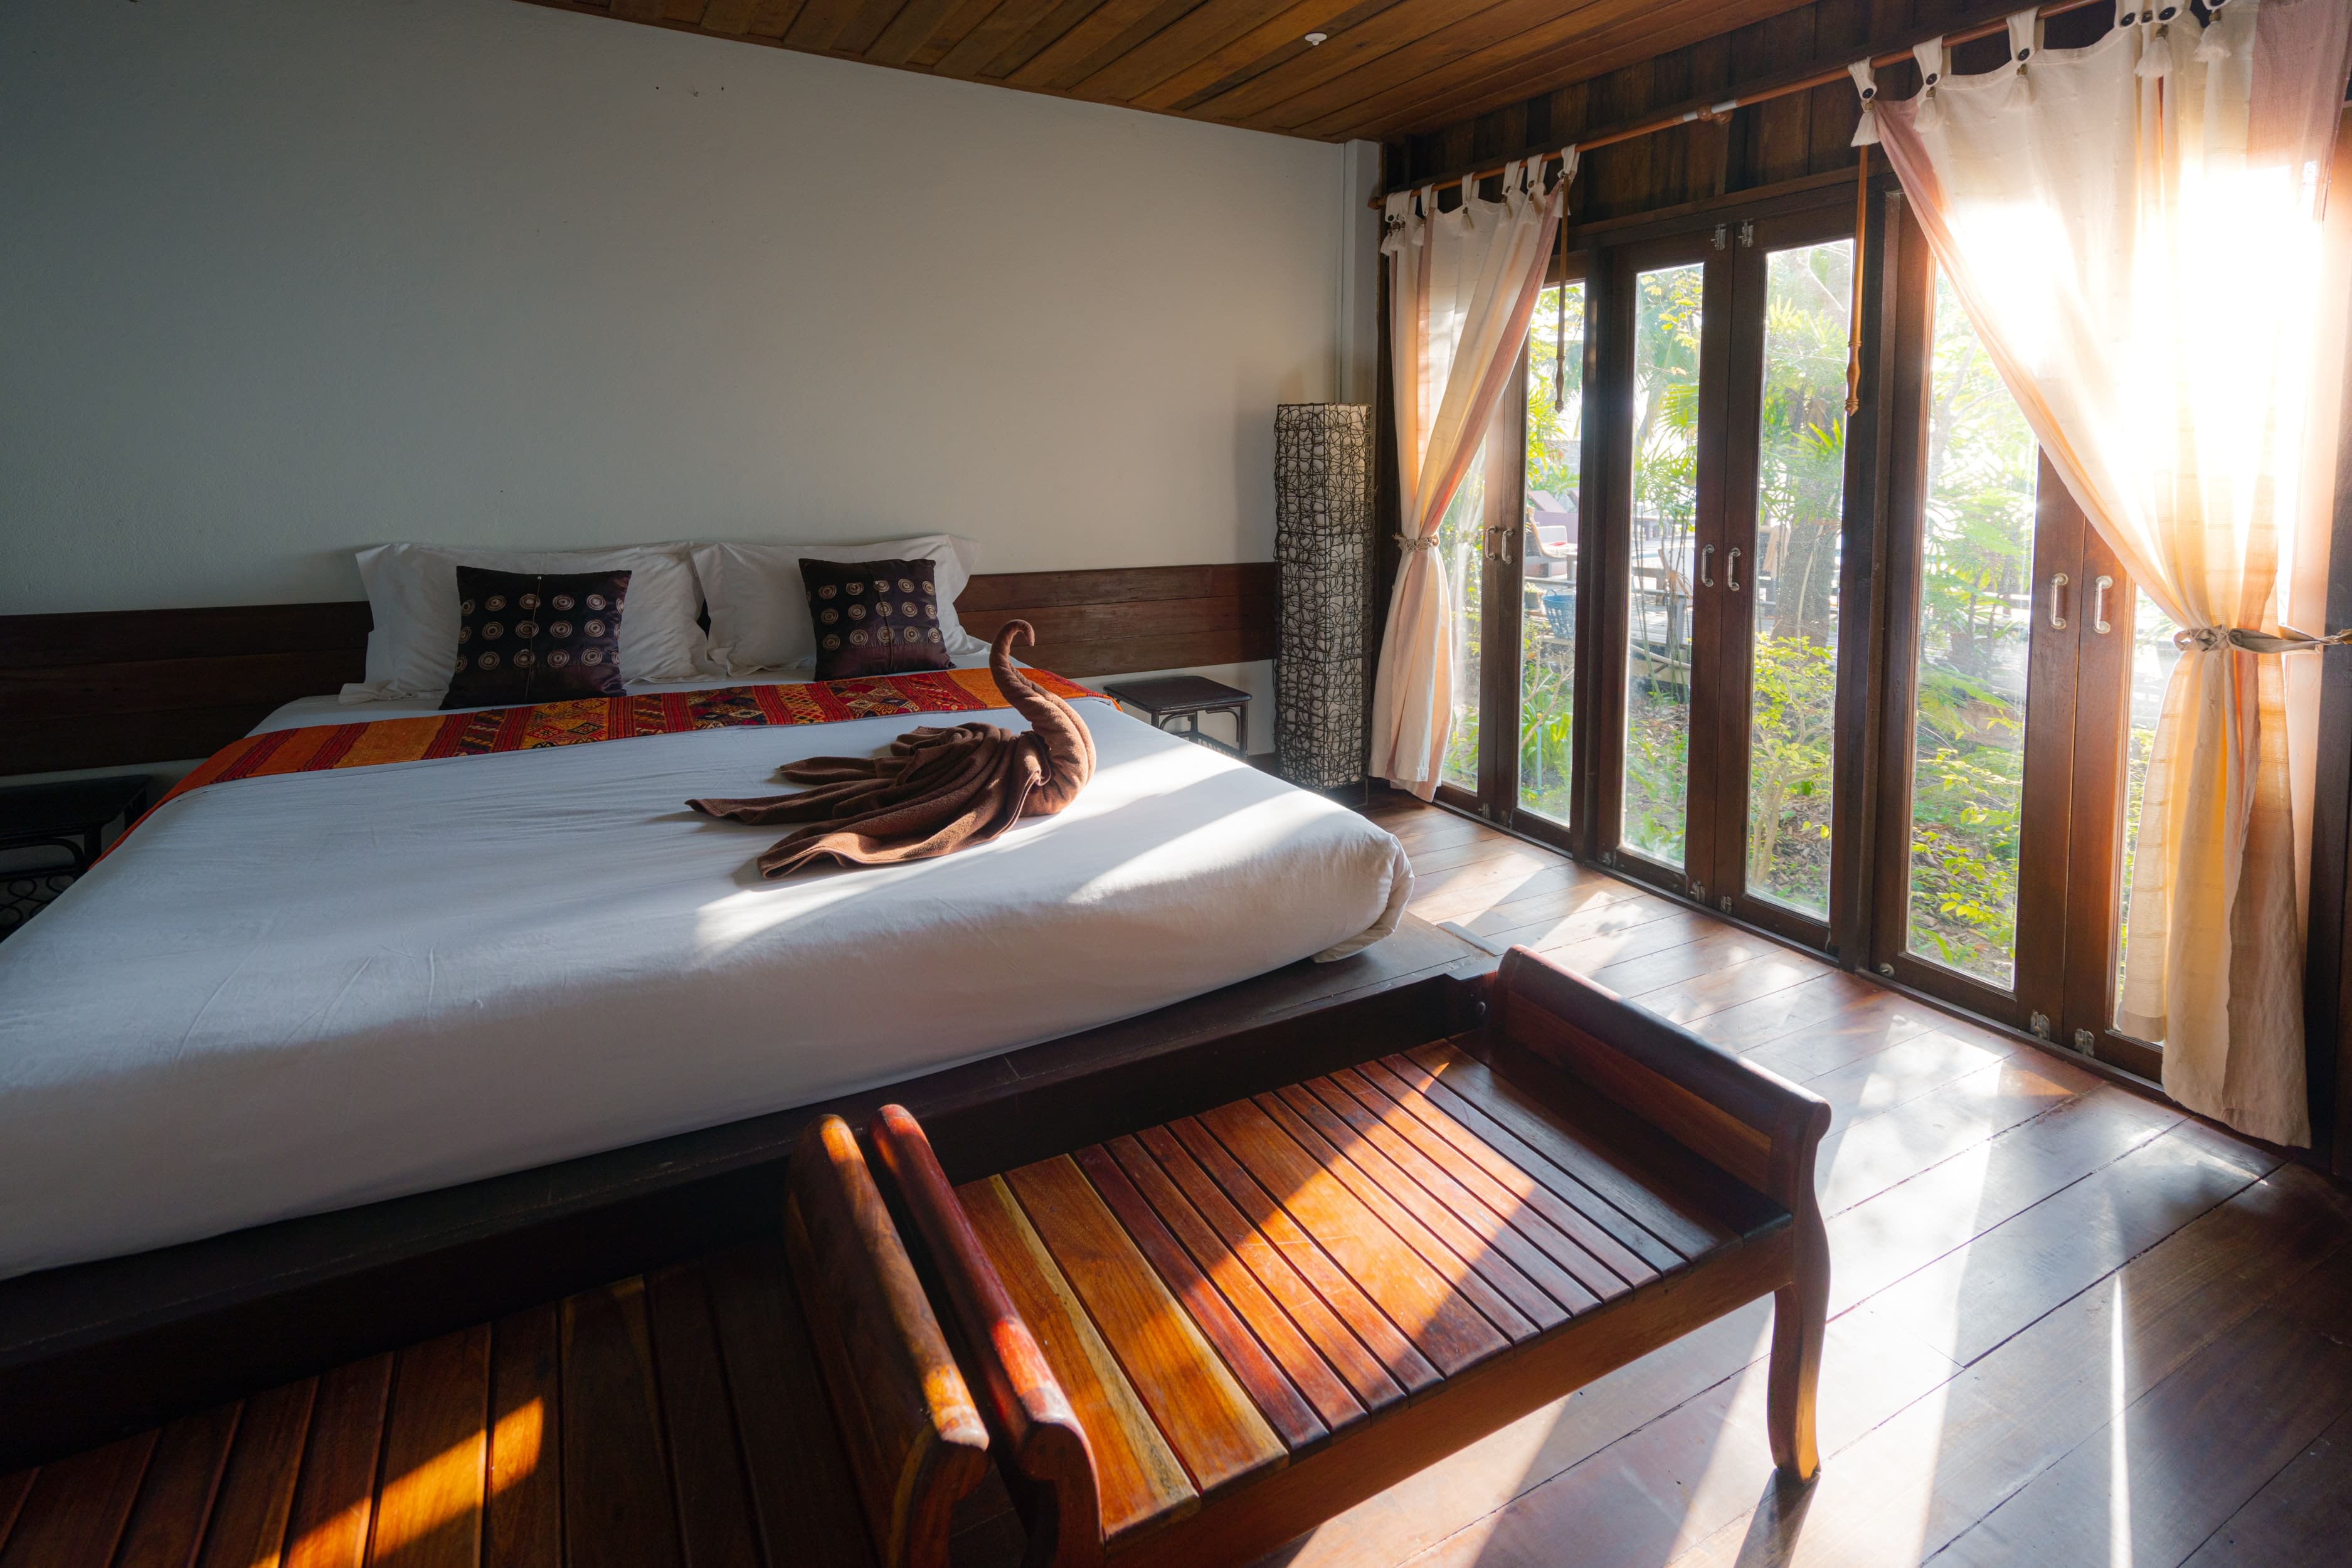
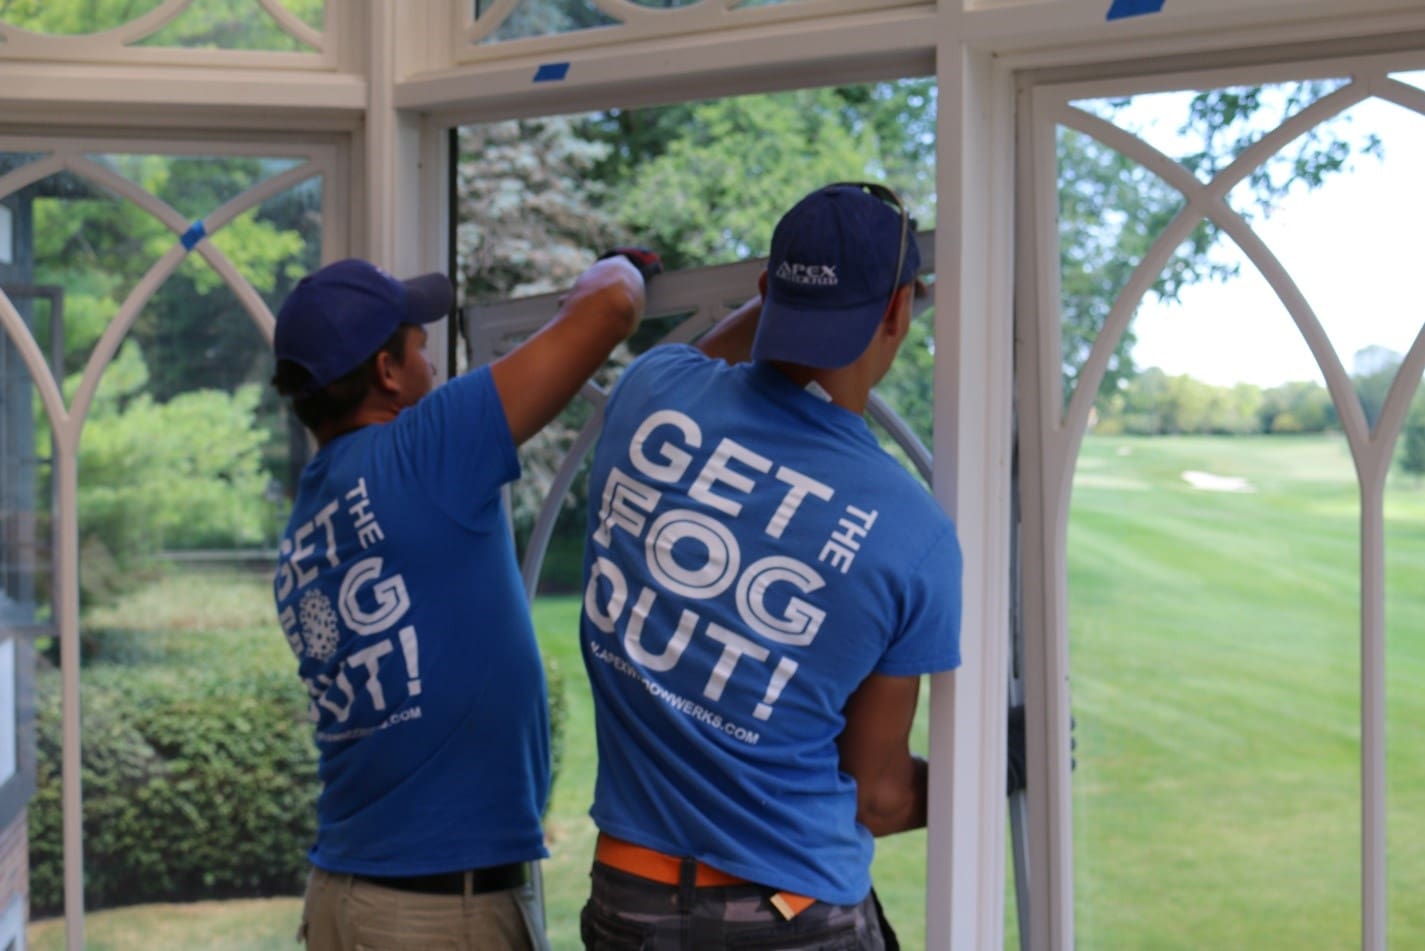
    If the doors and windows are not in proper condition, you can replace them with modern, stylish ones. If you feel the room is small and your door is occupying a lot of space, you hire an expert to install a modern bifold door to create more space. Such a door will also make the room and the entire house more beautiful.

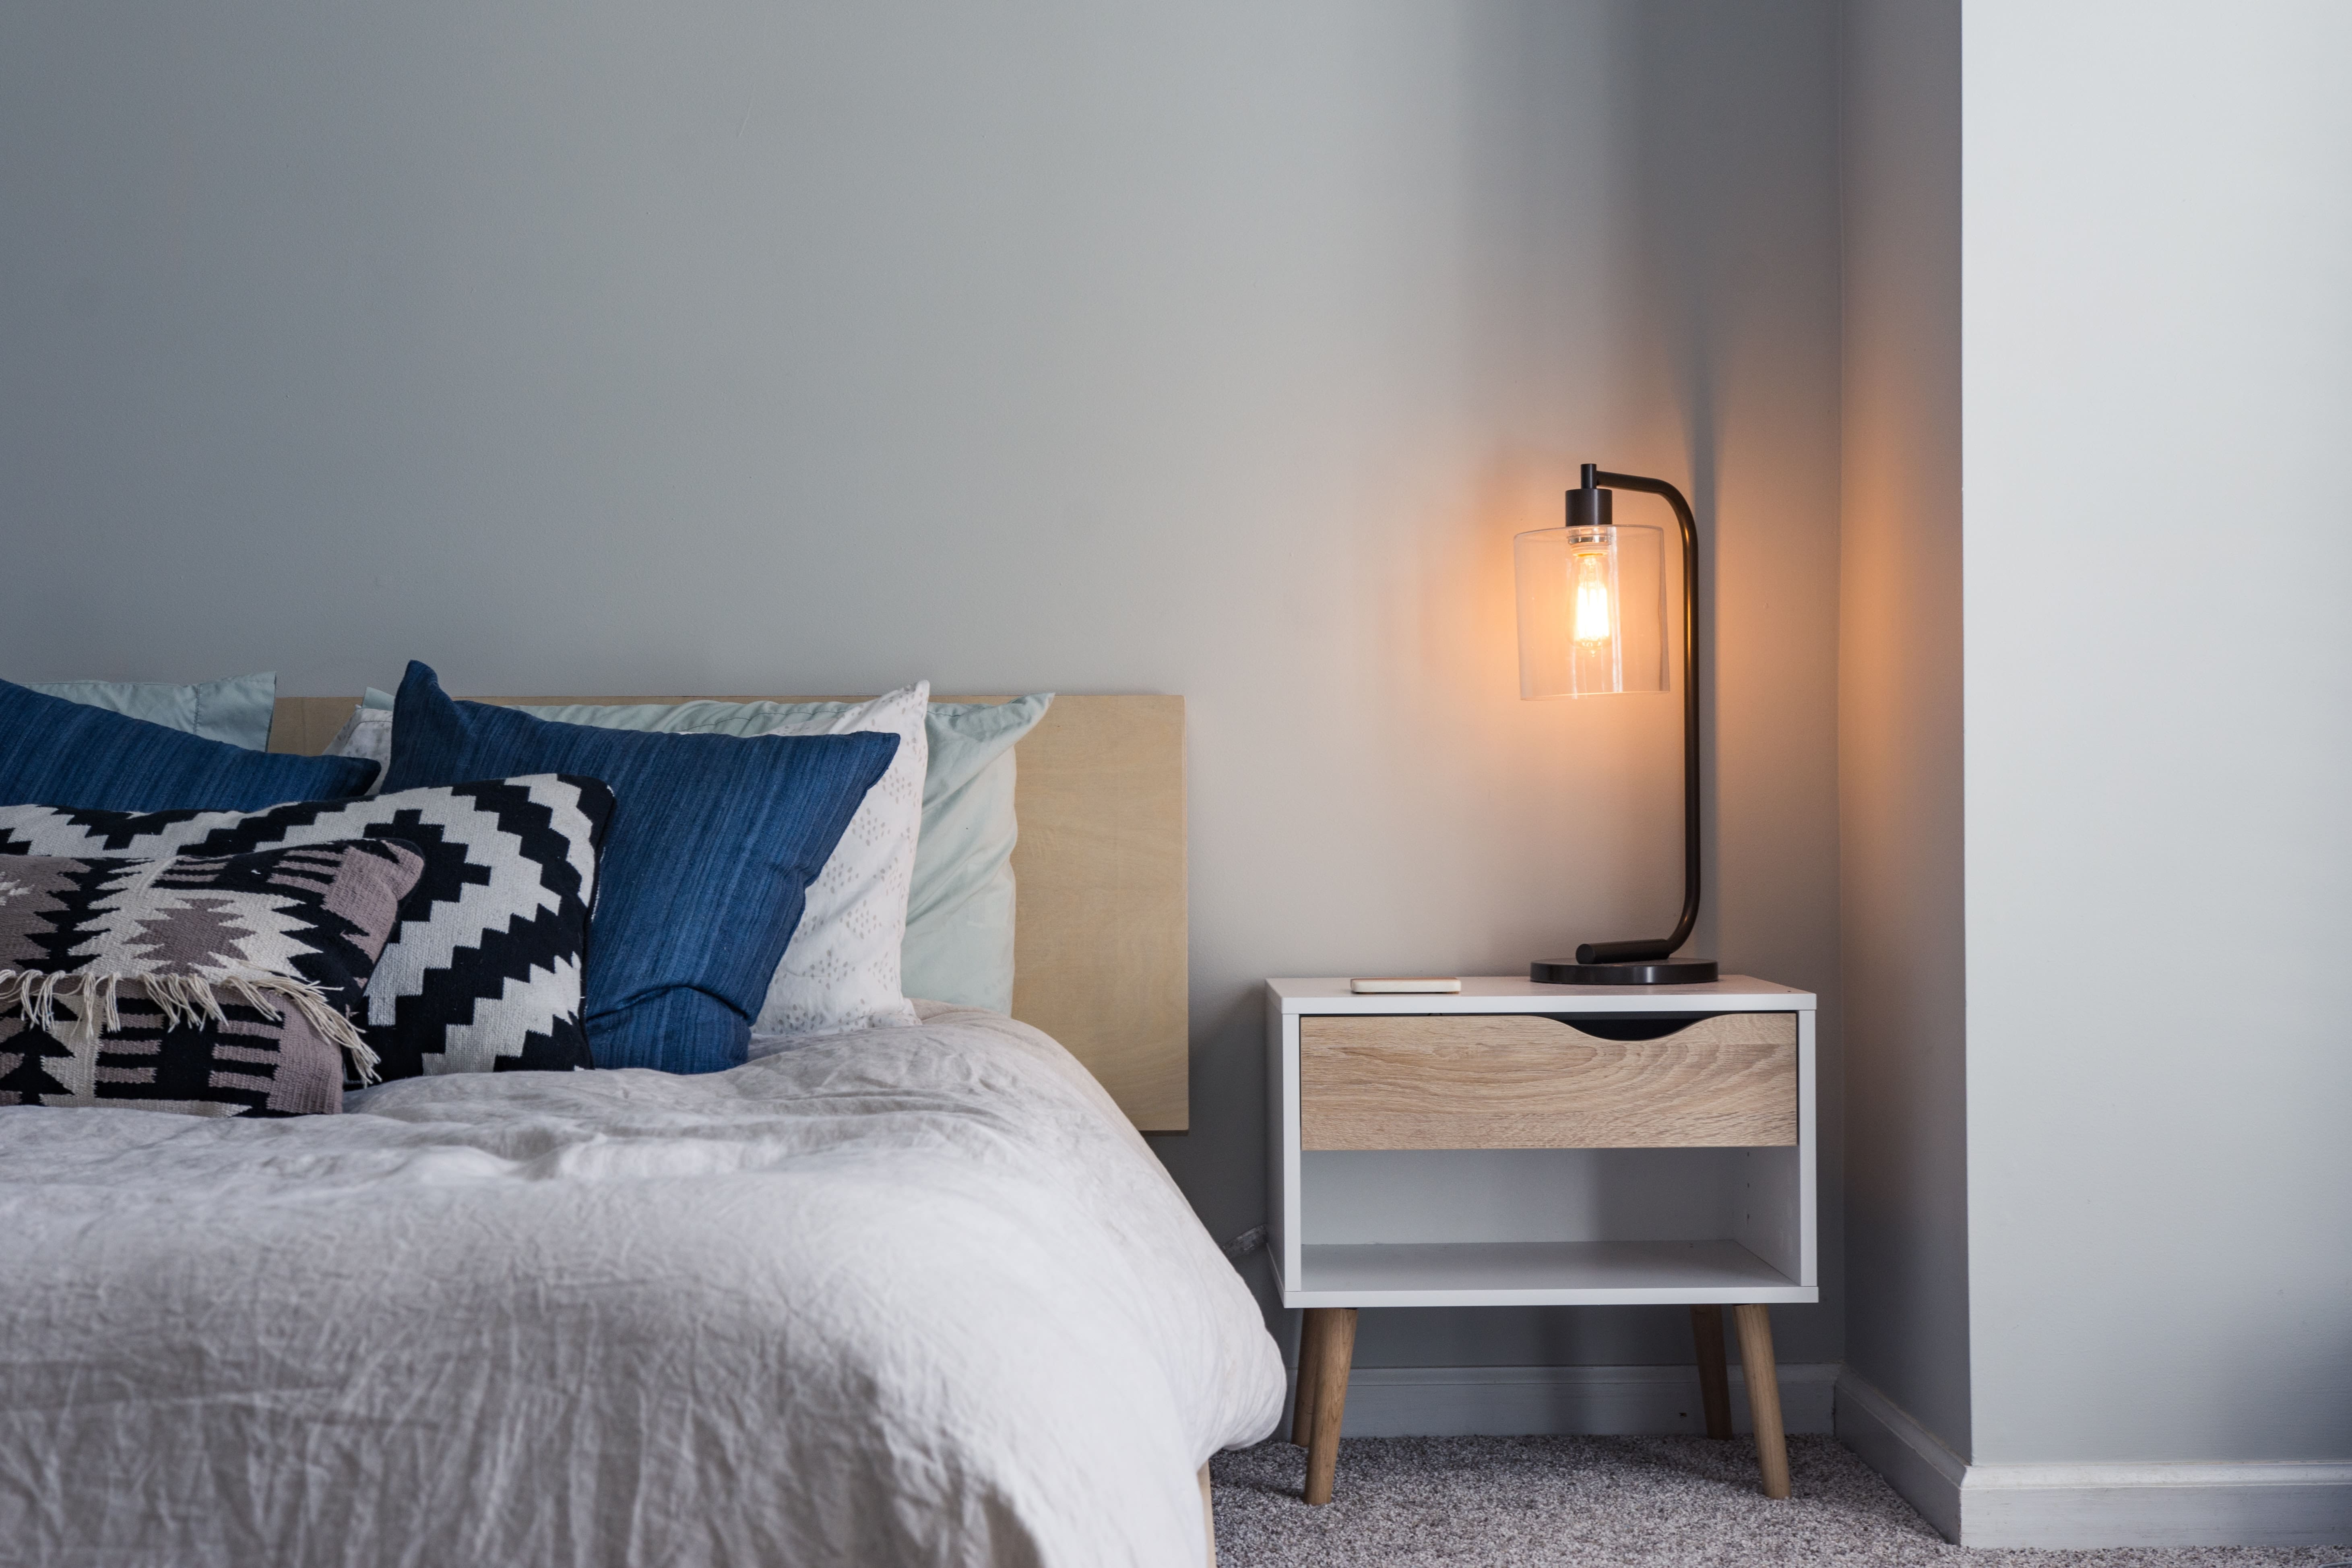
    Don’t forget the wall because all eyes will land on it whenever someone gets in that room. If you want a cheaper option, you can use wallpapers, but people usually repaint the walls. For a unique and neutral design in the room, avoid using bold prints or loud colors for your wallpapers and paint. Use of light colors gives someone a better chance to match the room accessories to make the room look cool and spacious.

    As part of making this room attractive, you can conceptualize your design depending on the season. You can redecorate it to current season or weather. If your area is experiencing cold weather, you can choose to use heavy draperies and dark colors for your wallpapers or paint. If you do this, you will be challenged when putting fixtures in the room, but you should consider the room’s theme to achieve a unique room environment.

    Whenever you are designing your guest room, be creative and resourceful. Doing so helps in making your project practical and functional.

    If you want to use the room for another function:

    1. Plan it carefully to achieve what you intend. You can make it an entertainment room, a storage room, or an extra bedroom.
    2. Be sure of the changes you want to make in your room before embarking on the project.
    3. Factor your budget to avoid overspending your finances.

    The most critical aspect in any construction or renovation project is prior planning. You have to come up with a budget and be sure of what you intend to achieve. Determination and patience are the key factors to attain excellent output in every project in a home.

  • Quickest Way to Clean Garage Floor before Painting

    Quickest Way to Clean Garage Floor before Painting

    Discovering the most suitable means to wash a garage basement accurately is vital in most house renovations schedules. This task is a significant phase for any scheme that entails prepping a platform for paint, an epoxy cover, or just planning an admirable clear garage floor independent of smudges, spills, and contaminants. 

    The whole business depends on what type of garage floor project you have wished to work on and how ruthless the floor is. There are several techniques of cleansing a particular floor that you might want to interlock in. The quickest cleaning infrastructure for making the floor apt for painting is discussed underneath. Hence, go through the following regulations and be acknowledged about what to do and how to produce a perfect basement before painting. But before you start painting in your garage, check out the Painter’s Care blog tips and tricks.

    Drive with an out-and-out cleansing

    If the parking is pretty grimy, begin with an absolute stable cleaning. Arrange this orderly- start by dusting high reefs and workbench covers covered with dirt and trash, and operate your route down the platform. Concerning the most thoroughgoing washing, apply a three-key outlined procedure; Initially, clear up dust and trash. Then vacuum-clean all outside employing a store vacuum, and utilize a microfiber dust fabric or a damp-mop to eliminate the daintiest grime from all coverings, walls to the ground.

    Garage platforms relish many exploitations, and firm blemishes are integer sequences. Filth, grease, and oil are any of the painful elements that can transmit their manifestations. Since including all floors in your apartment, the most reliable method to dodge extreme stains is legitimate cleaning. If that disappoints, yet, it is essential to seize progress as quickly as conceivable to eliminate the stain. Hereabouts are remarkable instructions that will operate to eliminate the largest ground platform stains.

    Materials you will require: 

    • Paper Napkin
    • Kitty Waste
    • Typical house cleaner
    • Potent brush
    • Pavement cleanser
    • Shielding gloves
    • Eye goggles
    • Mop
    • Bucket
    • Hose

    How to remove the stains?

    1. Perform immediately: Concrete stains are obvious because the pavement is a permeable body. Fluid spills are considerably more accessible to assassinate before they have had an opportunity to immerse in. The more agile you perform, the more natural it will happen to eliminate the stain.
    2. Pick the appropriate cleaner: The stains present in the garage area are commonly produced by filth, grease, or oil- or any bothersome mixture of all the complete three. Most maximum cleaners are proper for these stains, and they are available at any paint or hardware shops or your neighborhood house enhancement shop. If you are eliminating paint, decay, corrosion, or some other kind of stain, you will be required to search for more relevant merchandise. Be sure to examine the descriptions conscientiously.
    3. Spot analysis of the cleanser: Some removers can produce stains of their own, particularly on concrete that has been covered or smeared with a stained smudge ending. Before undertaking the large concern, combine a small cleanser and implement it to a small, out of eyesight area. If it appears to create as numerous difficulties as it was assumed to solve, seek different cleaners.
    4. Adjust the ground: If the blemish is still moist, mop up as enormously as potential with paper napkins. Clean the space, and then expel any particles near the stain to not perceive muddy dirt when you flush the ground.
    5. Adjust the cleaner: Combine the disinfectant as directed on the description, or apply it with sufficient strength for individually annoying or old stains. Stay certain to use eye and skin shields (long sleeves garment or gloves). Some commodities advise that you carry chemical repellent gloves.
    6. Implement the cleaner: Emit the cleanser above the concrete stain. Rub the region with a hard sweeper or scrub and run the cleansing liquid within the stain as much as you can. Later on, enable the disinfectant to halt for a certain period in the spot as guided (usually 15 to 20 minutes).
    7. Clean the floor: Completely flush the entire platform with a pipe if feasible, or use containers of water. The next thing you would like to do is drive a sweeper to extract as adequate liquid as potential from the ground. Ultimately, dry sweep the complete area.
    8. Redo, if required: It is not surprising, particularly with old stains, to possess to wash the exterior for numerous courses. If you are not convinced of the effects, replicate the method. This time contemplate supplementing more limited water to the cleanser and dropping it on the stain a minute lengthier. Are you still facing issues for cleaning you garage? Discover more at rate my cleaner blog

    Don’t stroke, only vacuum

    Once your garage is thoroughly washed, and you have exercised sensible measures to overcome and dominate the dirt, don’t think that your work is complete. Because here is where the vacuum cleaner starts its job. A vacuum cleaner with a large physical filter is a more dependable approach to retain the floor to be cleaned than driving nearby sand and soil using a brush. The particles in the garage usually consist of extremely slender, nearly infinitesimal scraps, and a whisk may solely redistribute this dirt rather than eliminating it. Remember to wash or substitute the filter of the shop vacuum repeatedly so that it remains applicable to grab excellent dust and dirt.

    Advice

    • Dry wet spills as quickly as you notify them. To perform the job, deposit a paper sheet on the spill and allow it to digest. Do not press the cover immediately as this will drive some of the scattered water inside the pavement.
    • Apply kitty rash to consume enormous fluid spills. Coat the spill using the kitty jumble and let it halt for 24 hours. After doing so, clean the surface. It is good if you keep a miniature packet of kitty rash in the garage on all occasions so that you can easily work actively.

    The garage is not an area for only parking automobiles, but also for storing and keeping various stuff. To implement a perfect painting process, the cleaning part should be accomplished without any mistake. Hence, go through the information accordingly and experience the best cleaning of your garage floors.


  • How to Design and Layout a Small Living Room

    How to Design and Layout a Small Living Room

    Anyone with a small living room will understand the need to plan the layout in a certain way which minimizes the space. Having a cosy living room is one thing but nobody wants to be limited when it comes to space to move around. We have to remember that there is a fine balance to be struck between form and function here, and when it comes a to a small living room, this is more important than ever.

    There are however some tricks which you can employ that will help you to amplify the room and give that feeling of extra space. The key to this is getting the layout and design right, and here are some tips to bear in mind.

    Use of Mirrors

    Mirrors are a great way of giving the feeling of space in any room and if you can get it right in your small living room they could make the world of difference. When you are looking to install mirrors in this space make sure that you use a variety of sizes if you pick multiple products. Another key thing to remember here is to position those mirrors in a way that doesn’t reflect the glare of the natural light or the lights within the room.

    Broken Up Seating

    Instead of looking for sofas which are large and seat multiple people, a far better idea is to have a number of small seating options. This gives you flexibility in the space and ensures that your furniture can be interchangeable. This also helps you to avoid a single piece of furniture taking up large amounts of space, which very often results in wasted space around it. Consider high quality but small love seats and poufs which will add more character to the space and give you that cosy style without the space feeling too tight.

    Storage Up

    It is going to be essential that you utilize the upper third of the room when it comes to storage, focusing on keeping as much floor space available as possible. Naturally this is not something which you should do on all four walls as the result will be a feeling of the room closing in. Pick one wall and add some high cupboards which will really help you to make the most of what is generally considered dead space.

    Playing With Colors

    Playing with light and dark shades of the same color always looks great in a small space and this is certainly something that you should consider. Perhaps you could look at doing a dark feature wall which will also help to give the rest of the room a more spacious feeling. Alternatively, if you are going for that cosy feeling, darker colors on the three walls with a bright feature can give you this theme without necessarily stripping away the feeling of space in the living room.

    There is a world of options for you no matter how big or small your living room happens to be.

  • What are the uses of 3D Architectural Rendering?

    What are the uses of 3D Architectural Rendering?

    Since its inception over 20 years ago 3D architectural rendering has come an awful long way and during that time it has given architects the chance to truly showcase an accurate representation of their designs and ideas.

    Photo by Tobias Keller on Unsplash

    It is not just the technology which has changed over the years either, 3D rendering is more accessible than ever before. Architects at every level can now have access to this design feature, and budding architects can benefit from the 3D architectural rendering services at SuperCheap3D and many more low cost providers.

    Lance Anderson lanceanderson, CC0, via Wikimedia Commons

    There are multiple uses for this technology and here is where 3D rendering is most commonly used.

    Client Meetings

    If you have already piqued the client’s interest with a shorthand drawing then using rendering is how you can really bring that design to life. Most clients need to see and feel the project and that is where a 3D option really hits home. Clients have less to visualize and imagine, and more to focus on and ultimately, more to be impressed by. This also helps the architect to explain the thoughts behind their design, with the support of the 3D imaging. To get the best results possible, you better team up with a company that’s up to date with the latest trends and methods. Find on https://notrianglestudio.com skilled professionals ready to make the most out of your projects.

    Photo by Sandro Katalina on Unsplash

    Communication With Builders

    The line between architects and builders is not often as direct as it should be, which is surprising given that you’d think designer to creator should be a harmonious relationship. In place of that conversation between the two parties, 3D rendering can give builders a very clear picture of what exactly they are looking to create, as well as offering a glimpse into the heart of the design itself.

    Image by Pexels from Pixabay

    Self-Analysis of a Project

    As many architects will tell you, they frequently design projects which quite literally look good on paper, but are in fact flawed in a number of ways. The 3D rendering process will give architects a very clear view of these flaws, which then helps them to decide what to do with the original design, whether to tweak or trash. These embryos of ideas often require two to three redesigns before they get it right, and rendering is the ideal way to manage that process.

    Photo by Jimmy Chang on Unsplash

    Bolstering The Portfolio

    This technology does not just help architects to show off designs to their clients, but also in the attraction of new clients . Adding some 3D rendered designs to an architects online portfolio offers a far more in-depth view of both the designs and the mind of the architect. The idea is to get into the hearts and minds of the clients and featuring these types of designs is a surefire way to do just that.

    Luca Bravo lucabravo, CC0, via Wikimedia Commons

    Attracting Talent

    Young, budding architects want to work with the best and this technology is something that helps many architects showcase what they are able to do. Rendered designs must feature heavily in the process in order to attract the very best talent, which in turn leads to bringing in more clients and a better reputation for the business.

    As we can see, this technology is commonly used and forms a key part of the overall design process for architects.

  • Best Window Styles for Living Room

    Best Window Styles for Living Room

    Living room windows is like a business card of the house, since this is the place for family gatherings and guests welcoming.  Living room may have many windows or one set of huge windows for maximum access of daylight.  People like to organize their living in unique style, that is why architectural designs are available in different options for every customer to satisfy his needs. 

    Installing new construction windows is complicated task but not for Apex Window Werks technicians, who always work to provide the best service in this field.  This article is devoted to window styles for living room, to give our readers a deeper knowledge for their right choice in window installation or replacement process.

    Let us now define the most popular types of windows:

    • Bay and bow;
    • Casement and tilt & turn;
    • Double-hung;
    • Architectural windows.

    You can always order a service of installing new windows at Apex.

    Bow and bay windows

    Traditional architectural designs are always in fashion, but bay and bow windows is modern respond of a market to satisfy the very refined taste of demanding customers.  This is a gorgeous solution that just can’t look bad.  Bay window is polyhedral bulge in the wall glazed with windows, which stand at an angle relative to the next.  This is a genuine designer handwriting, which brings lots of daylight to inside premise.

    Bay and bow windows can be installed in buildings specifically designed for them.  Mostly bay windows are installed in cottages, country houses, as well as in fashionable establishments, such as restaurants or offices.  The design of the bay window itself is not too different from a conventional metal-plastic window.  The only noticeable difference of the construction is window profiles, that are joined together at an angle.  A steel profile is in the center and can withstand heavy loads, additional sealed profiles provide an angle between the leaves.  Window profiles and bay windows always match in color, which makes them look very organic and natural.

    These, at first sight, complex solutions are very reliable, have good sound isolation and heat insulation abilities and for durability reasons should be maintained by professionals. 

    Casement and tilt & turn windows

    Modern windows have not only good sound isolation and energy saving abilities, but they are also produced in different shapes and colors.  Most commonly used are up to three casement windows.  Single casement tilt & turn is installed into the window space with width up to 5ft.  It possesses good isolation abilities and provides good daylight access.  Double casement window is a kind with two casements being possible to open.  It is an easy and convenient way to clean it, as well as, to provide good ventilation.  There are also windows with three casements, where one or two casements have tilt & turn possibility and at least one casement is fixed.  These are huge windows and commonly installed into big premises, for example in living rooms. 

    Double-hung windows

    Regardless of your design and style of the living room double-hung windows is always a good choice.  This type is a good solution for any room.  Double-hung construction consists of two casements, upper and down ones, which can be both moved at a same time – from top to bottom and reverse.  This is a very universal, safe and easy to use window style, which is available in different colors and sizes.

    As additional option, you may choose one or even two locks for one window.  It is impossible to be unlocked from the outside.  Very important to note is that for ventilation reasons you can open any casement as wide as you wish and fix it.  The casement won’t mover further, unless you change its position.

    Double-hung windows give an impression of a real home, mainly not a big size and very easy to use.

    Architectural windows

    Architectural glazing constructions reflect the character of the building in full.  They are good for both modern and modest styles, since with the help of noble and solid look underline the uniqueness of the house.  Their second name is panoramic windows.

    It is good to mention that this type is considered to be the premium class, because of its size and manufactured from the best materials to serve for years.  An architect of the design is you, since the window is produced as you ordered.

    Architectural-style windows help to enhance the appearance of your home while maintaining faithfulness to the original construction and design.

    To summarize, any window style is good but to make it perfect it should be installed into the right house.  Window kind should correspond to the architectural design of the building, and, not the least important, you must love what you are choosing.  Home is a place where you should feel comfortable, and living room is the best relaxing zone in the house where family gathers together.  Trust your installation or replacement of windows to Apex Window Werks for your comfort.

  • How to Use a Paint Sprayer like a Pro

    How to Use a Paint Sprayer like a Pro

    It does not matter whether you are new to the game or a master in the art of painting, you need to learn how to use a paint sprayer like a pro if you are to come up with amazing paint jobs. Fortunately, using a paint sprayer is not as hard. If anything, any newcomer to the field of spraying can learn and become a pro in minimal time. This article takes you some tips on how you can use a paint sprayer like a pro.

    1. Have Enough Space

    For a beginner, you will need more space to come up with a beauty as compared to an established painter. Especially when using a paint sprayer, you have to create maximum space or anything could go wrong.

    • Safety First

    While it is true that spray painting is not as dangerous in itself, it does not mean that you can be reckless in your dealings. It is important to maintain safety by putting on protective clothing and use painting materials that are approved by the relevant authorities.

    Additionally, you should always make your surface clean before you start painting. This will not only decrease the chances of accidents happening but also guarantees quality results.

    • Ensure Proper Coverage

    The rule of the thumb when using a paint sprayer is to always ensure coverage across the surface to be painted. According to what the painting professionals say, to get proper coverage you have to control the coating thickness. You can try moving the paint sprayer quickly across the surface, opt for a smaller tip orifice size and keep the sprayer at a manageable distance away from the surface to be sprayed.

    Supposing by the end of your project you still do not have a proper coverage, you can move the paint sprayer slowly using a larger tip and move it closer to the surface. This way, you can easily concentrate on the uneven parts.

    • Sweeping Motions

    This will solely depend on the size of the surface that you are spraying. For larger projects, you will require more flow of paint meaning you have to position your paint sprayer a little bit further from the surface. However, for a medium or small project, it is advisable to pick your preferred sweeping motion and stick to it. For instance, you can choose to go with an up and down or side to side movement to the same effect.

    • Adhere to the General Painting Tricks

    If you are using a paint sprayer for the first, you must first learn of the basic steps of painting. Here are some of them:

    • Hold the sprayer at least 12 inches from the spraying surface
    • Always maintain a straight aim to spraying surface
    • If you are going to use a larger tip, move further away from the surface to be painted
    • To spray the corners, always hold your paint sprayer at a 90-degree angle.
    • Clean your paint sprayer after every project for maximum effectiveness.

    Conclusion

    At first, using a paint sprayer may look like a tough task. However, the more you practice how to use it, the more you realize that it is not as complicated. The tips in this article help you to learn how to use a paint sprayer like a pro.

  • How to Create a Relaxing Bedroom Space

    How to Create a Relaxing Bedroom Space

    Your bedroom should be your sanctuary. If the current setup of your bedroom leaves a lot to be desired, consider redoing your room so that it’s a relaxing, restful space. After all, good sleep is imperative to your overall well-being – and your bedroom is an important piece of the puzzle. If you want to learn how to transform your bedroom, you’re in luck. Keep reading to learn how to give your sleeping space a makeover with furniture, lighting, and more!

    Tip #1: Invest in Blackout Curtains

    Blackout curtains are a must for any bedroom. They can help insulate your room so the temperature stays comfortable inside, despite the hot or cold weather outside. Additionally, blackout curtains ensure that you won’t wake up before you need to. The sun might be up before you’re ready to be up – but blackout curtains can help get you every minute of sleep you deserve up until your alarm clock goes off. Speaking of alarm clocks…

    Tip #2: Invest in a Sunrise Alarm Clock

    A sunrise alarm clock mimics the sun, which is great for those dark winter mornings when you don’t want to get out of bed. Most sunrise clocks begin to light up with a soft, dim glow thirty or so minutes before your alarm goes off. And by the time your alarm does go off, it will be at full luminosity. This exposure to light in the morning can help you and your brain feel more alert and ready to take on the day. 

    Tip #3: Add Fairy Lights

    If you’re ready to take your bedroom to the next level, add fairy lights. You can drape them across a curtain, wrap them around a doorway, or even cover an entire wall with them! These small, twinkling lights provide you with a relaxing ambience. 

    Tip #4: Invest in a Great Nightstand

    A nightstand is great because it provides you with a place to put a glass of water, a lamp, or anything else you might need access to during the night. You can build you own DIY nightstand, find one at a thrift store, or buy new. It’s up to you and your budget!

    Stock your nightstand with sleep remedies like CBD soft gels and melatonin supplements. Make sure your nightstand has plenty of storage so you can hide away your phone, books you’re reading, and any other small items.

    Tip #5: Choose a Great Mattress

    If you wake up feeling sore and stiff, it might be time to replace your mattress. Choose a replacement mattress that gives you adequate levels of support and softness. For many sleepers, a memory foam mattress is a great choice. You can also get a traditional innerspring mattress if you prefer a firmer sleeping surface, or, a hybrid mattress that combines spring and memory foam technology.

    Tip #6: Add Greenery

    Plants are a great addition to any room – but especially your bedroom. They’re actually clinically proven to reduce stress and offer a natural way to decorate. You can make your plants part of your bedroom décor by investing in hand-painted planters or suspending them from the ceiling with crocheted pot-holders.

    Worried about killing all your plant friends? You can use watering globes to give your plants consistent access to water. 

    Ferns, freckle-faced plants, pothos, and snake plants all make great indoor plant choices for your bedroom. Succulents are another option, but avoid this type of plant if you have a tendency to overwater.

    Tip #7: Add Soft Textiles

    If you want to soften the look of your bedroom, consider utilizing soft textiles around the space. For example, a faux fur rug is great for hardwood floors and tapestries make a great wall decoration. Interesting crochet wall-hangings are another unique idea you can use to add visual interest to your bedroom walls.

    Takeaways: Perfecting Your Bedroom Aesthetic

    Planning out your bedroom should be a fun experience that reflects your personal style. To make the most of your bedroom, start with the basics first like your mattress and nightstand. From there, you can add stylish and soft accessories like a rug, wall hangings, and throw pillows. And don’t forget about lighting – candles or fairy lights can make your sleeping space more inviting and cozier. 

  • Can installing wall graphics help to promote your business better?

    Can installing wall graphics help to promote your business better?

    There are plenty of options to scour when hoping to add visual appeal to the ceilings and walls of your office or commercial space. You can either paint your walls in different colors or even use wall decals or other kinds of artwork to make the walls look attractive. Recently, wall art has become a trendy choice for entrepreneurs to decorate their offices.

    Initially, using a cheerful and bright paint color might make your walls look different. However, if you go for absolutely bright colors, it might become challenging for the visitors and even the employees to look at it for an extended period. The different artwork or posters might look vibrant initially, but they would eventually become worn out and dusty. So here it is important that you make the appropriate selection of pictures.

    On the contrary, several decals and wall graphics not only look vibrant and bright, but they look attractive for a long time. If you use exciting wall graphics, they can hold the visual appeal for a long time compared to different kinds of posters. Installing wall graphics in your office can change the way your commercial abode looks. You can either opt for pre-design pictures or hire companies to create customized designs for commercial enterprise depending on your precise requirement.

    After choosing a particular type of graphic on your wall, the next important step is to deal with the installation process. If you do not get the installation done suitably, and then it might damage the entire look. You can install wall graphics with a team of professionals to help you manage the task. If you hire professionals to install wall graphics, then the murals can change your business space looks.

    Either you go for professional installation, or you do it yourself. There are some essential aspects of placing graphics on your wall, which you must know before dealing with the project.

    How to decide where to put the wall graphics?

    The primary step for installing murals or wall decals in any space is to look for a wall that will attract visitors’ attention. You must choose the area with the maximum amount of traffic so that the visitors who come to the place can appreciate the wall images. However, you cannot select any imagery for any wall; instead, you should choose a wall graphic related to the type of business you do. Precisely you must go for murals or imageries that look and become inviting and welcoming for the guest.

    If your business is of such a kind that does not require regular customers or visitors, even then, you can install an interesting or a small scale wall graphic or mural. Your effort should be to use wall graphics in the areas that will attract employees and visitors to feel proud to work in such a lively place. Your wall graphics can also boost the morale of the employees working in your business.

    Where can you use wall graphics?

    Lobby: Irrelevant of the size of your company’s mural, you can opt for mural to welcome and greet visitors dramatically. A mural can miraculously entice the customers when you make the correct choice.

    Conference area: If you have a conference room, you should go for a mural to make dull meetings lively. It would lighten up the entire region, but it would also add to the company’s pride.

    Lunchroom: You may opt for a large scale wall graphic in the restaurant to transform the space. A mural can convert it into a peaceful refuge, separating it from the hustle-bustle of the entire venture.

    Business waiting room: Many doctors use wall graphics in the waiting room to make people comfortable while waiting for their turn. Even attorneys use wall graphics to make people feel at ease when they come for a visit.

    Hallways: If you want to adorn a shared space or passage, you can use exciting murals and graphics. An expert can guide you with appropriate wall graphics to dress up your courtyard. A compelling illustration can make your office corridor appear very different and favorable for attracting visitors’ attention.

    Changing rooms: In every departmental or clothing store, you will see a fitting room. Thus, it is advisable to go for inspiring graphics while people try their outfits in the changing room. Even if the guest is not in the right mindset, a good mural can change the person’s mood. You can change these wall graphics as per the occasion and festivals.

    There is no doubt that there are many positive sides to graphics and murals, but you cannot place it everywhere. Some places in your commercial space might not be suitable for a mural, especially if it is too humid. Too much moisture can damage your walls and also disturb the mural adhesion.

    How to prepare the wall surface for graphic murals?

    You must know that every wall surface is not suitable for graphic installation. The walls that have textures or any textured paint are not ideal for graphic purposes. It is so because it becomes difficult for the adhesive to stick to the surface of the wall. A right wall must be smooth enough to stay away from any debris.

    You should install the graphics on a clean wall. Undertake a suitable cleaning procedure weeks before the installation of the images. It would help if you did it beforehand because it should be dry when you install the graphics on the wall. In case you freshly paint your walls, it must stay dry enough to take the adhesive.

    You may consult Awake Graphics for the highest quality murals and graphics customized for your space. A good team of professionals can help you install graphics in your business space that would complement your business and stimulate the visitors. The primary purpose is to attract customers and help them understand your professional obligation. These murals can change the business approach between you and your consumers. The prospective consumers would get attracted to your enterprise and remain loyal to your firm if you strike the right chords.