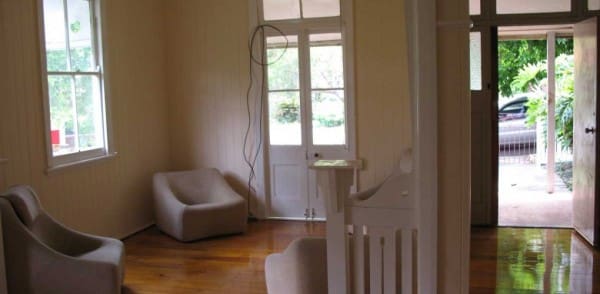
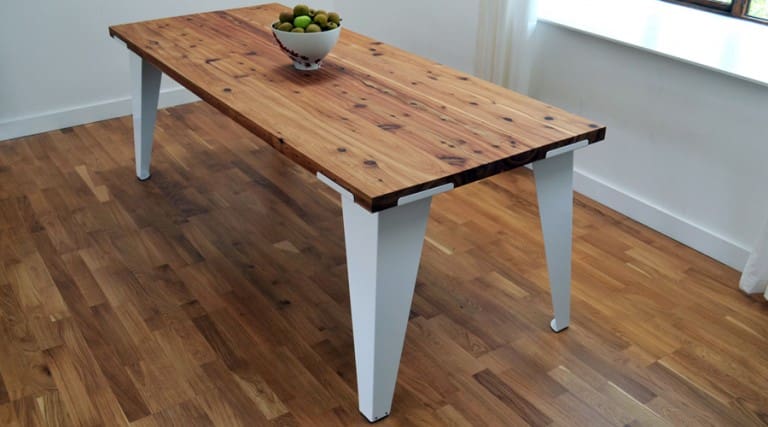
A beautifully polished floor can potentially enhance the value and breathe new life into a home. Whilst using do-it-yourself methods may appear like a fairly straight forward exercise, DIY floor sanding and polishing can be extremely challenging. In the event that the process is not tackled in a carefully managed manner, costly mistakes can easily occur. It is, therefore, imperative to properly prepare the timber floor before polishing, including thoroughly sanding the floor. Below are some essential tips for timber floor polishing in Brisbane:
- At the beginning of the DIY timber floor processing procedure, it is crucial to remove all the roughness in the floor, as well as any previous coatings. This can be achieved using a drum sander or a belt sander. Floor sanding and polishing also involves the use of a range of sand papers.
- One should measure the coarseness of the sandpaper by grit; the lower the grit, the courser the sand paper. Most floors will essentially require the use of a 40-grit sandpaper, moving up to a smoother 80-grit. In the event that the floor is really rough, supposedly made of reconditioned or recycled timber, it is advisable to use something like 24-grit sandpaper.
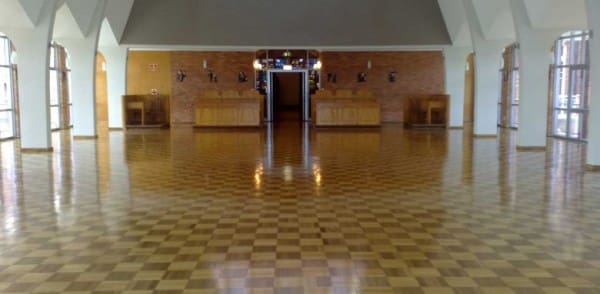

- The next step is smoothing out all the areas that a belt sander cannot reach using a circular sanding disk of approximately 18 centimeters diameter, called a floor edger. However, this polishing machine is often incapable of reaching the corners, for which one will require using a triangular sanding machine or scraper. This is followed by going over the floor with an orbital sander, while using 120-grit sandpaper. This will serve to remove the linearity of the sanding marks. Subsequently, the floor should be vacuumed to get rid of the dust.
- At this point, the floor is ready for coating. It is important to seal the edges using a brush, followed by evening out the coating with a roller. The initial coat should be applied out of the roll tray, whilst working along the grain as much as possible. It is important to note that the initial coat will often appear very ordinary. This is attributable to the fact that it’s the one causing any grain raising.
- The next step involves employing an orbital sander, with a 120-150 grit paper to eliminate all the roughness occurring during the coating. Normally, one is required to wait for at least 8 hours before applying 2 more coats. These 2 coats must be applied in a timely fashion, subsequent to which the floor is left for about 24 hours before walking on it.
- When polishing a timber floors, it is extremely vital to wear safety gear, including ear muffs, dust mask and breathing mask. These serve to prevent the person polishing the floor from inhaling fumes and dusts. Moreover, if they are working with solvent-based polishes, they will want to ensure that there are no pilot lights on anywhere in the house, lest the evaporating solvent ignites. It is also essential to read the instructions on the products and equipment before embarking on timber floor polishing in Brisbane.
From the foregoing, it is apparent that timber floor sanding and polishing is not an easy task. For people who are still unsure of what to do, they should consider contacting a professional floor polisher in their area to learn how to polish timber boards. Those seeking to have their floors looking amazing may contact Apex Floors. 
They are extremely knowledgeable on matters to do with sanding and polishing, repair and resurfacing and installation of new floors among other services. More information can be found on http://www.apexfloors.com.au/.