Most attic conversions fail — not during construction, but months after move-in — because the project started with a mood board instead of a tape measure and a load calculation. Converting attic into living space is one of the most structurally demanding renovation categories in residential construction, and the homeowners who get it right are almost always the ones who understood that before the first contractor walked through the door.
Quick Answer
Most attic conversions fail — not during construction, but months after move-in — because the project started with a mood board instead of a tape measure and a load calculation.
I’ve watched this happen from close range. Not in my own attic, but sitting across from clients who’d already spent $12,000 on design fees before anyone looked at whether their floor joists could hold a person walking across the room. The enthusiasm is always there. The homework almost never is. What follows is what I wish someone had handed them before the first contractor ever walked through the door.
Can Your Attic Actually Become Habitable Square Footage?
In This Article

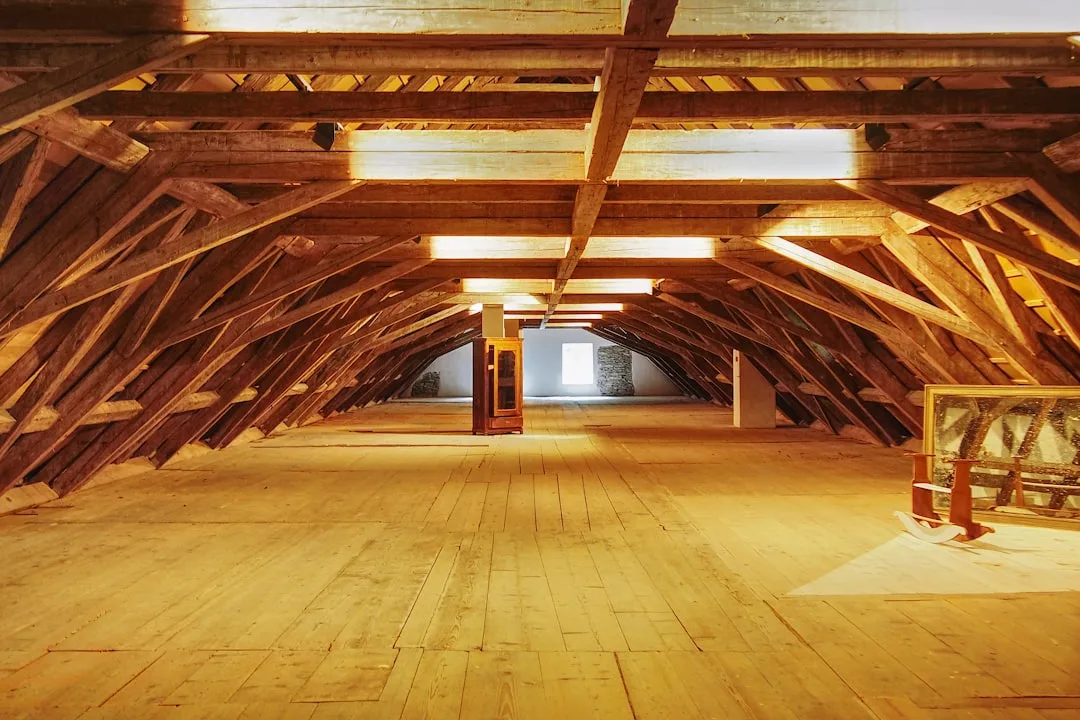
Structural assessment is the real first step. Not Pinterest. Not a call to a designer. A flashlight, a tape measure, and about ninety minutes of uncomfortable crouching in a hot, dusty space — that’s how this actually begins.
Here’s what stops most attic conversions cold before they start: floor joists in residential attics are typically engineered to carry 10–20 lbs per square foot, which is fine for holiday boxes and old tax returns. Habitable rooms require a minimum live load rating of 40 lbs per square foot — and sleeping rooms with furniture, people, and a bed frame push that number hard. In the majority of conversions, structural reinforcement isn’t optional. It’s line item one.
Roof pitch is the other gate. A 7-in-12 pitch — meaning the roof rises 7 inches for every 12 inches of horizontal run — gives you a fighting chance at livable ceiling height near the center of the space. Anything below a 4-in-12 pitch, and you’re likely looking at either a dormer addition or a fundamentally different project than the one you imagined. Pitch is not something you can negotiate with.
To self-assess feasibility in one afternoon, bring:
- A tape measure (25-foot minimum)
- A flashlight or headlamp
- A notepad to record measurements at 12-inch intervals across the floor
- A basic level to check whether existing floor decking is even
Measure ceiling height at the absolute center peak, then at 2-foot intervals moving outward toward the knee walls. Note where you drop below 7 feet — that line matters more than almost anything else in this process. Then look at the floor joists: check their depth (a 2×6 is almost always undersized for habitable use), their span, and whether there’s any existing decking or just insulation between them.
Also check stair placement before you call anyone. Where would a proper staircase land on the floor below? Is there a bedroom, a hallway, a bathroom in the way? That question alone has killed more attic conversions than any structural problem I’ve seen.
Actionable takeaway: Complete your physical assessment before contacting a contractor. Walk in with dimensions and joist measurements, not inspiration photos — you’ll get a faster, more accurate estimate and you’ll avoid wasting a consultation fee on a project that isn’t structurally viable.
The 7 and 7 Rule Explained — And Why It’s Only the Beginning

Architects and contractors reference this constantly, and most homeowners nod along without fully understanding what it means in practice when the ceiling is sloped and the walls aren’t plumb.
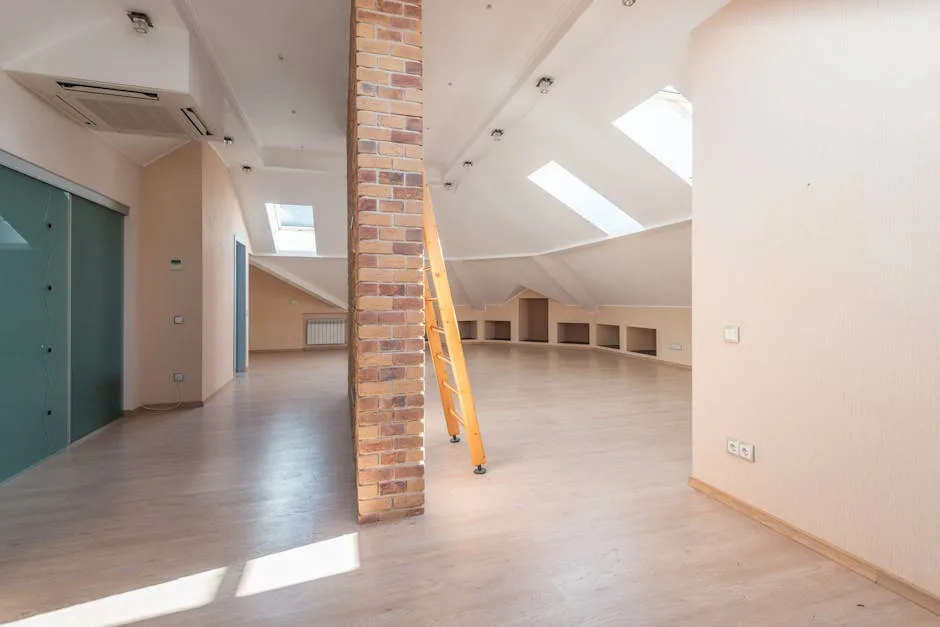
IRC Section R304 requires that any habitable room have a minimum floor area of 70 square feet, with a ceiling height of at least 7 feet over no less than half of that area. The usable width — meaning the portion of the floor where you can actually stand upright — must be at least 7 feet. That’s the rule. What it doesn’t tell you is how fast those numbers disappear once you factor in sloped ceilings and knee walls.
Here’s where the miscalculation happens. Homeowners measure the overall footprint of their attic floor and assume most of it counts. It doesn’t. Only floor area under at least 5 feet of ceiling height is typically counted as usable square footage in most jurisdictions — and the 7-foot-height rule applies to the “habitable” portion within that. A 900-square-foot attic footprint might yield 340 square feet of code-compliant habitable space. That’s a number worth knowing before you budget.
Knee walls — the short vertical walls that run along the sides of an attic where the slope becomes too low to use — are frequently treated as wasted space. They’re not. Built-in storage, closets, and even window seats behind knee walls are some of the highest-function design moves available in an attic conversion, but they have to be planned from the structural phase, not added later.
When you fall short of the 7 and 7 minimums, your structural options are:
- Shed dormer — extends the roofline horizontally to create a full wall on one side; most effective at gaining floor-level headroom; typically costs $25,000–$75,000 depending on length and complexity
- Single dormer — adds a vertical-walled pop-out to gain headroom and light in one location; costs $15,000–$40,000
- Ridge beam raise — structurally raises the peak of the roof; rare, expensive, and requires significant engineering; costs vary but are rarely under $30,000
The IRC baseline is, in almost every case, a floor. Local jurisdictions frequently layer on additional requirements — higher minimum heights, larger minimum room areas — so treat the IRC numbers as a starting point for research, not a finish line.
Actionable takeaway: Before talking to anyone, calculate your usable square footage honestly — measure only what sits under at least 5 feet of ceiling height, then determine how much of that clears 7 feet. If you’re under 70 square feet, the design conversation ends there until a structural solution is funded.
Permits, Inspections, and the Paper Trail That Protects Your Investment

Skipping the permit on an attic conversion is one of those decisions that feels harmless right up until the moment it costs you everything.
I’ve talked to homeowners who went this route. They were trying to save the $1,200–$2,500 in permit fees and the hassle of inspections. What they didn’t anticipate was sitting across from a buyer’s agent five years later, watching a $380,000 sale crater because the title search flagged unpermitted work. Unpermitted attic conversions create compounding legal and financial exposure — they surface in appraisals, trigger lender flags, and in some jurisdictions require complete demolition and rebuilding under permit before a sale can close. Real estate attorneys consistently rank undisclosed unpermitted additions among the most common and costly disclosure failures in residential transactions.
Here’s what a permitted attic conversion actually involves in terms of inspections:
- Structural inspection — confirms joist reinforcement meets load requirements before decking is installed
- Framing inspection — confirms wall framing, dormer construction, and stair framing before insulation or drywall
- Rough mechanical inspection — covers electrical rough-in, HVAC ductwork or mini-split line sets, and any plumbing rough-in if a bathroom is included; must happen before walls are closed
- Insulation inspection — verifies that insulation type, placement, and R-value meet code before drywall; in attic conversions this is where spray foam applications and ventilation baffles get checked
- Final inspection — confirms completed egress windows, smoke and carbon monoxide detectors, stair handrails, and finished electrical; this is the inspection that produces the certificate of occupancy
The permit process also forces a conversation your project needs to have anyway: is this space being permitted as a bedroom? If so, egress window requirements apply. IRC Section R310 requires that sleeping rooms have at least one openable window with a minimum net clear opening of 5.7 square feet, a minimum opening height of 24 inches, a minimum opening width of 20 inches, and a maximum sill height of 44 inches from the floor. Dormer windows are the most common solution in attic conversions. Skylights — a frequent workaround — do not satisfy egress requirements in most jurisdictions.
One more permit-related detail that surprises homeowners: converting attic into living space often triggers a reassessment of your home’s square footage for property tax purposes. The increase is real but predictable. What catches people off guard is the timing — in some jurisdictions, the certificate of occupancy automatically triggers a reassessment request. Budget for the tax impact before the project closes, not after.
Actionable takeaway: Pull the permit. Call your local building department before design begins and ask specifically: what inspections are required for an attic conversion to habitable space, and does converting attic into living space trigger a tax reassessment in this jurisdiction? Those two answers shape your timeline and your budget more than almost any design decision you’ll make.
Thermal, Mechanical, and the Systems Nobody Wants to Budget For
The structural and code work gets the attention. The mechanical and thermal work is where attic conversions quietly fall apart.
Attic spaces are thermally extreme by nature. In summer, uninsulated attic air can reach 150°F. In winter, that same space becomes the house’s largest source of heat loss. Converting attic into living space means transforming the worst-performing thermal zone in your home into a room people are expected to sleep comfortably in — and that requires a fundamentally different insulation approach than the rest of the house uses.
The insulation question is more complicated than it looks. Most residential attics use blown fiberglass or cellulose on the attic floor — that insulation layer has to move from the floor to the roofline when the space becomes conditioned. The two primary approaches are:
- Spray foam at the roofline — closed-cell spray foam applied directly to the underside of the roof sheathing creates an unvented conditioned attic; R-values of R-38 to R-60 are typically required depending on climate zone; this is the most effective thermal solution but costs $3–$7 per square foot installed
- Batt insulation with ventilation baffles — maintains a vented attic by preserving an airspace between insulation and sheathing; less expensive but more complex to detail correctly at the ridge and eaves; prone to performance problems if baffles are improperly installed
Thermal bridging through rafters is a real performance issue in attic conversions, particularly when batt insulation is used. Continuous rigid foam on the interior face of the rafters — before drywall — significantly reduces this effect and is worth the cost in climate zones 4 and above.
HVAC extension is the other system budget line that surprises people. Existing forced-air systems are almost never sized to handle an additional floor of conditioned space without an equipment upgrade or supplemental system. The most common solutions for attic conversions are:
- Mini-split systems — ductless, independently zoned, highly efficient; ideal for attic conversions because they require no ductwork penetrations through the floor structure; installed costs typically run $3,000–$6,000 for a single-zone unit
- Extended ductwork — only viable if the existing system has sufficient capacity; requires a Manual J load calculation to confirm before any duct work is designed
- Baseboard electric heat — lowest upfront cost, highest operating cost; acceptable in mild climates or low-use spaces, impractical as a primary heating source in cold climate zones
Electrical service is the third system. A habitable attic room requires a minimum number of outlets per IRC and NEC standards — generally one outlet every 12 feet along usable wall space, plus dedicated circuits for any HVAC equipment. If the attic will contain a bathroom, a dedicated 20-amp circuit for the bathroom receptacle is required. Running electrical from the panel through finished floor systems to an attic is labor-intensive; budget accordingly.
Actionable takeaway: Get a Manual J load calculation done before selecting your HVAC approach — it costs $200–$500 and prevents a $6,000 mistake. And request that your insulation contractor specify R-values by climate zone, not by what’s “standard” for attic work in your area. Those two conversations will shape the livability of the space for as long as you own the house.
FAQ
How much does converting attic into living space typically cost?
Total project costs vary widely based on scope, but a realistic range for a full attic conversion — including structural reinforcement, insulation, HVAC, electrical, egress windows, and finish work — runs $40,000–$120,000 for most single-family homes. Conversions that require dormer additions to meet minimum ceiling height requirements sit at the higher end or beyond. The most common budgeting mistake is pricing only the finish work and treating the structural and mechanical costs as surprises.
Does converting attic into living space add to a home’s appraised value?
Generally yes, but not dollar-for-dollar. A well-executed, fully permitted attic conversion that adds a code-compliant bedroom and meets all egress requirements typically returns 50–70% of project cost in appraised value, according to remodeling cost-versus-value data. Unpermitted conversions add no appraised value and can actively reduce marketability.
What’s the difference between an attic conversion and an attic remodel?
The terms are often used interchangeably, but there’s a meaningful distinction for permitting purposes. An attic remodel may refer to improvements within an already-permitted habitable space. An attic conversion specifically means changing the occupancy classification of the space from storage or unfinished to habitable — which triggers the full permit and inspection process described above.
How long does an attic conversion typically take from permit to certificate of occupancy?
For a straightforward conversion without dormers, four to six months is realistic from permit application to final inspection, assuming no structural surprises and no contractor scheduling delays. Conversions that include dormer construction add two to four months. Permit review timelines vary significantly by jurisdiction — some municipalities turn permits in two weeks, others take three months.
Can any attic be converted into living space, or are some simply not feasible?
Some attics are not viable candidates regardless of budget. The most common disqualifying conditions are: roof pitch below 4-in-12 with no room for dormers, floor joists that span more than 15 feet without intermediate support and cannot be reinforced due to bearing wall placement, and stair placement that would require eliminating load-bearing walls on the floor below. A structural engineer can identify these conditions in a single site visit, typically for $400–$800 — the most cost-effective early investment in the entire process.