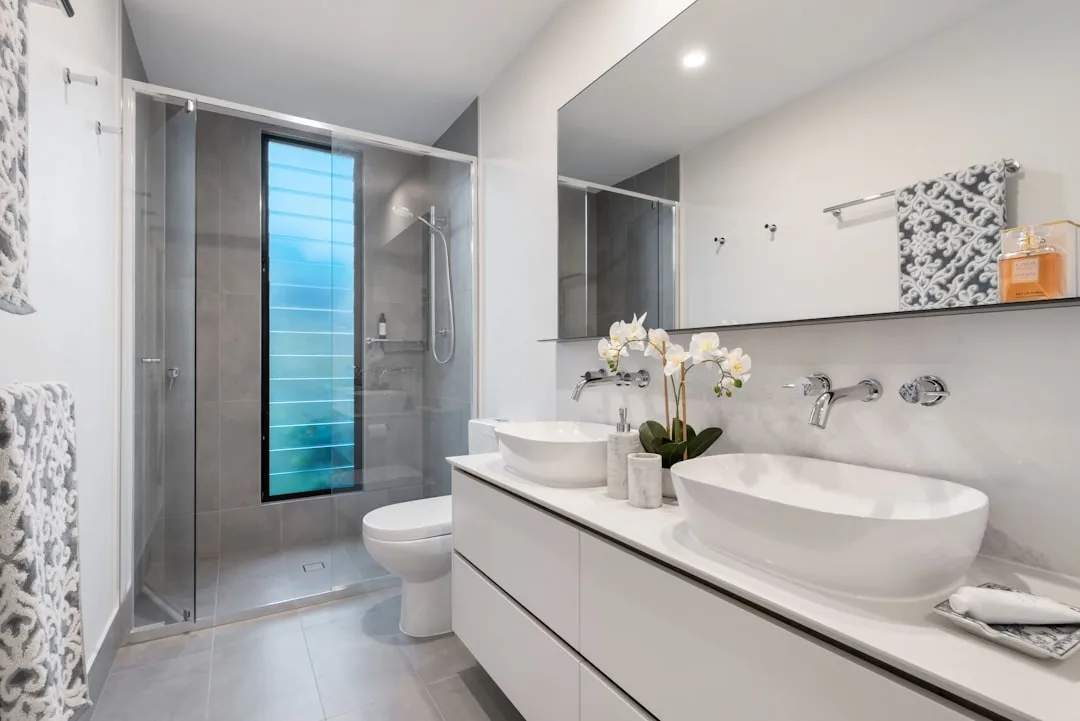
The bathroom with no cabinets isn’t a storage problem — it’s a mapping problem, and most people searching for bathroom storage no cabinet space solutions skip straight to buying things before they’ve identified a single usable inch. I’ve walked into dozens of cabinetless bathrooms over the years, and the pattern is almost always the same: a cluttered counter, a floor caddy wedged between the toilet and the wall, and three unused zones staring everyone in the face. The instinct to buy something — a rack, a basket, a set of matching canisters — is understandable, but it’s exactly backwards. You end up solving the wrong problem beautifully.
Quick Answer
The bathroom with no cabinets isn’t a storage problem — it’s a mapping problem, and most people skip straight to buying things before they’ve identified a single usable inch.
This guide doesn’t start with products. It starts with your walls.
Why Most Cabinetless Bathrooms Are Failing on Vertical Real Estate
In This Article
- Why Most Cabinetless Bathrooms Are Failing on Vertical Real Estate
- The Surface Audit: How to Map Every Inch of Bathroom Storage No Cabinet Space Allows
- Open Shelving That Doesn’t Look Like an Afterthought
- The Door, the Niche, and the Zones Everyone Ignores
- Renter-Specific Strategies for Bathroom Storage No Cabinet Space
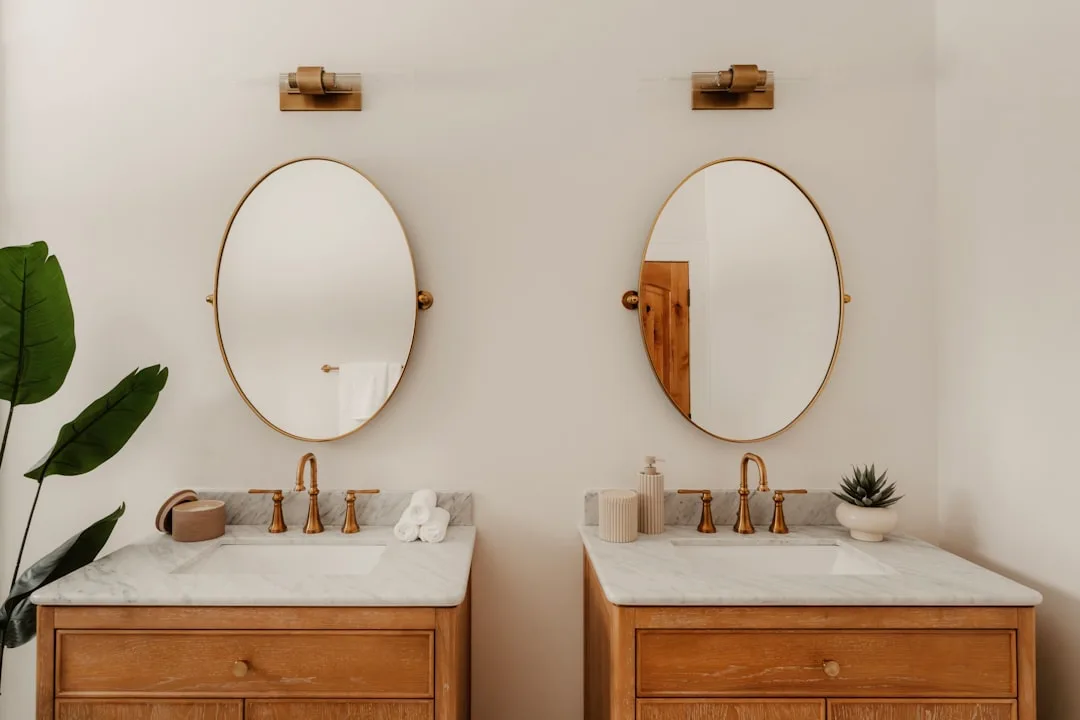
Here’s something worth sitting with before you open a single browser tab: the average American bathroom runs about 40 square feet of floor space, which is legitimately not much. But a standard bathroom with 8-foot ceilings has roughly 180+ square feet of vertical wall surface — and in a room with no built-in cabinets, almost none of it gets used. People treat bathrooms like kitchens with no upper cabinets, where the solution feels obvious. In bathrooms, the same logic evaporates somehow.
What I kept seeing in apartments across Chicago and New York was that people were working entirely in a horizontal plane — counter, floor, maybe a tension caddy in the shower. They weren’t thinking in zones. They were thinking in surfaces they already had, which is exactly why they ran out of room.
A cabinetless bathroom typically has four to six distinct vertical zones that go completely unaddressed:
- Over the toilet wall (often 24–36 inches of clear space above the tank)
- The back of the door
- The wall beside or above the vanity
- Above the shower or tub surround
- The sliver of wall between the door frame and the nearest fixture
- The ceiling plane itself, which almost no one considers
Before buying a single hook or shelf, run a surface audit — a quick three-step scan of your bathroom that takes about ten minutes and costs nothing. Step one: photograph every wall from floor to ceiling, not just eye level. Step two: measure every blank run of wall space 18 inches wide or wider. Step three: mark each zone with a sticky note indicating what it’s near (water source, steam, high traffic) because that moisture context will determine what you can actually install there.
The goal isn’t to cover every zone. It’s to stop making purchasing decisions before you’ve identified what you have.
Takeaway: Do the surface audit before you buy anything. Ten minutes of measurement prevents $200 of wrong purchases.
The Surface Audit: How to Map Every Inch of Bathroom Storage No Cabinet Space Allows
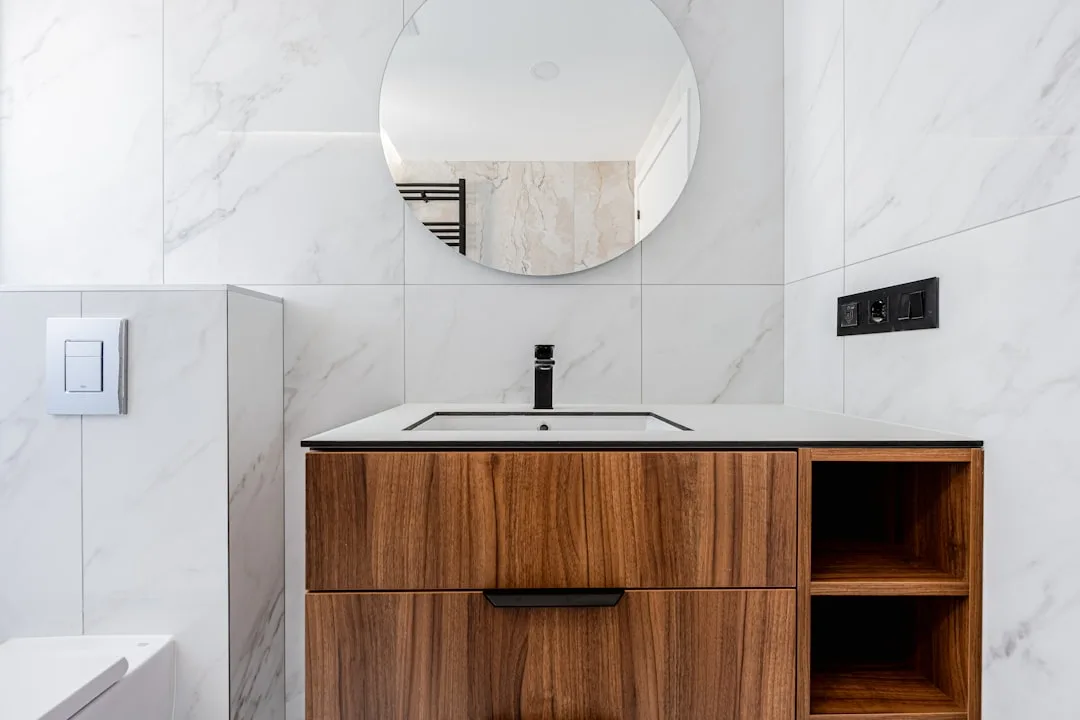
Most storage guides treat bathroom type as a footnote. It’s actually the whole frame. What works in an owned 1920s full bath with plaster walls and a pedestal sink is completely different from what works in a rented studio with a fiberglass surround and a landlord who does inspections. Collapsing those into the same product list is why most bathroom storage no cabinet space advice fails people in practice.
Run your audit across six specific zones, and evaluate each one honestly:
1. Over the toilet — Is there a window? How far is the tank top from the wall? You need at least 6 inches of clearance from tank to wall for most over-toilet units to sit flush.
2. Inside the door — Measure the swing arc. Mark where the door stops when fully open, and note how much clearance exists between that point and the nearest fixture or trim edge.
3. Under the sink — Even open pedestal sinks have a floor zone beneath them. The plumbing is an obstacle, not a dealbreaker.
4. Above the shower — Often completely ignored because it feels awkward to reach. But for storing backup stock (extra shampoo, spare razors), accessibility matters less than containment.
5. Beside the vanity — That 8-to-14-inch gap between your sink cabinet and the wall? It exists in most bathrooms and fits a slim rolling cart perfectly.
6. The ceiling plane — Hooks rated for ceiling joists, hanging baskets on tension rods between walls in narrow bathrooms, or suspended wooden racks are all legitimate options here.
Interior designers I worked alongside consistently recommended assigning a load tier to each zone before selecting any product:
- Lightweight decorative — candles, small plants, decorative trays, rolled hand towels
- Medium functional — folded bath towels, toiletry bottles, small bins, basket storage
- Heavy structural — full towel storage, a large mirror, a recessed cabinet, mounted shelving with significant product weight
This step gets skipped constantly in DIY guides, and it’s why people end up with floating shelves that pull out of drywall under the weight of a full conditioner bottle. Wall anchors rated for 20 lbs feel generous until there are six product bottles on a 10-inch shelf — at which point physics wins.
For renters specifically, keep two separate lists:
- No-drill zones: door backs, tension-rod spans, freestanding units, over-toilet freestanding shelves, suction cup systems, removable adhesive hooks rated for bathroom humidity
- Drill zones: floating shelves, wall-mounted towel bars, recessed niches, ceiling hooks into joists
Solve your no-drill zones first. Then decide which drilling projects are worth patching on your way out. In most rental situations, two or three well-placed drill points beat a bathroom full of tension products that vibrate loose over time.
Takeaway: Categorize each zone by load tier before you search for a single product. It will eliminate half your options immediately — which is the point.
Open Shelving That Doesn’t Look Like an Afterthought
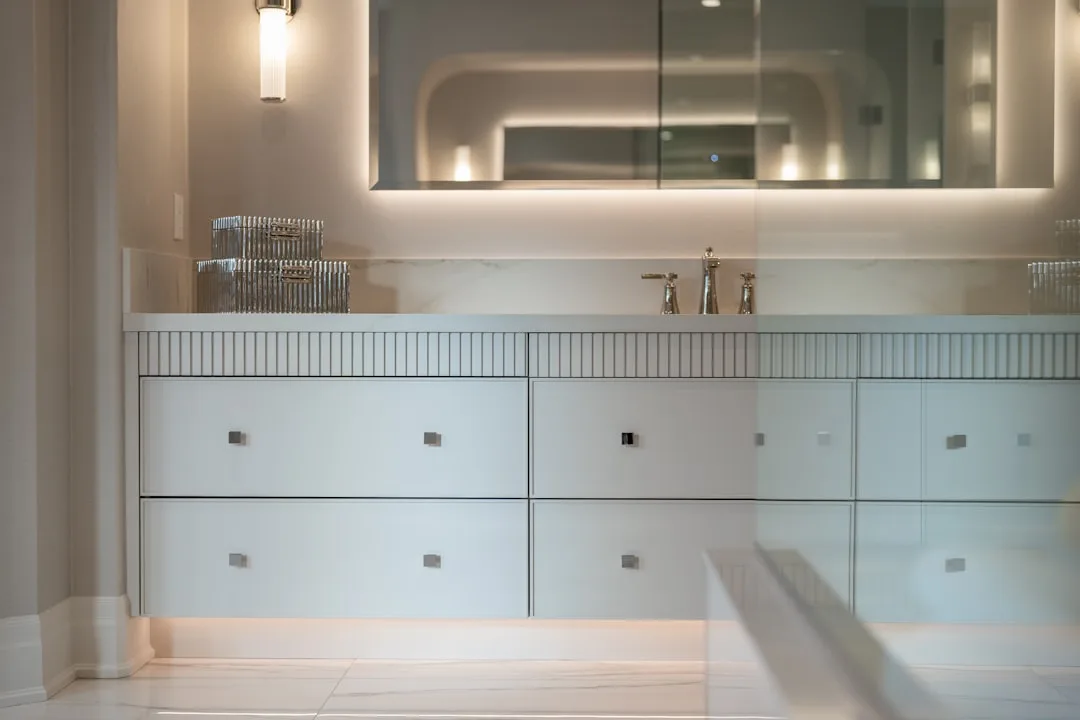
I’ll be honest about something: I’ve installed floating shelves in bathrooms that looked terrible within six months. Not because the shelves were cheap, but because I didn’t think hard enough about placement logic and humidity exposure. That $800 sectional mistake I carry from a client project in Lincoln Park taught me to stop letting enthusiasm outrun planning — and floating bathroom shelves are exactly the same kind of trap.
Shelves installed at 54–60 inches from the floor hit the ergonomic reach zone for most adults and are the most functional mounting height for daily-use items. Above that range, you’re storing things you’ll rarely grab. Below it, you’re crouching for your shampoo. This sounds obvious until you actually watch someone install a shelf at 48 inches because it “felt right” while they were holding the bracket.
Three placement rules that prevent open shelving from looking cluttered or cheap:
- Depth discipline — Bathroom shelves should max out at 8–10 inches deep. Deeper shelves in small bathrooms read as furniture, not storage, and start to close the space visually.
- Grouping logic — Shelves look intentional when installed in odd-number clusters (one, three, or five) rather than a single long run or a symmetrical pair at identical heights.
- The thirds rule for styling — Roughly one-third functional items, one-third decorative objects, one-third negative space. Leave air in the composition. A shelf crammed to the edge with product bottles is a shelf that draws attention to your clutter, not your storage solution.
Material selection here is not decorative — it’s structural. In a bathroom context, your material choices break down like this:
- Solid wood with proper sealer — Beautiful, holds weight well, but requires annual resealing in high-humidity bathrooms or it will warp along the back edge within two years
- MDF with moisture-resistant coating — More stable than solid wood in steam environments, but heavier and less forgiving if the coating chips near a water source
- Teak or bamboo — Naturally moisture-resistant, ideal for bathrooms that see daily shower steam; both hold screws well and age gracefully
- Metal bracket systems — Open steel or brass bracket shelves are the most humidity-proof option and carry the most weight per linear inch; the tradeoff is a more industrial visual register that doesn’t work in every bathroom aesthetic
- Tempered glass — Zero moisture absorption, easy to wipe, but requires heavy-duty bracket hardware and is unforgiving with heavy loads unless the brackets are rated specifically for glass shelf weight
One thing that doesn’t get discussed enough in open shelving guides: the wall behind the shelf matters as much as the shelf itself. Painting the wall behind a floating shelf cluster in a slightly deeper tone — even one shade darker on the same paint chip — creates visual depth that makes the shelf arrangement read as designed rather than installed-by-necessity. It costs about $12 in sample paint and changes the entire register of the space.
Takeaway: Material choice in a bathroom is a moisture decision first, an aesthetic decision second. Get those priorities in the right order before you order anything.
The Door, the Niche, and the Zones Everyone Ignores
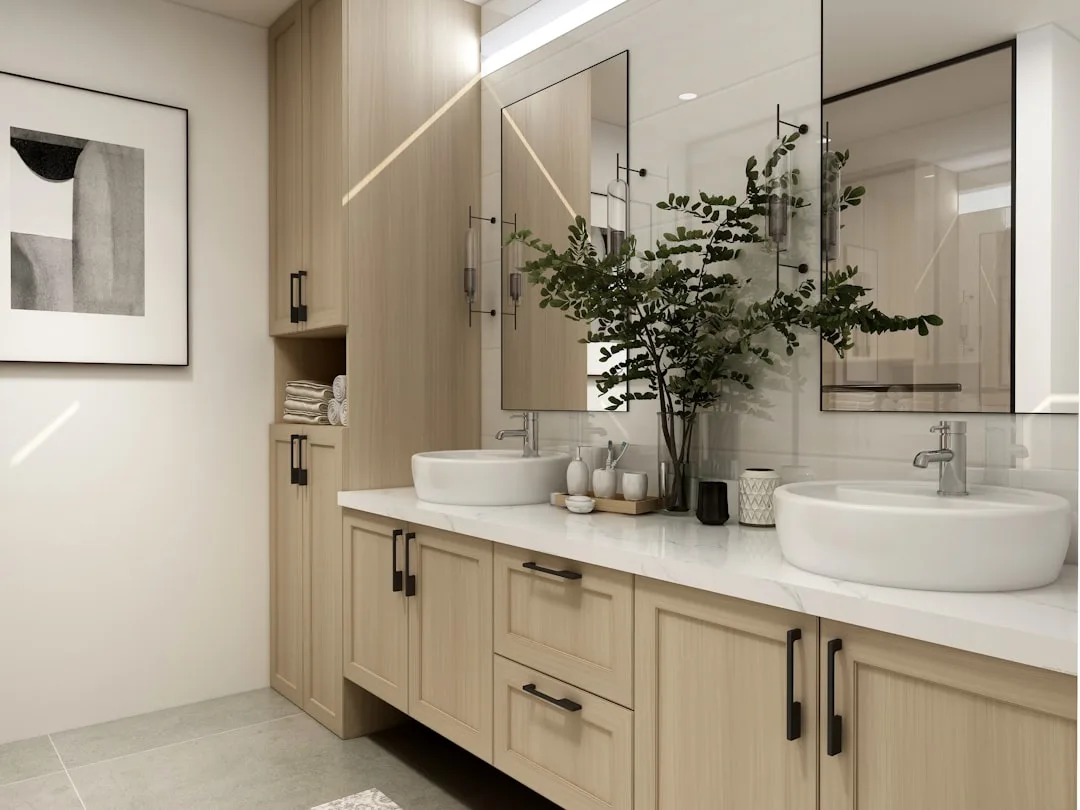
There are three storage zones that appear in almost every bathroom with no cabinets and get overlooked with remarkable consistency. Not because they’re hard to use — because they’re not obviously “storage zones” the way a wall or a counter is.
The Back of the Door
A standard interior bathroom door offers between 560 and 720 square inches of flat, vertical surface. That’s more usable real estate than most single-wall floating shelf arrangements, and it requires zero wall damage in rental situations.
What actually works here, by load category:
- Lightweight: Clear acrylic over-door organizers with individual pockets — useful for cotton rounds, hair ties, travel-size products, kids’ bath toys
- Medium: Over-door hooks rated for 10–15 lbs, either single or bar-style — bath robes, towels, hanging cosmetic bags
- Functional heavy: Over-door shoe organizers (the clear pocket kind) repurposed for bathroom products — each pocket holds one product upright; a standard 24-pocket organizer holds 24 bottles in the space of a door
The one constraint to check: door clearance. If your door swings within 2 inches of a toilet tank, vanity edge, or wall when fully open, over-door hardware will create contact points that damage both the door and the fixture over time. Measure the full swing arc before you commit.
Recessed Wall Niches
If your bathroom has interior walls (walls that don’t face outside), there’s a reasonable chance there’s a 3.5-inch cavity between the studs — which is exactly the depth of a standard recessed niche. Cutting a niche between studs in a non-load-bearing interior wall is a weekend project that adds permanent, waterproof, flush storage without extending into the room at all.
Realistic niche dimensions based on standard 16-inch stud spacing:
- Width: 12–14 inches (between studs, with framing)
- Height: 24–36 inches depending on where you frame the opening
- Depth: 3.5 inches (standard 2×4 wall) or 5.5 inches (2×6 framed walls, more common in newer construction)
A single niche in a shower surround, tiled to match, eliminates the need for a shower caddy entirely. A niche beside the vanity, painted or papered, holds a full set of daily toiletries without a single item on the counter.
The Toe-Kick Zone
Almost no one uses the toe-kick space below freestanding vanities or bathroom furniture. The standard toe-kick height is 3.5 inches — enough to slide in flat storage like a thin drawer on casters, or custom-cut shallow bins that hold spare rolls of toilet paper, cleaning supplies, or flat items like backup shower mats.
This isn’t glamorous storage. But in a bathroom storage no cabinet space situation, unglamorous storage that works beats beautiful storage that doesn’t.
Takeaway: The door, wall niches, and toe-kick zone together can add more functional storage than a single over-toilet shelving unit — without any of the visual weight.
Renter-Specific Strategies for Bathroom Storage No Cabinet Space
Everything above applies to any bathroom. But renters have a specific set of constraints that change the execution considerably — and most storage guides ignore them entirely or add a one-paragraph disclaimer at the end. That’s not good enough.
The core renter reality: you cannot damage walls, you may not be able to use certain adhesives on specific tile types, and whatever you install needs to come down cleanly at move-out. That’s not a creative limitation — it’s actually a useful filter that forces smarter decisions.
Here’s a renter-specific toolkit broken out by zone:
No-damage vertical storage options:
- Tension pole systems (floor-to-ceiling poles with adjustable shelves) — work best in corners; look for models with rubber feet and ceiling caps rated for tile surfaces
- Freestanding ladder shelves — lean against the wall with no wall contact hardware; work in bathrooms with enough floor clearance behind the toilet
- Freestanding over-toilet shelf units — no drilling, no adhesive; the best models have adjustable shelf heights and fit tanks up to 8 inches wide
- Command strips rated for bathroom humidity — 3M makes bathroom-specific strips; the key is surface prep (clean with isopropyl alcohol, wait 24 hours before loading weight)
Adhesive considerations by surface:
- Painted drywall: Standard Command strips work; remove slowly at 45-degree angle
- Ceramic tile: Tile-rated adhesive hooks only; smooth glazed tile holds adhesive better than textured
- Fiberglass surround: Suction cups with locking mechanisms outperform adhesive here; adhesive often fails on fiberglass within weeks due to surface flex
- Grout lines: Never. Adhesive on grout will pull the grout out on removal.
Organization before acquisition: In renter bathrooms where wall options are genuinely limited, the highest-ROI move is often a full editing pass on what’s actually in the bathroom — not adding storage, but reducing load. Most bathroom counters hold 30–40% more items than the average person uses weekly. A clear-out pass before a storage overhaul consistently creates more usable space than buying three new products.
Takeaway: Renters should solve in this order — edit first, no-damage vertical second, adhesive third, drill only for high-priority permanent zones.
FAQ: Bathroom Storage With No Cabinet Space
Q: What’s the single most effective storage addition for a bathroom with no cabinets?
It depends on the bathroom, but if I had to pick one category that delivers the most usable storage per dollar in almost every cabinetless bathroom: an over-toilet freestanding shelving unit with three adjustable shelves. It requires no installation, fits most standard toilet configurations, and immediately activates the most underused vertical zone in the room. The caveat is ceiling height — in bathrooms under 7.5 feet, some taller units will either not fit or will feel oppressive. In those rooms, a two-shelf version or a wall-mounted floating shelf cluster over the toilet is a better call.
Q: How do I add bathroom storage no cabinet space allows without drilling into rental walls?
Start with the door, the floor, and tension systems. Over-door organizers on standard hooks, freestanding ladder shelves that lean without wall contact, and tension-pole corner units together can solve 70–80% of a typical renter’s storage problem without a single hole. For light-duty wall items, Command bathroom strips rated for humidity and smooth painted surfaces work reliably if you follow the prep steps exactly — cleaning with alcohol, pressing for 30 seconds, waiting the full cure time before loading. Where those fail is textured walls, grout, and fiberglass, so know your surfaces.
Q: My bathroom is tiny — under 35 square feet. What storage approach works in that situation?
In sub-35-square-foot bathrooms, floor space is the real constraint. The priority shifts almost entirely to vertical and door-mounted storage. Avoid freestanding units that sit on the floor unless they’re directly over the toilet (which uses no additional floor footprint). Slim rolling carts in the vanity gap are the one floor-based exception — they slide out when needed and disappear back into the gap. Above the toilet, beside the vanity at eye level, and on the back of the door are your three primary storage zones. Keep every item on those surfaces to things you use at least three times a week; less-used items belong in another room entirely.
Q: Can I add a recessed niche to a bathroom without major renovation?
Yes, with conditions. The wall needs to be a non-load-bearing interior wall — exterior walls, load-bearing walls, and walls that back up to another wet area (another bathroom or kitchen) are not candidates. If your bathroom has at least one interior partition wall, cutting a niche between studs is a project most DIYers can complete in a weekend with a stud finder, drywall saw, and some tile or paint. The result is a flush, permanent storage zone that adds depth without adding visual weight. If you’re unsure about wall type, a structural engineer or experienced contractor can confirm in a short consultation.
Q: How do I keep open bathroom shelves from looking messy within a few weeks?
The honest answer is: systems, not products. Open shelving in bathrooms fails visually not because of the shelves but because there’s no rule about what lives there. Three rules that hold up over time: everything on the shelf has a designated spot (not just a general area), only items used at least twice a week belong on open shelves (everything else goes in a bin or basket), and one visual anchor per shelf cluster — a plant, a candle, a small tray — gives the eye a resting point so the functional items don’t read as clutter. Wipe shelves weekly; product residue and dust accumulate fast in bathroom air and make even tidy shelves look neglected.
The cabinetless bathroom is not a design failure. It’s a room that hasn’t been mapped yet. The difference between a bathroom that feels chaotic and one that functions well almost never comes down to how much money was spent on storage products — it comes down to whether someone spent twenty minutes walking the room with a tape measure before they opened a shopping cart. Start there. Everything else follows.