The square footage is already there — paid for, heated in winter, baked in summer, and almost certainly wasted — and most homeowners have no idea whether their attic is six weeks away from becoming their best room or structurally ineligible for any conversion at all. Turning attic into living space is one of the highest-ROI moves available in residential real estate, but it is also one of the most technically layered projects you can attempt, with more failure points than a kitchen gut and more legal exposure than most people realize. The gap between “this attic looks like a room” and “this attic is legally, structurally, and thermally a room” is where most projects go sideways — usually expensively, and sometimes catastrophically. What follows is not a listicle. It is the sequenced, specific information you need before you spend a dollar.
Quick Answer
The square footage is already there — paid for, heated in winter, baked in summer, and almost certainly wasted — and most homeowners have no idea whether their attic is six weeks away from becoming their best room or structurally ineligible for any conversion at all.
Can You Actually Make an Attic a Livable Space? Start Here
In This Article
- Can You Actually Make an Attic a Livable Space? Start Here
- What the 7 and 7 Rule for Attics Actually Means — and Why It Matters More Than Your Budget
- Do You Need a Permit to Convert an Attic? The Honest Answer
- What Turning an Attic Into Living Space Actually Costs — Line by Line
- Insulation and Thermal Performance: The Detail Most Conversions Get Wrong
- How to Choose a Contractor for an Attic Conversion (And What to Ask Before You Sign)

Most attic conversion guides spend about two paragraphs on feasibility before jumping straight into mood boards. That ordering has cost homeowners serious money, and I say that having watched a client spend $4,200 on architectural drawings for an attic that a structural engineer — called in three months too late — declared inadequate for occupancy without $60,000 in joist reinforcement. Start here. Everything else depends on it.
Only about 40% of attics are structurally suitable for conversion without significant reinforcement. That number matters because it means the majority of attics that look like candidates are not — at least not without additional investment that most initial budgets don’t account for. Homeowners who skip the feasibility check are statistically the most likely to face mid-project budget overruns, because the structural surprises don’t surface until a contractor is already on-site.
Here is what an honest initial walkthrough covers:
- Floor joists: Most attic floors are framed for storage loads — roughly 10–20 pounds per square foot — not occupancy loads, which require 40 psf. Sistering the joists (adding new lumber alongside existing framing) is common, but it’s a cost you need to know about upfront.
- Roof pitch: A roof pitch below 6:12 (meaning it rises 6 inches for every 12 horizontal inches) almost never yields enough usable headroom to justify conversion. Steeper pitches — 8:12 and above — are your best candidates.
- Stair access: A pull-down attic ladder is not code-compliant for habitable space. You need a permanent stair, and that stair needs a landing footprint somewhere below, which affects your floor plan downstairs.
- HVAC proximity: Where is your furnace or air handler? How far is the attic from your electrical panel? Distance drives cost.
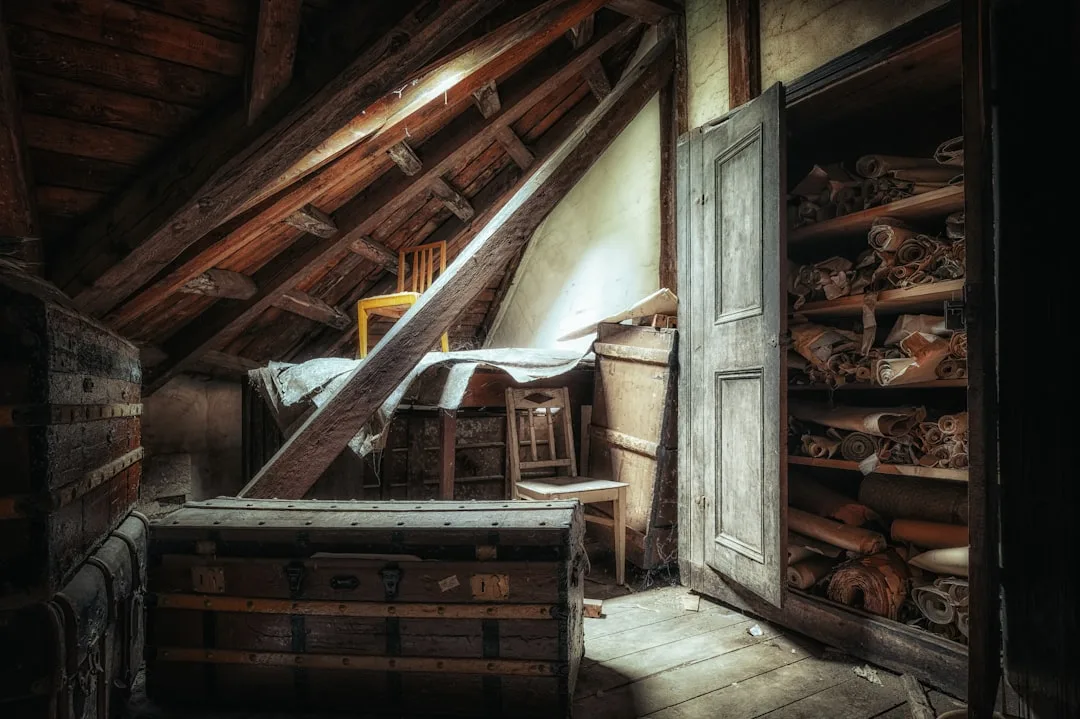
- Insulation condition: Blown-in fiberglass on the floor — common in older homes — tells you the attic was never intended as conditioned space. It will have to come out, and that’s a line item.
When any of these flags appear — particularly joist load concerns or ambiguous roof structure — you need a structural engineer before you need a contractor. The consultation runs $300–$700 depending on market and scope. That is not optional. It is, almost without exception, the cheapest money you will spend on this project.
Actionable takeaway: Walk your attic this week with a tape measure, a flashlight, and the checklist above. If you flag two or more issues, schedule the structural consultation before any other conversation.
What the 7 and 7 Rule for Attics Actually Means — and Why It Matters More Than Your Budget
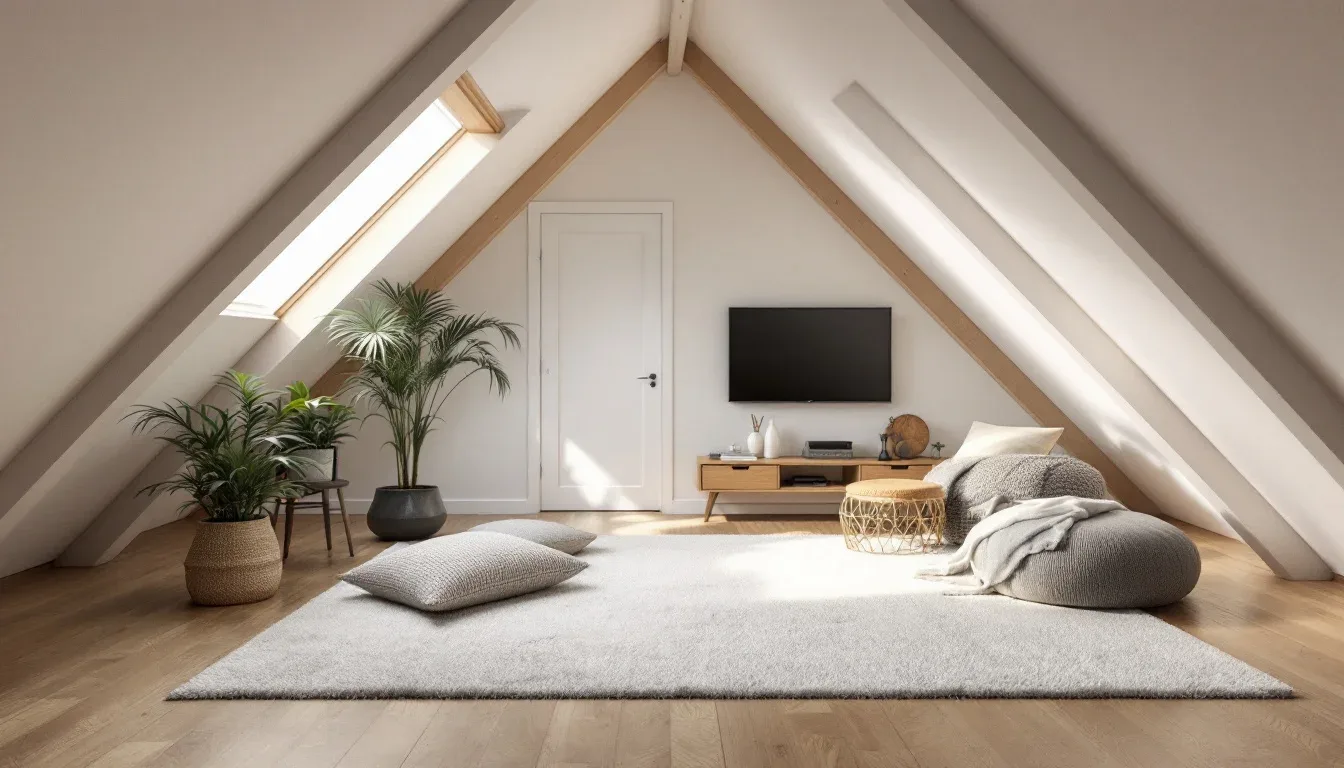
Here is the number that actually determines whether your attic can be a legal room, and it is simpler than most contractors make it sound. Per IRC Section R305, habitable rooms require a minimum ceiling height of 7 feet over at least 50% of the required floor area — this is the standard referenced as the “7 and 7 rule,” meaning at least 7 feet of vertical clearance over at least 7 feet of horizontal floor area. Non-compliant conversions cannot be legally listed as finished square footage, cannot be classified as bedrooms on an appraisal, and can complicate resale in ways that are difficult and expensive to unwind.
Measuring for this is something you can do yourself, before calling anyone. You need a tape measure, a level, and one helper. Find the ridge beam — the highest point of the ceiling — and drop a plumb line. Measure the height at that point. Then measure outward from the centerline along the floor until the ceiling drops to 7 feet. Do this on both sides. The width of the floor area with 7 feet of clearance must cover at least half of your intended floor plan.
What happens when you fall short — which is common in Cape Cod-style houses and older bungalows — comes down to three options:
- Shed dormer: A large, single-plane dormer that extends across most or all of the roofline, dramatically increasing both headroom and usable floor area. Most expensive option. Most impactful result.
- Individual dormers: Smaller, gabled or shed-style pop-outs at specific locations. Adds headroom in targeted areas. Less expensive than a full shed dormer, but also adds less floor area.
- Raised roof section: Structurally the most involved option — essentially lifting a portion of the roof to create vertical wall height. Rare in standard residential conversions, but used in specific situations where dormers aren’t architecturally appropriate.
The 7 and 7 rule affects more than comfort. An attic room that doesn’t meet this threshold cannot be appraised as finished square footage — meaning your lender may not recognize it as part of the home’s value, and a buyer’s appraiser will likely flag it at sale. Converting an attic without understanding this first is how people end up with a “bonus room” that adds no measurable value to their home on paper.
Actionable takeaway: Measure your attic against the 7 and 7 standard before you develop any design ideas. The measurement takes 20 minutes and determines whether your project is a renovation or a structural overhaul.
Do You Need a Permit to Convert an Attic? The Honest Answer
Yes. Almost certainly yes. The honest version of “it depends” is: it depends on your municipality’s specific code, but if you are doing anything beyond painting and adding a lamp, you almost certainly need a permit — and the consequences of skipping one are more serious than most renovation content acknowledges.
Here is what triggers permit requirements in virtually every U.S. jurisdiction:
- Adding or modifying electrical circuits
- Installing or extending HVAC systems
- Framing new walls or structural modifications
- Adding a bathroom (plumbing permit, separate from building permit)
- Constructing or relocating a staircase
- Adding a bedroom — because bedrooms trigger egress window and smoke detector requirements
In a 2023 survey by the National Association of Realtors, unpermitted additions were cited as a factor in delayed or failed closings in approximately 17% of transactions involving converted spaces. That number is not abstract — it represents homeowners who did the work, lived in the space, and then discovered at the worst possible moment that the conversion had no legal standing. Title companies flag unpermitted work. Buyers’ attorneys flag it. Home inspectors flag it. And in some municipalities, the remedy is not a retroactive permit — it is demolition of the non-compliant work.
The permit process for turning attic into living space typically follows this sequence:
- Pre-application meeting with your local building department — often free, always valuable. Bring your rough floor plan and a description of scope. They will tell you exactly which permits apply and what inspections to expect.
- Building permit application, which requires at minimum a site plan, floor plan, and framing details. In many jurisdictions, drawings must be stamped by a licensed architect or engineer.
- Electrical, plumbing, and mechanical permits, which are typically separate from the building permit and pulled by licensed subcontractors — not by you or your general contractor directly.
- Inspections at rough-in stages — framing, electrical rough, insulation — before any drywall goes up. Missing a rough-in inspection means opening up finished walls later.
- Final inspection and certificate of occupancy, which is the document that legally establishes the space as habitable. Without it, the room does not exist in the eyes of your municipality or your insurance carrier.
The permit timeline varies significantly by jurisdiction — urban markets with backlogged building departments can run 8–14 weeks for plan review alone. Factor that into your project schedule before you sign a contractor agreement with a start date.
Actionable takeaway: Call your local building department before you call a contractor. A 20-minute conversation will tell you exactly what you’re dealing with and prevent the most common and expensive compliance mistakes.
What Turning an Attic Into Living Space Actually Costs — Line by Line
Budget ranges for attic conversions published online are almost uniformly useless because they aggregate projects of wildly different scope and skip the line items that actually drive overruns. A simple attic bedroom with no structural modifications, no dormer, and HVAC access already nearby costs dramatically less than an attic suite with a bathroom, a shed dormer, and full joist reinforcement. Here is a more honest breakdown.
Structural work:
- Joist sistering (full floor): $3,000–$12,000 depending on span and material
- Shed dormer addition: $15,000–$35,000
- Individual dormer: $7,000–$20,000
- Staircase installation (new opening, framing, finished stair): $5,000–$15,000
Mechanical systems:
- HVAC extension or mini-split installation: $3,500–$9,000
- Electrical subpanel or circuit extension: $1,500–$4,000
- Plumbing rough-in (if adding a bathroom): $4,000–$10,000
Insulation and air sealing:
- Spray foam on roof deck (most effective for converted attics): $3,000–$8,000 for a 500–800 sq ft attic
- Rigid foam plus batt combination: $1,500–$4,000
Finishing:
- Drywall, taping, and finishing: $2,000–$5,000
- Flooring: $1,500–$6,000 depending on material
- Egress window installation: $900–$2,500 per window
- Trim, paint, and fixtures: $1,500–$4,000
Total realistic ranges:
- Basic bedroom conversion, no structural changes needed: $18,000–$35,000
- Bedroom with dormer and standard finishes: $40,000–$75,000
- Full suite with bathroom, shed dormer, and quality finishes: $75,000–$130,000+
The ROI picture for turning attic into living space is generally favorable — Remodeling Magazine’s Cost vs. Value report consistently shows attic bedroom conversions recouping 60–75% of project cost at resale in most markets, with higher returns in dense urban and suburban markets where square footage commands a premium. But that return assumes a permitted, code-compliant conversion that an appraiser can count. Unpermitted work typically adds zero appraised value and can subtract value by creating a disclosure liability.
Actionable takeaway: Build your budget from the line items above, not from aggregate averages. Identify which categories apply to your specific attic, get itemized bids, and add a 15% contingency — not because contractors are unreliable, but because attics routinely conceal conditions that don’t appear until demolition.
Insulation and Thermal Performance: The Detail Most Conversions Get Wrong
Insulation in a converted attic is not the same problem as insulation anywhere else in the house, and the approach that works in a wall or a basement floor will fail you here. This is the detail that most attic conversion guides either skip or handle with a single sentence about “proper insulation,” which tells you nothing about why attic thermal performance is categorically different and what to actually do about it.
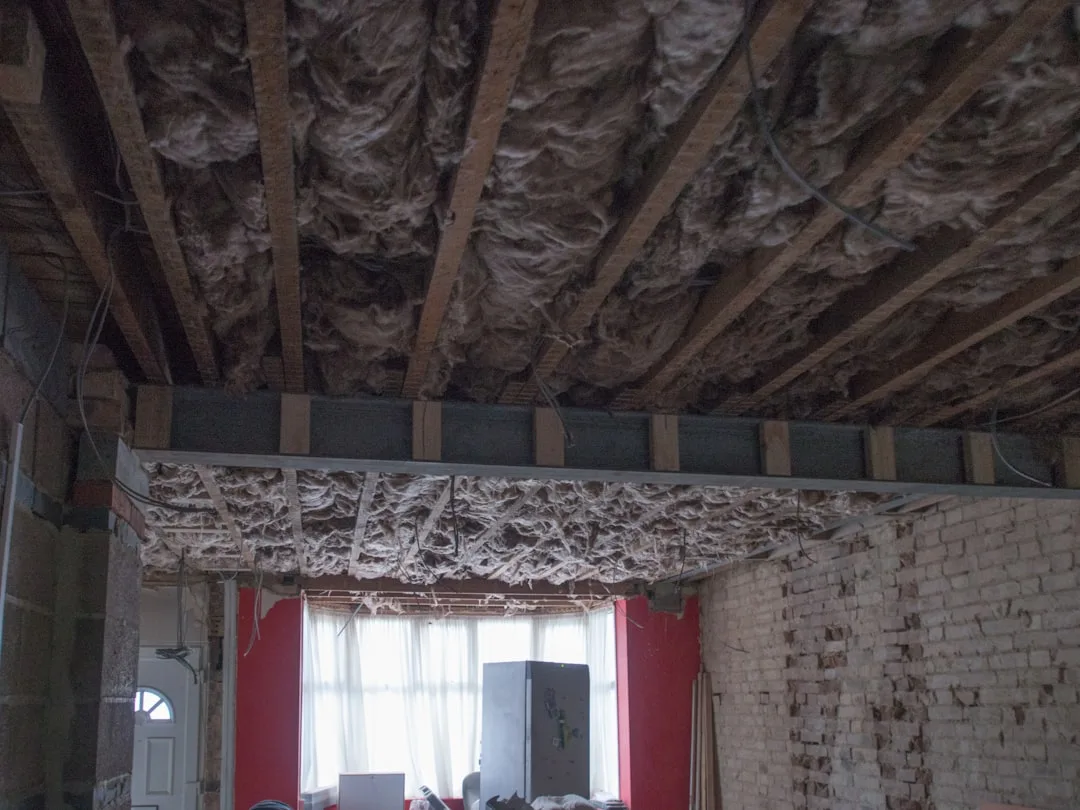
The fundamental issue is the roof deck. In an unconverted attic, insulation sits on the attic floor, and the roof deck above is vented — outside air moves through soffit vents, across the underside of the roof deck, and out through a ridge vent, which carries heat and moisture away. This works well precisely because the attic is unconditioned space. The moment you convert the attic to living space, that venting strategy collapses. You can no longer insulate the floor (that’s now your living space floor). You need to insulate the roof assembly itself, and that changes everything about how moisture moves through the building.
The three approaches used in converted attics, in order of thermal and moisture performance:
1. Closed-cell spray foam on the roof deck (hot roof assembly)
This is the highest-performing option for most converted attics. Closed-cell spray foam applied directly to the underside of the roof sheathing creates an air-impermeable barrier with an R-value of approximately R-6.5 per inch. At 3.5 inches, you’re at roughly R-23 — not enough on its own in cold climates, but spray foam is frequently combined with batt insulation between rafters to reach code-required R-values (R-38 to R-60 depending on climate zone). The moisture performance is excellent because closed-cell foam is also a vapor retarder, eliminating the condensation risk that destroys other attic assemblies.
2. Rigid foam above the roof deck plus batt between rafters (exterior continuous insulation)
This approach is thermally superior to interior-only assemblies because it eliminates thermal bridging through the rafters. It requires either new roofing (typically done when the roof needs replacement anyway) or careful integration with existing roofing. It is more expensive as a standalone project but can be cost-effective when combined with a re-roofing project. Less common in standard attic conversions but worth understanding if your roof is due for replacement within the project window.
3. Batt insulation between rafters only
The lowest-cost option and the one most likely to cause long-term moisture problems in climate zones 4 and above. Fiberglass or mineral wool batts between rafters without a continuous air barrier on the interior are vulnerable to air movement, which carries moisture-laden interior air into the rafter cavity where it condenses on the cold roof deck. The result, over 5–10 years, is rot, mold, and structural damage that costs far more to remediate than the spray foam would have cost upfront. If your contractor proposes batt-only insulation for a cold-climate attic conversion, ask specifically how they are addressing the air barrier. If they cannot answer specifically, find a different contractor.
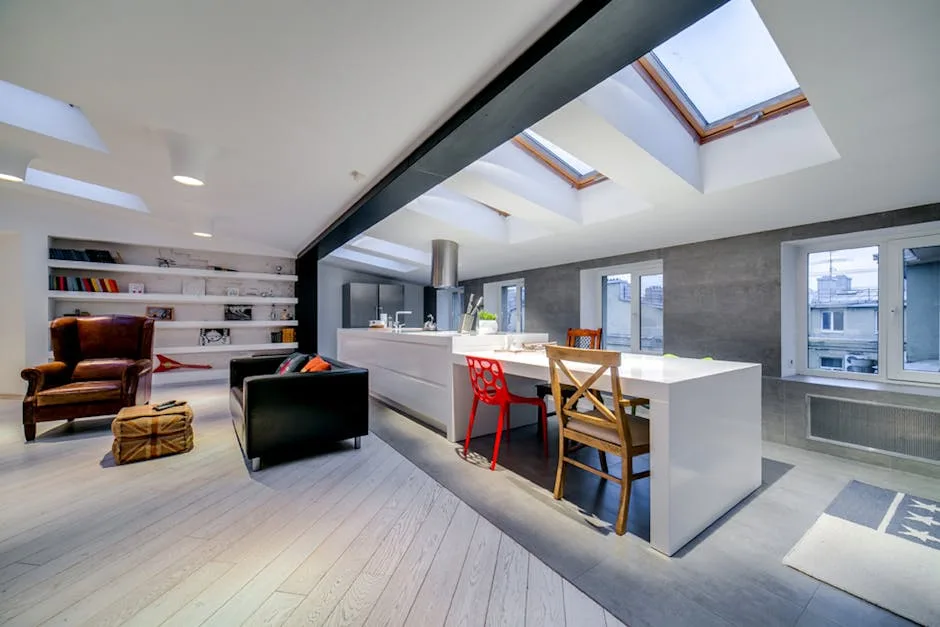
Egress and ventilation code requirements interact with insulation strategy in ways that are not intuitive. Bedrooms require egress windows with a minimum net clear opening of 5.7 square feet (or 5.0 square feet for windows at grade). In an attic, this almost always means a dormer or a specifically sized skylight — standard gable windows rarely meet the opening dimensions without modification. These windows also need to be operable and positioned so a person can exit without special tools or knowledge. Specifying windows before confirming egress compliance is a common and costly sequencing mistake.
Actionable takeaway: Budget for spray foam insulation in your converted attic unless you have a compelling reason to do otherwise. The upfront premium over batt insulation is typically $2,000–$4,000 on a standard attic project. The cost of moisture remediation five years later is typically $15,000–$40,000. The math is straightforward.
How to Choose a Contractor for an Attic Conversion (And What to Ask Before You Sign)
Attic conversions sit at an uncomfortable intersection of trades — structural framing, finish carpentry, electrical, HVAC, insulation, and sometimes plumbing — which means a general contractor’s ability to coordinate subcontractors is as important as their own technical competence. A contractor who is excellent at ground-floor renovations may have limited experience with the specific failure modes of attic conversions, and those failure modes are expensive.
Here is what separates contractors who routinely deliver successful attic conversions from those who routinely cause problems:
They have done attic conversions specifically, not just general renovations. Ask to see three completed attic projects with references you can call. Ask those references specifically about how the contractor handled surprises — joist problems found mid-demo, mechanical routing challenges, permit delays. The answer to that question tells you more about a contractor than their portfolio photos.
They pull their own permits and do not suggest you skip them. Any contractor who suggests that permits are optional, unnecessary, or something you can “deal with later” is telling you something important about how they operate. Walk away.
They provide a written scope of work, not just a price. A contract that says “attic conversion per plans — $52,000” is not a contract that protects you. A contract that itemizes framing, electrical, insulation type and R-value, HVAC approach, stair specifications, window specifications, and finish schedule is a contract you can hold someone to. The line-item detail also makes it possible to compare bids meaningfully — which you cannot do when one contractor’s $42,000 includes spray foam and another’s $44,000 includes batt-only insulation.
They require inspections at rough-in stages and build them into the schedule. A contractor who does not mention rough-in inspections is either planning to skip them or doesn’t understand why they matter. Both are problems.
They have a clear plan for the staircase. The staircase is the most architecturally disruptive element of turning attic into living space, because the opening has to come from somewhere in your existing floor plan. A contractor who hasn’t thought carefully about where that stair lands — and what it takes from the floor below — has not thought carefully about your project.
Getting three bids is standard advice, but bid comparison is only useful when the bids cover identical scope. Before you solicit bids, produce a written scope document yourself — even a rough one — so that each contractor is pricing the same project. Bids produced from a contractor’s own interpretation of “I want to convert my attic” are not comparable to each other and will lead you to make decisions based on price differences that are actually scope differences.
Actionable takeaway: Write a one-page scope document before you call your first contractor. Include the square footage, the intended use of the space, the insulation approach you expect (spray foam or documented alternative), the stair location if you have a preference, and any known structural issues. Send that document to all three bidders and require that their bids respond to it line by line.
Frequently Asked Questions About Turning an Attic Into Living Space
How do I know if my attic can be converted without major structural work?
The two fastest indicators are floor joist size and roof pitch. Pull back any insulation on the attic floor and look at the joist dimensions — 2×6 joists are almost certainly undersized for occupancy loads and will need sistering. 2×10 or 2×12 joists in good condition may be adequate depending on span, but only a structural engineer can confirm that definitively. For roof pitch, a 7:12 or steeper pitch on a house with a simple gable roof is your best starting scenario. Low-pitch roofs, complex hip roof geometries, and houses with roof trusses instead of stick-framing are the situations that most commonly require significant structural intervention before turning attic into living space is feasible.
What’s the difference between an attic conversion and an attic addition — and does it matter for permits or cost?
Technically, a conversion works within the existing roof envelope — no changes to the exterior roofline. An addition modifies the roofline, typically through dormers or a raised roof section, to create headroom or floor area that doesn’t currently exist. The distinction matters for permits (additions often trigger additional review, including zoning review for setbacks and lot coverage), for cost (additions add roofing, exterior cladding, and structural complexity), and for HOA compliance in communities that restrict exterior modifications. If your feasibility assessment shows that the existing roof envelope doesn’t provide adequate headroom, you are looking at an addition, not just a conversion — and the budget and timeline need to reflect that.
Can I convert an attic with roof trusses?
Rarely without significant expense, and never without an engineer. Roof trusses are engineered systems where every member — including the bottom chord you might think of as the “attic floor” — is structurally active. Cutting or modifying any truss member without engineering analysis risks roof collapse. Some trusses can be modified with engineered repairs using steel gusset plates and sister members, but this is a specialty structural project, not a standard framing task. Most contractors should not be doing truss modifications without a stamped engineering plan. If your attic has trusses, get a structural engineer to assess modification feasibility before you develop any other plans.
How long does a typical attic conversion take from permit to final inspection?
For a straightforward bedroom conversion with no dormer and no bathroom, budget 10–16 weeks from permit application to final inspection in most markets. That breaks down roughly as follows: 4–8 weeks for permit review and approval (highly variable by jurisdiction), 4–6 weeks of active construction, and 1–2 weeks for final inspection scheduling and sign-off. Projects with dormers, bathrooms, or structural complications run 20–32 weeks. Urban markets with overloaded building departments can extend permit timelines significantly beyond these estimates. Plan your project timeline backward from when you need the space available, not forward from when you want to start.
Will converting my attic increase my property taxes?
In most U.S. jurisdictions, yes — adding legally permitted and appraised square footage increases your assessed value, which increases your property tax liability. The increase varies by your local tax rate and the assessed value added, but on a conversion that adds $50,000–$80,000 in appraised value, a tax rate of 1.2% would add $600–$960 annually to your tax bill. That is not a reason to avoid the conversion — the equity gain typically far exceeds the tax cost — but it is a carrying cost to factor into your financial analysis. Unpermitted conversions do not trigger reassessment, which is part of why some homeowners skip permits, but the risk calculus around that decision is covered in the permit section above and is not favorable.